Guy Halsall was clearly on a roll, as he wrote another cracking scenario in Miniature Wargames 28, covering the
Battle of Brunanburh. Described as the greatest battle in Anglo-Saxon Britain before Hastings, it featured a Norse-Scots-Welsh alliance against the unified English kingdom of Athelstan.
To do the battle some sort of justice, I used (broadly) the rules for Big Battle DBA, and the following two armies.
The Allies:
The Scots-Welsh Contingent (from list III/45 Pre-Feudal Scots):
2 x 4Wb
8 x 3Pk
1 x Ps
The Norse Contingent (from list III/40b Viking Army):
8 x 4Bd
1 x 4Bw
The English:
The Mercian Division:
2 x 4Bd
6 x Sp
1 x Cv (acting as a joint reserve)
1 x Ps
The Wessex Division:
2 x 4Bd
6 x Sp
1 x Ps
To reflect the Allied quick attack, the first two moves would be given to the Allies before the English Army could react.
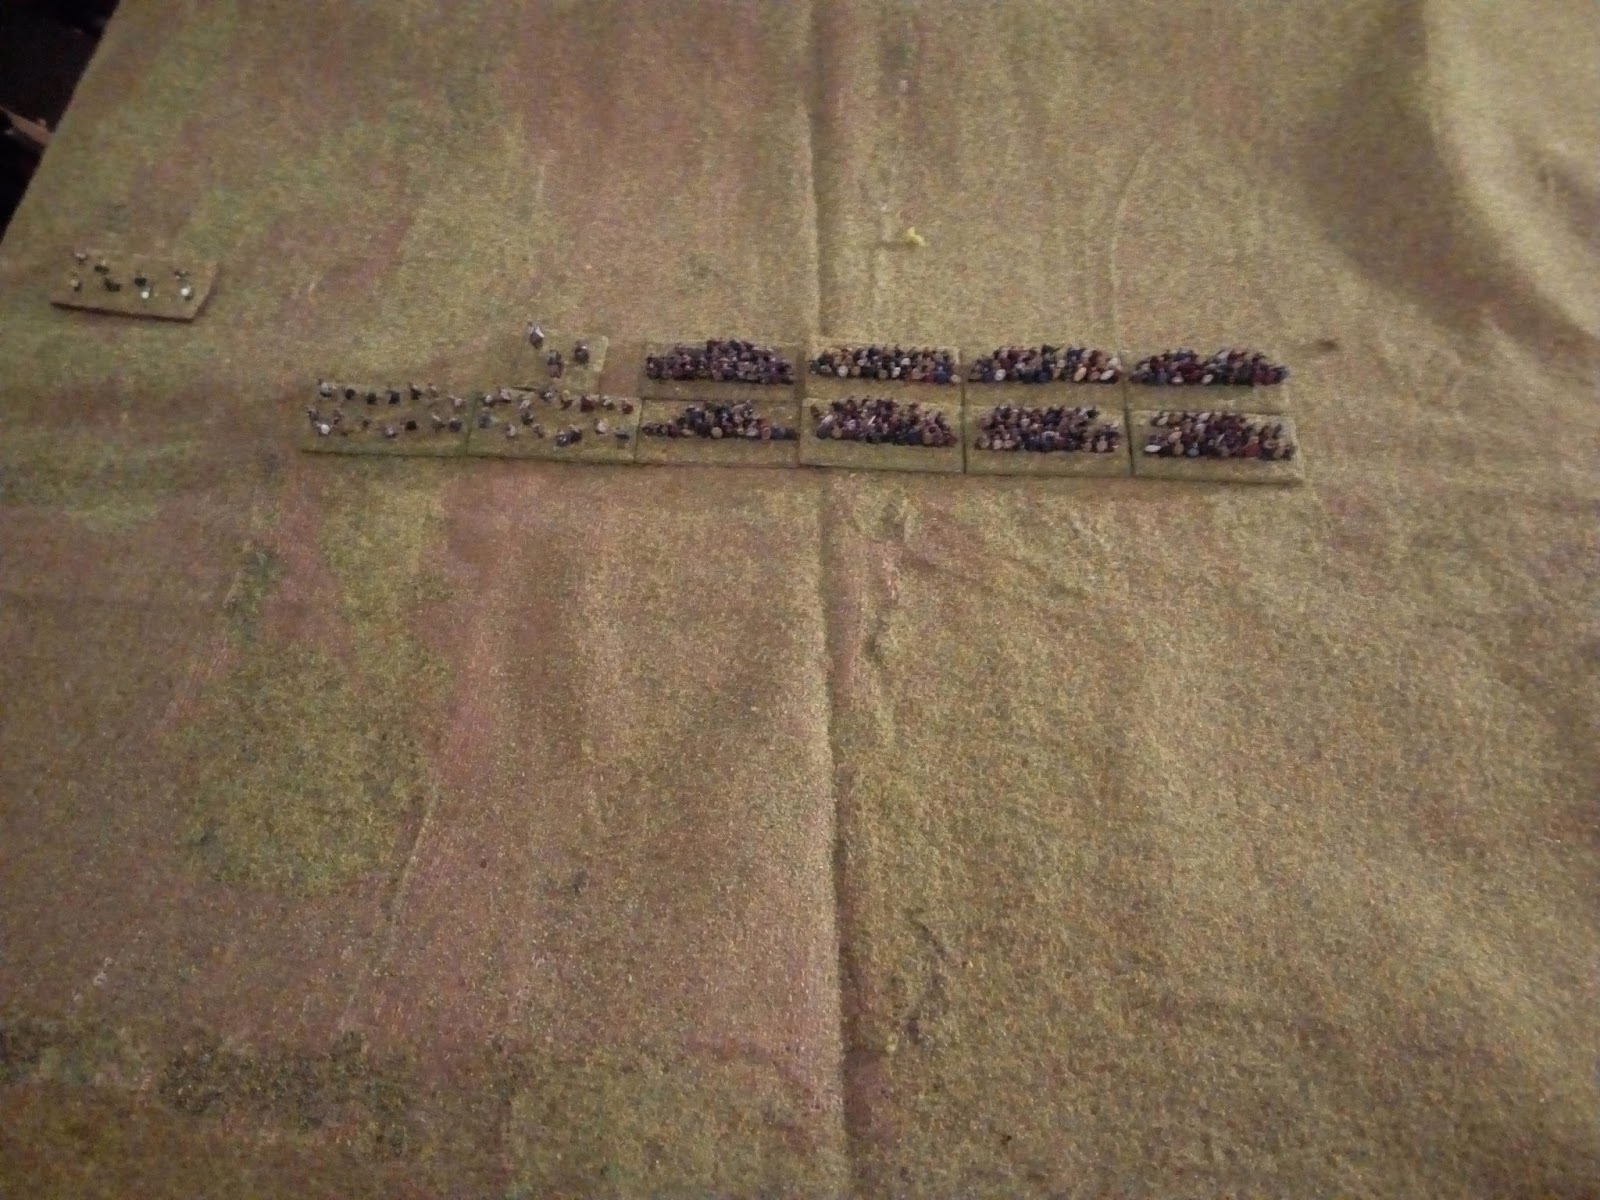
The Deployment:
 |
| The English are deployed in the foreground, Scots on the hill top-left, Norsemen in front of Brunanburh. |
 |
| A closer view of the Mercians, looking down across the valley towards the Scots. |
 |
| The view along the valley, with Allies to the left, English to the right |
 |
| The view from behind the Allied centre |
 |
| The Wessex contigent on the English right, facing off against the Vikings. |
 |
| A close-up of the Scots (and Welsh) |
The Battle:
 |
| Following historical precedent, the Allies advance towards the English; the Norsemen slightly ahead of the Scots |
 |
| ...who come down the hill in a large mass, only some skirmishing javelinmen are off to a flank |
 |
| The Mercians watch the Scots' advance |
 |
| The Norsemen approach the Anglo-Saxon shieldwall; Viking archery makes no dent in the defence |
 |
| The Norsemen attack in two groups, with the bowmen left to the rear and a small group of Norsemen in reserve |
 |
| Fortunes are mixed, but no decisive damage is done to either side in the initial stages of the melee |
 |
| The men of Wessex stand firm against the Norsemen, who retire to regroup |
 |
| The melee a little closer to the centre is more of a swirling affair - this heavily favours the Norsemen in general, as the shieldwall is broken and the Anglo-Saxons become less effective |
 |
| Pressure continues on both sides... |
 |
| Meanwhile, the Mercians time their advance to maximum advantage, hitting the Scots' spearmen as they advance up the slope |
 |
| Some of the combats against the Norsemen go the Anglo-Saxons way, but overall the shieldwall has been split, which is very bad news...the Anglo-Saxons simply cannot achieve the destruction of a Viking base here |
 |
| Whereas the Scots on the other flank are signally succeesful and the Anglo-Saxon shieldwall is disrupted! |
 |
| And as the shieldwall crumbles, the Scots simply steamroller over the Anglo-Saxons; the entire Mercian Division is in severe trouble |
 |
| Neither side can gain much of an advantage on the other flank, although the Viking leader does lead his men to destroy their immediate opponents, causing a gap in the line (centre-right) |
 |
| The Mercian thegns cut lonely figures as the majority of the Fyrd have been destroyed by the Scottish onslaught |
 |
| More Vikings are pushed back by the Wessexmen, but they just cannot inflict decisive damage! |
 |
| The Scots destroy enough of the Anglo-Saxon spearmen to demoralize the remnants of the Mercian contingent |
 |
| The remaining Mercians are mopped up or have fled the field entirely |
 |
| At last, the Wessexmen destroy a couple of groups of Vikings, but too late, the disruption of the shieldwall is too great and isolated groups of Anglo-Saxons are despatched |
 |
| The battle ends - the Allies victorious! |
 |
| The field has been swept of the Anglo-Saxons. The only crumb of comfort for them is that the Anglo-Saxon nobility appears to have survived intact, the losses were entirely borne by the Fyrd. |
Game Notes: An interesting game, although hardly one of great tactical moves. However, the decision to plough straight in was bold in its way, I suppose! More seriously, the Allies were blessed with some good luck and stronger troops. The advantages of the Viking "blade" troops are already well-known in DBA - the Anglo-Saxon spearmen will do well to beat them; but the Scots' pikemen - even if fast pikemen - are pretty strong when given rear support; again, the Anglo-Saxons will do well to stop them. A rear supported pike unit against a spearmen shieldwall uphill is an even match unless the pikes are outflanked. What happened was that the intial pike shock disrupted the line sufficiently that many of the spear elements could no longer claim flank support, so the advantage swung definitively to the Scots' pikemen. Given that the Scots did have that extra bit of luck, the Anglo-Saxon troops were in for a thin time. Even when they gained an advantage, they struggled to translate that into destruction results, rather than mere recoils. The fighting against the vikings was much more even, although it did take some good DBA minor tactics to keep the Anglo-Saxons going for as long as they did.
Rules used were
DBA v3. Figures were from
Baccus 6mm, buildings mainly from
Timecast, I think. The play area was roughly 4'x4' on a home made game mat.


An interesting battle and account and an option perhaps for using my 1066 armies as proxies.
ReplyDeleteYour game notes show the game to be quite nuanced, despite a head on clash.
Nice dark age bash up.
ReplyDeleteThanks Stew, I appreciate it.
DeleteThanks Norm. You should be able to proxy the armies just fine with troops for 1066. The scenario definitely does have its points, as does, and I should have mentioned this in the text, the actual details of the deployment. The decision for the Anglo-Saxon player as to where to put his non-Spearmen troops to best support the shieldwall is pretty key, as does a solid understanding (that I am only just getting) of how spearmen kill "blades" (in this context, Vikings).
ReplyDeleteExcellent - just stumbled across your great report and you've got me excited in BB DBA and this period again! Thanks - really like the massed 6mm effect. Always wanted to give that a go ... hmmm. Yes, hard to effect grand tactical moves in this period - but love it nonetheless. Cheers Alan
ReplyDeleteThanks very much Oswald. The 6mm mass effect does work quite well visually: a 24-base BB DBA army will have around 700 figures in it, so about 1500 on the table. That 1:10-1:15 ratio combined with the bird's eye view of 6mm does trick the eye into thinking "this is something a little like a battle line might have looked like".
ReplyDelete