Heretical Gaming is my blog about my gaming life, featuring small skirmishes and big battles from many historical periods (and some in the mythic past or the far future too). The focus is on battle reports using a wide variety of rules, with the occasional rules review, book review and odd musing about the gaming and history. Most of the battles use 6mm-sized figures and vehicles, but occasionally 15mm and 28mm figures appear too.
Showing posts with label Early Medieval. Show all posts

Tuesday, 7 July 2026

07 Jul 26 - Hobby Update

Still not much to report on the gaming front, but I have been continuing to chip away at the lead mountain...

The next batch was a group of (refurbished) old 40K Orks and a group of much newer Warhammer Beastmen.


The Beastmen are very nice figures! They can go into my 28mm fantasy box.

The Orks are definitely from a simpler - and smaller! - time, and they weren't in a great state (I cannot remember for the life of me where I picked them up) but they seem to have repaired and repainted ok. Good enough for the bairn to have fun with in any case.

After that, I tackled some plastic Vikings (Vixtrix possibly?). I thought these painted up quite well, I was pleased.


 I have a bunch of Dark Age warriors already (from Gripping Beast), which these will work fine with. 

Thursday, 17 August 2017

Battle of Maldon 991 AD - DBA Refight


Miniature Wargames 35 contained a scenario for the famous Battle of Maldon 991 AD, one of the best known of all early medieval battles as a result of its immortalization in Old English poetry (see translation here).  Attention normlly gets focused on the decision of the Anglo-Saxon commander, Bryhtnoth, to allow the Vikings to cross a narrow causeway from Northey Island.

I used the armies from the appropriate lists in DBA, as follows:

Anglo-Saxons: 3 x Bd (Blades - Thegns), 6 x Sp (Spearmen - Fyrd), 1 x Ps (Skirmishers - Archers), 2 x 7Hd (Hordes - Locals)
Vikings: 11 x Bd (Blades - Warriors), 1 x Ps (Archers)

The Deployment:

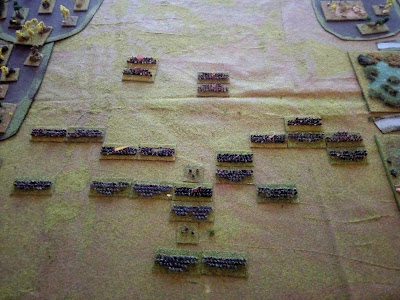
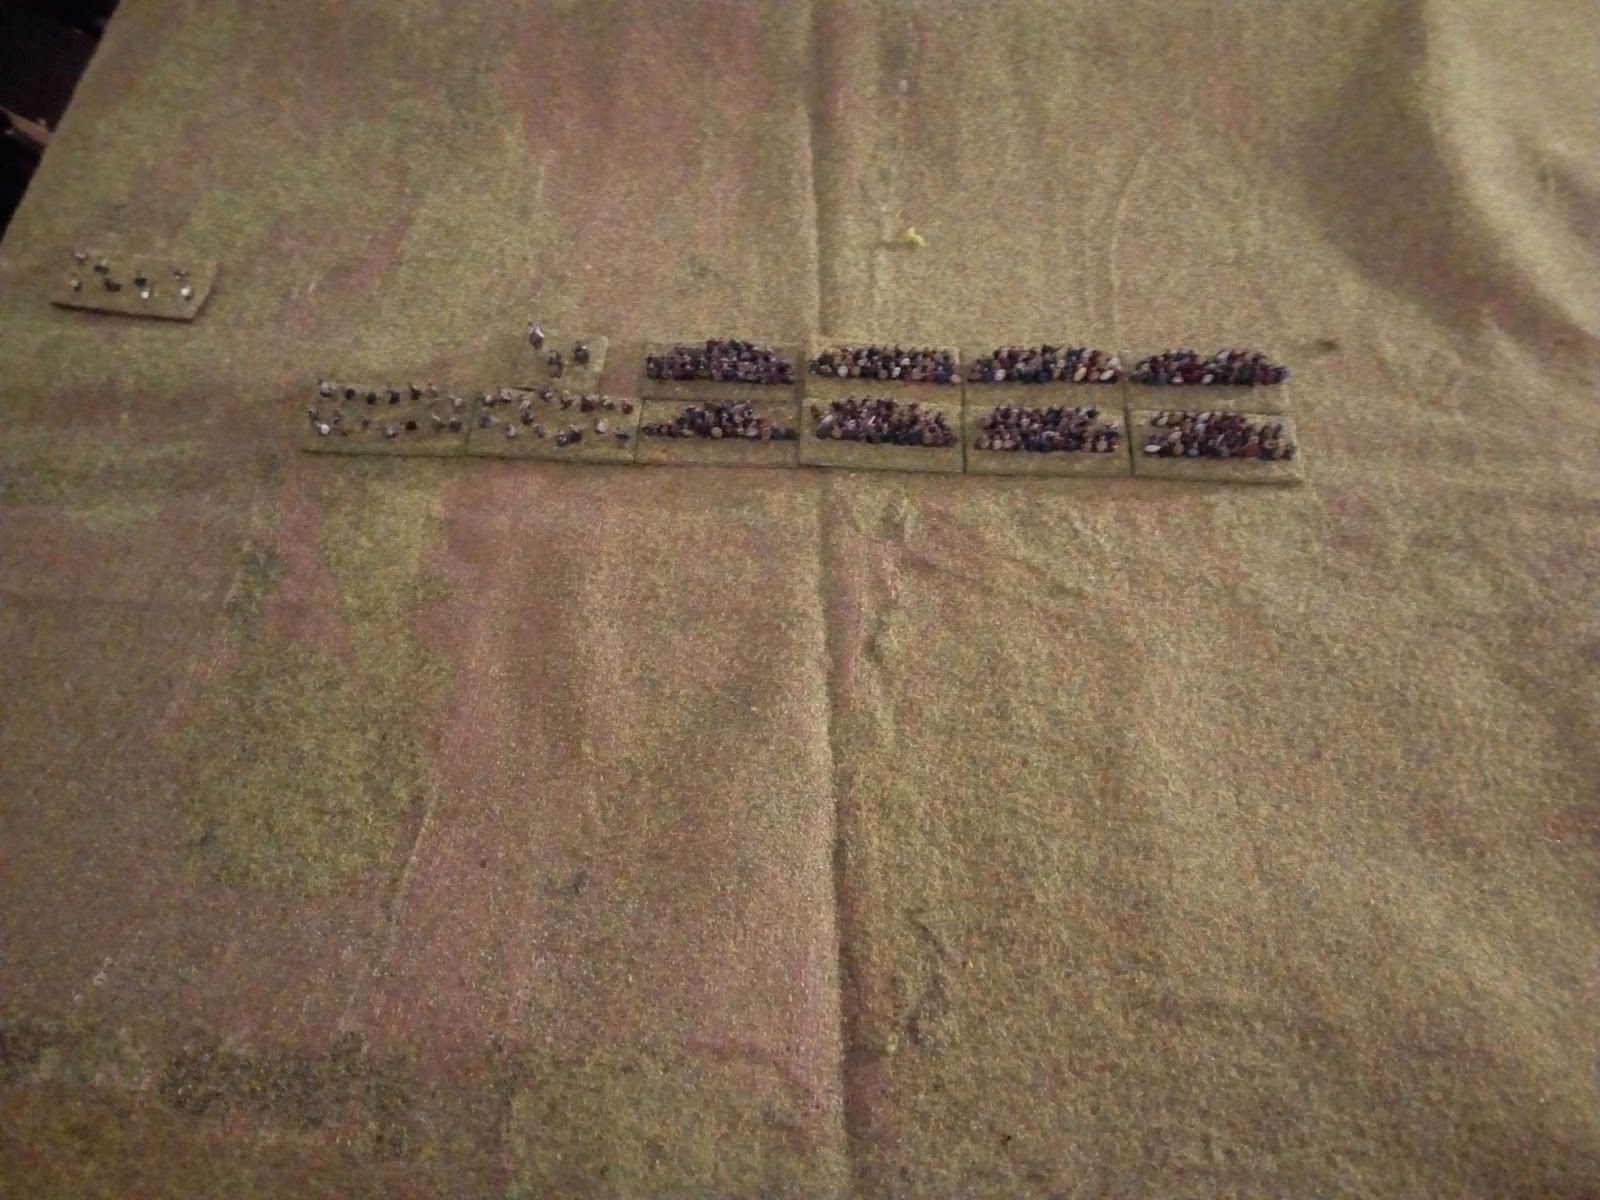
The Vikings crossed from the causeway (right) and deployed at the bottom of the shot, facing the Anglo-Saxons (top); the Vikings have two elements of warriors in reserve, the Anglo-Saxons have left the local warriors as their reserve; both sides' bowmen are deployed on the far (left) side

A shot from the Viking left flank

And from behind the Anglo-Saxons; the locals (hordes) are represented by two bases each.

A picture of the Viking line

And a shot of the Anglo-Saxon line
The Battle:
Tactics can be quite simple in this period...both sides advance!

Crunch!  The lines collide.  On the far left, the Voking bowmen have joined the end of the Viking line rather than tackle the Anglo-Saxon bowmen in the wood

Same position, but looking along the line

The Anglo-Saxon right has generally the upper hand, although one element of Viking warriors has penetrated the shield wall.  Bryhtnoth leads his bodyguards personally in combat (right) and pushes the Viking general and his bodyguards back

The Saxon shieldwall holds against the Viking right although it is pushed back, except for that element in the middle

The Anglo-Saxons fight to restore the shieldwall

As they do on the opposite flank

The fighting is becoming slightly more scattered, but in general the Anglo-Saxon shieldwall is holding and the Vikings are coming off worse.  Brythnoth however is pushing his opponent back so hard he has pushed himself right into the midst of superior numbers of Vikings...

Saxon shieldwalls face thinned ranks of Vikings!

But Bryhtnoth is attacked on three sides!  However, the Viking reserve is being pulled in to the right to make up for losses there

The Viking left makes a renewed attack

Another view of the fighting in the centre

Bryhtnoth and his men succumb to the Viking warriors in the centre!


A wider view; the Vikings have lost many more men, but the Anglo-Saxon leader has been killed along with his picked men

The Vikings renew their efforts in another furious assault...

But the fury merely leads to the Saxons reforming their shieldwall

However, another group of thegns goes down in the centre underneath Viking axes!


The local Saxon warriors join the line and surge forward with the shieldwall

As does the shieldwall on the Saxon left flank

The Vikings hold firm in the centre around their leader, but give way somewhat on the flanks

A closer view of the Viking left under pressure

As is its right!

The Viking archers are caught between Saxon spear and bow

A closer view of the same


And the archers are detroyed; this leads to the collapse of the Viking Army's morale!

The view along the line at the end of a hard-fought and bloody battle

The Viking general still fighting hard in the centre, but his army his collapsing around him...

Game Notes:A very close run-thing; the Vikings lost 4 bases, the Anglo-Saxons 2 but including their leader.  The Anglo-Saxon shieldwalls basically held in this game, which makes it a bit harder for the Vikings to get any advantage; all their successes came in the blade-on-blade combats in the centre.  The Anglo-Saxon successes mainly came from attacking isolated Viking elements, although they need a bit of luck too (generally a 3-point swing on the dice rolls).  Anyway, a heroic victory for the Anglo-Saxons in the refight replaces the heroic defeat of legend!


DBA does give a very good game.  Whether there are games out there which represent Dark Age warfare better...possibly.  I think that it does a good job of representing certain aspects by judicious use of factors and bonuses and there is a lot to be said for a game which you can fight to a finish (or two) every single time.  It represents well the importance of timing, since the sequencing of actions is the main thing you can do to try and achieve success.  But the lack of genuine attrition as a mechanism is always a concern.  Plus one also wonders whether Vikings really fought tactically in a very different (and superior) way from their Saxon opponents.  If I recall correctly from the poem, both sides seem pretty similar - not that that is conclusive.

Figures by Baccus 6mm.

Tuesday, 1 August 2017

The Battle of Brunanburh 937AD - A DBA Refight

Guy Halsall was clearly on a roll, as he wrote another cracking scenario in Miniature Wargames 28, covering the Battle of Brunanburh.  Described as the greatest battle in Anglo-Saxon Britain before Hastings, it featured a Norse-Scots-Welsh alliance against the unified English kingdom of Athelstan.

To do the battle some sort of justice, I used (broadly) the rules for Big Battle DBA, and the following two armies.

The Allies:

The Scots-Welsh Contingent (from list III/45 Pre-Feudal Scots):
2 x 4Wb
8 x 3Pk
1 x Ps

The Norse Contingent (from list III/40b Viking Army):
8 x 4Bd
1 x 4Bw

The English:

The Mercian Division:
2 x 4Bd
6 x Sp
1 x Cv (acting as a joint reserve)
1 x Ps

The Wessex Division:
2 x 4Bd
6 x Sp
1 x Ps

To reflect the Allied quick attack, the first two moves would be given to the Allies before the English Army could react.

The Deployment:

The English are deployed in the foreground, Scots on the hill top-left, Norsemen in front of Brunanburh.

A closer view of the Mercians, looking down across the valley towards the Scots.

The view along the valley, with Allies to the left, English to the right

The view from behind the Allied centre

The Wessex contigent on the English right, facing off against the Vikings.

A close-up of the Scots (and Welsh)
 The Battle:
Following historical precedent, the Allies advance towards the English; the Norsemen slightly ahead of the Scots

...who come down the hill in a large mass, only some skirmishing javelinmen are off to a flank

The Mercians watch the Scots' advance

The Norsemen approach the Anglo-Saxon shieldwall; Viking archery makes no dent in the defence

The Norsemen attack in two groups, with the bowmen left to the rear and a small group of Norsemen in reserve

Fortunes are mixed, but no decisive damage is done to either side in the initial stages of the melee


The men of Wessex stand firm against the Norsemen, who retire to regroup

The melee a little closer to the centre is more of a swirling affair - this heavily favours the Norsemen in general, as the shieldwall is broken and the Anglo-Saxons become less effective

Pressure continues on both sides...

Meanwhile, the Mercians time their advance to maximum advantage, hitting the Scots' spearmen as they advance up the slope

Some of the combats against the Norsemen go the Anglo-Saxons way, but overall the shieldwall has been split, which is very bad news...the Anglo-Saxons simply cannot achieve the destruction of a Viking base here

Whereas the Scots on the other flank are signally succeesful and the Anglo-Saxon shieldwall is disrupted!

And as the shieldwall crumbles, the Scots simply steamroller over the Anglo-Saxons; the entire Mercian Division is in severe trouble

Neither side can gain much of an advantage on the other flank, although the Viking leader does lead his men to destroy their immediate opponents, causing a gap in the line (centre-right)

The Mercian thegns cut lonely figures as the majority of the Fyrd have been destroyed by the Scottish onslaught

More Vikings are pushed back by the Wessexmen, but they just cannot inflict decisive damage!

The Scots destroy enough of the Anglo-Saxon spearmen to demoralize the remnants of the Mercian contingent

The remaining Mercians are mopped up or have fled the field entirely

At last, the Wessexmen destroy a couple of groups of Vikings, but too late, the disruption of the shieldwall is too great and isolated groups of Anglo-Saxons are despatched

The battle ends - the Allies victorious!

The field has been swept of the Anglo-Saxons.  The only crumb of comfort for them is that the Anglo-Saxon nobility appears to have survived intact, the losses were entirely borne by the Fyrd.
 Game Notes: An interesting game, although hardly one of great tactical moves.  However, the decision to plough straight in was bold in its way, I suppose!  More seriously, the Allies were blessed with some good luck and stronger troops.  The advantages of the Viking "blade" troops are already well-known in DBA - the Anglo-Saxon spearmen will do well to beat them; but the Scots' pikemen - even if fast pikemen - are pretty strong when given rear support; again, the Anglo-Saxons will do well to stop them.  A rear supported pike unit against a spearmen shieldwall uphill is an even match unless the pikes are outflanked.  What happened was that the intial pike shock disrupted the line sufficiently that many of the spear elements could no longer claim flank support, so the advantage swung definitively to the Scots' pikemen.  Given that the Scots did have that extra bit of luck, the Anglo-Saxon troops were in for a thin time.  Even when they gained an advantage, they struggled to translate that into destruction results, rather than mere recoils.  The fighting against the vikings was much more even, although it did take some good DBA minor tactics to keep the Anglo-Saxons going for as long as they did.

Rules used were DBA v3.  Figures were from Baccus 6mm, buildings mainly from Timecast, I think.  The play area was roughly 4'x4' on a home made game mat.