Today I re-fought the Battle of Elchingen using the Polemos: Ruse de Guerre rules and a scenario written by the rules' author, Glenn Pearce. The big club re-fight is due to take place in a week or so but as my extended bank holiday mean I have more free time this weekend than next, I brought forward my refight by the UK solitaire section of the Napoleonic Miniature Wargames Society of Toronto(!).
As it happens, I played Elchingen in the not too distant past, using the Polemos General de Division rules and a scenario from Michael Hopper's excellent book Rise of Eagles 1805. 'Bandit' (the designer of the well-received Et Sans Resultat rules) made some very interesting comments on the scenario here, which are well worth a read. For comparison purposes, I used the same terrain for this refight (Glenn didn't send me a map for this one, leaving it up to me to make a smart and soldierly interpretation of events!).
Elchingen is quite an interesting clash, with a smaller but more skillful French force attacking a defending but slightly demoralized Austrian army. This is one of the smaller scenarios that Glenn has presented over recent times and after I had reduced it a little more - entirely within the bounds of the rules, I am using a legitimate base:soldier ratio - it fitted very nicely on a relatively small table. In summary, the orders of battle were:
The Forces:
C-in-C: Marshal Ney (Skill 3)
Villate's Bde (Loison's Division): 3 bases Well-Trained Light Infantry, 3 bases Well-Trained Infantry
Rouget's Bde (Loison's Division: 7 bases Well-Trained Infantry, 1 base 8pdr Well-Trained Foot Arty
Mahler's Division: 3 bases Well-Trained Light Infantry, 9 bases Well-Trained Infantry, 1 base Well-Trained 8pdr Foot Arty
Colbert's Bde: 2 bases Well-Trained Cavalry
Laplanche's Div: 4 bases Well-Trained Cavalry
Reserve Artillery: 1 base Well-Trained 8pdr Foot Arty
Imperial Austrian:
C-in-C: General Riesch (Skill 1)
Saaufeld's Bde: 1 base Well-Trained Cavalry, 1 base Well-Trained Infantry, 2 bases Trained Infantry
Genegdegh's Bde: 2 bases Well-Trained Cavalry, 6 bases Trained infantry
Ulm's Bde: 1 base Well-Trained Cavalry, 2 bases Well-Trained Infantry, 2 bases Trained Infantry, 1 base Trained 6pdr Horse Arty
Mescery's Bde: 1 base Well-Trained Cavalry, 1 base Well-Trained Infantry, 2 bases Trained Infantry
Auersperg's Bde: 1 base Well-Trained Cavalry, 1 base Well-Trained Infantry, 5 bases Trained Infantry
Hermann's Bde: 1 base Well-Trained Cavalry, 2 bases Well-Trained Infantry, 2 bases Trained Infantry,1 base Trained 6pdr Foot Arty
The French used some converged Grenadier battalions but since all the French are considered as Well-Trained then there seemed little point in representing them separately (they were from the elite companies of the other battalions present). Considering all the French infantry Well-Trained may be considered a little generous (the Michael Hopper scenario basically only gives that to the light infantry regiments) but on the other hand, the Austrians were apparently pretty demoralized anyway so 'Trained' is a fairly generous rating for them - there might be a case for considering all Austrian troops to have a base level of 'shaken' in this scenario. Recall that quite unusually for a horse-and-musket set, in Polemos Ruse de Guerre all cavalry are considered the same (i.e. distinctions of 'weight' are not used' except for their training level.
If thought fit, the French could convert 1-in-3 or 1-in-6 of the Infantry to additional Light Infantry units (I didn't do this).
The aim of each side is to hold the two urban areas and/or break the opposing army.
The Set-Up:
 |
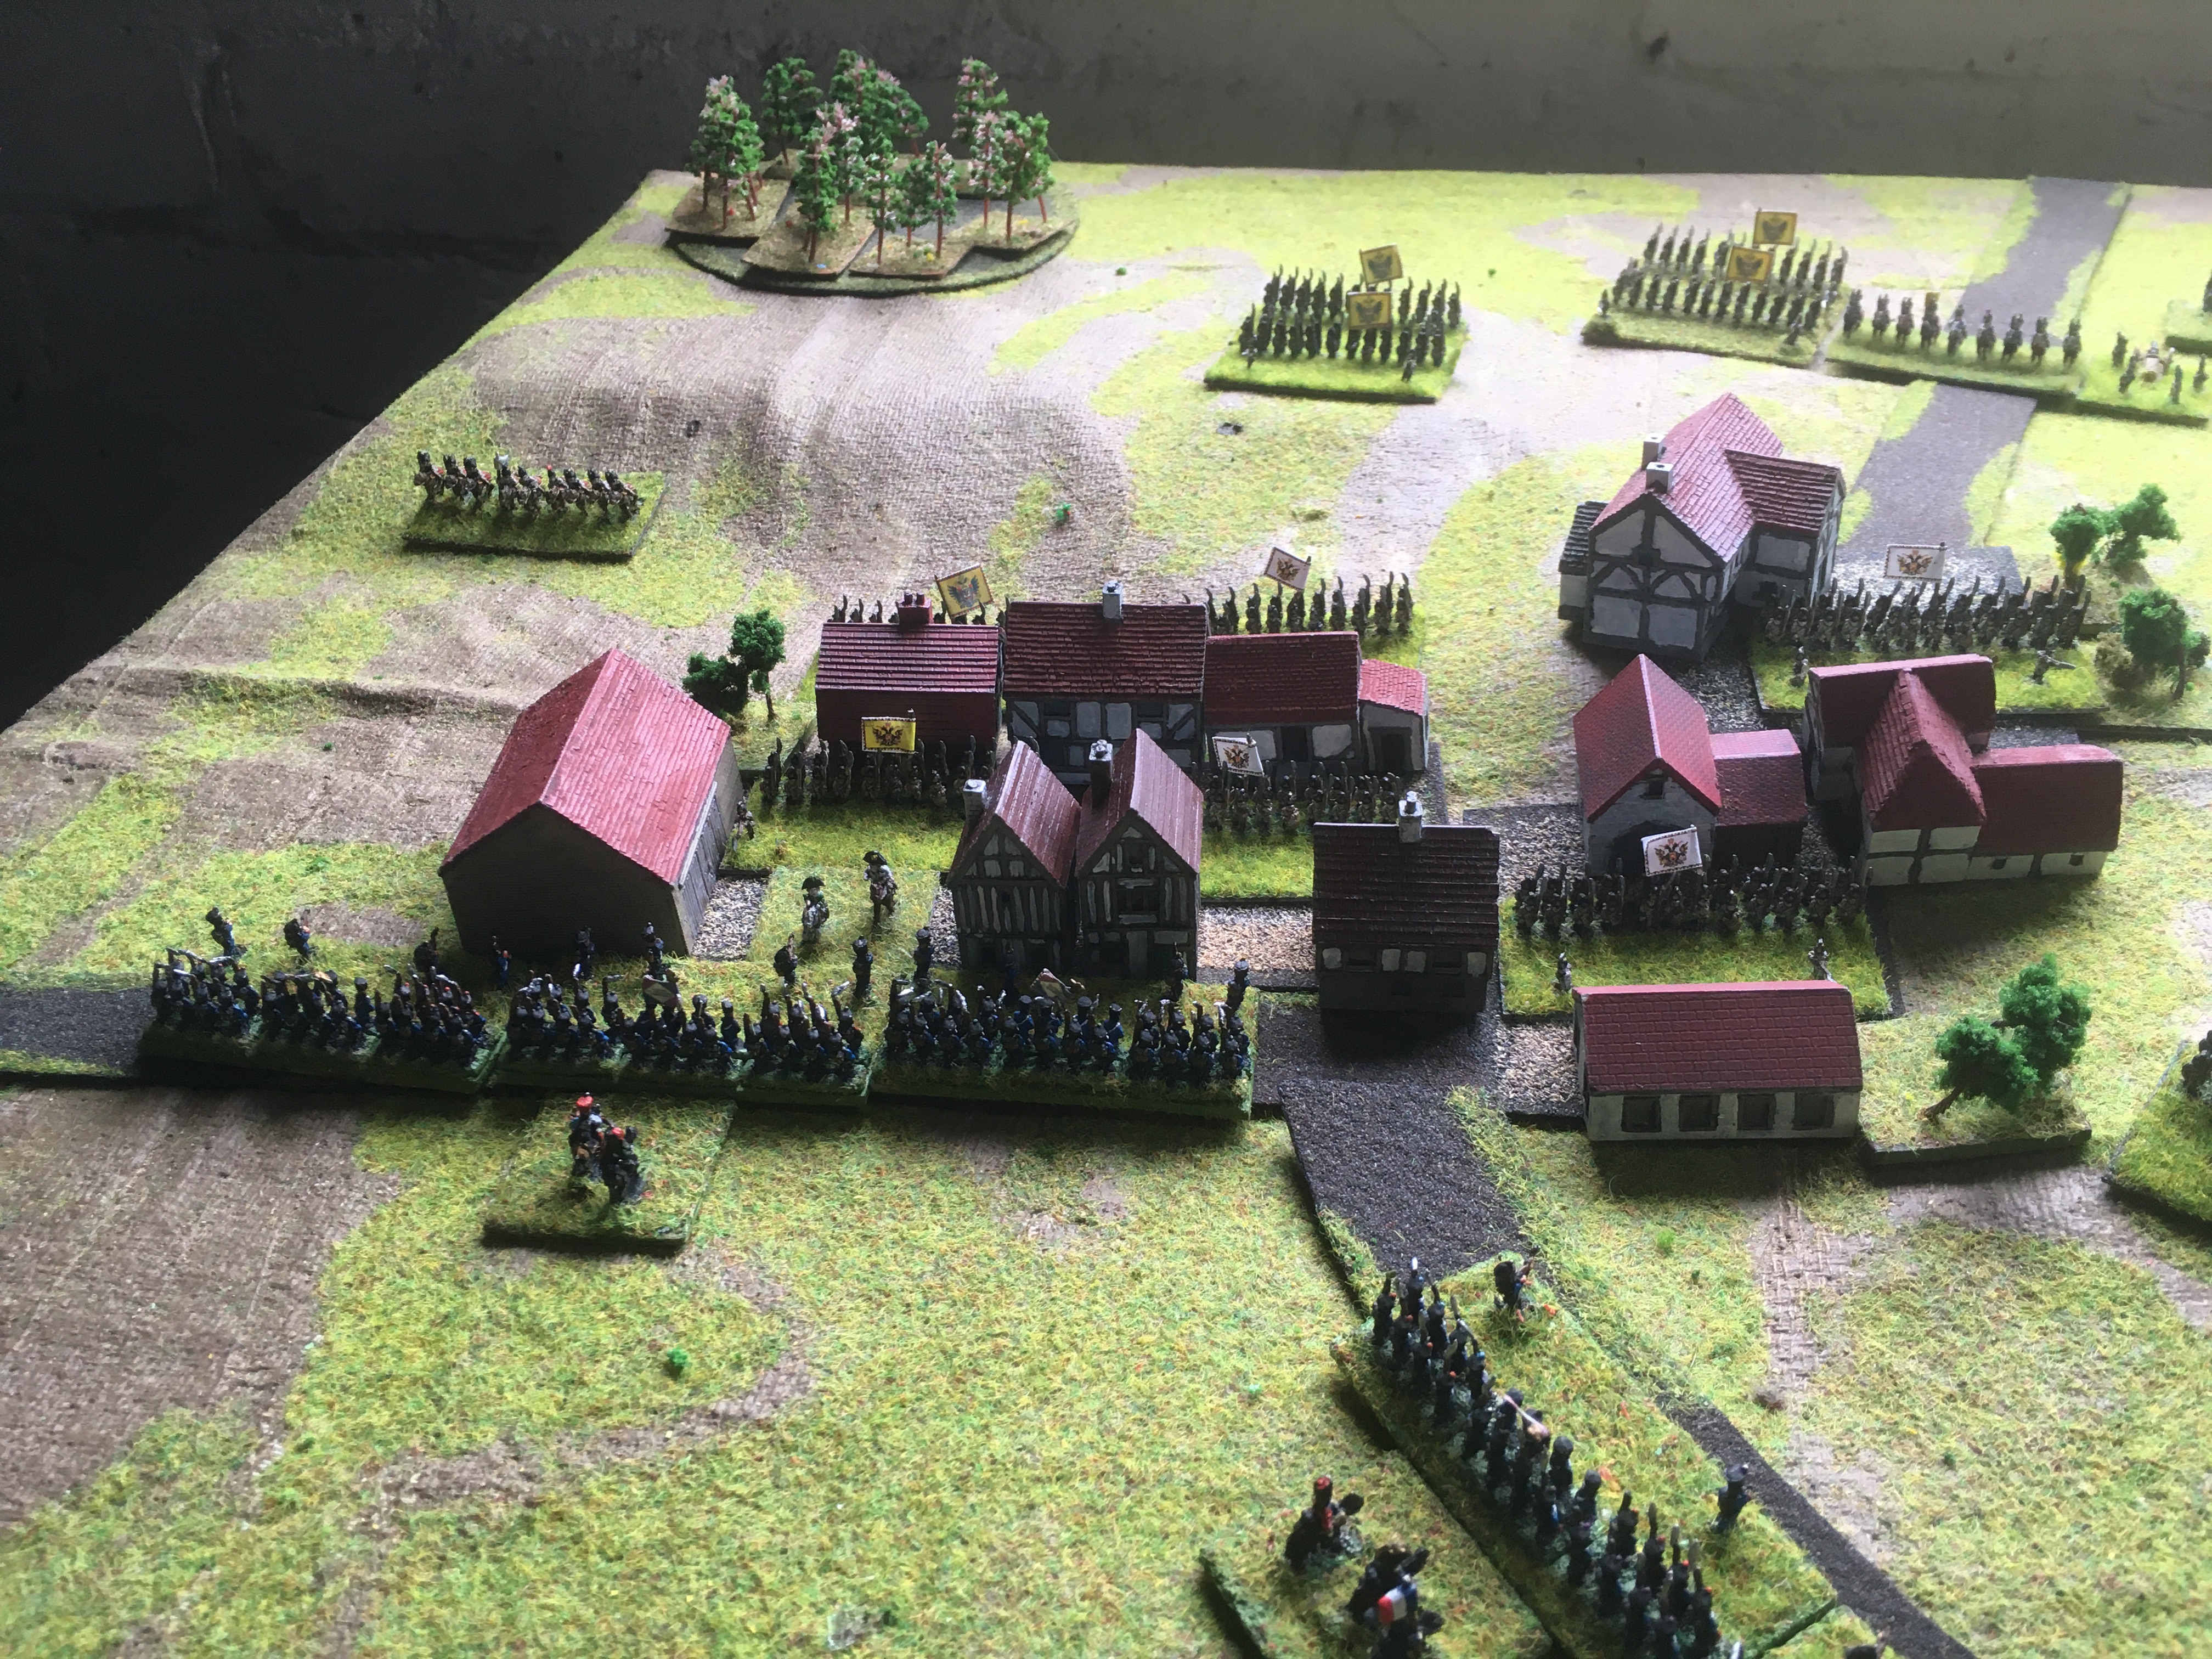
The main Austrian position, with the French approaching from the bottom-left
|
 |
Mescery's troops on the Austrian left flank
|
 |
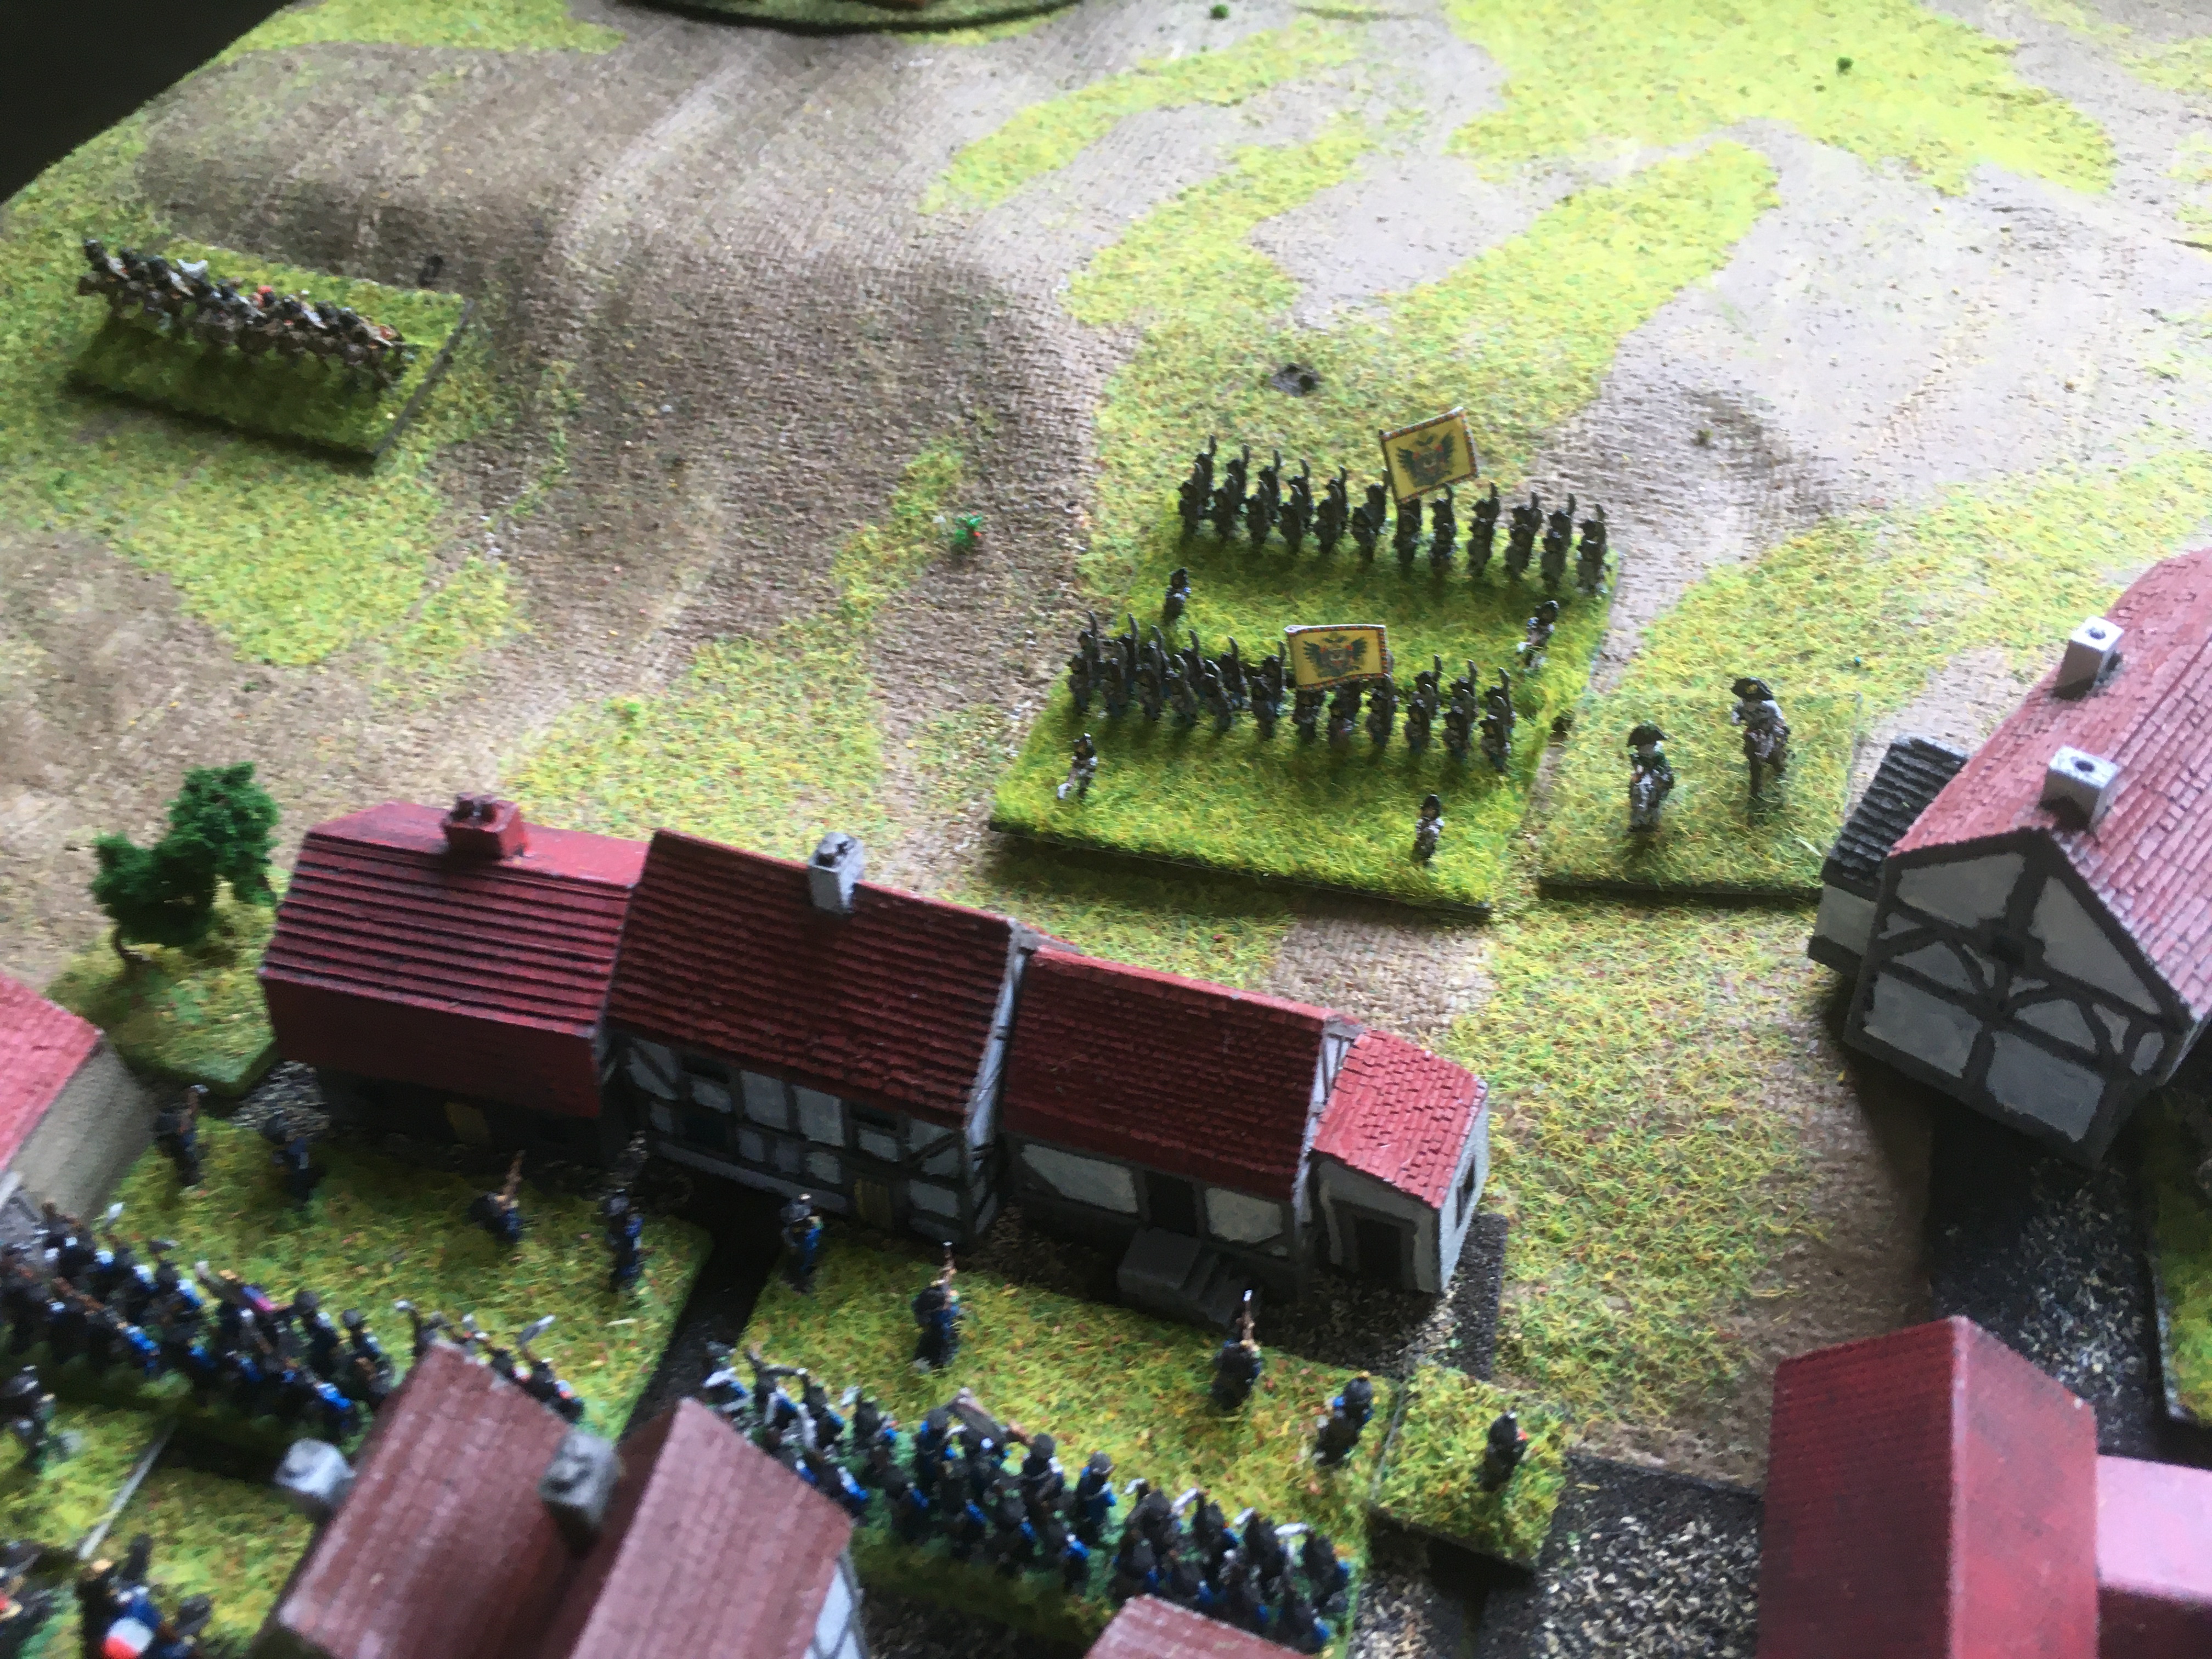
A view looking up the slope at the centre, occupied by Genegdegh's Bde (left) with Saaufeld (right)
|
 |
Ney and Villatte approach, with the 6th Light in the van...
|
The Battle:
 |
The French attack despite the Austrians' numerical advantage: 6th Light attack the village whilst 39th Line advances towards the Austrian main position (right)
|
 |
Villatte's infantry are quickly supported by Colbert's light cavalry (left) and Laplanche's Dragoons (bottom centre and right).
|
 |
6th Light go straight in with the bayonet, feeling that an exchange of musketry with them in the open and the Austrians in the village wasn't much of a bet.
|
 |
However, the French light infantrymen are thrown back with loss.
|
 |
Meanwhile the 39th Line are in a murderous exchange of musketry with the Austrians of IR#15 at the base of the hill.
|
 |
In a few minutes, masses of French and Austrian infantrymen fall.
|
 |
The French light cavalry watch as the musketry rains and the Austrians move forward
|
 |
Vilatte tries to reform his men - his skirmishers seem be getting the better of the exchange of fire, with many Austrians falling in the village.
|
 |
Taking advantage of the situation, Ney brandishes his sword and pulls his Chasseurs after him into the buildings once more...
|
 |
The majority of the 6th Line are pushed back, but the 1st Battalion manages to break in (right)!
|
 |
Although they had won the close-quarter fight, the Austrian infantry who had held the buildings then rout when the French skirmishers begin again and they realize their flank is turned...
|
 |
The French 39th Line and the Austrian IR#15 essentially wiped each other out with musketry, whoever surviving the bullet then being killed by the ball as both sides brought their artillery up; the French are now taking advantage by pushing their cavalry into the gap whilst the Austrian Cuirassiers are disordered...
|
 |
The Austrian Cuirassiers are defeated and ride for the rear!
|
 |
The French light infantrymen have occupied most of the lower parts of the town and are now trying to beat off the rather intense Austrian counter-attacks - losses are heavy on both sides
|
 |
French Hussars fall under fire from the Austrian Horse Artillery
|
 |
The Austrian centre faces off against the French Dragoons, but neither side has had the spare command effort to develop an attack here
|
 |
Just as the initial French attack appears to be culminating, reinforcements arrive! Rouget's brigade arrives to provide some much needed extra punch to the French.
|
 |
Despite the casualties they have incurred, the French Hussars charge the Austrian guns!
|
 |
The gunners are slain, taken or fled...
|
 |
But Austrian musketry starts to fell the French Chasseurs a Cheval too.
|
 |
However, the overall pressure on Genegdegh's brigade is becoming unbearable...
|
 |
...and it withdraws to the rear! The French waste no time in pouring Horse and Foot into the gap in the centre; the Austrians try and reform their line on both sides of the break through.
|
 |
Meanwhile, Rouget's developing attack has cleared out more of the village - the Austrians only remain in control of the upper outskirts.
|
 |
More Austrian formations collapse in confusion, exposing the remainder
|
 |
At which point Laplanche unleashes his dragoons against the disordered Austrians!
|
 |
The Austrian infantry in the village successfully counter-attack
|
 |
The French Dragoons rout the Austrian battalion opposing them
|
 |
The Austrian centre is in serious trouble!
|
 |
The left-hand side of the village, despite a series of Austrian counter-attacks, is still firmly in French hands but the French have been unable to re-take the upper part, as they can't advance under the heavy Austrian fire.
|
 |
A wider view
|
 |
The French Dragoons charge again...
|
 |
And another Austrian regiment is routed!
|
 |
With French bodies now piled up in heaps in the streets of the village, the Austrians launch yet another counter-attack
|
 |
But the leading Austrian battalion disintegrates at bayonet point, and the French hold on
|
 |
The French Hussars at the top of the hill take further casualties from converging Austrian fire
|
 |
At last Ulm's depleted battalions eliminate the French Light infantrymen in the centre of the village
|
 |
But more of the Austrians run for the rear too...
|
 |
Stuck under heavy fire...
|
 |
The French Hussar regiment is routed!
|
 |
More French troops arrive and swarm through the town - this time, Austrian resistance slackens off
|
 |
The French have got their artillery back into action against the Austrian centre
|
 |
Determined Austrian resistance holds off the French attack in the centre
|
 |
And a strong line is reformed
|
 |
The Austrians have conceded control of Ober-Elchingen and are just trying to oppose any French breakout
|
 |
Ulm's Austrians under pressure just outside Ober-Elchingen - so far they are inflicting more than they are losing, however
|
 |
Until they aren't! Rouget's troops (76th Line) have suffered massive casualties but IR#54 has been entirely swept away
|
 |
The Austrians are outgunned in the centre
|
 |
The last formed units around Ober-Elchingen break
|
 |
And the Austrian centre starts to collapse also...
|
 |
The main position at the end of the battle: Ober-Elchingen has been taken and the French are firmly ensconced up the slope; the Austrian Right has basically collapsed.
|
 |
And a slightly wider shot: the Austrian Left is largely untouched but since Mahler's infantry is about to arrive and reinforce the French, retreat is the only sane option.
|
Game Notes:
Quite an exciting game, although the French seemed to get the upper hand quite early on in the game and the Austrians could never quite get the initiative back. My French armies have often had the rub of the green go against them over the last couple of years, so I don't have any problem with them getting the odd lucky dice throw in this one!
I have never read a really detailed account of Elchingen but the broad outlines of this re-fight don't seem overly dissimilar to the events on the actual day. The greater quality of the French Army in this scenario does give it an advantage, as does the ruleset - not from any consideration of 'National characteristics' or somesuch, but rather that the rules are calibrated as such to make light infantry more effective and resilient in ways which may not be apparent from the relatively small size of the modifiers (it is apparent in how modifiers interact with event (i.e. rout/shaken) thresholds.
This was the second Ruse de Guerre game in which I have used a slightly modified scenario solitaire tempo points system. In Ruse de Guerre, tempo is a two-stage affair: first, the number of points are generated, secondly the points are used for bidding and the remainder used for activity. I have basically put a command skill modifier in to the first stage - but I will cover the details, for those interested, in a separate post. It did work in incorporating different generals' skill levels into the game although I still don't think I have finished the tinkering process for this.
The game did throw up one rules query: when determining if sufficient contact has been made for an attack to count, the rules say that it has to be half a BW of contact, or what would have been half a BW if a wheel was completed by the attacking unit in direction of the defending unit. But I was unsure if this was meant to be indicative, or representative of an actual wheel? Because if the latter, then the presence of a second close enemy unit would prevent it, but if the former, not. I went with the former, but my heart wasn't really in that call...it does remind me why Phil Barker went into quite a lot of detail with his alignment rules in DBx!
Anyway, a typical RdG game in many ways - lots of fun, easy on the brain, fairly historically convincing but with the quite effective-seeming shooting very prominent and lacking the really period-specific infantry attack/defend mechanism of the Polemos Napoleonic set.
/pic4967644.jpg)