One contender for the most-played war-game scenario of all time must be the sample scenario contained in the first edition of Warhammer 40,000: Rogue Trader. It features a group of Orks trying to defeat a smaller group of Space Marines and pick up some valuable loot along the way. The rule-book contained some counters which one could photocopy to get a game set up immediately on buying the game and this was indeed the way I first played it.
On a whim last year, I bought some of the Vanguard 6mm miniatures Science Fiction range models and very nice they are too. At this size they can be painted to be 'close enough' to the original scenario cast, so since that scenario isn't very figures-heavy, I painted up a few to give it a go and remind myself of how the original Warhammer 40,000 plays.
The Forces:
Crimson Fist Legion Space Marines:
1 x Captain Pedro Cantor (minor hero), equipped with two Bolt pistols, a power glove and a refractor field.
3 x Squads of 1 Marine Sergeant and 4 Marines, all armed with Bolt guns. One of the squads has a missile launcher with plasma bombs. Each squad has detached a marine to act as a sentry.
All the marines wear power armour.
The Orks:
Thrugg (Ork minor hero), armed with a Bolt pistol and a Plasma pistol and a Chain sword.
4 x Squads of 5 Orks, each including a squad leader. One of the squad leaders, Hruk, is a Champion. All are armed with Bolt guns and Hruk has a Bolt pistol too.
All the orks wear flak vests.
The Set-Up:
 |
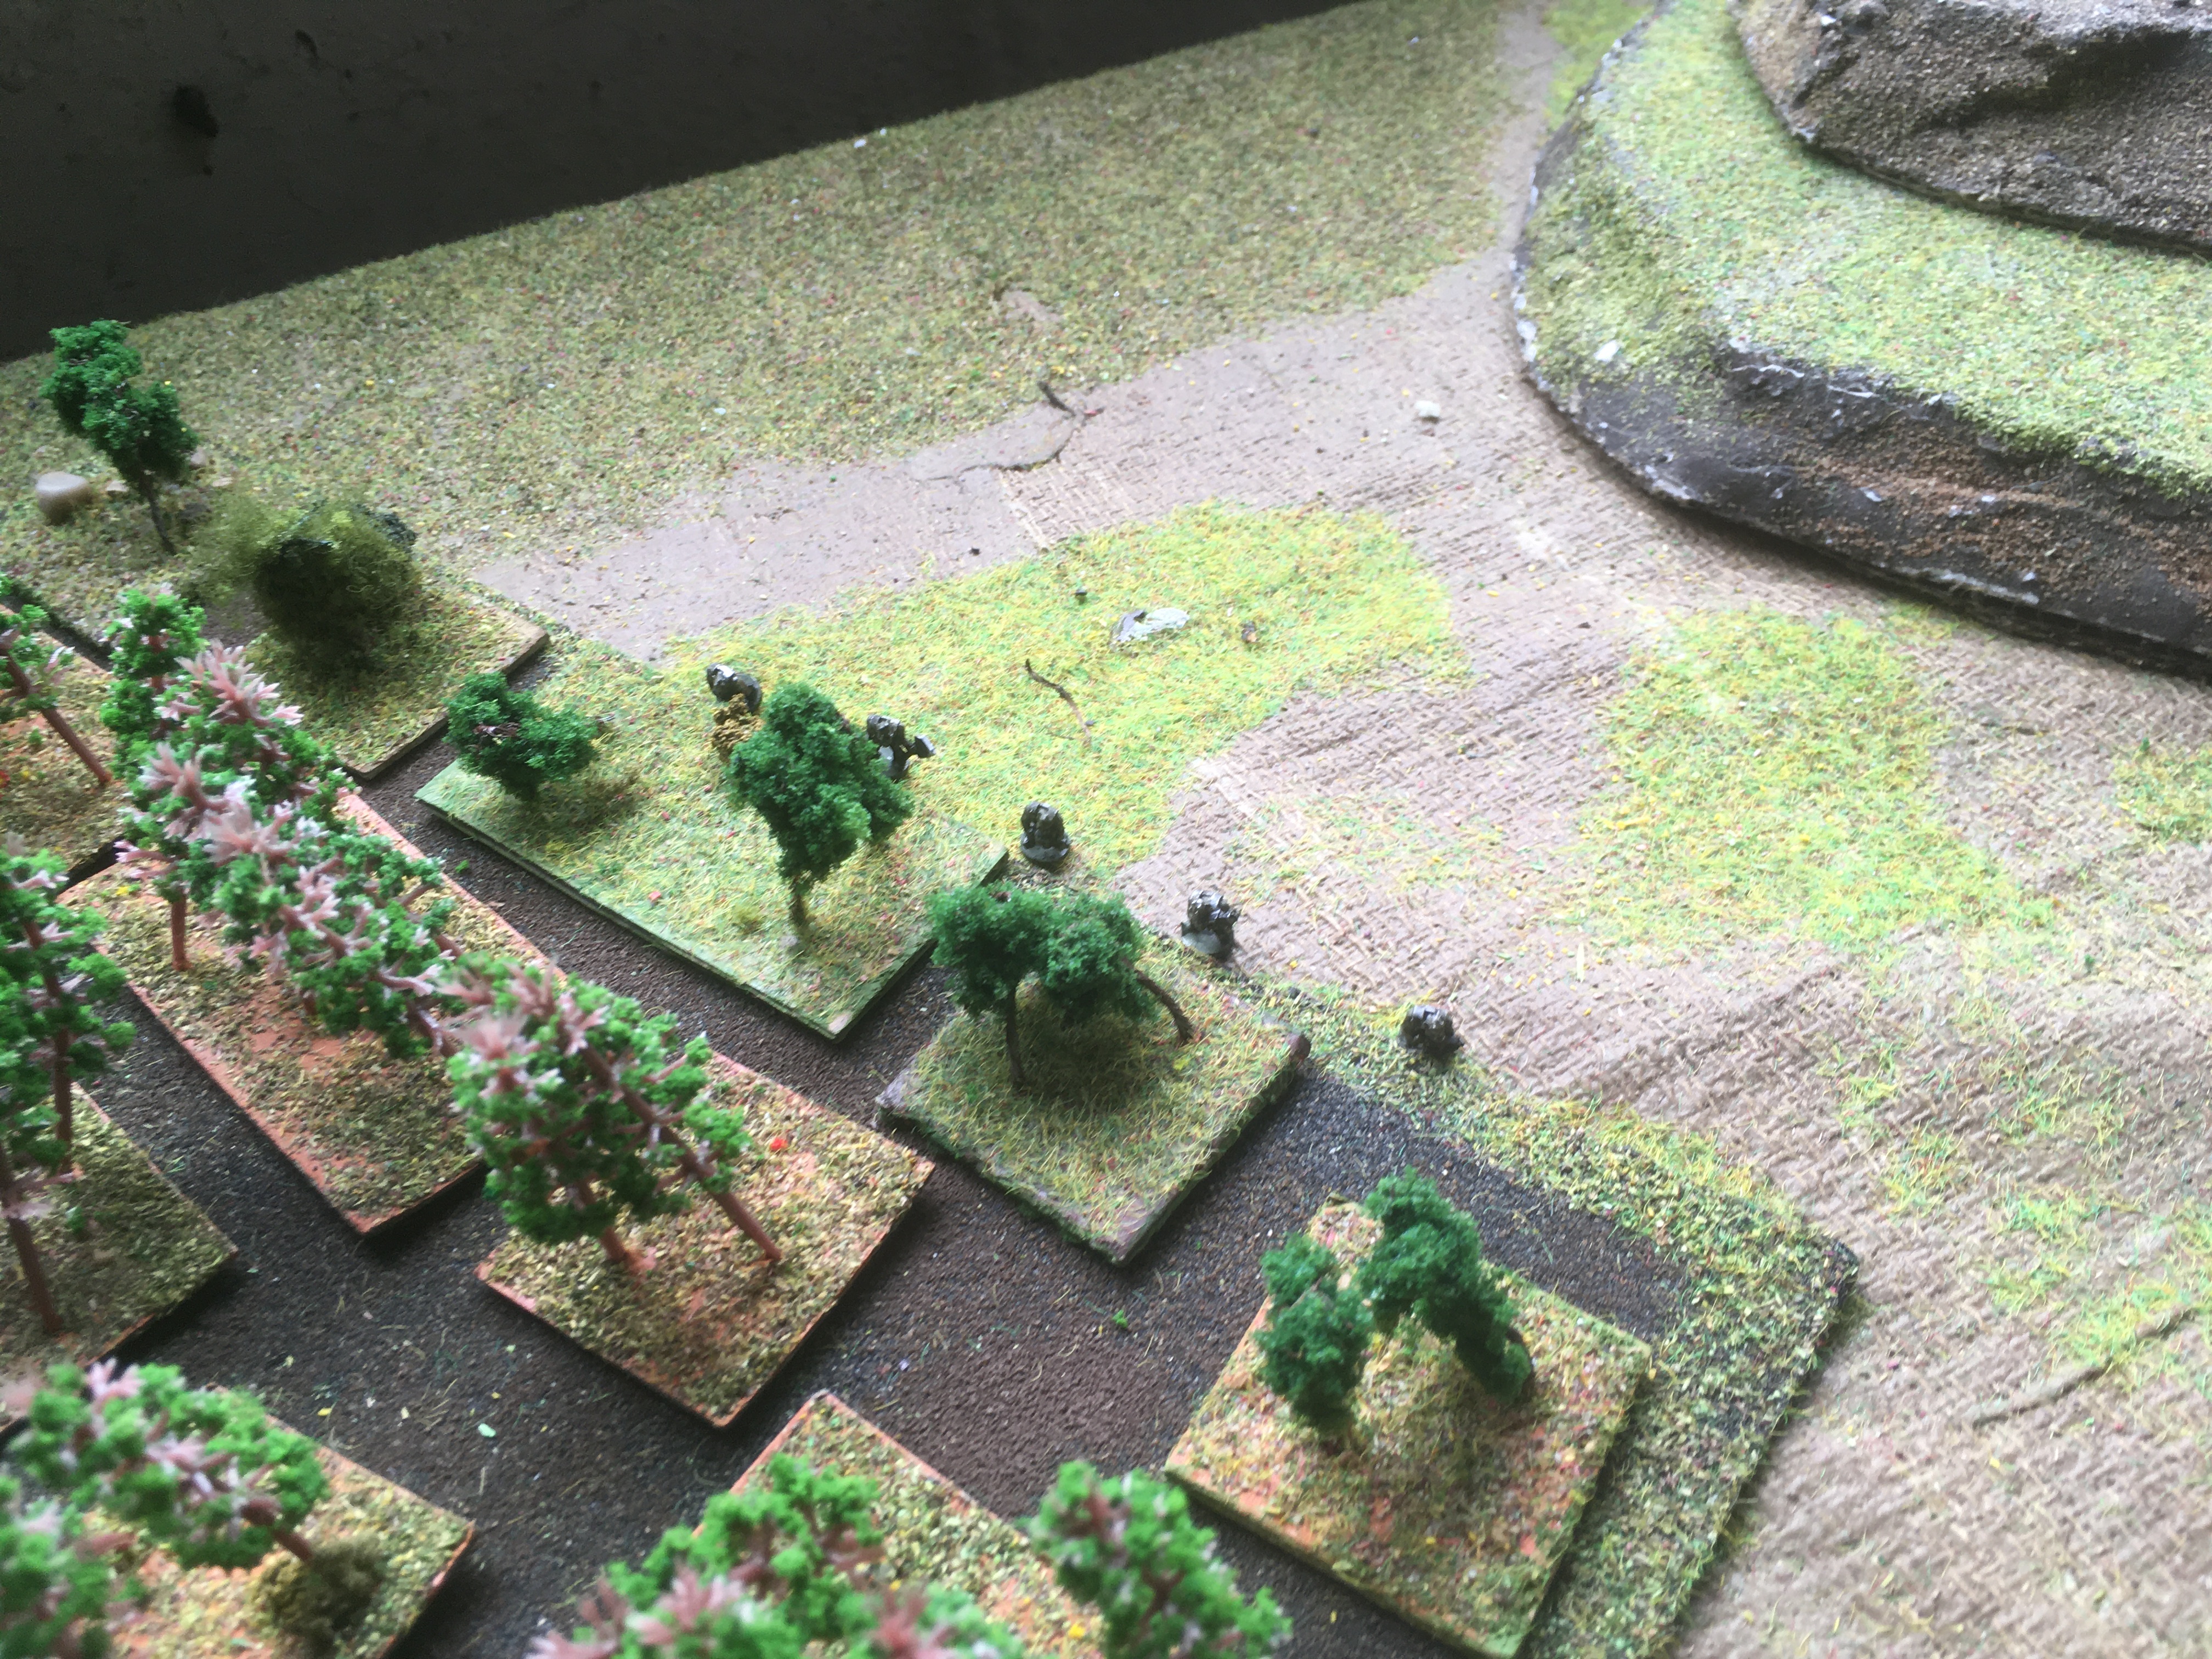
The Orks have occupied the reverse slope of a lightly wooded hill and taken over a ruined watchtower.
|
 |
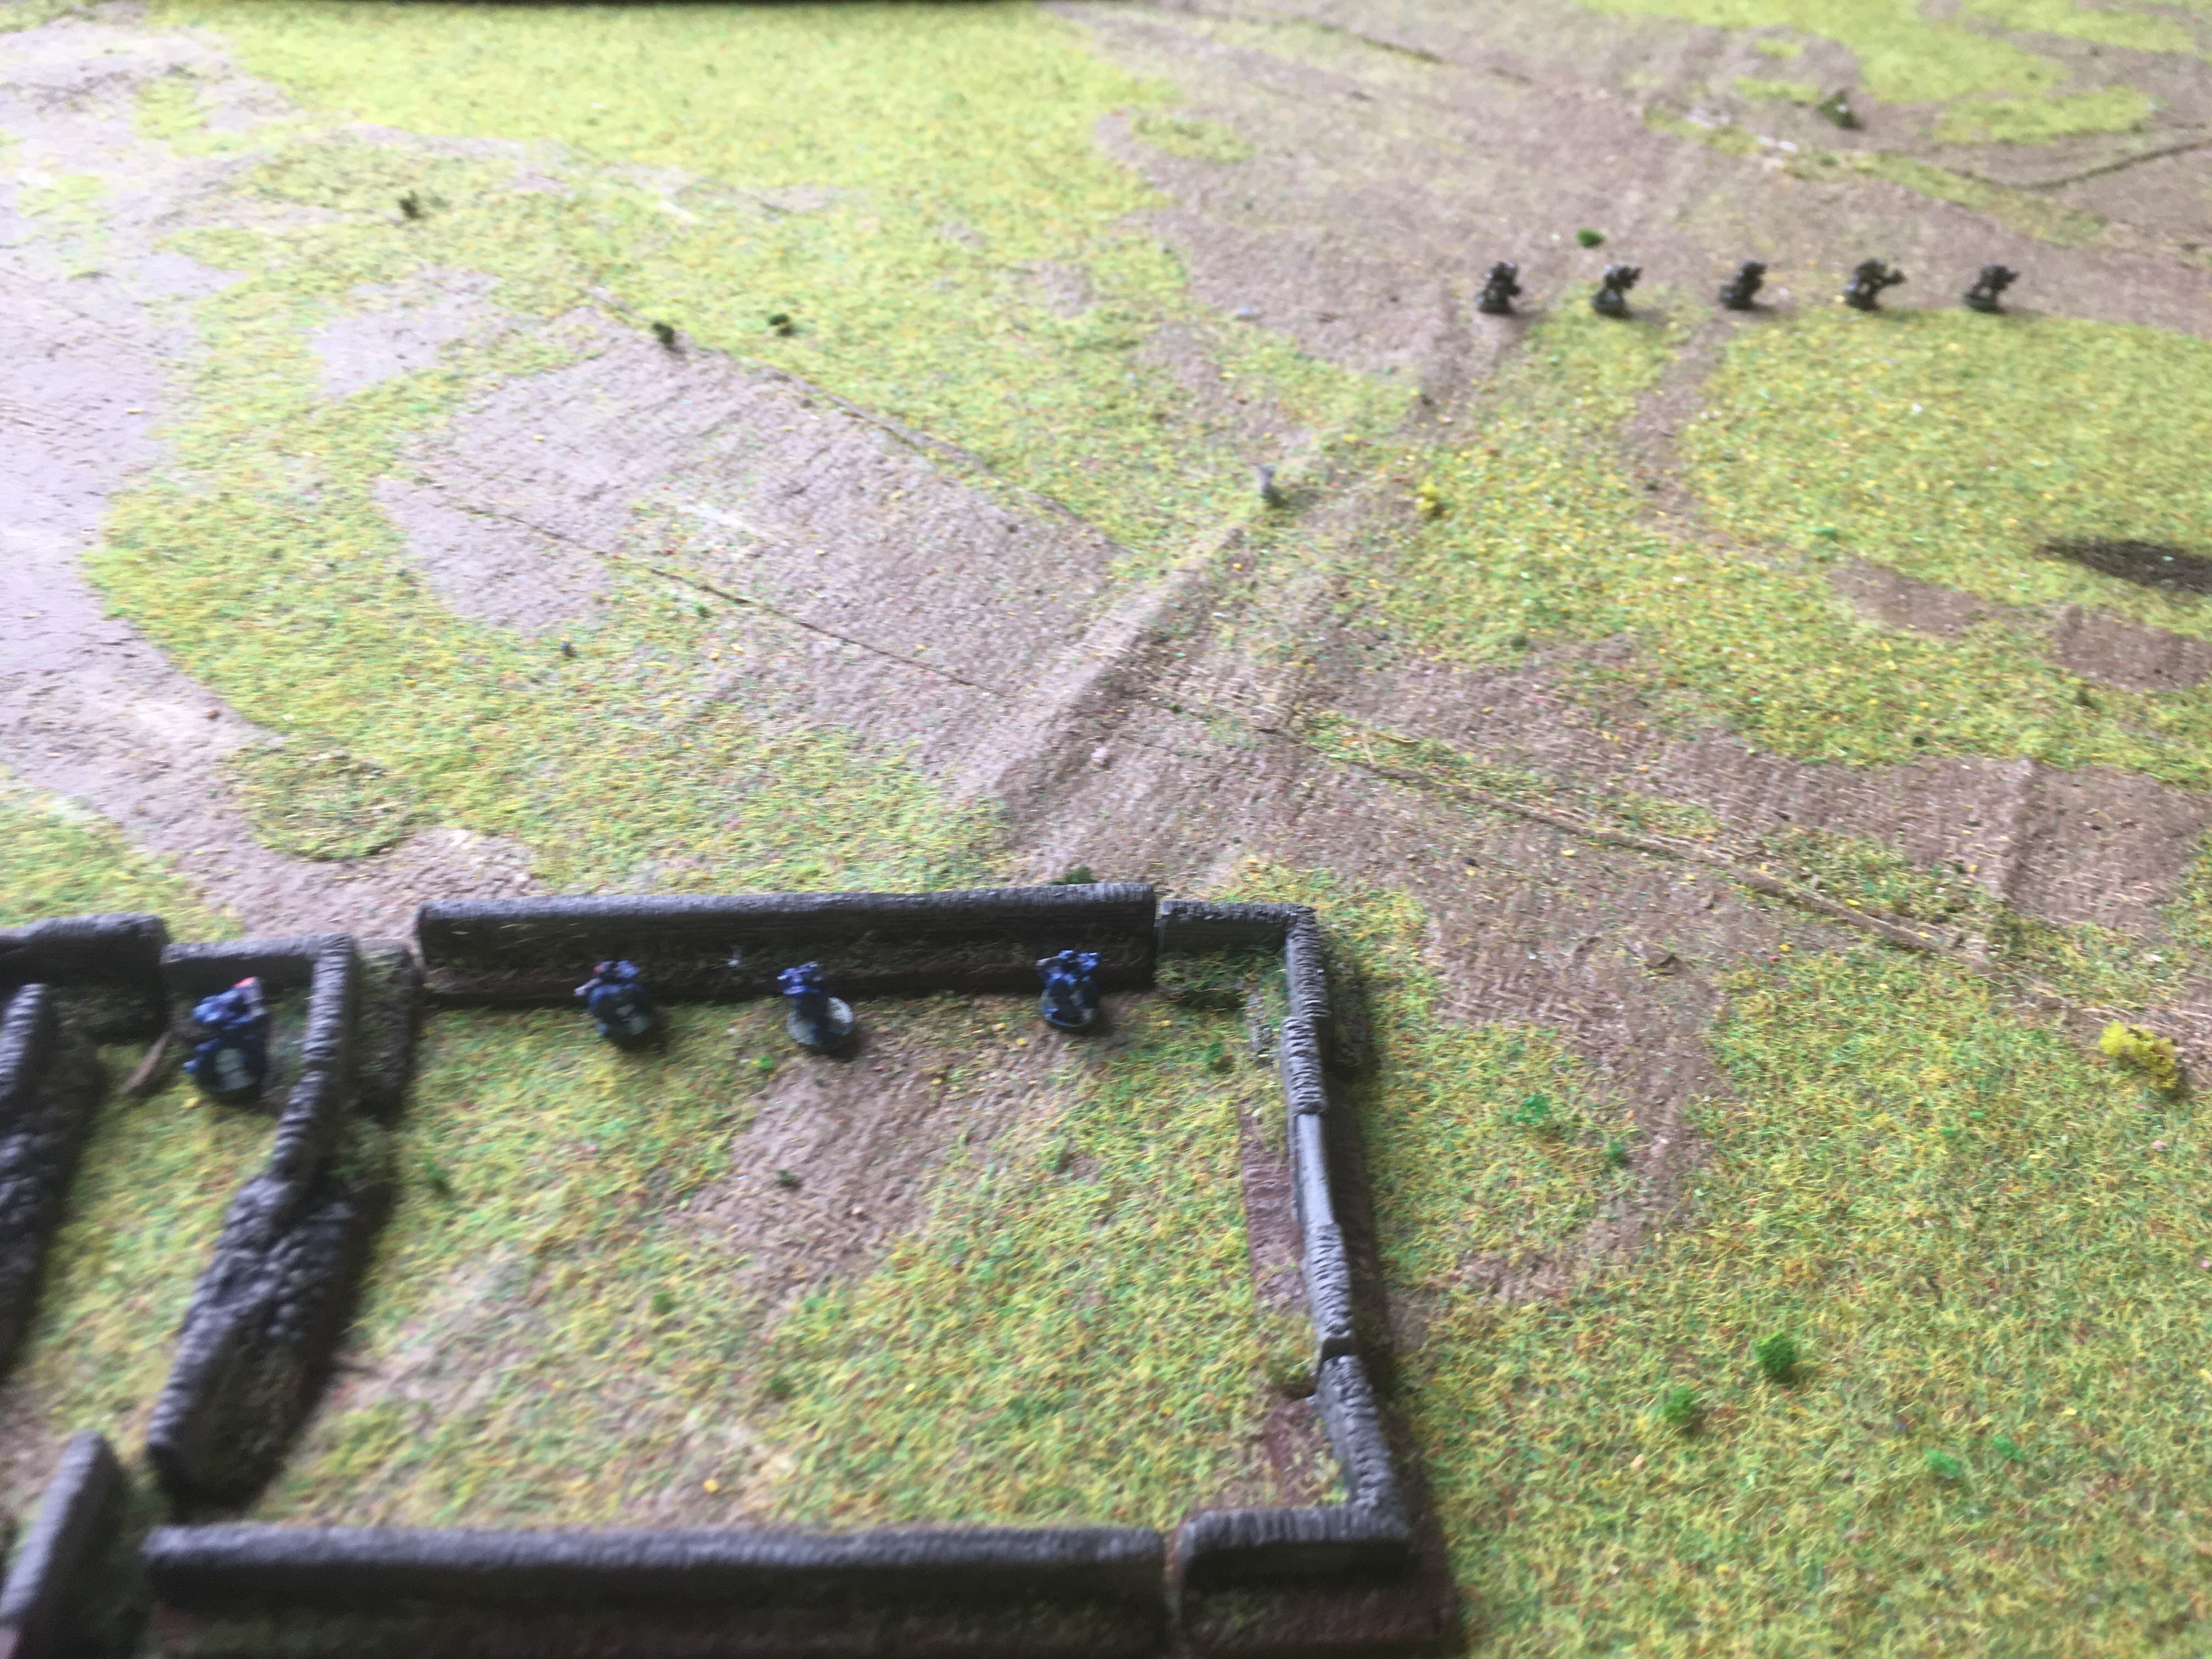
The whole battlefield the Marines occupy the farm, with a couple of sentries around the walls and one at the edge of the woods. The Orks are on the hill.
|
 |
Another view of the Orks. Thugg is at the base of the tower, observing.
|
 |
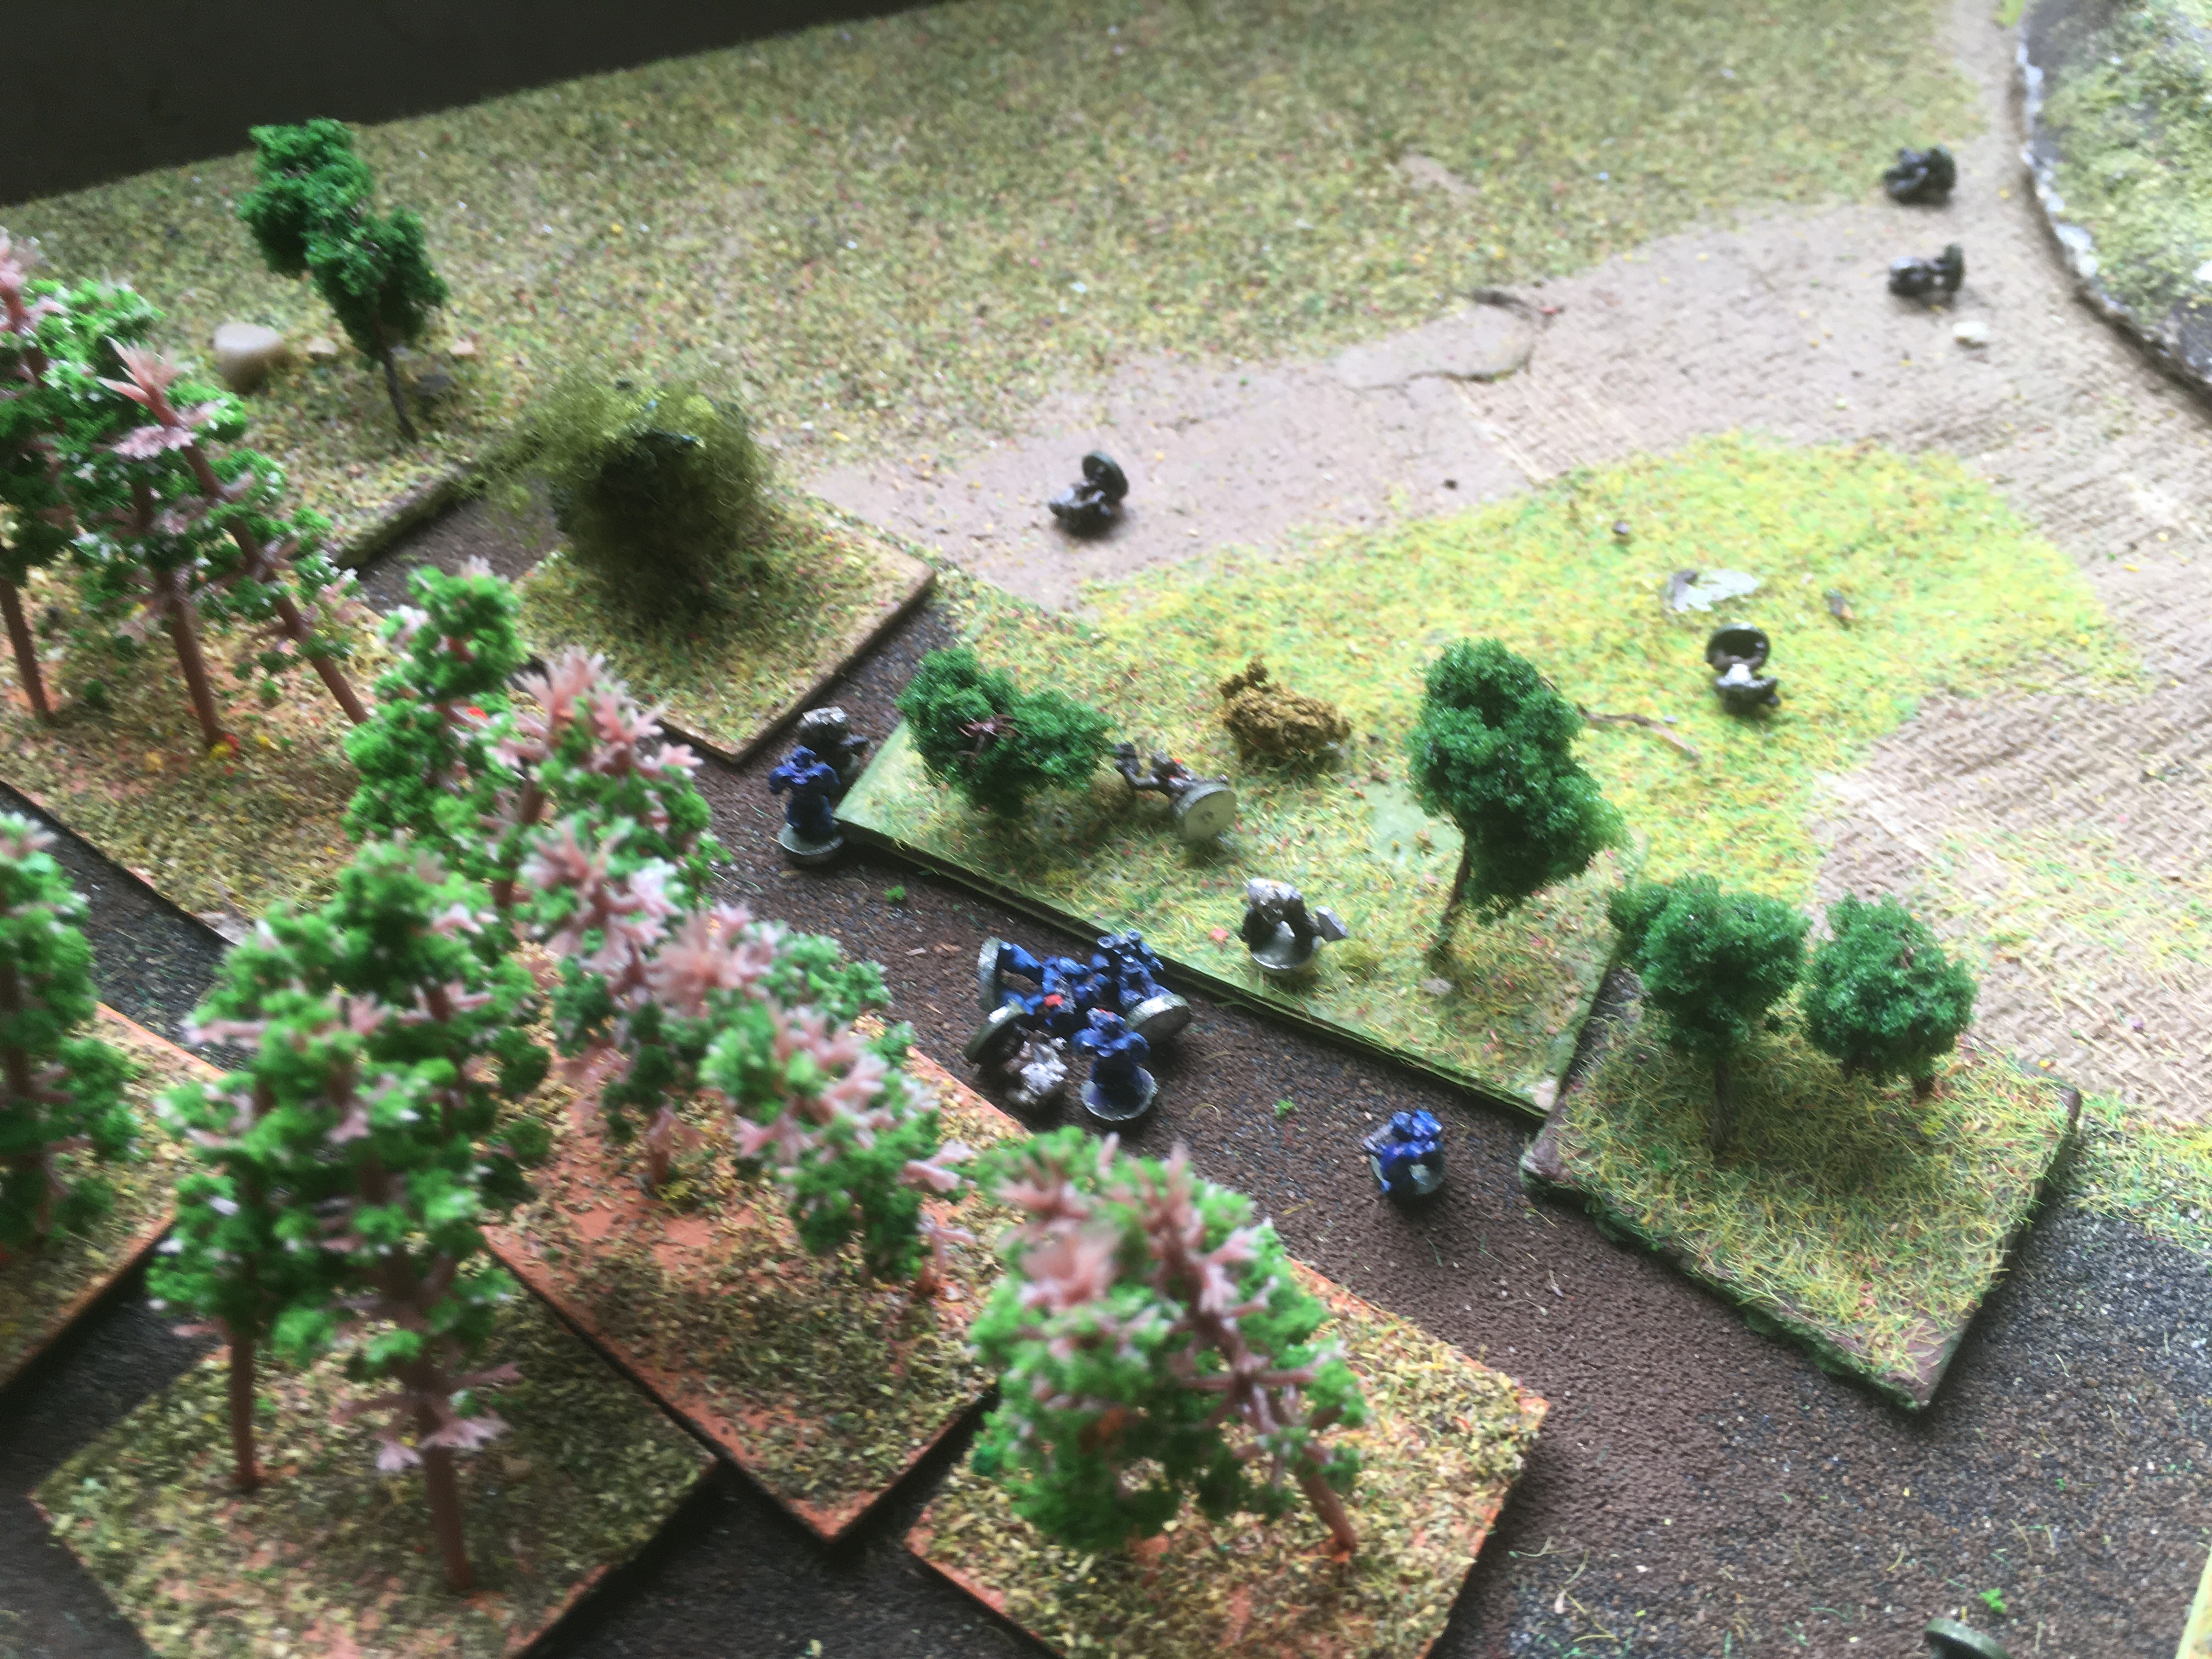
A closer look around the farmstead: one sentry is in the enclosure (centre), one is in the doorway of the outbuilding and the last is at the near edge of the woods.
|
The Battle:
I started the game with a strategy roll for the Orks, given that the Marines were all hidden. In essence I gave even chances of right-flanking (through the woods), left-flanking (to enfilade the farmstead) or a mixture of both (to split the defence). I also rolled randomly for commitment between 2 and 3 squads forward, and the remainder back. Thugg's plan ended up being to send one squad around each flank, with two left on the hill to exploit (n.b. there was a lot wrong with this but it is a long time since I have played this game, and I have never done it with 6mm before, so please bear with me!)
 |
An Ork squad breaks left to begin its flanking move
|
 |
Another squad breaks right, hugging the base of the hill: Thugg, Hruk and the others observe
|
 |
The right-hand squad deploys
|
 |
The left-hand squad is still moving in single file, it has a little further to go
|
 |
Alerted by the sentry in the enclosure, his squad moves stealthily by the wall to support, remaining out of sight,
|
 |
Whilst another squad moves in the dead ground behind the woods and the farmhouse to reinforce the woods
|
 |
The overall view at this point
|
 |
The Ork squad reaches the edge of the woods
|
 |
Whilst the other Ork flanking squad moves in line towards the edge of the farmstead; the marines are in position, however.
|
 |
The Orks gingerly move into the woods: and very properly since the Marines are about to give them a very warm welcome...
|
 |
FIRE!! Four bolters and a missile launcher let rip...
|
 |
And in seconds, four Orks are down, dead or incapacitated...
|
 |
The marines on the left also let rip with their bolters...
|
 |
Two more orks go down and the remaining three Orks in this squad run!
|
 |
Thrugg (top) rushes with reinforcements to try and rally the routing orks (left)
|
 |
Meanwhile, the very brave Ork who was the sole surviving fighter from the other squad, advances by himself, hitting one of the Marines with his bolter, but the Marine's power armour keeps him safe...
|
 |
Thrugg failed to rally the routing Orks, but he is about to charge through the woods with the reserves
|
 |
But the Marines have moved forward and fired, and two more orks become casualties...Thrugg's iron will keeps them in the fight though!
|
 |
However, a good long-range shot from the missile launcher causes a couple of casualties in the follow-up Ork squad, and they run!
|
 |
The survivors run for the hills!
|
 |
Thrugg is not a hero for naught however, he charges into the Marines, eliminating one with his plasma pistol at point-blank range...
|
 |
Captain Cantor rushes into the woods with the final squad of Marines, to restore the situation if Thrugg should break through!
|
 |
Another Marine goes down, felled by Thrugg's chain sword!!
|
 |
However, as another of Thrugg's companions goes down, overwhelmed by superior numbers...
|
 |
Thrugg decides finally that the treasure will have to wait for another day and bugs out!
|
 |
The position at the end of the battle - a large number of dead, dying and wounded orks litters the field...
|
Game Notes:
The Orks lost 11 and the Marines only 2, so a fairly decisive win for the Crimson Fists. It was not the most intricate game I have ever played, but good fun nonetheless! It was amazing how quickly the rules game back to me although it must be nearly a decade since I have even read them. I think that is because although they are not particularly elegant in design, they are pretty intuitive. That in turn helps to speed up play in most situations. The number of dice rolls involved do make the iterative probabilities a bit hard to calculate, which is why they are very much a set that can be learned for optimal play, rather than relying on improved tactics per se (if you follow me).
All that said, this scenario played very differently from the times I have played it before. I used a scale of 1" in the rules = 1cm for 6mm, which gave quite a nice visual I thought (lots of 40k games look a bit too close in for a shooty game, IMHO) but the ranges of the weapons are quite short. This meant that the hill was too far away for the Orks to give meaningful support or cover fire from, which tends not to be the case on most tables using 28mm figures. Given that, it was obvious in retrospect that Thrugg should commit three squads and send them right flanking as the clearly optimal choice. The remaining squad is really just there to stop the marines using too much hidden movement. and also acting as the reserve. The marines had a decent amount of luck too and that was too much for the Orks. Thrugg was pretty nasty in close combat though!
I don't seem to remember anyone using the 'Hiding' rules too much when I played this as a bairn but they do seem fair enough. It really rewards having covered approaches, which I am a big fan of!
The Vanguard figures were nice and definitively close enough to produce the right effect, without being mere GW copies. I was happy to do it this once, but I wouldn't normally use individual 6mm figures though - it really is a bit of a clart.
Anyway, a nice bit of nostalgia for me, but done in a new, cheap and cheerful way.

:strip_icc()/pic389669.jpg)


:strip_icc()/pic55747.jpg)