Heretical Gaming is my blog about my gaming life, featuring small skirmishes and big battles from many historical periods (and some in the mythic past or the far future too). The focus is on battle reports using a wide variety of rules, with the occasional rules review, book review and odd musing about the gaming and history. Most of the battles use 6mm-sized figures and vehicles, but occasionally 15mm and 28mm figures appear too.

Tuesday 22 November 2022

The Gembloux Gap Campaign Battle 02 - Palm-Off At Perbais II

As the French platoon of 110 Infantry Regiment had managed to hold on to Perbais in the first battle, the Germans of 3 Rifle Regiment had to launch a second attack to break through the French defences, which were becoming progressively more stretched.  Neither side received any replacements but the French also received less support from higher HQ...
 
 
This is the first scenario from the book, which covers a section of the fighting on 15th May between 3 Panzer Division and 1st Motorized Infantry Division.  The rules used are again "The Farquhar Variant", an adaptation of the WRG 1950-75 (second edition?) rules for WW2 by John D Salt.


The Forces:

The French
1 x Rifle command group
2 x Rifle + LMG groups
2 x Rifle groups
1 x Renault R35
1 x Panhard

The Germans
1 x SMG command group
5 x Rifle groups
3 x GPMG teams
1 x Light mortar (50mm) teams

Additionally, the Germans ended up receiving the following reinforcements during the battle:
1 x SMG command group (the Company commander)
1 x PAK36 and mover
1 x le.IG18
1 x Car
1 x Motorcycle Section (3 x motorcycle-sidecar combinations, dismounting to 2 x Rifle groups, 1 x LMG team)
1 x 50mm light mortar team
1 x FOO team with 4 x 8cm mortars in direct support (3 rounds worth of support)
2 x Stukas

Again, the Germans have to break through the defences, or break the opposing French force; the French must stop them.

The Set-Up:

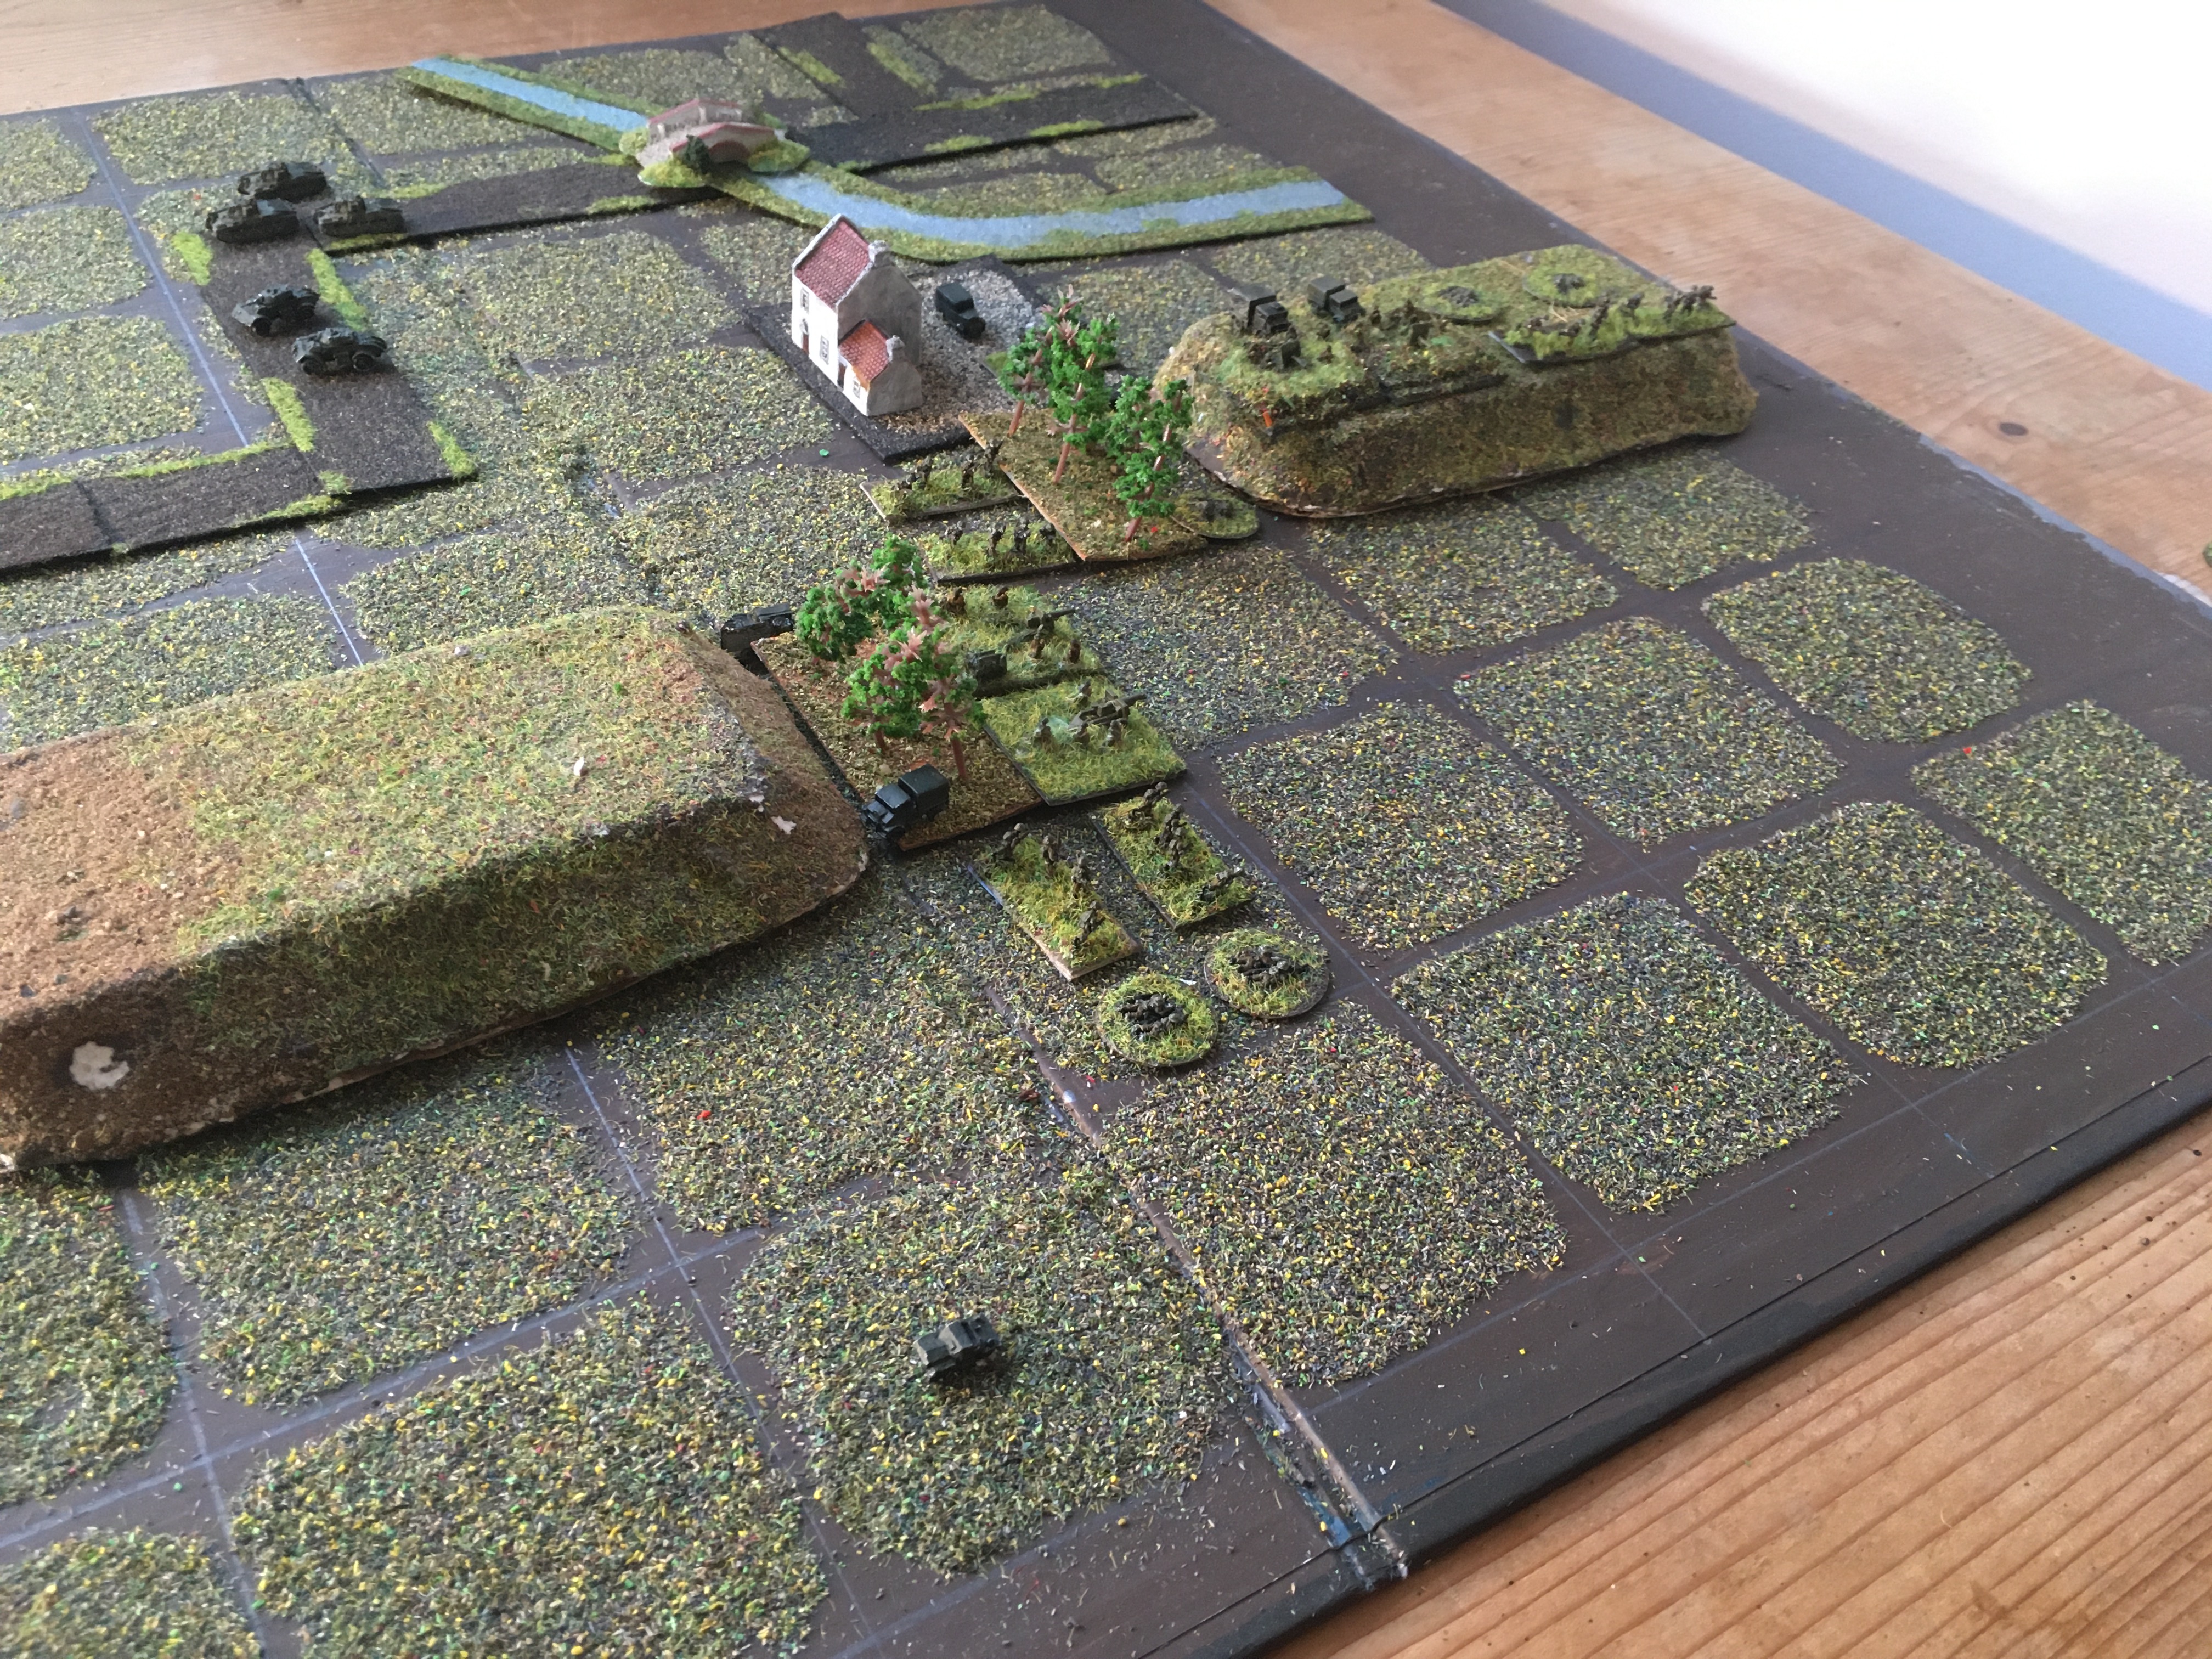
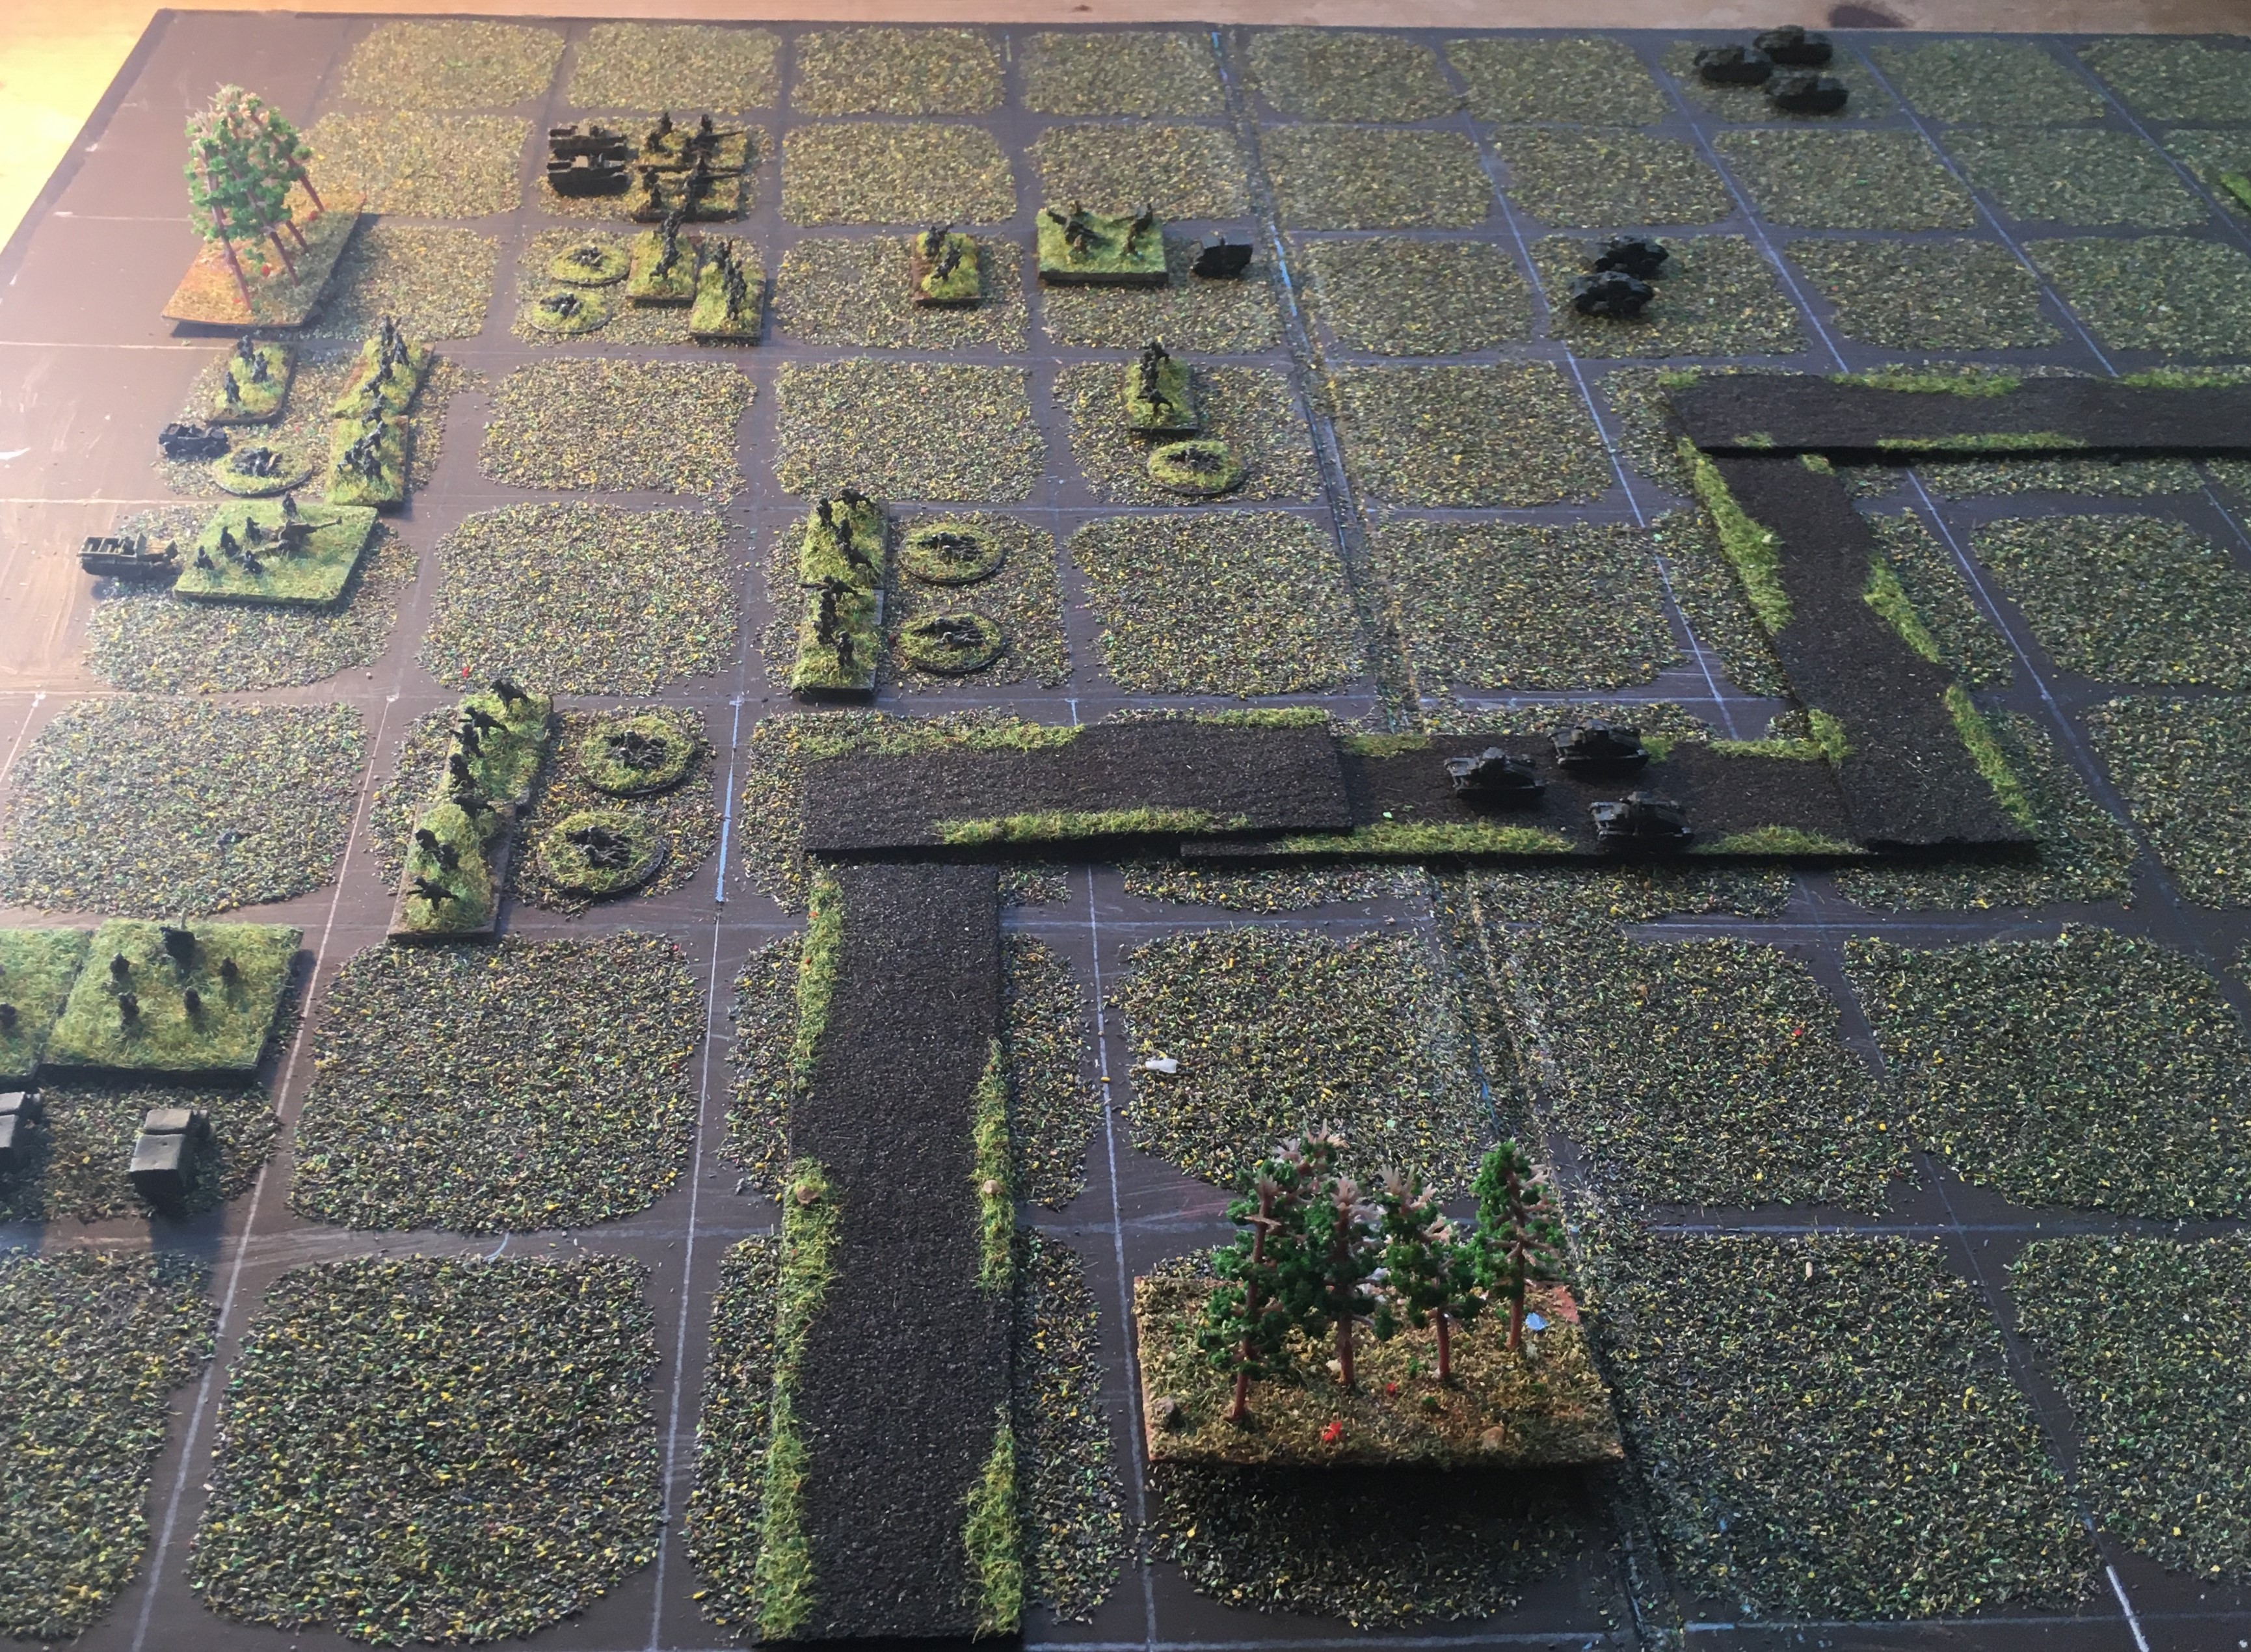
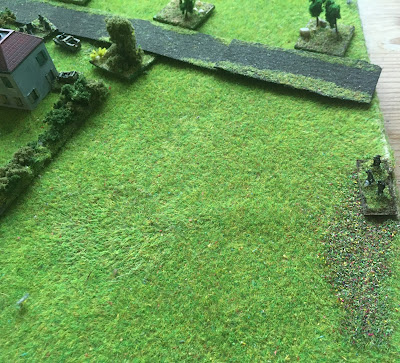
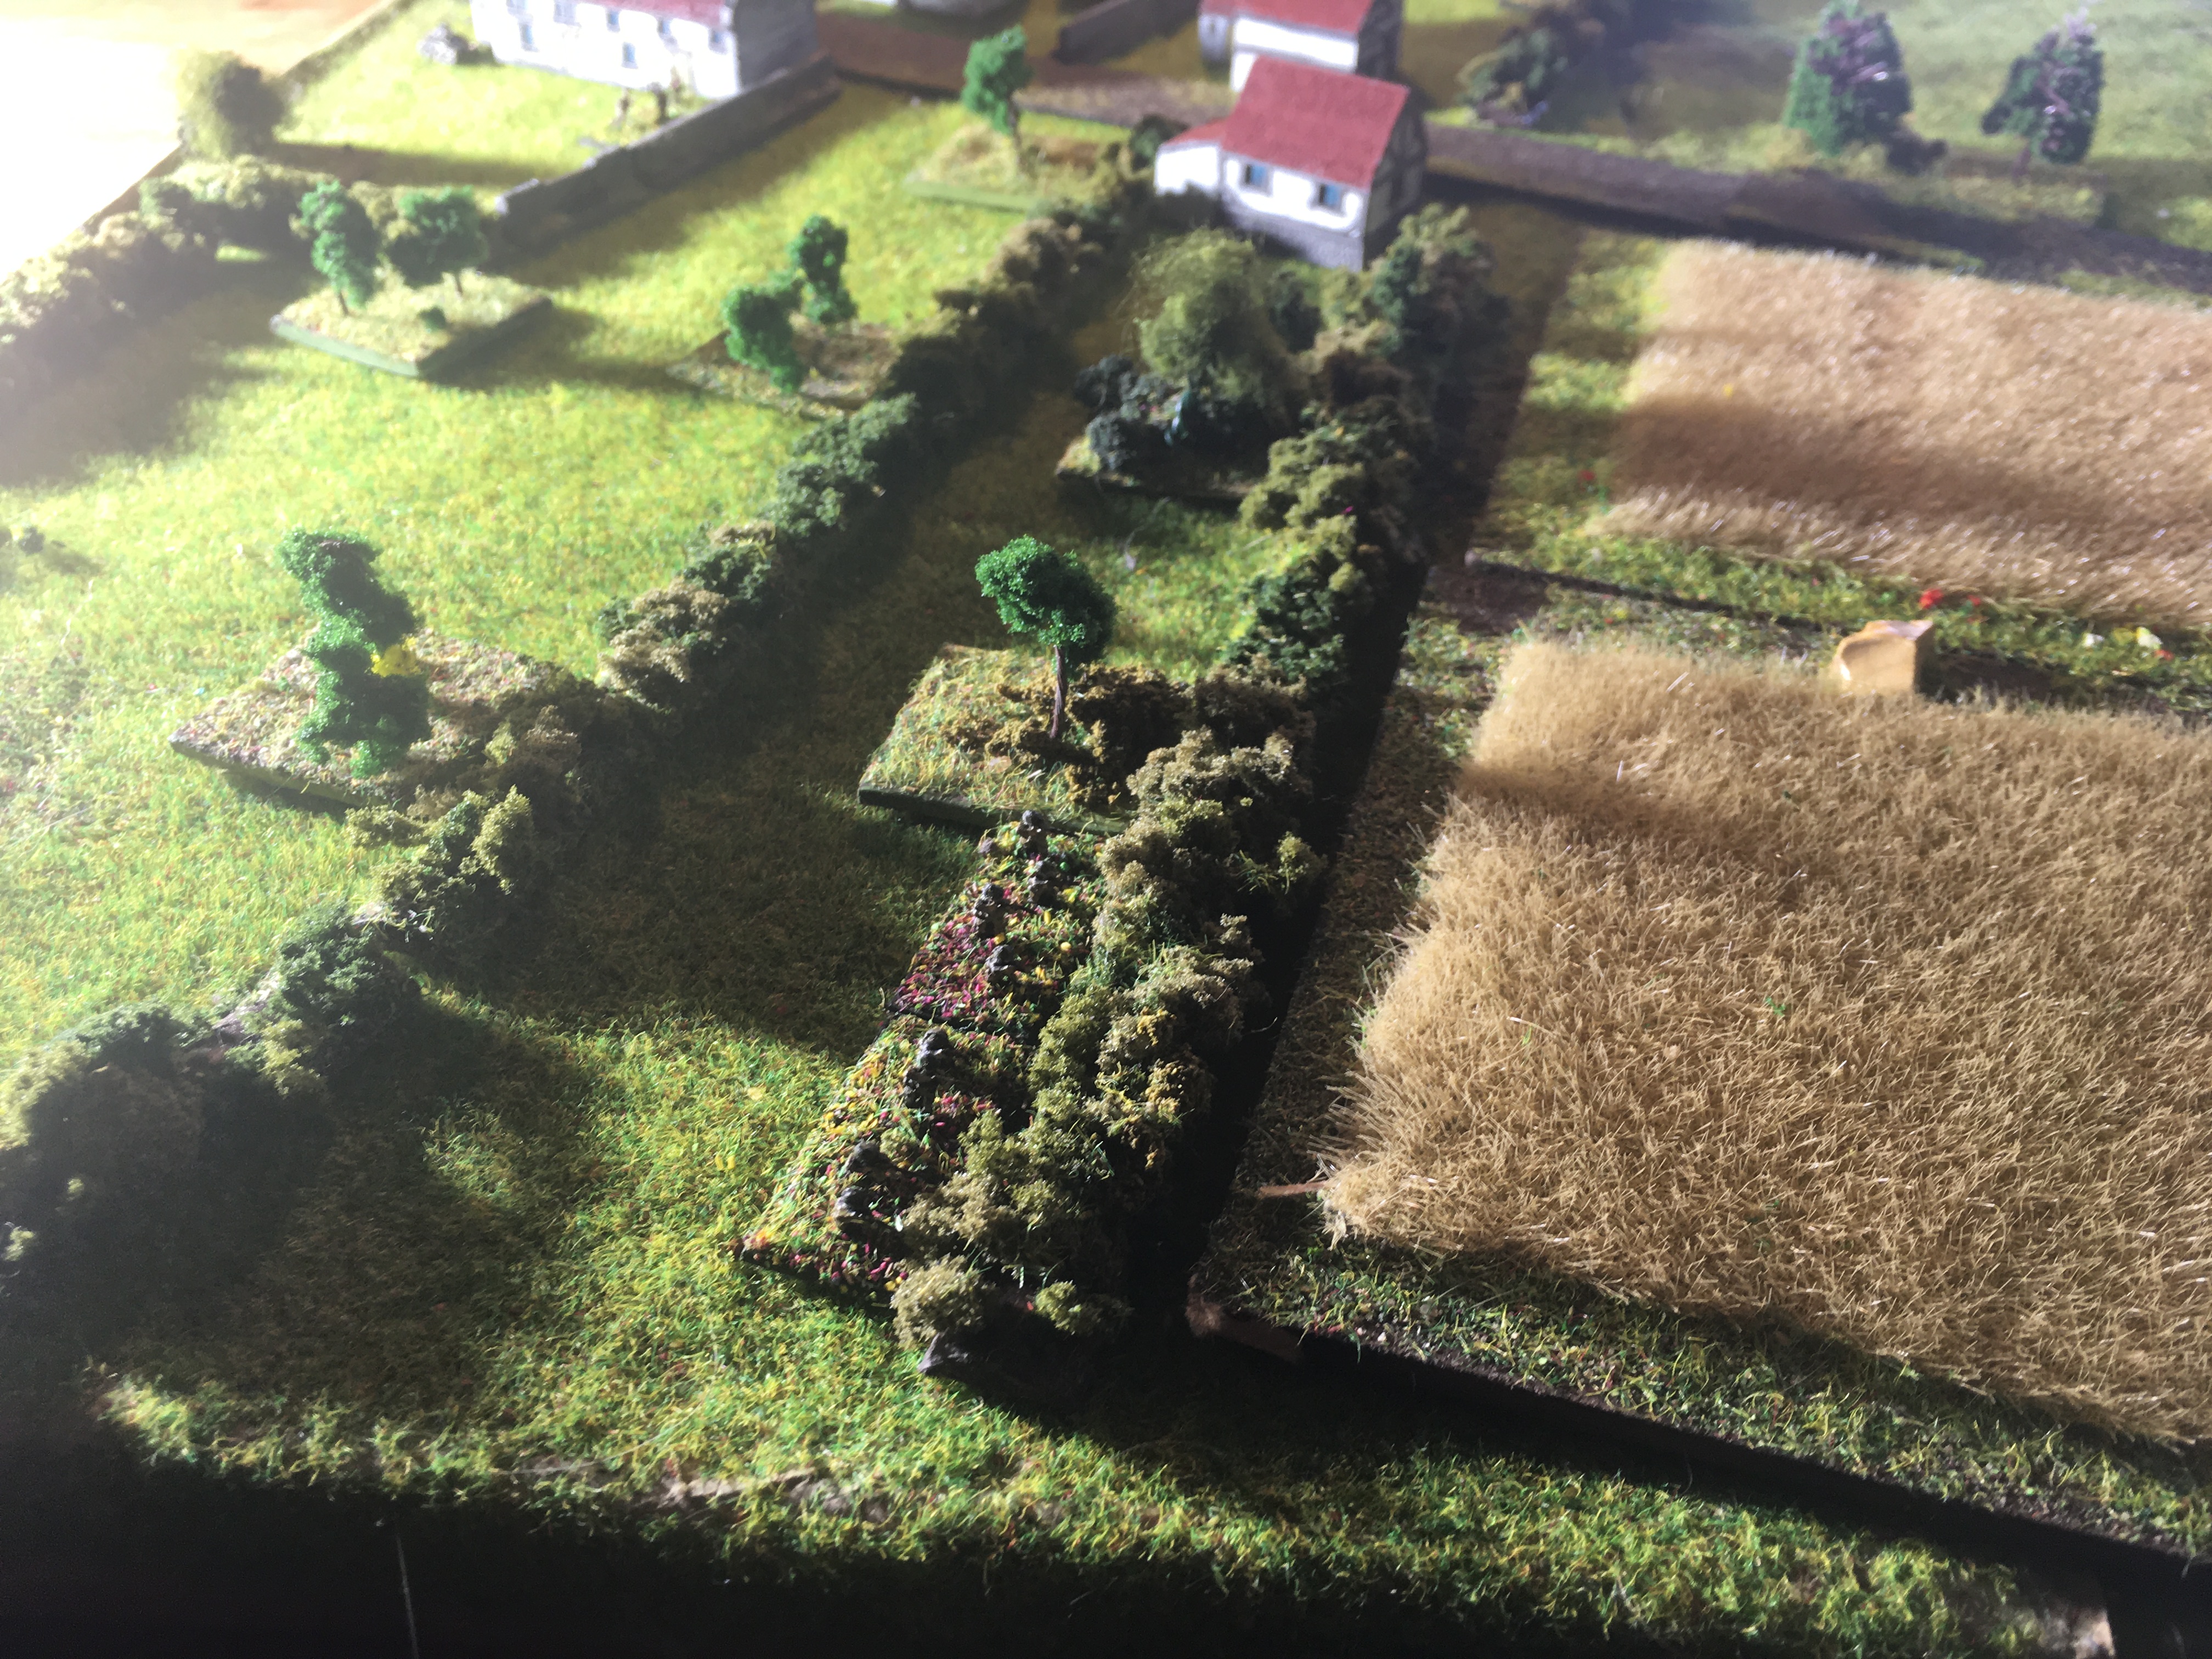
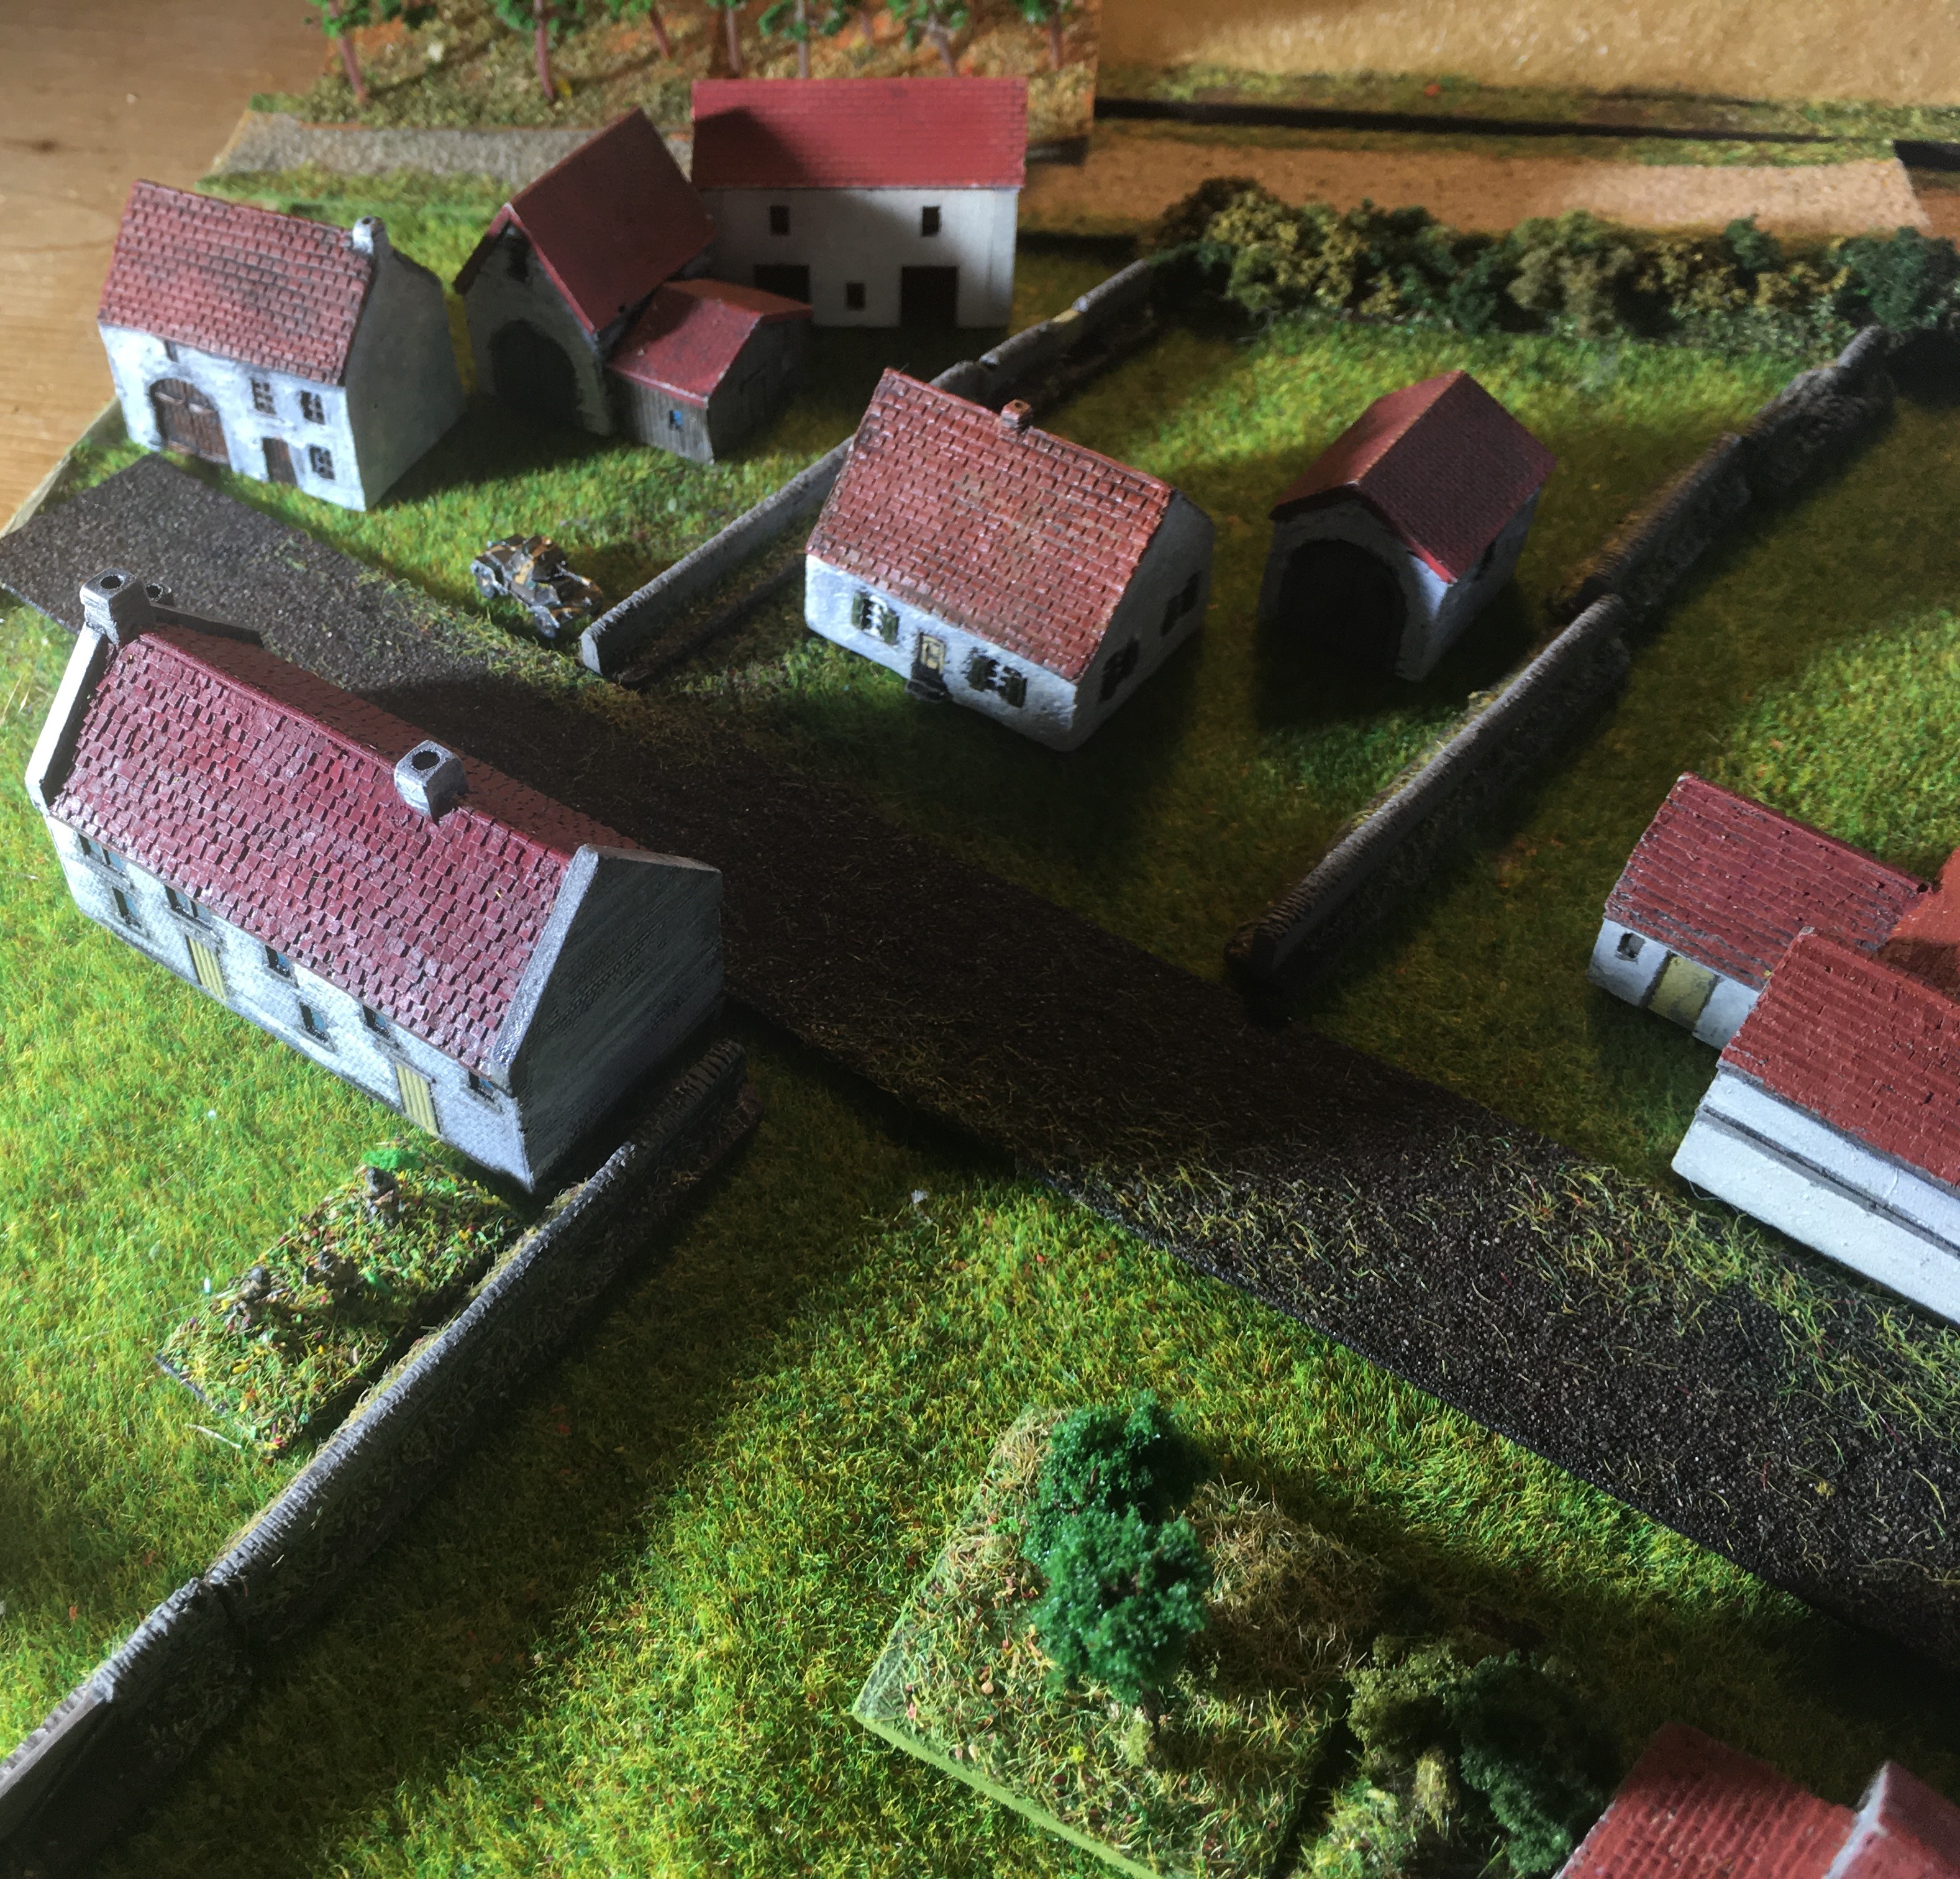
The battlefield - the Germans approach from the right and bottom-right

The French have adopted a more dispersed deployment than in the first battle to try and avoid the effects of German artillery which caused such destruction in the first game

The French platoon commander is just outside the long building, with the R35 in support behind it; the Panhard is across the road

The second French squad is in the hedgeline, covering the open space

The Battle:

The first group of Germans arrives: a 37mm anti-tank gun, the le.IG18 and a couple of vehicles to move everything in; luckily they are out of sight of the French defenders

A German squad and a couple of 50mm mortars turn up

The French spot the Germans who have just arrived but fail to do any damage (right)

The Germans move out of the open behind the house and hedges

The German company commander arrives, along with the dismounted motorcycle squad; it immediately comes under the fire of the French LMG gunner and riflemen over in the hedges

The German air support arrives!

One aircraft cannot see anything but the other spots the French armour and dives...

The bombs hit very close to the French armour...but the French vehicles are basically fine

One of the French FM24 gunners gets his range and cuts down the le.IG18 crew!

The Panhard and the Pak36 exchange shots: the Panhard misses, the Pak36 hits but does no damage

German mortarmen get their range in turn, and half of the French first squad fall over on the left flank (bottom)

The German fire base has been built up quite nicely

The survivors of the French first squad beat a hasty retreat

The French armoured vehicles redeploy out of the arcs of the German anti-tank gun, to cover the French left instead

The German company commander gets a good view of the battle from the upper floors of the building

The German infantry have quickly charged across the wheatfield...

The French riflemen haven't been able to get away quickly enough, and surrender!

The French have been forced bakc from the first hedgeline too and are reorganizing behind the garage

The German Platoon command group turns up

The Renault R35 has moved forward to engage the advancing German infantry trying to get over the hedge

Meanwhile, the German Forward Observer for the mortar battery arrives

and moves up to the building

The French re-organize their defences with their few remaining troops

Two more German sections turn up

Another shot

The Germans call in their mortars

The second salvo hits home: four French soldiers become casualties

At this point, the French commander gives up and the survivors withdraw

The Renault R35 escapes too

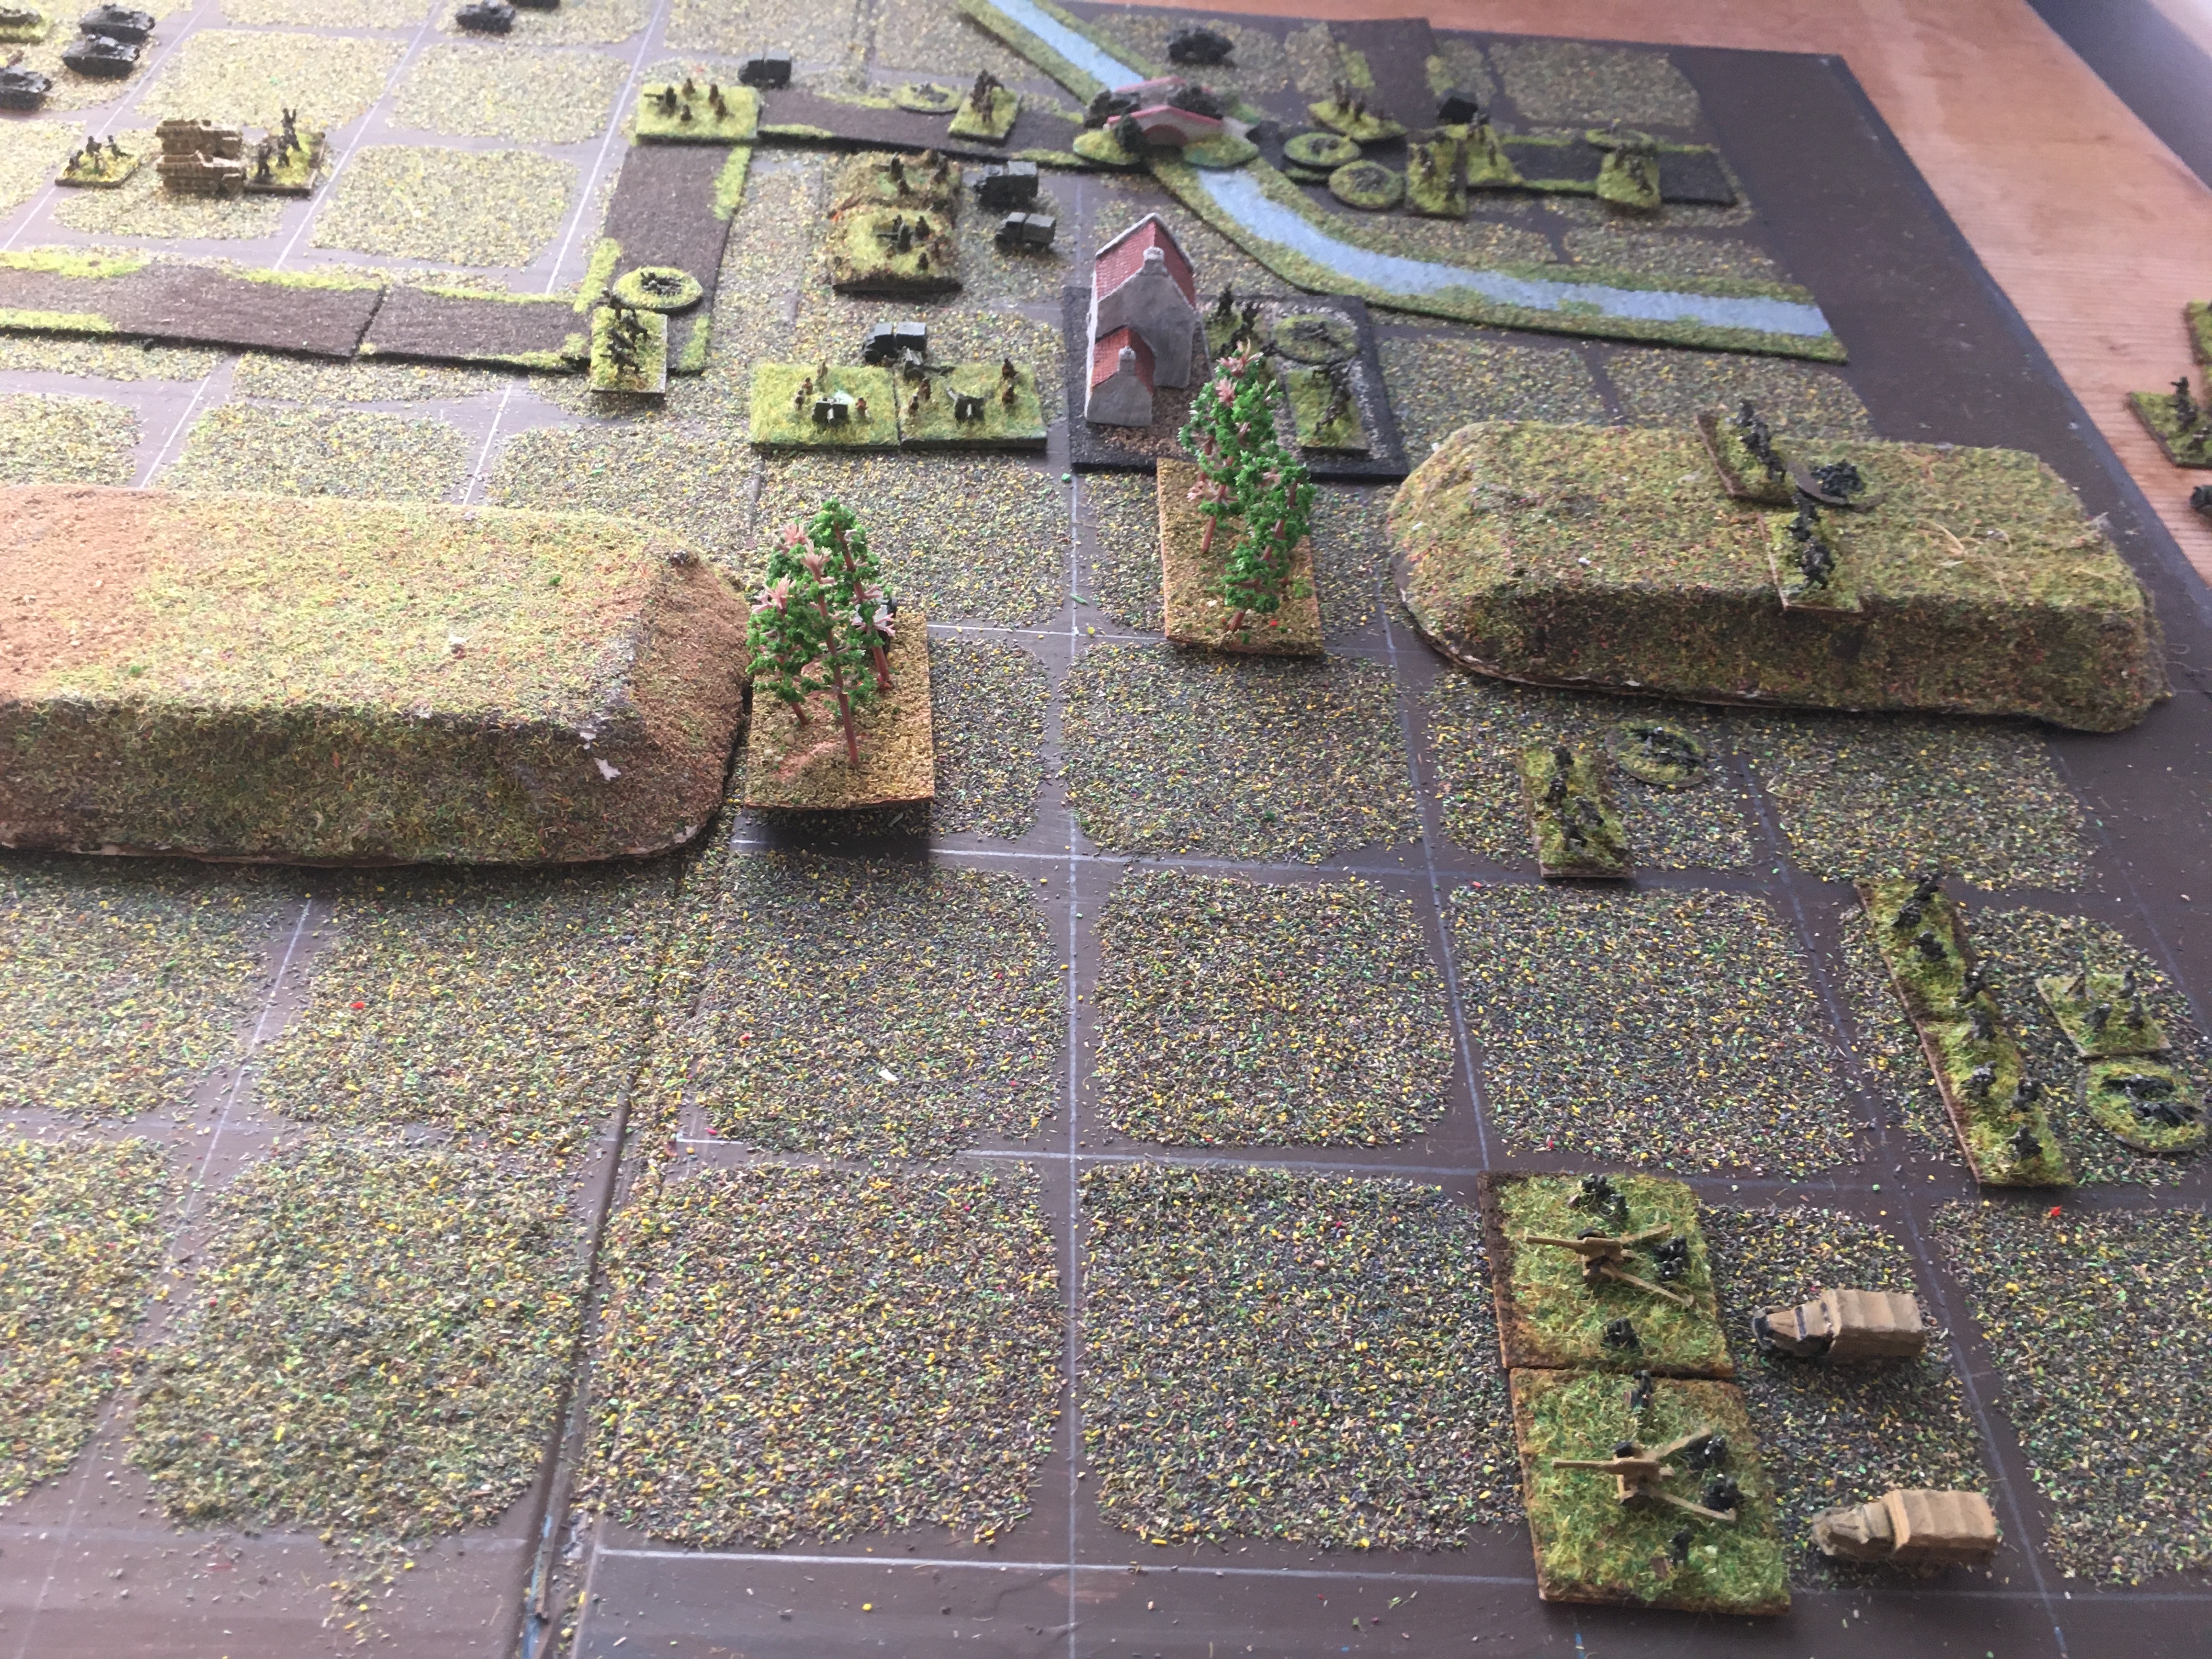
The position at the end of the battle; the Germans had brought up their 37mm to the edge of the village (centre), protected by some infantry...but the French have gone


 Game Notes: 

Good fun, although the French did feel a bit thin - the challenges of campaigns!  The Germans lost 2 KIA, 5 WIA; the French lots 2 KIA, 6 WIA and 4 unwounded prisoners.
 
The artillery mechanisms and air attack mechanisms were tested again and were fine.  This game also featured an (ineffective) exchange of fire between the German anti-tank gun and the Panhard; the 37mm managed a couple of hits but both failed to penetrate at a range of about 150m.  As far as I am reading the numbers this is working as designed, but is very different perhaps to some other sets.  Unlike other sets, surrendering is a thing which can happen too: here, because some of the French infantrymen were not able to retreat fast enough because of the hedges.  This feels quite realistic, I was happy with this.  That comment might apply to the game as a whole: the majority of damage and suppression to the French was done with mortars, infantry guns, air support and artillery...which actually felt like World War Two!

I haven't had a proper look yet at Platoon Forward, which I will do before the next battle, but I did modify the Threat Generation System a little.  Three changes:
1 - I made a bespoke 'location' system to load the odds of where the opposition will turn up to make it scenario specific rather than the more generic directional mechanism in TGS.
2 - If a card was drawn which generates a physical enemy force, then another card is drawn immediately and so on until a blank is drawn and they arrive in a group.
3 - All the enemy forces start on the baseline.
The first two worked well but I don't like the last.  The third, less so - I want that integrated into the observation rules.  I am pretty sure I know how to do it, so changes afoot soon.  I am wondering if I should send these off to one of the magazines, since it is sufficiently different from TGS to do that. Still pondering.

Anyhow, more soon, although I have a couple of Polemos Ruse de Guerre games to do first.  German stuff is by Baccus and GHQ, with the aircraft from PSC; the French infantry is from Adler and the vehicles from H&R.  Buildings are from Leven, walls from Baccus. All on a 60cm x 60cm table representing 300m x 300m.

Saturday 19 November 2022

Portable Wargame Battles 03: The Villers-St.Pierre Road

The last battle in this mini-series of games using Bob Cordery's The Portable Wargame adapted a somewhat larger original scenario.  Again, a fight set in summer 1941 on the Eastern Front has been transposed to 1940 on the Western Front.  In this action, the German Corps is attempting to trap and destroy the remnants of the British line-of-communications troops.
 
 
The structure of this scenario is that the two German infantry divisions attack from opposite side of the battlefield and then slightly later the German Panzer division arrives to assist. 714 Infantry Div will attack from the West, the approach defended by 21 (Westmoreland) Division.  Shortly after, 790 Infantry Div attacks from the East, which is defended by 84 (Cumbrian) Division.  101 Panzer Division will follow 714 Infantry Division.  The remnants of 'Bobforce' are in reserve in the Northeast.
 

The forces: 

Germany
714 Infantry Division:
Command & Staff (Good)
7140 Infantry Regiment (3 SP, Average)
7141 Infantry Regiment (3 SP, Average)
7142 Infantry Regiment (4 SP, Average)
714 Artillery Regiment (2 SP, Average)
714 Anti-Tank Battalion (2 SP, Average)
Breakpoint: 5 SPs 
 
790 Infantry Division:
Command & Staff (Average)
7900 Infantry Regiment (4 SP, Average)
7901 Infantry Regiment (4 SP, Average)
7902 Infantry Regiment (4 SP, Average)
790 Artillery Regiment (2 SP, Average)
790 Anti-Tank Battalion (2 SP, Average)
Breakpoint: 6 SPs 
 
101 Panzer Division
Command and Staff (Good)
101 Panzer Regiment (3 SP, Average)
102 Panzer Regiment (3 SP, Average)
101 Panzer Grenadier Regiment (4 SP, Average)
101 Artillery Regiment (2 SP, Average)
101 Recce Regiment (2 SP, Average)
101 Anti-Tank Battalion (2 SP, Average)
Breakpoint: 6 SPs 
 
British Forces:
21 (Westmoreland) Division:
210 Infantry Brigade (4 SP, Poor)
211 Infantry Brigade (4 SP, Average)
212 Infantry Brigade (4 SP, Poor)
21 Regt RA (2 SP, Average)
212 Regt RHA (AT) (2 SP, Average)
Breakpoint: 6 SPs   

84 (Cumbrian) Division:
Command & Staff (Average)
84 Infantry Brigade (4 SP, Average)
85 Infantry Brigade (4 SP, Average)
132 Infantry Brigade (4 SP, Average)
8 Regt RA (2 SP, Average)
48 Regt RHA (AT) (2 SP, Average)
14th Lancers (1 SP, Average)
Breakpoint: 6 SPs  

'Bobforce':
Command and Staff (Average)
1st Tank Brigade (3 SP, Average)
2nd Tank Brigade (3 SP, Poor)
Reconnaissance Force (2 SP, Average)
 

 The Set-Up:

21 Div to the West (left), 84 Div to the East (right), 'Bobforce' in reserve in the North-East (top-right)

A closer look at 21 Div.

And at 84 Div.  I haven't gone back and checked so I couldn't remember if 84 Div were expecting an attack from the East...so for these purposes, I decided they weren't.

and lastly, the remnants of Bobforce on both sides of the bridge

The Battle:


714 Infantry Div attacks, concentrating on the right flank of 21 Div; the anti-tank guns set-up to deter any counter-attack from Bobforce

The flanking British brigade has lost half its strength very quickly, but the rest of the Division has managed to get into some kind of line

84 Div redeploys to face the actual threat direction

Bobforce moves down the road to put itself into a central position

790 Infantry Div attacks!  Its brilliant attack on the hill quickly forces the British infantry back into the woods and village, but it has suffered some losses amongst its anti-tank guns (bottom)

The remorseless German attack from the West has caused heavy casualties amongst the British infantry and artillery and the whole division is 'just' still in the fight.  Some good shooting is starting to wear down the Germans too in this sector.

Heavy British fire from 84 Div is stopping the advance of 790 Infantry Div off its startline

21 Div has held-on and has now been partly relieved by Bobforce, whose arrival has stopped 714 Div cold, with heavy losses.

84 Div and 790 Inf Div are engaged in a slugging match, in which the Germans are slowly pushing forward, and casualties are slowly mounting

714 Inf Div is overmatched now and is being slowly ground down by the British infantry and tanks

The thin khaki line has stopped the Germans, but its own losses have mounted now

714 Inf Div is down to its last remnants, but 21 Div has now lost its offensive power too

101 Panzer Division arrives and starts to turn the tide, immediately causing losses amongt the British armour

German firepower starts to rapidly ground down the remnants of 21 Div

21 Div's survivors are in full retreat, covered by Bobforce which has also suffered quite heavily

84 Div has given a little ground, but at the expense of some German losses

However, hearing of the arrival of 101 Panzer, it begins a phased withdrawal with its Right retreating behind its Left: the lack of mobile German forces here makes it very hard to prevent this, if the mounting German losses hadn't installed some caution anyway

21 Div retreats along the road

790 Inf Div has essentially been stopped and is unable to pursue: its losses have been just too heavy

A closer look at the British rearguard

It is close, but the British troops have managed to reach the bridge

The German attack has caused further losses, but in the main has been driven back by the rearguards as they cross the bridge

84 Div continues its phased withdrawal

The position at the end of the battle.  The Germans have just triumphed - only 101 Panzer Division is capable of any further offensive action - but the remnants of three British divisions have managed to safely escape towards the Dunkirk pocket...

Game Notes: The original scenario also took place on an 8x8 gridded board which would have been a very crowded battlefield indeed.  This 13x8 battlefield seemed to match the forces a little better and produced a marvellous game.  The rules are such that withdrawals are emminently doable and fun parts of the game and so suit campaigns admirably: the 'bitter end' isn't bitter in this game, it is actually really fun.  I don't think I encountered any additional issues with the game rules per se although I did learn a few things about how best to do 'game management' with larger forces, which should make it go a bit more smoothly for me next time.

I used the basic rules without really adding the optional extras given for more random activation and to be honest, I didn't necessarily feel that I missed much without them, although perhaps that will change after repeeated plays.  I can really see these rules as being perfect for playing through an entire campaign in a day or two, like one could use DBA for.  In any case, I played three games of this today and I could have easily stretched that to six I think, in the right circumstances, or perhaps even more.

Infantry by Baccus, guns and crews are a mixture of Baccus and Heroics & Ros, vehicles a mixture of Heroics & Ros and GHQ, buildings by Leven.