The Clash at Knechtbrucke
In
Henry Hyde's book
The Wargaming Compendium he includes a full set of rules for the Horse and Musket period entitled Shot, Steel and Stone. He also includes an introductory scenario for those rules, based on one of a clash between two armies from his "imagi-nations" setting, the Wars of the Faltenian Succession, in this case between the forces of Prunkland and those of Martinstadt.
I reset this scenario for my own armies. Keeping with the "Germanic" theme of the source material, I used Austrians against Bavarians. A Bavarian advanced guard is attempting to seize a bridge over a large stream, which unbeknownst to them is being held by a small Austrian detachment...as they emerge from the morning mist, the Bavarians catch sight of the Austrian uhlans patrolling the eastern bank...
The Forces:
Bavaria:
Comd: Major-General McPreece
1 Infantry Bn (3 bases, Average)
1 Light Infantry Bn (3 bases, Poor)
1 Dragoon Regt (2 bases, Average)
1 Light Horse Regt (3 bases, Poor)
1 Light Artillery Battery (1 base, Average)
Austria:
Comd: Brigadier Protz
1 Infantry Bn (3 bases, Average)
1 Light Infantry unit (1 base, Average, Rifles)
1 Lancer Regt (2 bases, Average)
1 Hussar Regt (2 bases, Average)
1 Light Artillery Battery (1 base, Average)
3 bases - Average-sized unit; 2 - bases Small unit; 1 base - Tiny unit (company/squadron-sized)
The Set-Up:
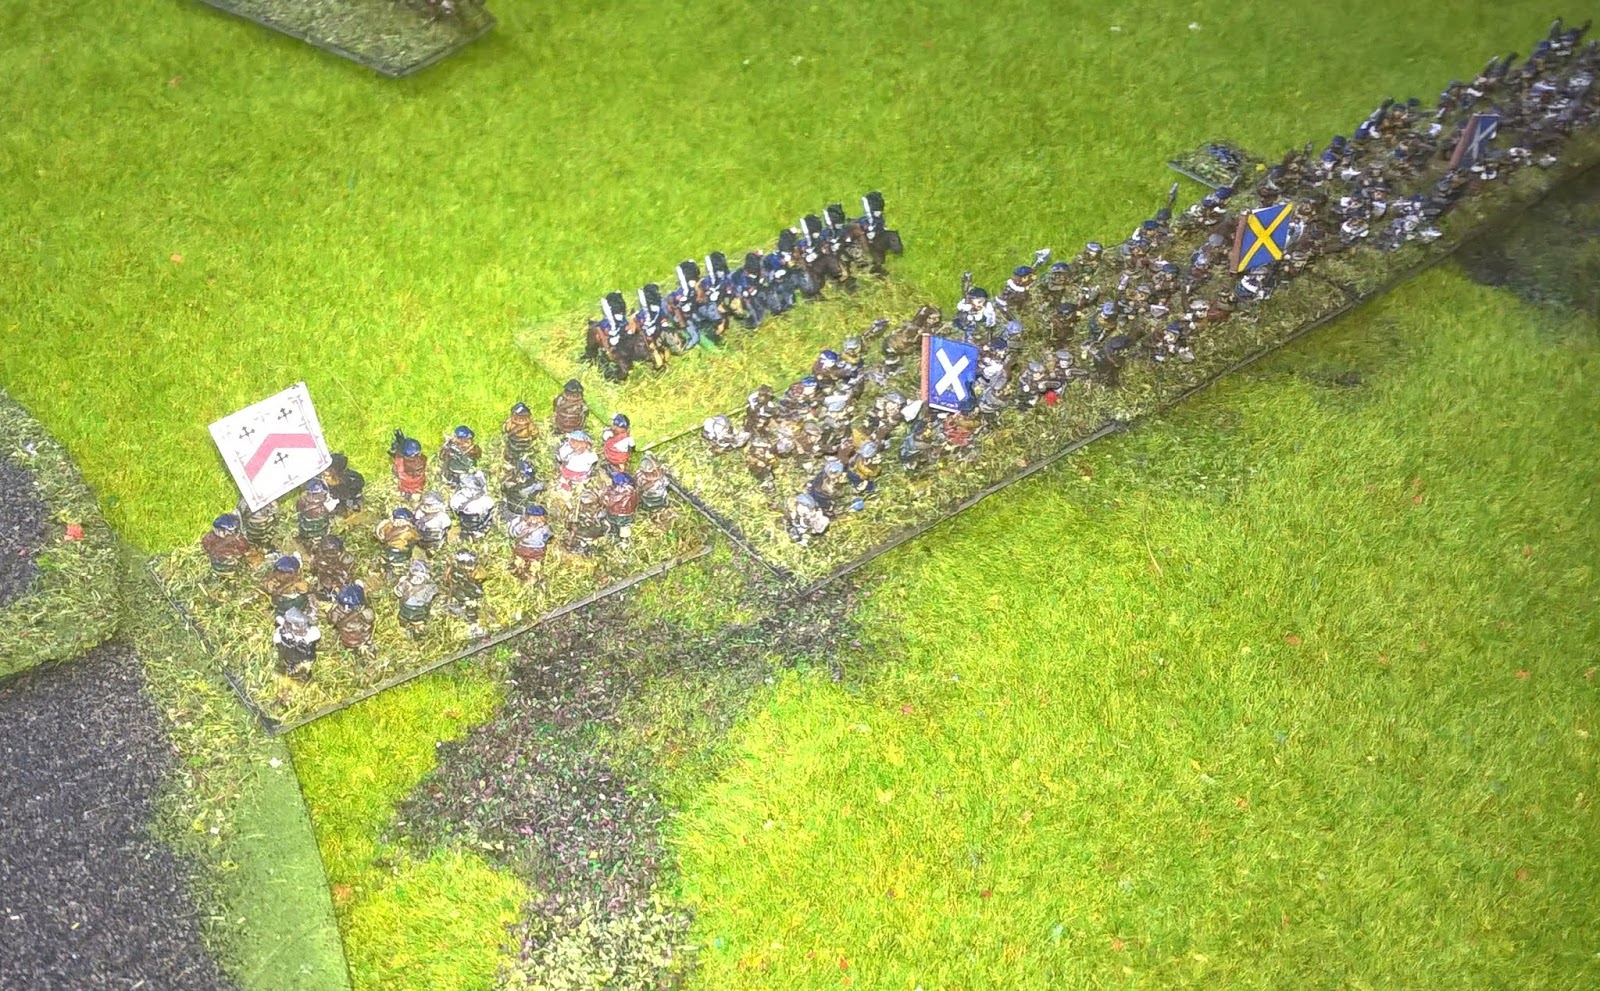
 |
| The Austrian detachment. Its lancers are patrolling the East bank (top), its rifle detachment is guarding the bridge (centre), whilst its infantry, hussars and artillery are just breaking camp (bottom) |
 |
| A closer view of the main Austrian units shaking out |
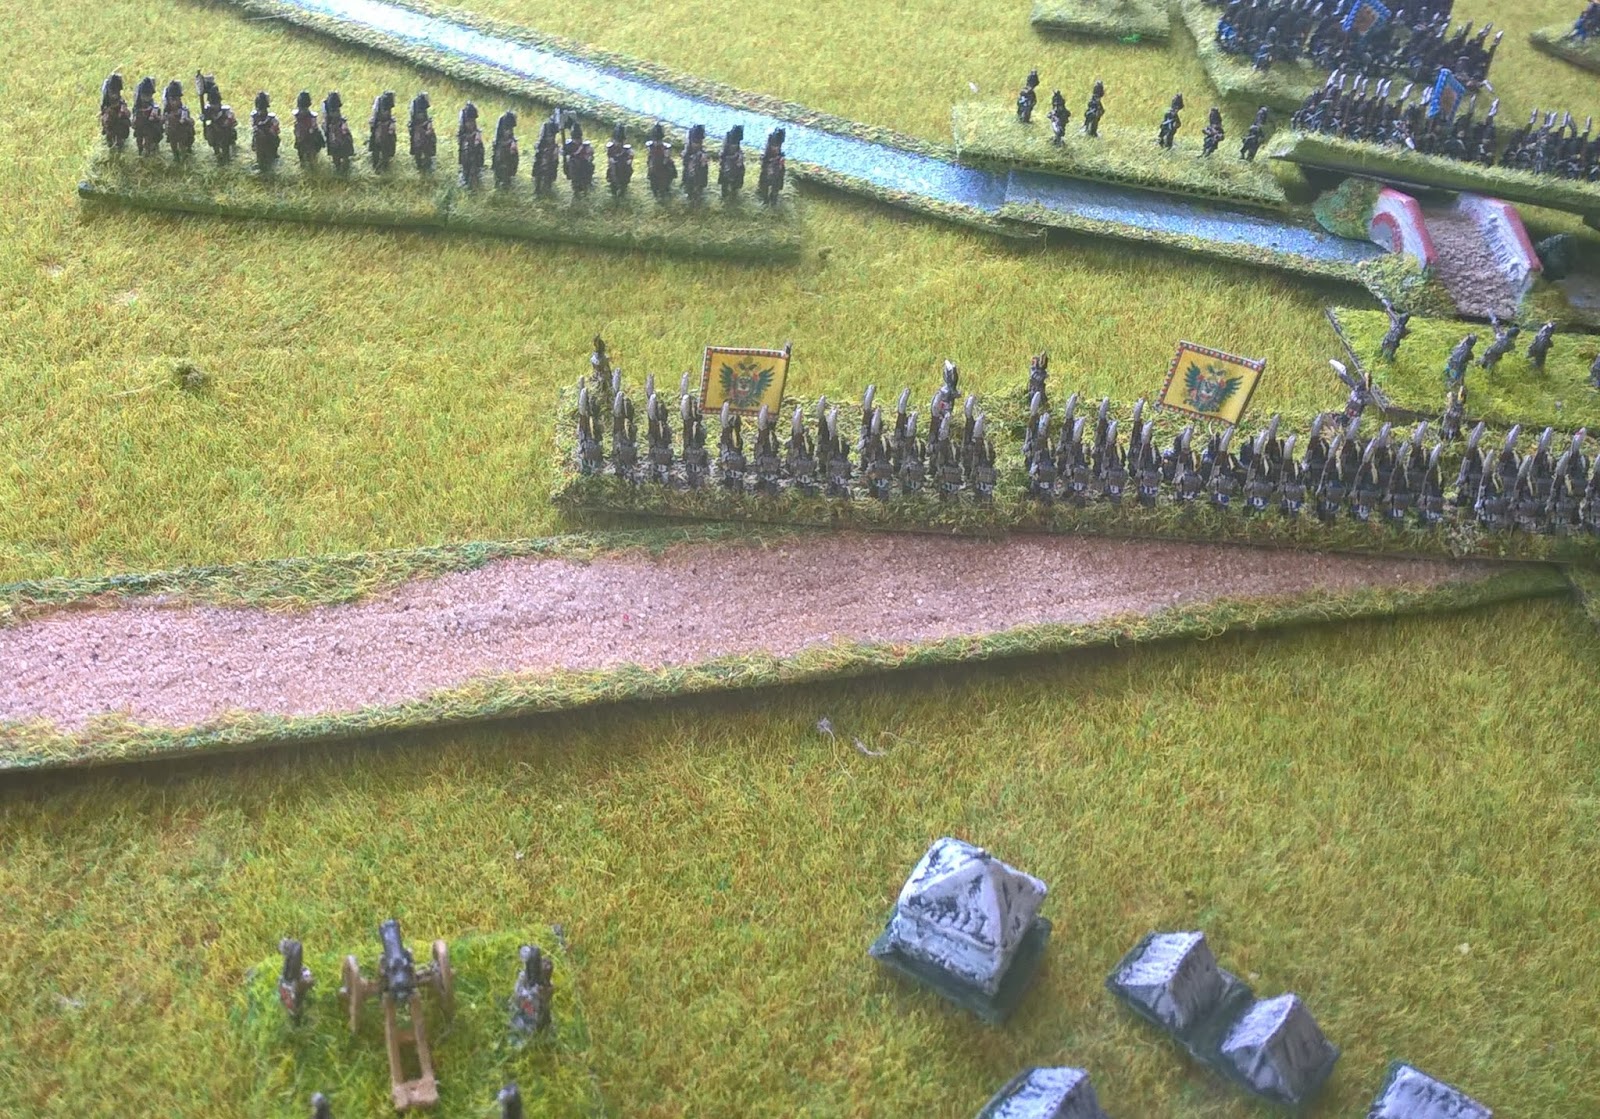
 |
| One squadron of patrolling lancers |
 |
| And the other |
The Battle:
 |
| The battle begins with the Bavarian Light Horse arriving and charging the Austrian Lancers... |
 |
| ...who promptly turn and flee! |
 |
| The Bavarian Dragoons repeat the same with the other squadron of Lancers... |
 |
| The Bavarians advancing (top) |
 |
| Austrian riflemen (bottom) begin to engage the Bavarian Light Horse (right), but without much effect |
 |
| One squadron of Lancers fails to rout... |
 |
| Neither does the other, even with General Protz doing his best hat-waving to encourage them! |
 |
| General Protz (bottom-right) turns instead to his Hussars... |
 |
| and commands them to charge! |
 |
| The forces lined up |
 |
| The Bavarian Light Horse triumph and repel the Austrian Hussars |
 |
| The Light Horse follow up... |
 |
| The Bavarian Dragoons cross the stream (left) to threaten the Austrian infantry (bottom) |
 |
| The Austrian Hussars are sabred and routed (right)! General Protz scurries to safety through the abandoned tents... |
 |
| The Austrian musketeers and gunners try and see off the Bavarian Dragoons |
 |
| The Bavarian Light Horse are now clear to their front so they are ordered to charge the Austrian musketeers (left) in the flank |
 |
| They execute a wheel to flank and charge! Note that the Bavarian light infantry have fallen back (top) to allow their line infantry to advance (centre-top, far side of bridge) |
 |
| The cool Austrian musketeers form square in time however... |
 |
| ...to meet the onrushing Light Horse... |
 |
| Although they cause relatively few casualties, they are enough to stop, and then see off the Light Horsemen! |
 |
| Meanwhile, the Austrian musketry is proving surprisingly effective - the Bavarian Dragoons cannot take it any more and rout |
 |
| The Bavarian infantry's musketry is proving distinctly inferior to that of the Austrian... |
 |
| The Bavarian Light Horse rally on the far side of the stream, although they have lost as many troopers from desertion as from wounds |
 |
| Bavarian artillery is now in action but it is only causing moderate casualties |
 |
| The Austrian musketeers' shooting continues to shine however and the Bavarian infantry have lost a third of their number... |
 |
| And they break and run! |
 |
| The Bavarian light infantry join in the rout! |
Game Notes: As so often, this first game with a set of unfamiliar rules was a little choppy but I think that I got the hang of them reasonably quickly. It ended up being quite an interesting game! I was convinced that the Austrians had no chance after the Bavarian successes early on, but the Austrian infantry led a charmed life and everything they tried, worked.
I used my existing basing, which is normally a single base equals a battalion or a brigade, depending upon the game. These rules propose 3 bases for an average unit, or 6 if using the "big battalions" variant. The scenario as written is set up for the latter, so I halved the number of bases in the rules and halved the distances to match (so 1 BW in the rules = 1 BD in my game). This enabled me to fit it easily onto a 3'x2' board. A new player could easily get this to the table with something like 60 figures per side if using 15mm or 20mm, which should be within almost everyone's hobby budgets.
The rules seem quite similar to Black Powder and use that familiar Warmaster-type command roll mechanic. It is watered down though, so failed command rolls tend to produce "slower movement" rather than the harsher "do nothing" penalties in Black Powder (or Blitzkrieg Commander, as far as I can tell). The combat mechanics are reasonably simple, resembling those in the Neil Thomas' sets, although there are more modifiers. There are plentiful saving throws which are quite fun in face-to-face games, although I don't really like them for solo play (they just slow the game down without a corresponding increase in interactive tension) and they make it all a bit longer. The rules simultaneously use 'hits' for tracking casualties and 'disruption points' for tracking disorder, which is more of an overhead than many modern rules use. It was easy enough to track in this small game, but I think you would need to play a few small games to get your system for tracking this kind of stuff down pat before trying bigger games with these rules. There is a morale test (or 'reaction test') which is easy enough to do - a modified 2d6 roll to hit a target score dependent upon troop close which you look up on a table and compare it what the troops in question were trying to do. This is very reminiscent of WRG rules before DBx.
The rules were mostly in there somewhere. I think that the only things I had to rule on the fly for myself were how many bases could fire from an infantry square when charged by cavalry: I can see equal justification for "one" and "all". Cavalry, in particular light cavalry, are more than capable of wheeling or about turning and charging in the same move, which is unusual, although I am certainly not going to say it is wrong. I wasn't very clear on how pursuing and following-up worked i.e. if these were choices or automatic results. I am not saying that these things aren't in the rules, just that they passed me by if they did. But generally speaking, I found it pretty comprehensive. Some of the rules were calibrated in an interesting way, particularly in how infantry fighting worked (and I was quite impressed by the subtleties of this). The rules do actually permit units to fight in close, loose, open and skirmish order, although it leaves it to the players to work out exactly how this is all going to work with their chosen basing system.
I was a little surprised that the rules were as complex as they are. I don't say that as a bad thing at all, just that my expectations were more in the way of a Neil Thomas' ruleset level of complexity. Experienced players should be able to figure it out quite quickly, new players might need a few attempts. They aren't generally innovative, except where I have noted above, but they do seem pretty good: the kind of set that an experienced wargamer with a good knowledge of the period as a whole might come up with, using a good mix of tried-and-tested mechanics. I am looking forward to getting a couple more games of this ruleset in during the next few months.
Figures by
Baccus 6mm.