I had a go at re-fighting the
Battle of Otterburn 1388, using the information given in a scenario published in Miniature Wargames 51.
The scenario is written in the now obsolete "a battle you may not have heard of" style and information on how to actually game the battle is quite sparse, beyond the Scots having c.5000 men, of whom 500 were men-at-arms and the remainder unarmoured foot soldier and the Rnglish having c.7000 men, including 1000 men-at-arms. The wikipedia article linked to above gives smaller totals to both sides, which I find more believable - the figures in the article would have made Otterburn on a par with Hastings, in terms of size. More information can be found
here, and you can have a look at the site of the battle
here. The watercourse is on a slightly different course now, and the land is drier (it was drained in previous centuries).
What was very useful information in the scenario concerns the timing of the battle; it was fought very late in the day and continued under the moonlight. With that in mind, it seemed appropriate to penalize archery, which would encourage one or both sides to get stuck in to hand-to-hand combat.
In lieu of anything else, I used the DBA lists. I do have my suspicions that they are radically inappropriate for this battle, but this really isn't my period. I reduced the Scots to 10 bases to reflect their numerical inferiority.
The Scots:
Commander: James, Second Earl of Douglas
7 bases of Pikemen (4Pk, inc. the general's unit)
1 base of Archers (3Bw)
1 base of Mounted men-at-arms (3Kn)
1 base of Rabble (7Hd)
The English:
Commander: Harry Percy "Hotspur"
2 bases of Dismounted men-at-arms (4Bd, inc. the general's unit)
2 bases of Mounted men-at-arms (3Kn)
7 bases of Archers (4Lb)
1 base of Infantry (Sp)
I added an extra -1 to all missile fire, to reflect the poor light.
For the first game, I made the hills rough going; for the second I made them good going. They look like they should be rough to me, but the dynamics of the actual battle suggest that that the English mounted men made quite good progress on their flank attack, this maybe good is the better rating.
I don't have any C14 troops so I used my late C15 / Wars of the Roses-era troops as proxies - they looked well enough!
The Set Up:
 |
| The view from Otterburn village along the stream |
 |
| And another view |
 |
| And to show the relief of the hills to the right |
 |
| The Scots drawn up: a solid block of pikmen with some archers on the flank; the ill-equipped foot soldiers and the mounted knights are to the rear in reserve |
 |
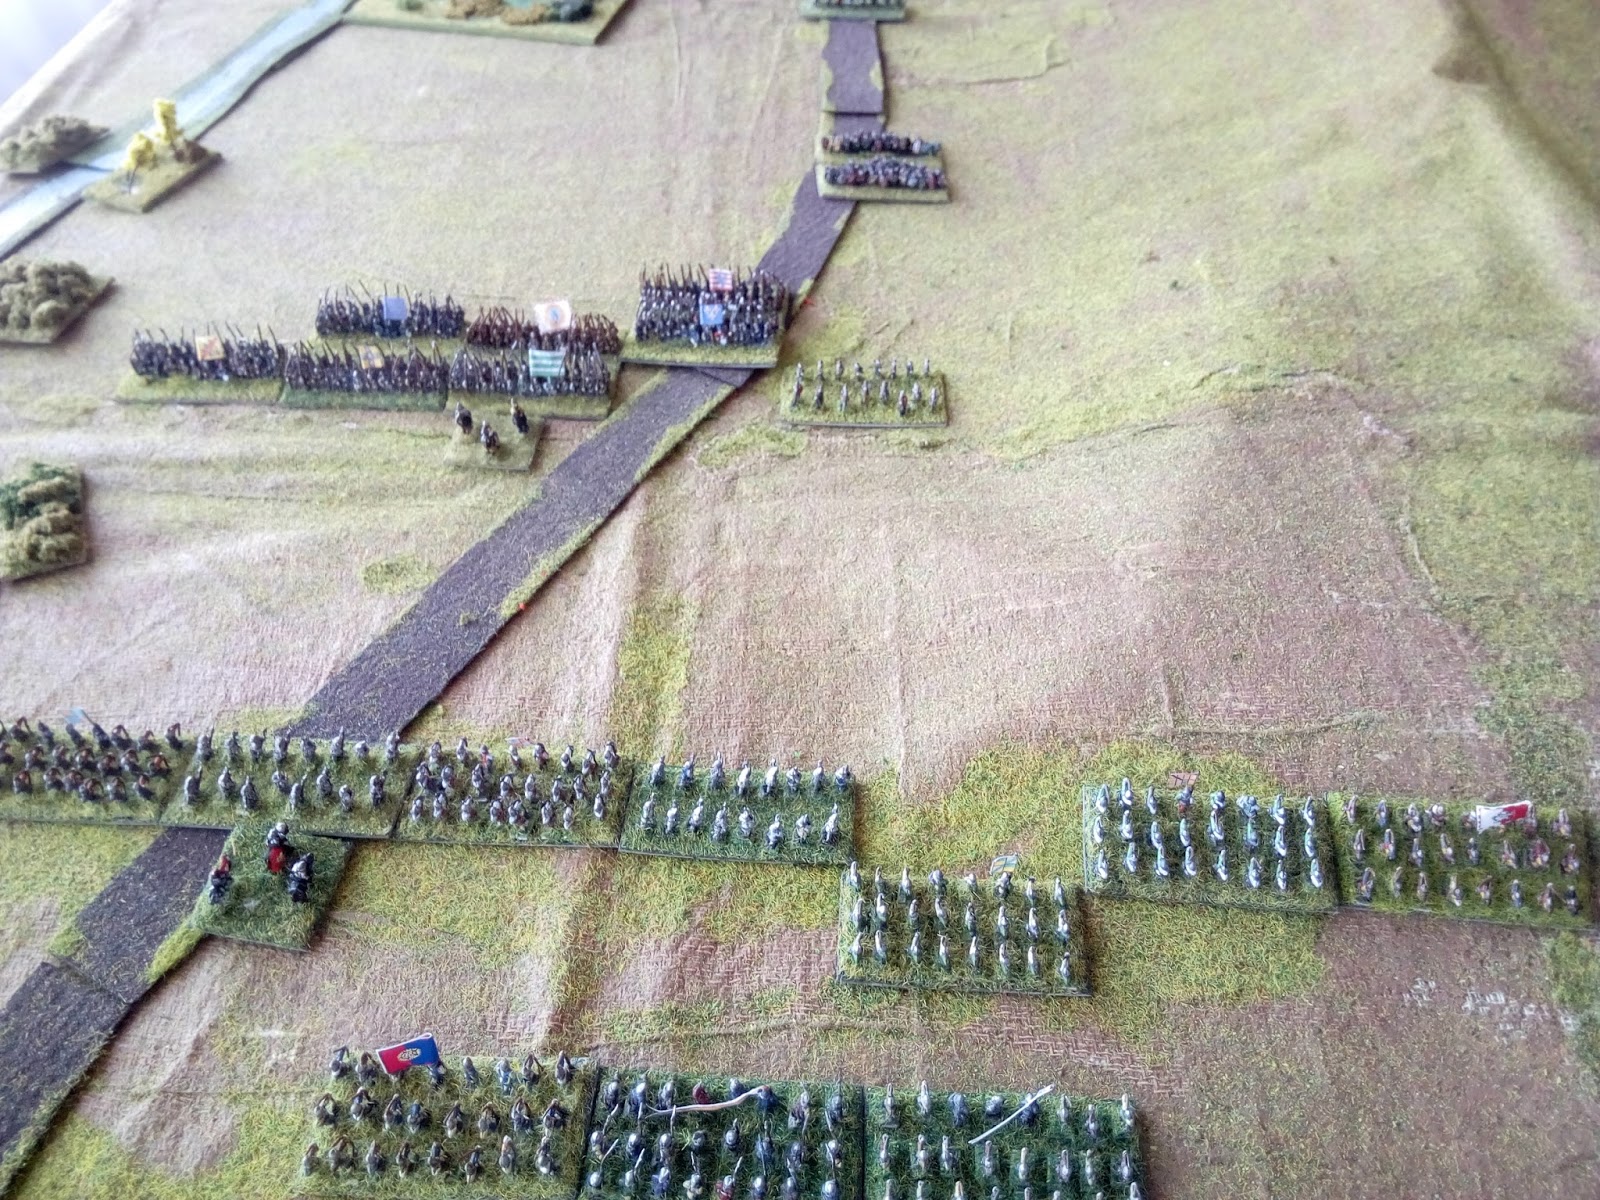
| Looking at both armies, Scots to the left, English to the right |
 |
| A closer view of the main English position, with longbowmen and dismounted-men-at-arms intermixed in the front rank; note the position of the mounted knights off to the right flank (top-left) |
 |
| The English knights |
The First Battle:
 |
| The Scots waste no time in closing down the distance - the archers exchange salvos of arrows, causing some disorder in each line |
 |
| A closer view of the Scots' advance; some of the pikemen have been pushed back |
 |
| More arrows are exchanged causing a little bend in the Scots' line where the arrow fall is thickest |
 |
| The English archers, having disposed of the Scots' archers before them, try to gain a good vantage point for firing (right); the Scots' reserves move towards them |
 |
| The melee begins in earnest: Douglas (centre) leads a ferocious charge which exterminates the English bowmen facing him; but all along the line, the Scots have gained the advantage |
 |
| A closer look at the Scots' success! |
 |
| The melee has developed; the Scots are winning in the centre, but the English seem to have developed an advantage on the right of the main line... |
 |
| The English press home that advantage! However, the remaining English troops in line are hard-pressed... |
 |
| There is stalemate between the ill-equipped Scots' warriors and English bowmen on the hill; but the English knights have exterminated their opponents (right) |
 |
| The position at the end of the battle - the Scots' have lost their fourth element and are thus defeated, despite having had the better of the central melee |
The Second Battle:
Quite pleased with how that went, I re-loaded and went again...
 |
| The toy soldiers troop back to their original positions! |
 |
| The Scots' advance again! A more active English army advances a detachment of archers earlier this time around |
 |
| English archery again eliminates its Scottish opposition and also slightly disrupts the Scots' advance; note on the right that yet again the Scots archers have been destroyed by being outshot by their English opponents! |
 |
| Another view, so one can see the flank developments in relation to each other |
 |
| The battle lines join; the Scots eliminate a body of the English dismounted knights (centre-right) and have generally pushed the English back |
 |
| The English reserves have been thrown in to attempt to stabilize the situation; the group of English longbowmen, benefiting from close support from the dismounted men-at-arms, is heroically resisting Douglas' own pikemen |
 |
| Yet again, bowman takes on knifeman whilst the mounted contingents battle it out (top) |
 |
| The English grimly hold on in the centre whilst triumphing on both flanks of the main press! |
 |
| The English knights took a bit longer this time, but have again dispatched their Scottish opponents |
 |
| Both the flanks of the Scots' main body have collapsed or are collapsing... |
 |
| Hotspur himself eliminates the Scottish pikemen that cause the Scots army to lose heart and break |
 |
| A confused mess, but generally now going the English way - they have even achieved the very improbable and forced back Douglas himself! (centre-left, by the green and white hooped banner) |
 |
| Victory to Hotspur! With the English knights across the line of retreat, it will be again a night of wraiths trying to evade pursuit across the Northumbrian border... |
Game Notes:
Two very enjoyable games once I had managed to get the scenario into some kind of workable shape. I re-iterate again that I have my doubts about the army lists: the English one seems more focused on the English army with the king present and the wars in France; and was Douglas' force mainly made up of "yeomen pikemen"? I await with interest the comments of the learned! I'd also be very interested if anyone could point me to any other refights of this battle.
DBA again did a great job of producing an exciting game with believable outcomes. I am however thinking of abandoning the zero-pip moves, I think it would give a better game if a commander knows that he/she may only be able to move a single unit or group per turn and partly think it gives a better recreation of history if we think of all of the mishaps and pratfalls that may occur in warfare as being able to afflict all troops, even those doing very simple things. I understand the objections about units appearing to suddenly stop moving for no reason, but I have never quite accepted that logic. But all this needs a little more thought first...


A very interesting read. Sorry but I don't have any information to add but I'm thinking about recreating the battle of Otterburn for this years project. I live in the North East and regularly drive along the A696 through Otterburn and the battle has held a fascination for quite some time.
ReplyDeleteCheers
Thanks very much Steve.
DeleteA very nice report though there are a few inaccuracies regarding the composition, certainly very few English archers made it to the field in time, Hotspur just didn't wait for them, and also no mounted knights on either side, all dismounted and joined their respective sides.
ReplyDeleteI live very near the site of the battle and have looked into it a bit. Have a look on my blog here there's a demo of the game if you scroll down the pages:
https://thenorthumbrianwargamer.blogspot.co.uk/search/label/Medieval
Cheers,
Dave.
Dave, thanks very much. I suspected as much - the details were lacking in the scenario and the army list just wasn't appropriate for this action. The only thing I am surprised about is the lack of a mounted element: both the scenario FWIW and the Battlefields of Britain site mention a flanking movement by English knights which ended up raiding the Scots' rear - so I will read your demo with great interest!
DeleteThanks again for that.
No probs mate, Charlie Wesencraft gave me a hand with the research of the actual knights involved in the battle there's a list of them in there somewhere and I've walked the ground a few times.
DeleteDave.