
Dave Brown later wrote an article in Battlegames 23 about how much he dislikes rulesets like Polemos for being over-simple. However, it is a very good small scenario and this is heretical gaming after all and here we positively delight in such things...
Orders of Battle:
Dave Brown gives excellent orders of battle for his General de Brigade rules in the article. However, these rules use units with different strengths and separate skirmisher units, so we must use something slightly different for Polemos, as we take into account strength across the force and reduce or augment the number of bases if one side or other has weaker units numerically. My compromise here is:
The Allies:
6th Division (Gen Clinton - Capable)
Hinde's Bde: 1 x Veteran SK1, 2 x Trained SK1
Hulse's Bde: 1 x Veteran SK1, 1 x Trained SK1
Artillery: 1x9lb Ft Bty
Ellis' Bde: 1 x Veteran SK2, 1 x Veteran SK1 + 1x9lb Ft Bty
Rezende's Bde: 1 x Trained SK1, 2 x Second Line SK1
Anson's Bde: 2 x Trained Lt Cav (one of which can be Trained/Elite)
Ellis and Rezende arrive at the end of turn two, Anson at the end of turn four.
The Imperials:
3rd Division (Gen Ferrey - Capable)
Menne's Bde: 1 x Veteran SK2, 1 x Trained SK2, 2 x Second Line SK1
Bochaud's Bde: 2 x Trained SK1, 2 x Second Line SK1
Artillery: 1 x 8lb Ft Bty, 1 x 4lb Ft Bty
The "second-line" rating is taken from General de Brigade. I would suggest keeping this rating by making them the same as "Raw" troops in General de Division but only using a -1 modifire instead of -2, where this is applicable (the combat results table, in other words). Otherwise teat them as trained or raw, to taste. I'd ignore the special scenario rules in the published article, not because they are bad ideas, but because the Polemos rules incorporate the ideas anyway.
The Set-Up:
 |
| View from high above the French lines. The French occupy the slope, open on the forward side, wooded to the rear. Cole's Division approaches from the far side (North). |
 |
| View from the East, French to the left, Allies to the right. The clump of trees at the top of this shot mark the edge of the world for this scenario. |
 |
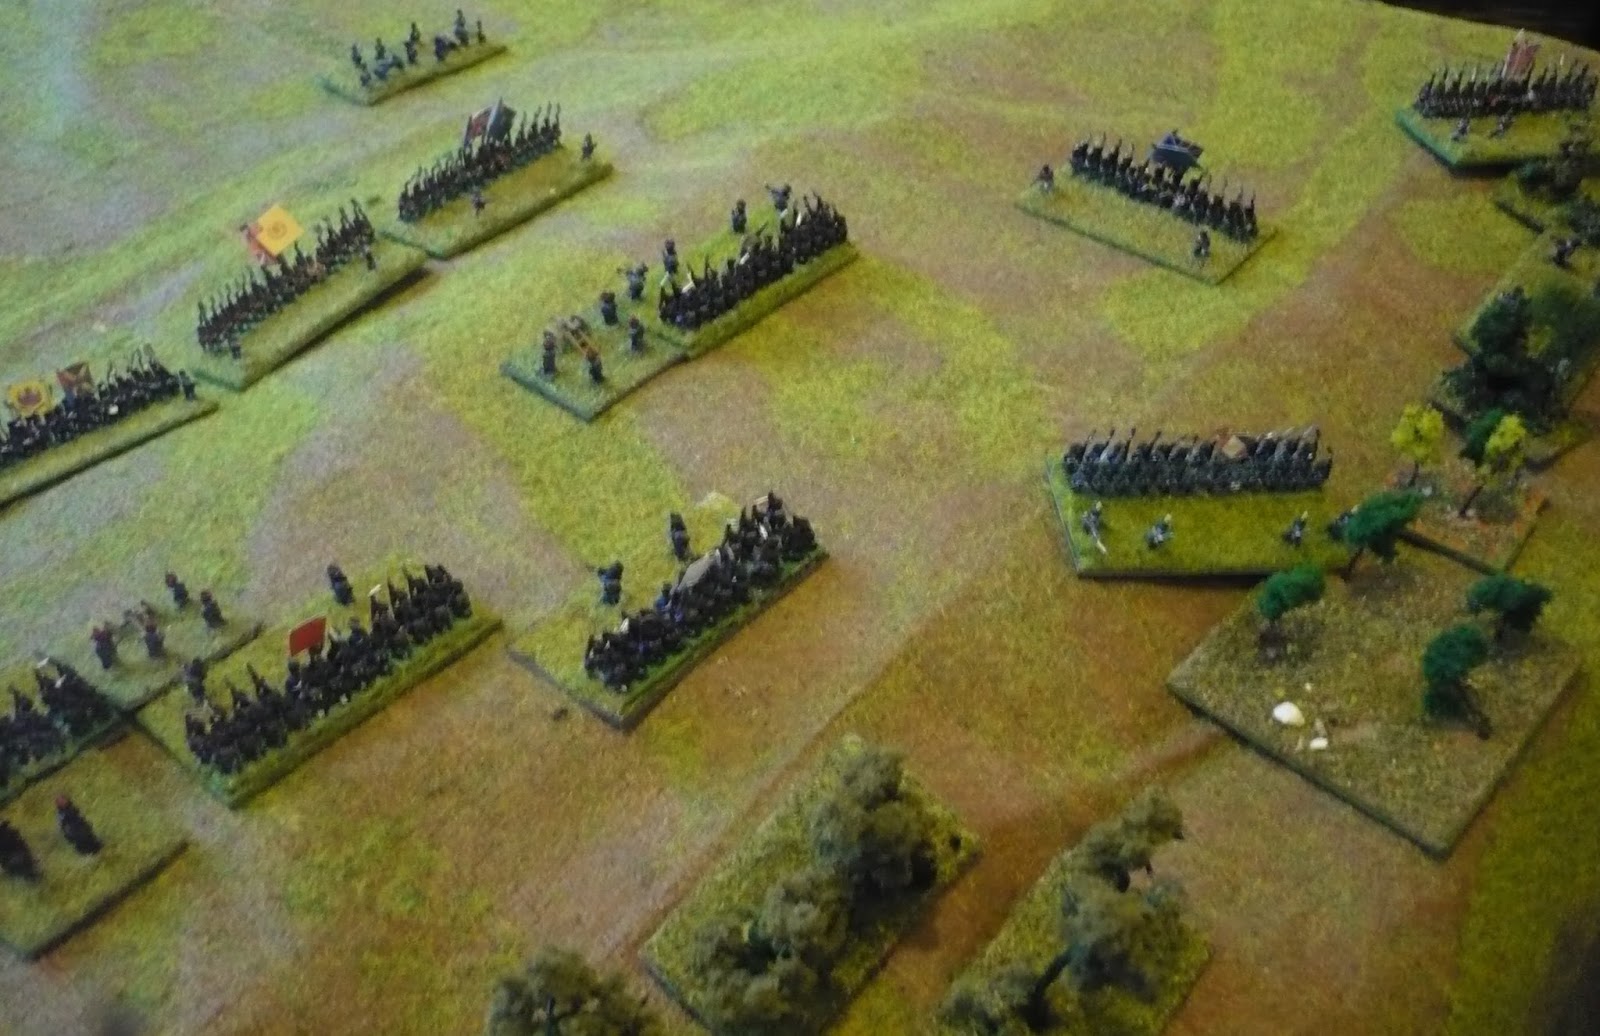
| Hinde's Bde to the left, Hulse's Bde to the right (eagle-eyed readers will notice that I accidentally brought the British cavalry on at the beginning! I removed them before the action got started...) |
 |
| And another view of the French. Menne's Bde is to the left as viewed, Bochaud's to the right. The 8lbers are supporting Menne. |
 |
| And a final view down the slope (note that the British cavalry have gone now!) |
 |
| A final shot of the set-up. |
The Battle:
 |
| After a couple of turns getting his artillery into place, Cole orders the advance. The Fusiler brigade is bottom-right, nearest the table edge. The British artillery shot well and forced the right-hand French infantry battalion back, but then French artillery counter-battery fire forced the British guns back out of range! |
 |
| The British develop their attack. They have brought more guns into play (bottom-right) and again forced the French infantry on the left flank to retire. The smoke indicates disorder in the French battery. The French light battery (top-left) has shot very well and caused considerable disorder to the British right-flanking move (note the red shaken markers) |
 |
| Same position, but from behind the French centre |
 |
| The British infantry continue their forward advance. The British on the right-flank have reformed |
 |
| Same position, different shot |
 |
| The British fusiliers charge! Huzzah! |
 |
| Another view - note the shaken French light infantrymen to the left |
 |
| And the wider view |
 |
| The Fusiliers are entirely successful! One French infantry battalion routs, the other reforms in the woods |
 |
| As soon as the pressure was applied to the French right, the British increased it to the French left. There were a couple of pictures missing, but essentially the British had moved into a long range firefight to try and either disorder the French or tempt the French into charging. Anyway, the Portuguese charged and have outflanked the French left, but Ferrey has directed the fire of his infantry well and pushed back some of the Portuguese attackers in great disorder. |
 |
| Ferrey has led a charge and pushed back some of the Allied centre, but the French left is in severe danger |
 |
| However, the Fusiliers have defeated another French unit on the right and the game is up! Menne's Brigade collapses, which leads to the remainder of the French force becoming disheartened and withdrawing |
 |
| The French face around against the outflanking fusiliers, but the game is up... |
 |
| Position at the end of the battle |
Game Notes:
A quick, fun scenarion but one with plenty of interest. Polemos makes attacking uphill relatively difficult, but also proposes a relatively large advantage for Veteran over Raw troops. So the key to this battle was the effectiveness of the British artillery in hurting the French infantry on the right, which enabled the Fusiliers to successfully attack the weaker French units. This pressure enable the British to apply pressure to pin the French units to the front and thus achieve success on the other flank too.
I felt that the "second-line" rules worked very well and I am going to incorporate them further. I am also thinking of reducing the "Veteran" advantage to a maximum of +1 too.
This scenario was played over a 4'x3' board, using Baccus 6mm figures. Rules used were Polemos General de Division.
Thanks, I like the 4' x 3' format and the size of these sort of engagements.
ReplyDeleteThanks very much Norm
ReplyDelete