In Miniature Wargames 26,
Guy Halsall took a break from writing Early Medieval scenarios set in Britain and moved to C12 Flanders, offering up a simple scenario for the
Battle of Thielt. In that pre-internet age, I believe that much of the value of scenario writing was simply in finding suitable information from hard to obtain publications and then translating it into useful information for the tabletop, both skills which Guy Halsall possessed in abundance!
Using the forces given in the article as the basic inspiration and then using the closest DBA list (IV/4a Feudal French Army 1072-1199AD) as the basis for both sides, I chose the following forces:
William of Clito: 9 x 3Kn (his was an all cavalry force, as suited an army of nobles fighting to keep down the commoners!)
Thierry of Alsace: 5 x 3Kn, 4 x Sp, 1 x 4Cb, 2 x Ps
William of Clito's break point was reduced to 3 units rather than the normal 4.
The terrain was very simple - William of Clito occupies a hill right in the centre!
The Deployment:
 |
| William of Clito's knights are located on the hill: he raises his personal standard on the right-hand side of the force; Thierry's troops are approaching the hill in their historical array: knights to the fore, foot to the rear |
 |
| Different angle, hopefully showing off the gentle slope |
 |
| A closer view of Thierry's force, a mixture of knights, spearmen, crossbownen and archers |
 |
| ...same again, but from the rear... |
 |
| While William's knights look on from the summit of the hill |
Battle One
 |
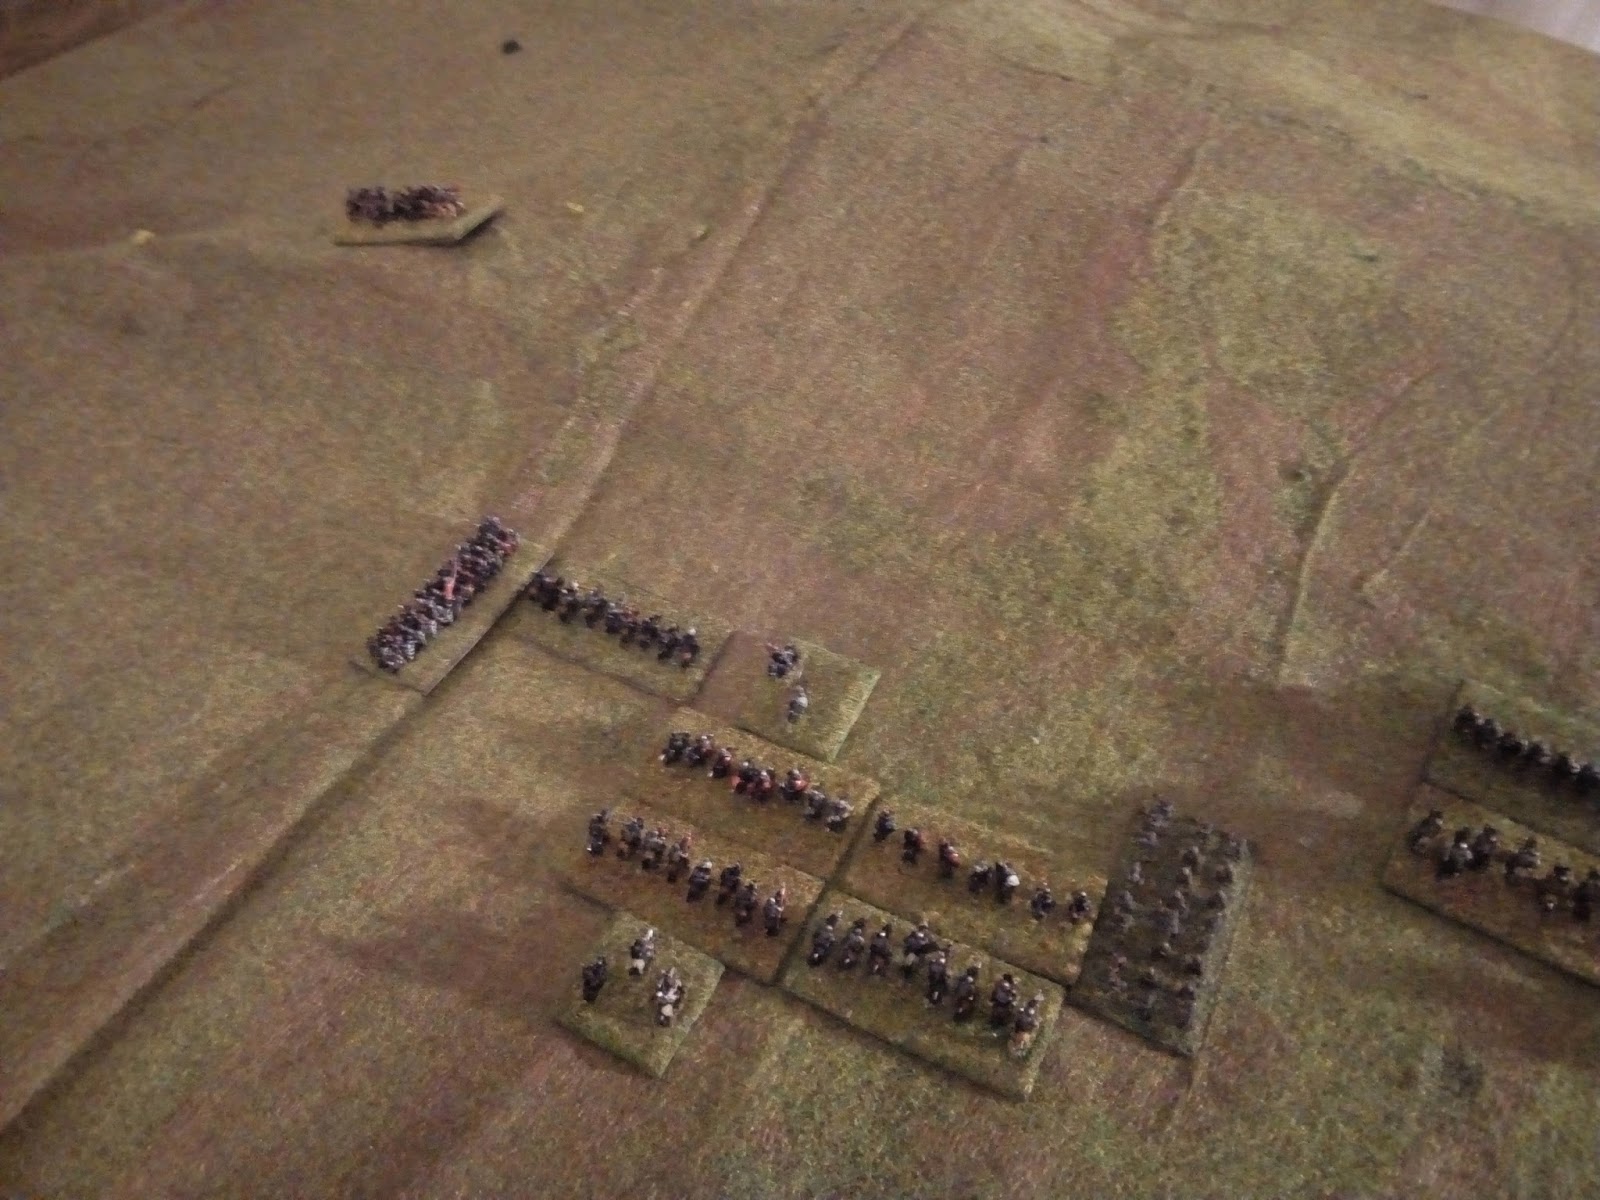
| In this first engagement, both sides approach each other - William is keen to retain the advantage of the slope, whilst Thierry brings his crossbowmen up to support his knights and sends archers round the flank to try and tempt William's knights off the hill |
 |
| The knights face-off; crossbow bolts start flying into the ranks of William's knights |
 |
| A closer view |
 |
| Conscious that in the end he must slowly lose to the crossbowmen if nothing else happens, William orders his reserve forward on both flanks |
 |
| Thierry has formed a longer, stronger line, with spearmen now guarding the flanks of the knights |
 |
| Note the recoiling knights in the centre of William's line, suffering from the one-way crossbow bolt traffic |
 |
| As the crossbowmen maintain their fire, Thierry extends his line to the right and left with his foot soldiers |
 |
| To break the deadlock, William detaches the knights on each flank to try and ride down Thierry's archers |
 |
| ...as we see mirrored on Thierry's left flank |
 |
| Honours are even: the spearmen and bowmen on Thierry's left destroy William's knights, but the isolated bowmen on the right are ridden down in their turn... |
 |
| Feeling that the odds are now in his favour, Thierry orders his line to charge! |
 |
Clash!
And I am well pleased by a lord
when he is the first to attack,
on horseback, armored, fearless:
thus does he inspire his men
with boldness, and worthy courage.
And when the battle is joined
each man must be ready
to follow him with joy:... |
 |
| As it turns out, Thierry was wrong...the overlapping spearmen only achieve pushback results, but the knights in the centre of the line are overwhelmed by William's men! |
 |
| A wider view: note William's detached cavalry on the right of shot prepare to return to the fray |
 |
| William's victorious knights rip great holes out of the centre of Thierry's line and the day is won! (and lost...) |
Battle Two
 |
| One of the beauties of DBA is how easy it is for the toy soldiers to have another go before they are returned to their boxes! They line up again...(I have retained the same deployment, for reasons which I will return to in the game notes) |
 |
| This time, Thierry tries to extend his line in both directions before moving forward; William tries to come off the hill, but will find his force somewhat slow (low PIP rolls) |
 |
| William closes the distance whilst Thierry completes his manoeuvre: Thierry is careful to keep his knights on the plain, so that William's knights cannot use the impetus of the slope to their advantage |
 |
| Thierry's crossbowmen again cause some disruption to William's knights, whilst covering the last moments of his deployment |
 |
| William divides his reserve, so it is able to react more quickly to threats on either flank |
 |
| Who will blink first? |
 |
| Some highly efficient shooting by the crossbowmen destroys a group of knights in the centre of William's line, forcing him to commit his reserves. Thierry begins to move infantry around William's left flank |
 |
| William refuses both flanks, unwilling to be outflanked and wishing to retain the benefits of the slope |
 |
| Another view |
 |
| Fighting begins on the flanks |
 |
| Thierry tries to increase the pressure on both flanks |
 |
| William's knights on the left triumph! Thierry's spearmen are destroyed |
 |
| However, Thierry then launched his charge after his crossbowmen destroyed yet more knights; on this occasion, his knights and soldiers were much more successful, partly as a result of the creation of the additional gap in William's line. |
 |
| William's knights eventually triumphed on the other flank too, but by this time the knights in the centre were falling like flies to Thierry's attack adn William's army was broken! |
Game Notes:
The events of the original battle are hard to replicate with any wargaming rules, as they involve feigning flight and knights breaking contact, and for the latter reason in particular, extremely difficult to replicate as a solo game. To retain some feel of the original battle, I kept to historical deployments for both games so that Thierry was unable to fight an infantry battle, as if he were commanding a Scots army instead of a continental European one. The advantage of the slope was hard to overcome, as was the knights ability to quick kill spearmen in good going. So the key event in the second game was the destruction of the second element of knights by the crossbowmen - as well as physically reducing the strength of William's line by creating additional flanking opportunities, it also meant that Thierry only needed a single extra kill to twin the game. Thierry's main mistake in the first game was launching his attack too soon and using his skirmishers as bait; his main mistake in the second game was not using spearmen elements in pairs to gain the support bonus.
Losses:
In game one, William lost one element, Thierry lost five (2 x Kn, 2 x Sp, 1 x Ps); In game two William lost four elements, Thierry lost three (2 x Sp, 1 x Ps).
DBA continues to give great, enjoyable games whilst replaying these old magazine scenarios. If you do get a chance to browse a copy of this magazine, this article is well worth it for its discussion of the mechanics of C11-C12 cavalry combat and how that might be incorporated into one's rules of choice (WRG at the time). The terrain was my home made game mat covering about 4'x4' of table, figures were from the
Baccus 6mm Norman range.


I really enjoy your refights of these old MW scenarios.
ReplyDeleteThanks very much Jonathan - I really enjoy them too!
DeleteI must say that I do like your replays of the old magazines games - they do make me want to hunt them down (but too expensive unless I can find them at a bring and buy). I have the CDs of the early Wargames Illustrated but not MW magazines; WI did not seem to have many ancient/medieval scenarios :-)
ReplyDeleteThanks very much Shaun. I think that Caliver Books currently sell the early MW CDs: http://www.caliverbooks.com/catviewer.php?cat=Magazines&subcat=86&subcode=K .Perhaps one day Miniature Wargames and Wargames Illustrated will allow free access to their back catalogue, or sell them through Wargames Vault or something. It would seem a pity for good scenarios to be lost to history!
ReplyDeleteHaving said that, there were a lot of distinctly poor scenarios around then too. So for every Steve Jones or Guy Halsall or Arthur Harman writing stuff that would be perfectly publishable with a few graphical tweaks today, there are a lot of scenarios which are more like what we would think of today as wikipedia articles, that simply didn't add up to a playable wargame without a fair amount of extra work on the part of the gamers. Anyway, I may write a blogpost soon on what looking back at all these very old scenarios has taught me.
Thanks for the link, I did not realise you could get MW back issues electronically. I still have not finished reading all the WI PDFs I bought (it was over 10 years ago I got them, read about 100 and have found it hard to get back to them), so I will wait until I have finished the WIs!
DeleteNo worries, glad to help. I have the WI ones as well, and I am going to start going through them soon(-ish) too.
Delete