Heretical Gaming is my blog about my gaming life, featuring small skirmishes and big battles from many historical periods (and some in the mythic past or the far future too). The focus is on battle reports using a wide variety of rules, with the occasional rules review, book review and odd musing about the gaming and history. Most of the battles use 6mm-sized figures and vehicles, but occasionally 15mm and 28mm figures appear too.

Sunday, 7 May 2017

DBA Refight: The Battle of Fulford 1066

Issue 37 of Miniature Wargames carried a simple scenario for refighting the Battle of Fulford in 1066, when Tostig, exiled brother of the King of England and the Norwegian King Harald Hardrada defeated the armies of the Anglo-Danish earls Morcar, Earl of Northumberland, and Edwin, Earl of Mercia.


The scenario posits forces of 9,000 for the Norwegian army, with a few more for the Anglo-Danes.  This seems a little on the high side for me, but as I was using DBA, I just went for a straightforward 12-base selection from the relevant army lists.

The only change I made to the rules for this scenario was to have two generals for each side, providing combat bonuses as normal, but the first general lost for each side would only count as an ordinary "single" base loss - the second general would count as a double loss, as usual.  This would reflect the ability of both sides to keep going whilst a significant authority figure was in action.

The Norwegian Army:
11 bases of Huscarls and Hird - Blades (4Bd), 1 base of Archers - Bowmen (4Bw)

The Anglo-Danish Army:
3 bases of Huscarls - Blades (4Bd), 8 bases of Fyrd - Spearmen (Sp), 1 base of Archers and Slingers -  Psiloi (Ps)
 

The Set Up

The initial deployment: Norwegians to the bottom, Anglo-Danes at the top.  The Norwegian left is bounded by the River Ouse, the right is marked by a ditch, with swampy ground behind it.  A road lies in the middle of the field.

A closer shot of the Anglo-Danish army: Edwin's contingent to the left (as viewed), Morcar's to the right.

The view across the road from behind Tostig and his Huscarls.

A close up of the Norwegians: Tostig to the left, Harald to the right.  Both sides have overloaded their own left flanks.


The view between the battle lines
 The Battle:
Both sides advance to meet each other.  A slightly dangerous gap opens up between the Anglo-Danes and their reserves, whilst Harald Hardrada keep his close in hand

A slightly flatter shot of the same position

Norwegian bowmen disrupt the Anglo-Danish line

Thus the first clashes occur on the Norwegian left/Anglo-Danish right

Morcar reforms his line whilst Tostig advances; however he sends some archers across the ditch to harry the Norwegian right whilst he brings up reserves

The lines remain locked

And then, almost like a rugby scrum, the line starts to wheel!  The Norwegians on the extreme left have some success, whilst the Anglo-Danes nearer the centre have the advantage; note the fight in the centre towards the road - Edwin leads his Huscarls in person against a band of Norwegians that have come loose in the push

Tostig and his men charge into action!  Morcar leads his huscarls (left of picture) with some success

The situation remains pretty static on the Norwegian left; the Norwegians suffer a loss, but feed in reserves to stabilize the situation

A combination of Viking blade and bow destroy the Mercian huscarls - Edwin is captured!

The Anglo-Danish right begins to collapse under the Norwegian pressure!  A close-run victory to the Norwegians
Game Notes:
Unfortunately a few of the pictures were unusable, which was a pity, as I have been unable to show how Morcar captured Tostig and the Norwegian army's right wing was hanging by a thread - Harald Hardrada achieved victory just in time!  I think that it is a commonplace that a blade-based Viking army is just a little stronger than a spear-based shieldwall army, and so it proved this time: as the fighting became more spread out, the Anglo-Danes lost their all-important support bonuses and given average luck, the blades must prevail over time.  A very exciting battle though, perhaps better than the simple scenario might have suggested.

The figures are all from the Baccus 6mm Early Medieval range.  The rules were DBA 3rd edition:

The board was 3'x2' and the game took just under an hour to play. 

DBA Refight: Battle of Chalons 451AD re-themed

I had a go at re-fighting a Battle of Chalons scenario published in Miniature Wargames 11.


 I don't have Patrician Roman or Hunnic or Gothic armies, so I re-themed this and set it in the first century BC, featuring a Gallic army against a "Marian Roman" army.  The only differences really are that the Gallic cavalry is divided between being cavalry and light horse instead of being a fully cavalry-type army, whilst the Romans are all cavalry and don't have any cataphract type units, and have traditional legionaries rather than the auxiliaries of the fifth century AD.

The magazine article supposes very high numbers of troops on both sides: 500,000 for Attila, 250,000 for Aetius.  I'm not very convinced by this, but it was clearly a big battle, so I used 16 bases for the Romans and their Germanic allies, 18 for the Gauls (i.e. Huns).

Attila the Gaul's Army:
3 bases of Cavalry (Cv), 6 bases of Warriors (4Wb), 7 bases of Light Cavalry (LH), 2 bases of Archers (Ps)

Aetius' Army:
5 bases of Cavalry (Cv), 5 bases of Warriors (4Wb), 4 bases of Legionaries (4Bd), 2 bases of Archers (Ps)

The Set-Up


Attila at the bottom, Aetius at the top, except for the detachment under Torismund occupying the hill to bottom-right.  The River Marne at the top-right, with Chalons on the far bank.  Attila has his personal guards and his light horse in the centre, with a mixture of foot warriors, horseman and skirmishers on each flank.  Aetius has Roman cavalry and legionaries on his left (i.e. top-right), with his Gallic and Germanic allies in the centre and upon his right, plus those on the hill in Attila's rear.


The first clash of iron: Gauls and Germans clash at the base of the hill. Beating the odds, the Gauls start pushing Torismund's Germans back!

The see-saw struggle sees the Germans pushing the Gauls back down the hill; other Gallic warriors and cavalry are sucked into the battle to stop the rot

Aetius and the Rman cavalry charge forward: the Gauls are partly surrounded

And snap! After a short, bitter struggle, the Gallic warriors are cut down by the victorious Roman horsemen


Meanwhile, the Gallic left is advancing slowly towards the Roman allied troops

The Romans mop up the last of the Gallic warriors and skirmishers; only the horsemen remain

In a decision perhaps smacking more of courage than sense, the Gallic cavalry swing round into the German warbands - stalemate!

Finally the Gauls get stuck in in the centre - with mixed results and no great losses to either side

The brave but foolish Gallic cavalry are eliminated when more of Aetius' horsemen hit them in the flank

Mixed fortunes in the centre - but the loss of a group of light horsemen ends the battle for the Gauls

A wider shot: Attila can escape with the remainder of his army, but it has been a singularly one-sided affair!
 Game Notes:
An interesting game, although incredibly one-sided: the Gauls lost six bases and the Romans not a single one:;even worse for the Huns/Gauls than the historical result!  The cavalry vs warband match-up isn't brilliant for the warband.  I used a broadly historical deployment but Light Horse have to be used with more finesse than I did.  They need to be used against foot warriors, with the supporting cavalry being used against the enemy horsemen and foot skirmishers.  Strategically, Attila wasted too much time and effort reinforcing defeat on his right rather than leaving them to fight as best they could and spend time crashing into the Romans with his centre and left - the only place where the battle was going to be won for the Gauls.

The board was 4'x3' and the game took about 45 minutes to play.

All figures were Baccus 6mm from their Ancients ranges, rules used were DBA 3.0.  Buildings mainly by Timecast IIRC.

Polemos General de Division: Refight of Ferrey at Salamanca 1812

I fancied a small, easy Napoleonic action to get me back into the swing of playing Polemos General de Division.  I decided to use Dave Brown's Salamanca scenario, featuring the fight of Ferrey's Division to hold off the advancing allies after the battle was pretty much lost.  It was published back in Battlegames 12.  If you would like to read what really happened, look here.


Dave Brown later wrote an article in Battlegames 23 about how much he dislikes rulesets like Polemos for being over-simple.  However, it is a very good small scenario and this is heretical gaming after all and here we positively delight in such things...

Orders of Battle:

Dave Brown gives excellent orders of battle for his General de Brigade rules in the article.  However, these rules use units with different strengths and separate skirmisher units, so we must use something slightly different for Polemos, as we take into account strength across the force and reduce or augment the number of bases if one side or other has weaker units numerically.  My compromise here is:

The Allies: 

6th Division (Gen Clinton - Capable)
Hinde's Bde: 1 x Veteran SK1, 2 x Trained SK1
Hulse's Bde: 1 x Veteran SK1, 1 x Trained SK1
Artillery: 1x9lb Ft Bty
Ellis' Bde: 1 x Veteran SK2, 1 x Veteran SK1 + 1x9lb Ft Bty
Rezende's Bde: 1 x Trained SK1, 2 x Second Line SK1
Anson's Bde: 2 x Trained Lt Cav (one of which can be Trained/Elite)

Ellis and Rezende arrive at the end of turn two, Anson at the end of turn four.

The Imperials:

3rd Division (Gen Ferrey - Capable)
Menne's Bde: 1 x Veteran SK2, 1 x Trained SK2, 2 x Second Line SK1
Bochaud's Bde: 2 x Trained SK1, 2 x Second Line SK1
Artillery: 1 x 8lb Ft Bty, 1 x 4lb Ft Bty

The "second-line" rating is taken from General de Brigade.  I would suggest keeping this rating by making them the same as "Raw" troops in General de Division but only using a -1 modifire instead of -2, where this is applicable (the combat results table, in other words).  Otherwise teat them as trained or raw, to taste. I'd ignore the special scenario rules in the published article, not because they are bad ideas, but because the Polemos rules incorporate the ideas anyway.

The Set-Up:

View from high above the French lines.  The French occupy the slope, open on the forward side, wooded to the rear.  Cole's Division approaches from the far side (North).

View from the East, French to the left, Allies to the right.  The clump of trees at the top of this shot mark the edge of the world for this scenario.

Hinde's Bde to the left, Hulse's Bde to the right (eagle-eyed readers will notice that I accidentally brought the British cavalry on at the beginning! I removed them before the action got started...)


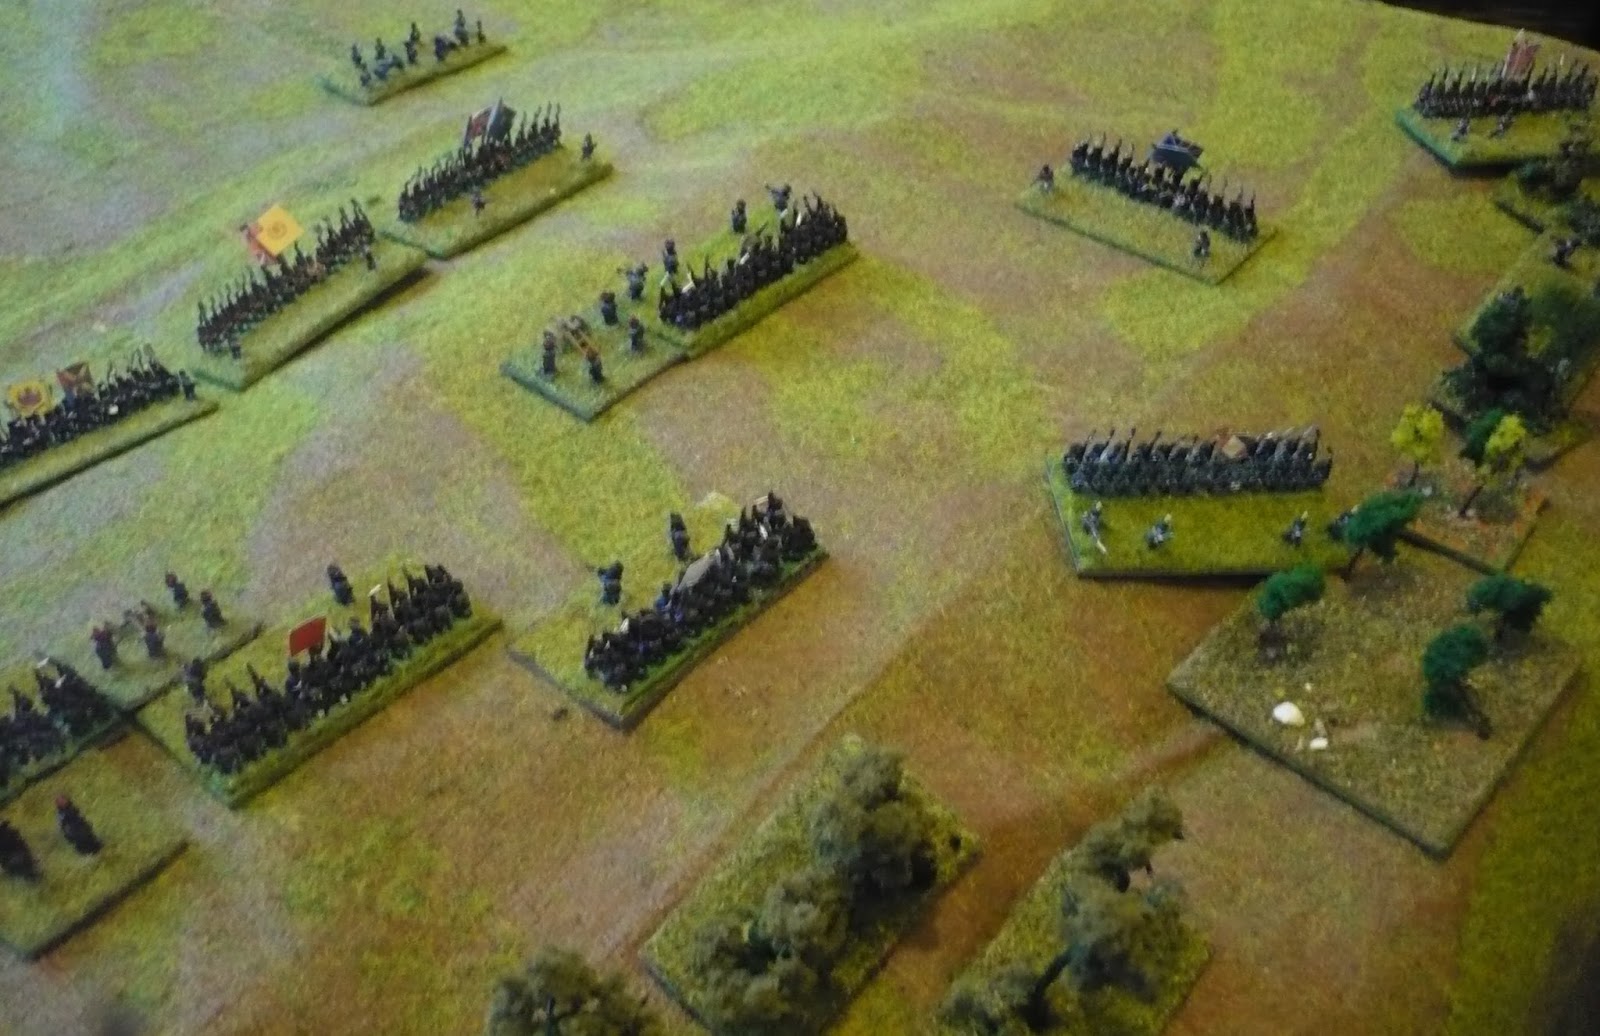
And another view of the French.  Menne's Bde is to the left as viewed, Bochaud's to the right.  The 8lbers are supporting Menne.

And a final view down the slope (note that the British cavalry have gone now!)

A final shot of the set-up.

 The Battle:

After a couple of turns getting his artillery into place, Cole orders the advance.  The Fusiler brigade is bottom-right, nearest the table edge.  The British artillery shot well and forced the right-hand French infantry battalion back, but then French artillery counter-battery fire forced the British guns back out of range!

The British develop their attack.  They have brought more guns into play (bottom-right) and again forced the French infantry on the left flank to retire.  The smoke indicates disorder in the French battery.  The French light battery (top-left) has shot very well and caused considerable disorder to the British right-flanking move (note the red shaken markers)

Same position, but from behind the French centre

The British infantry continue their forward advance.  The British on the right-flank have reformed

Same position, different shot

The British fusiliers charge! Huzzah!

Another view - note the shaken French light infantrymen to the left

And the wider view


The Fusiliers are entirely successful!  One French infantry battalion routs, the other reforms in the woods

As soon as the pressure was applied to the French right, the British increased it to the French left.  There were a couple of pictures missing, but essentially the British had moved into a long range firefight to try and either disorder the French or tempt the French into charging.  Anyway, the Portuguese charged and have outflanked the French left, but Ferrey has directed the fire of his infantry well and pushed back some of the Portuguese attackers in great disorder.

Ferrey has led a charge and pushed back some of the Allied centre, but the French left is in severe danger

However, the Fusiliers have defeated another French unit on the right and the game is up! Menne's Brigade collapses, which leads to the remainder of the French force becoming disheartened and withdrawing

The French face around against the outflanking fusiliers, but the game is up...

Position at the end of the battle
 
 Game Notes:
A quick, fun scenarion but one with plenty of interest.  Polemos makes attacking uphill relatively difficult, but also proposes a relatively large advantage for Veteran over Raw troops.  So the key to this battle was the effectiveness of the British artillery in hurting the French infantry on the right, which enabled the Fusiliers to successfully attack the weaker French units.  This pressure enable the British to apply pressure to pin the French units to the front and thus achieve success on the other flank too.

I felt that the "second-line" rules worked very well and I am going to incorporate them further.  I am also thinking of reducing the "Veteran" advantage to a maximum of +1 too.

This scenario was played over a 4'x3' board, using Baccus 6mm figures.  Rules used were Polemos General de Division.