Heretical Gaming is my blog about my gaming life, featuring small skirmishes and big battles from many historical periods (and some in the mythic past or the far future too). The focus is on battle reports using a wide variety of rules, with the occasional rules review, book review and odd musing about the gaming and history. Most of the battles use 6mm-sized figures and vehicles, but occasionally 15mm and 28mm figures appear too.
Showing posts with label Total Battle Miniatures. Show all posts

Saturday, 13 May 2023

Polemos Ruse de Guerre: The Battle of Talavera

The next game in my occasional parallel games with the Napoleonic Miniature Wargames Society of Toronto was The Battle of Talavera 1809, using the Polemos Ruse de Guerre rules.


I used a (slightly modified) order of battle from Glenn, along with some scenario details from Michael Hopper's Rise of Albion scenario book.
 

Orders of Battle:

 
French:
Dermoncourt's Bde: 3 bases of Cavalry 
Artillery: 3 bases of 8pdr Field Artillery
Victor's I Corps:
Artilley: 3 bases of 8pdr Field Artillery
Beamount's Bde: 3 bases of Cavalry
Ruffin's Division: 3 bases of Light Infantry, 6 bases of Infantry
Lapisse's Division: 3 bases of Light Infantry,  9 bases of Infantry
Villatte's Division: 3 bases of Light Infantry, 7 bases of Infantry
Sebastiani's IV Corps:
Artillery: 3 bases of 8pdr Field Artillery
Sebastiani's Division: 13 bases of Infantry
Leval's Division: 10 bases of Infantry, 1 base of 8pdr Field Artillery, 1 base of 4pdr Horse Artillery
Merlen's Bde: 4 bases of Cavalry

British:
Artillery:
2 bases of 9pdr Foot Artillery, 2 bases of 6pdr Foot Artillery, 1 base of 3pdr Foot Artillery
Cavalry:
Fane's Brigade: 4 bases of Cavalry
Anson's Brigade: 4 bases of Cavalry
Cotton's Brigade: 3 bases of Cavalry
Infantry:
Sherbrooke's Division: 3 bases of Guard Infantry, 5 bases of Infantry, 1 base of Light Infantry
Hill's Division: 1 base of Light Infantry, 5 bases of Infantry
Mackenzie's Division: 1 base of Light Infantry, 5 bases of Infantry
A. Campell's Division: 5 bases of Infantry

Spanish:
Artillery:
1 base of 12pdr Foot Artillery, 2 bases of 8pdr Foot Artillery, 1 base of 4pdr Horse Artillery
Cavalry:
Henestrosa's Division: 8 bases of Cavalry, 4 bases of Poor Cavalry
Albuquerque's Division: 4 bases of Cavalry, 4 bases of Poor Cavalry
Infantry:
Iglesias' Division: 8 bases of Poor Infantry
Portago's Division: 6 bases of Poor Infantry
Mangiano's Division: 4 bases of Infantry, 4 bases of Poor Infantry
Bassecourt's Division: 1 base of Elite Infantry, 6 bases of Infantry

The other Spanish and French formations are deemed to be watching each other to the South, or held in reserve by King Joseph and not to be used (as was the case historically).

The Set-Up:

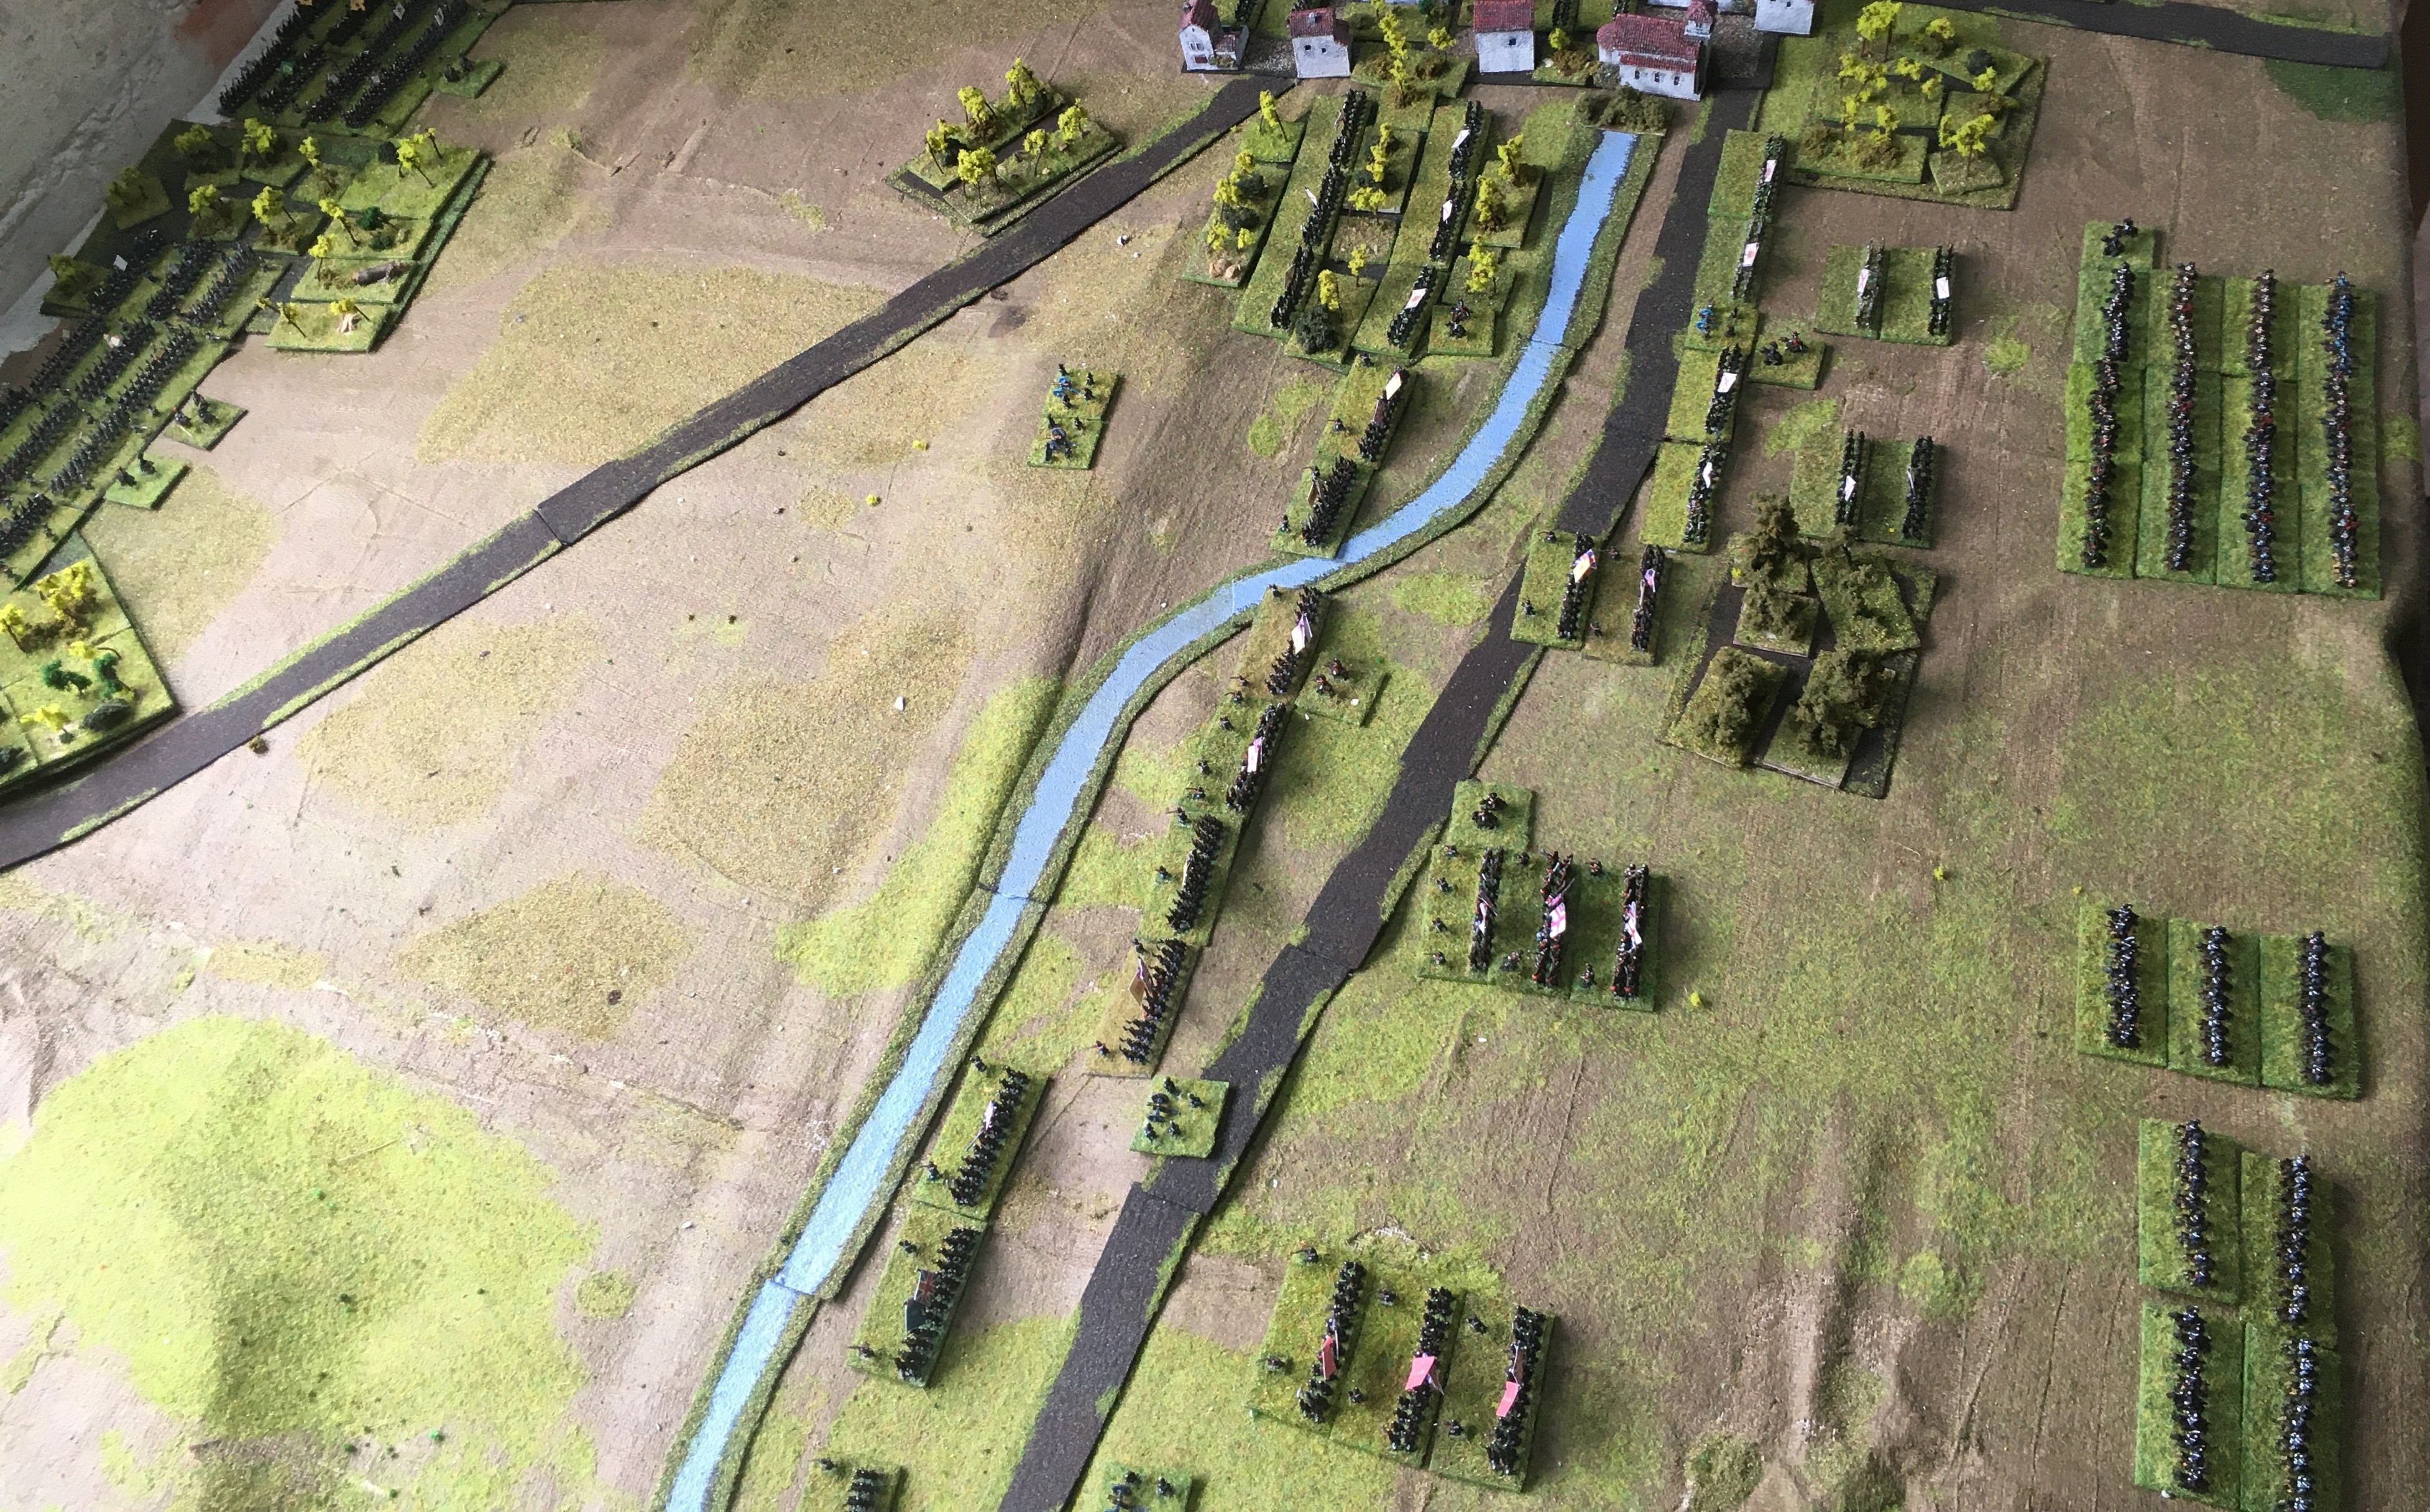
The Anglo-Spanish forces (bottom) defend against the French (top) approaching from the East


The Spanish are concentrated on the Allied Right, anchored on Talavera; Mackenzie's Division is on the left of picture, with British and Spanish artillery in the redoubt (centre-top)

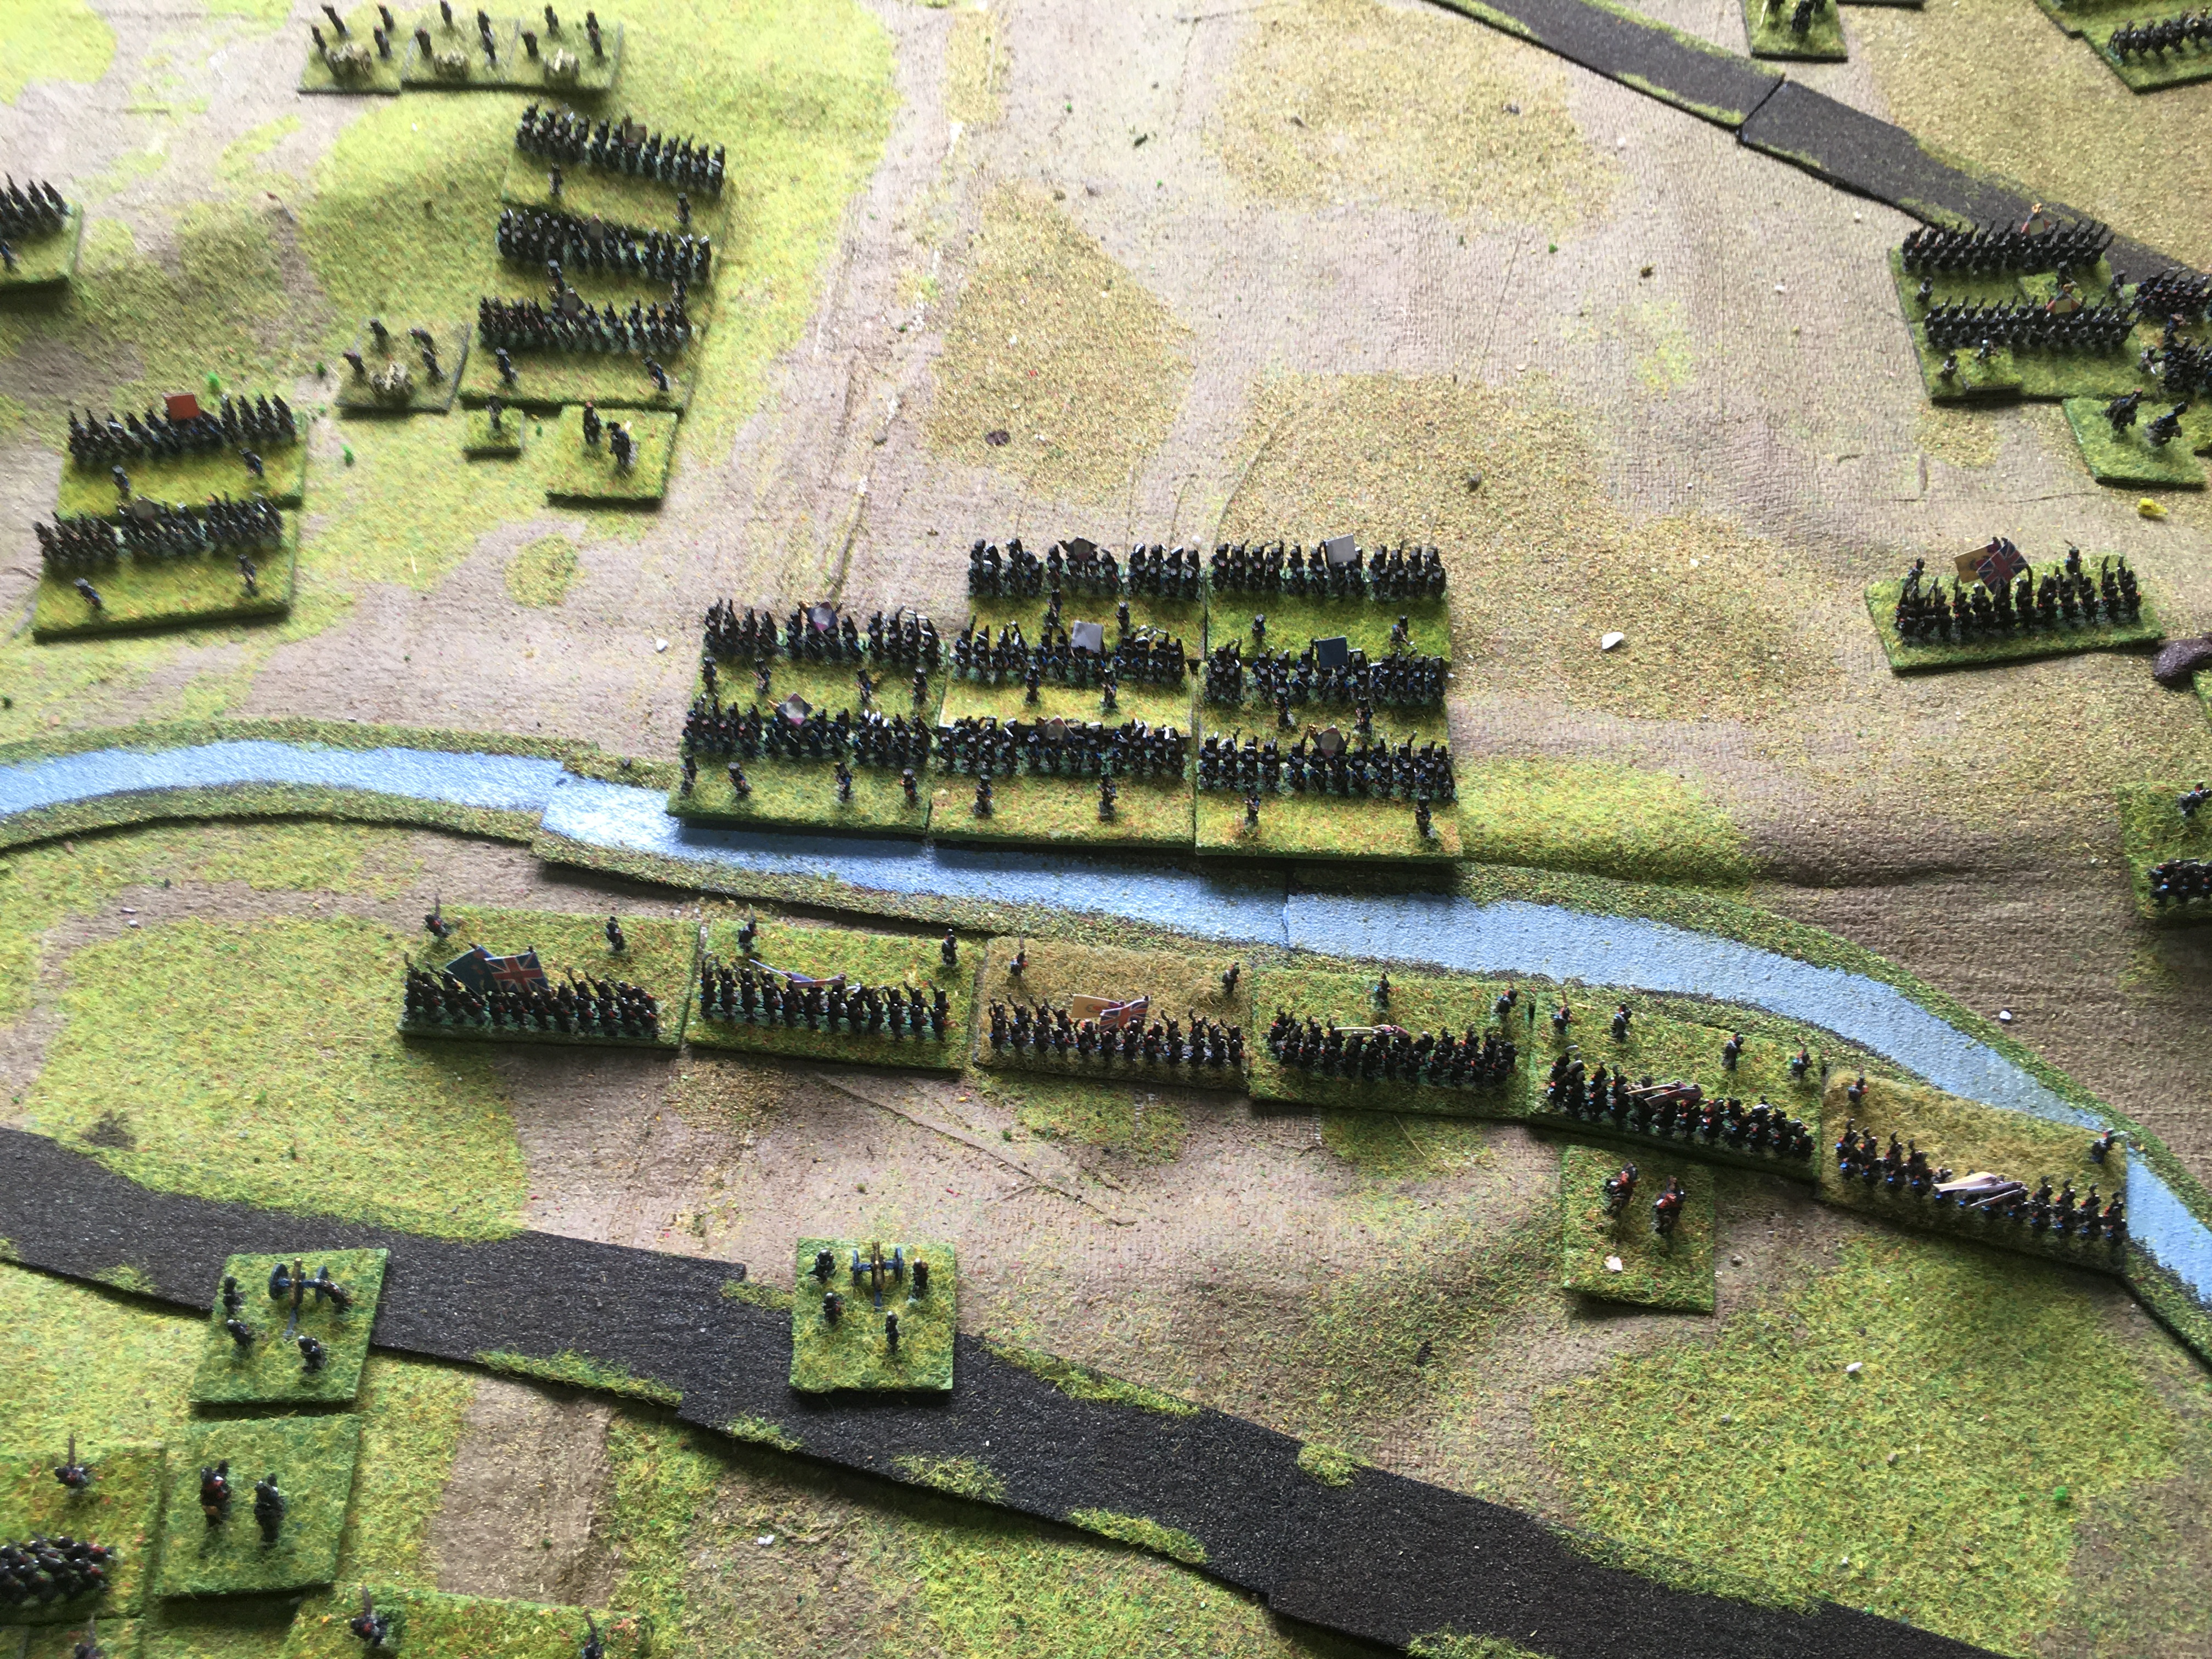
The Allied Centre, with Hill's Division (left), Sherbrooke's Division (centre) and Mackenzie and Campbell's divisions (right); a mixture of British and Spanish cavalry are in the rear

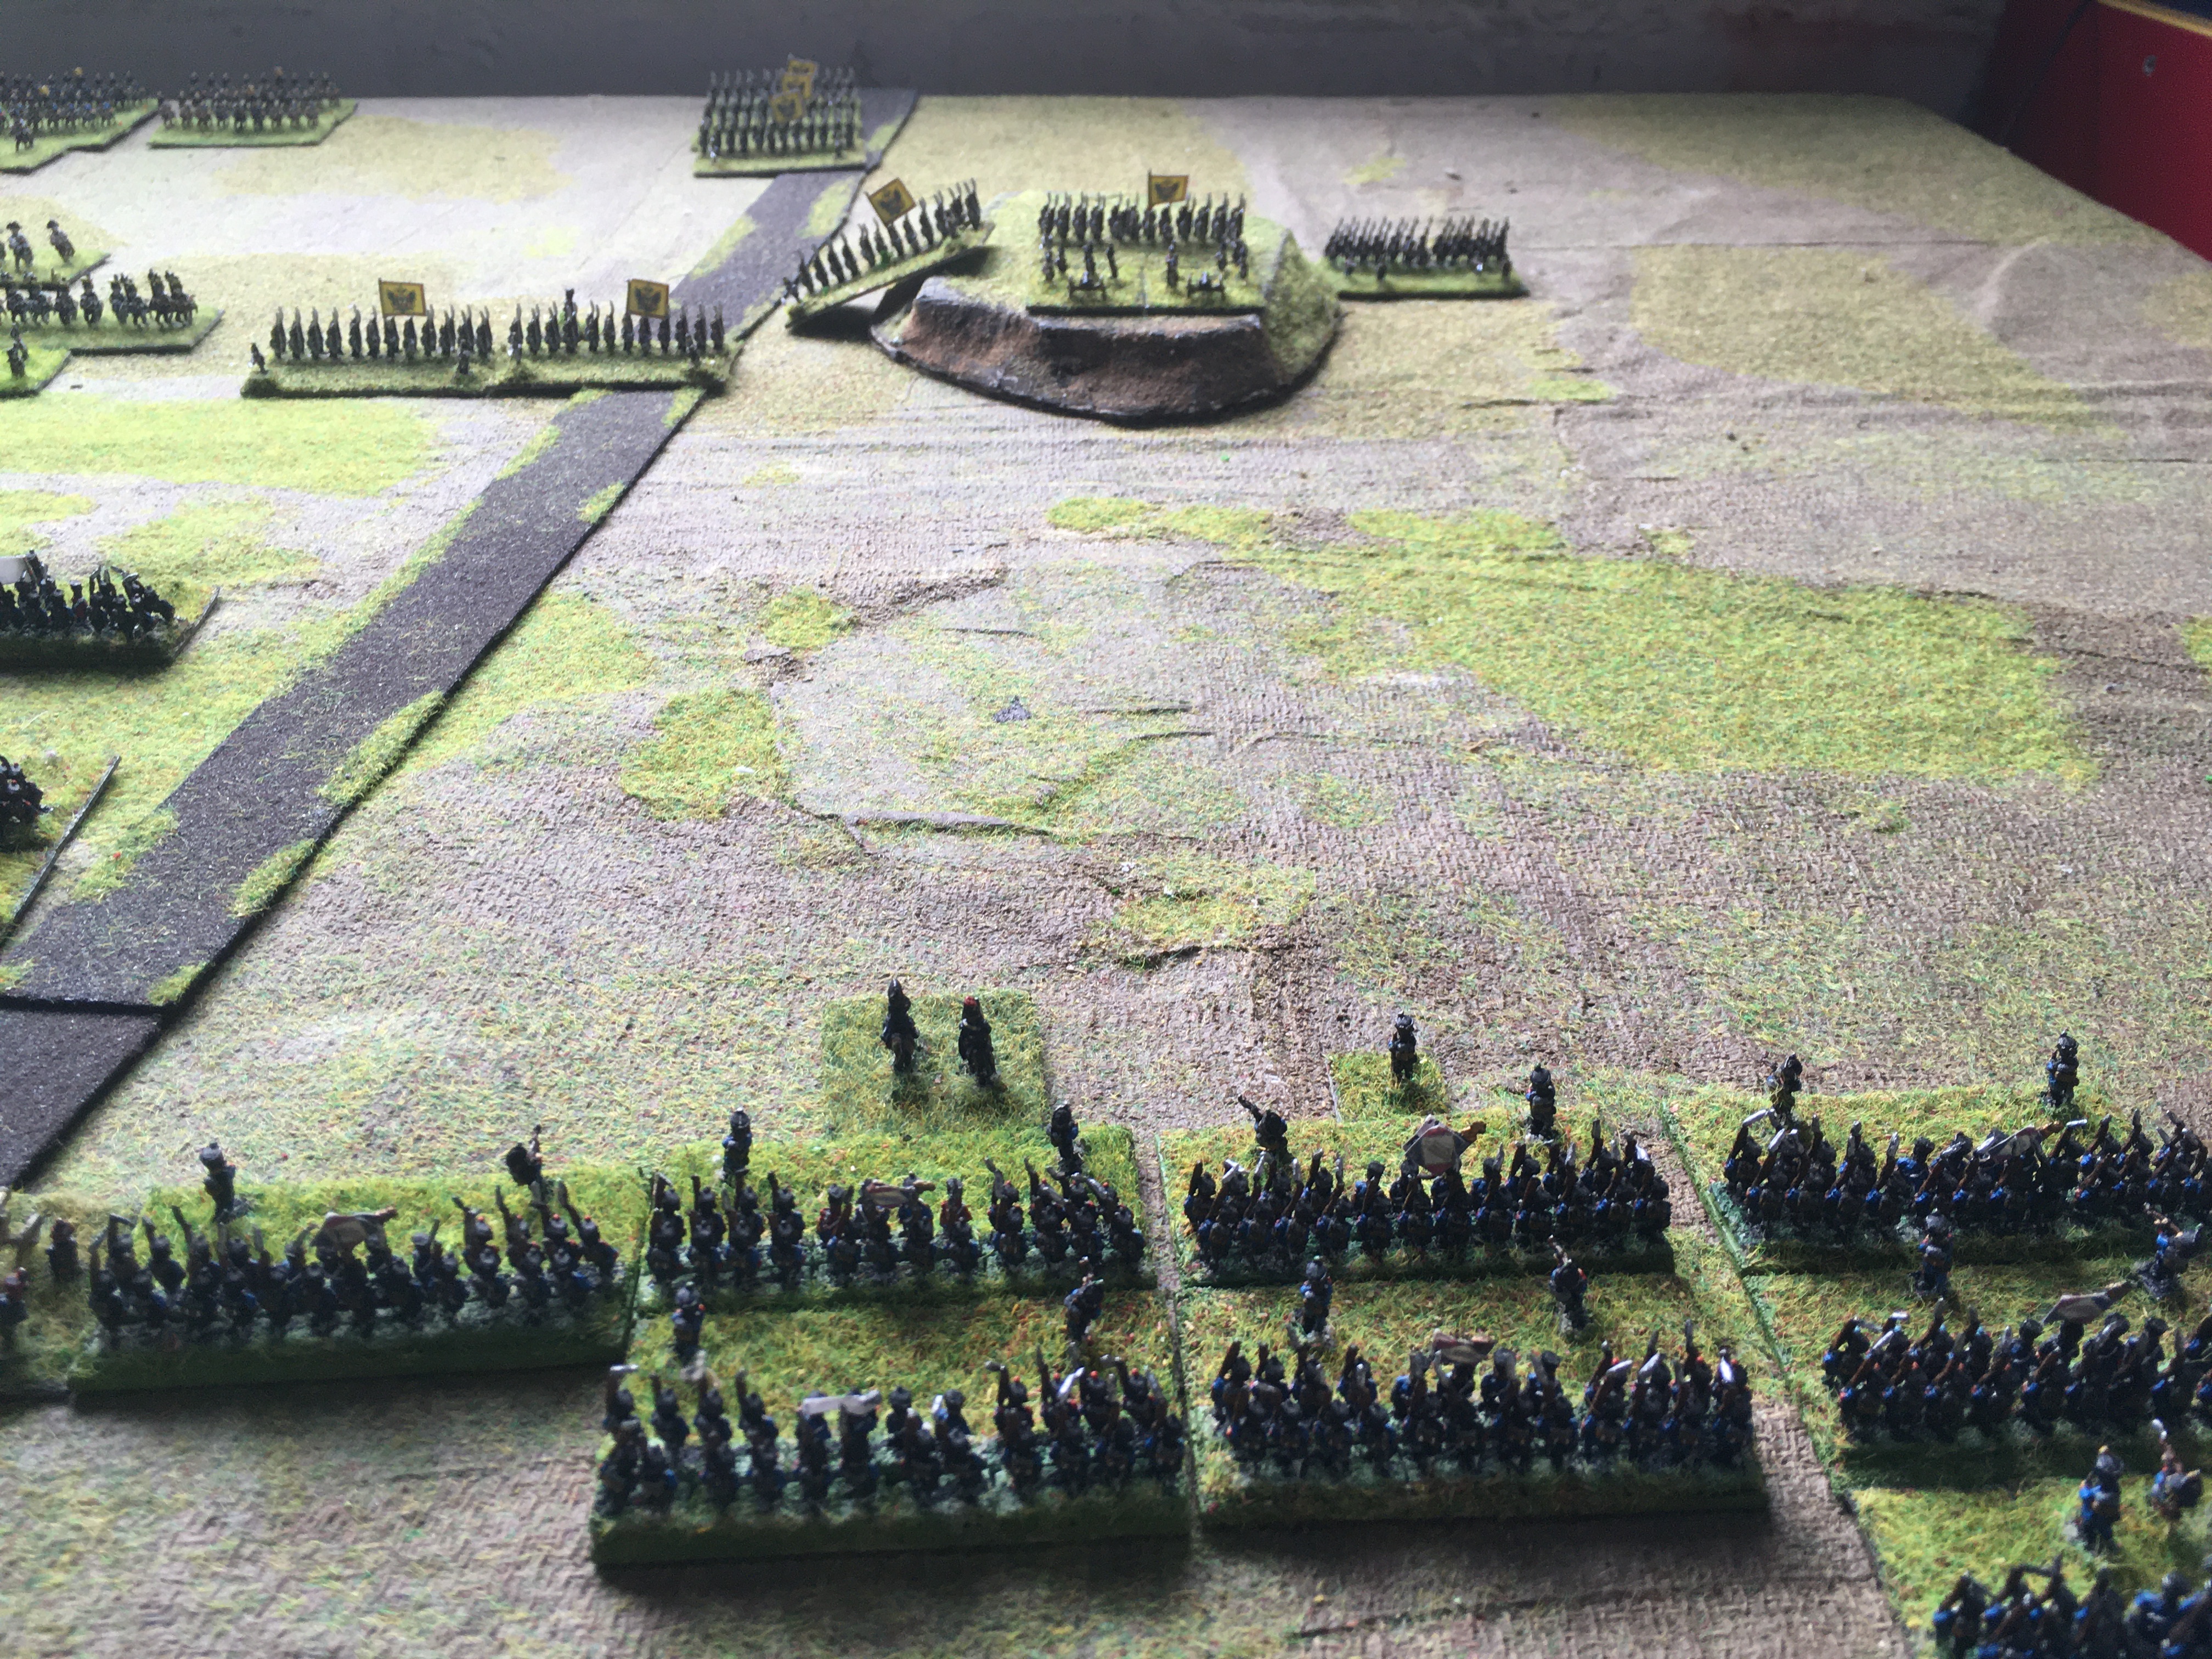
Bassecourt's Division guards the extreme left

The advancing French: Rey's Division

The remainder of Victor's Corps

And Sebastiani's Corps

A look along the brook towards Talavera

And back from Talavera towards the cerro to the North

The Battle: 

(there are fewer photos than I would normally do for a battle this size, some I forgot to take, some didn't turn out usable)

The French attack started with Rey's Division; however Bassecourt's artillery heavily weakened it during its advance and then the Spanish cavalry timed its charge to perfection, routing one of Rey's brigades.

The remainder quickly became discouraged; French cavalry move up to restore the situation

The remainder of Victor's Corps advance towards the brook, deploying their artillery to try and counter some rather effective British artillery fire against it

Lapisse's Division also advancing, also taking losses (note the gap in the ranks!)

Meanwhile, Sebastiani's Corps is also developing its attack, altough the British have moved up some infantry to support the artillery in the redoubt

Leval's Germans appear to moving against the Spanish in Talavera itself

No feint; the German coldiers try and break into the city, their muskets and shiny bayonets causing the Spanish artillery to prudently retire deeper into the streets!

British artillery and musketry throws back a French attack on the redoubt, although the purusing British (left) are unceremonioously thrown back in their turn

Lapisse's Division tries to develop its attack further across the brook in the face of British fire

The French Right is struggling a little to get orgainzed having been disrupted quite heavily by British artillery on the way in

It isn't quite causing the same degree of damage, but French artillery is forcing Sherbrooke's leading battalions back (centre); but the British artillery is having a literal field day, detroying the French as they approach the brook in this sector

Another failed assault on the redoubt; the only comfort for the French is that yet again the British counter-attack is going to be defeated and forced back

More of Leval's troops are pushing up against Portago's spanish, causing some losses

Leval's Germans are fighting fiercely at the gates of Talavera but just don't seem to be able to fully break in

Another shot

A third failed assault on the redoubt and a third failed British counter-attack!!!

Despite suffering further heavy losses, Lapisse has just about managed to get his leading elements across the brook

The Spanish cavalry are engaged on the left, but very surprisingly manage to give as good as they get!

Liger-Belair's brigade has suffered massive losses around the redoubt, which is still in Anglo-Spanish hands

The Germans momentarily got into Talavera, but a surprisingly strong counter-attack  pushed them back out

At this point, the battle ended - the French losses were just too heavy to continue: four divisions have been eliminated as effective formations and Allied losses have been far less severe

The Allied Left - note the lack of French infantry left in the game at this point

The Allied Centre-Right

and the Allied Right


Game Notes:

A game that wasn't a million miles in form from the original but with even heavier losses for the French and much lighter losses for the Allies, especially the British. The British artillery was just so effective in this battle it was quite bizarre: lots of the French units were 'quick-killed' by the British artillery, or suffered quick-elimination when trying to rally; the French artillery on the other hand didn't do nearly as well.  The only thing that kept the French in the game at all was their (relative) prowess with the bayonet in the close assaults.  Added to that, the Allies won the intitiative on all the most key turns, so it was a long day for the French.

I really enjoyed it once I got into it. It was the first time I have set-up a battle on my new bigger tables, this was a 6'x4' (extendable to 8'x4') and it was nice to get lots of toys onto the table. On the other hand, it was also a bit harder work than usual because I was playing quite a large scenario and there is only me to keep track of things.  Polemos Ruse de Guerre isn't a particularly heavy system, but these scenarios for RdG are really better for multi-player games I think.  The mechanics of the game stood up well, but the accountancy required to keep track of tempo points was a bit of work. I think I need to do more to optimize my set-up visually to make that easier: more game-state indicator bases if you will.  Even though Ruse de Guerre doesn't have a particularly complicated unit classification system, it is still a bit more complicated than DBA or Neil Thomas or suchlike.

The actual game was dominated by very good British artillery firing dice and very poor French rallying dice.  Between those two things, the French were leaking away units from the start of the game and even when they had got their own artillery up, they weren't so lucky and caused a much lesser degree of damage.  I think they might have done better with Polemos Napoleonics, since being quick-killed by artillery bombardment (or musketry for that matter) alone is nigh-on impossible in that game: close assault is much more decisive; although it is really a bit big for General de Division. So overall a very good day's play, although I can see why I keep the bigger games to 'every so often': the extra administrative overhead in compensation for the extra spectacle and the extra interactions is a treat, not a staple (for me).

Figures by Baccus 6mm, the buildings are mainly from Total Battle Miniatures.


Tuesday, 26 July 2022

Battle of Castiglione 1796 - A Polemos Ruse de Guerre Refight

This month's twin game with the Napoleonic Miniature Wargames Society of Toronto featured the Battle of Castiglione 1796.  This is one of those scenarios which at first glance doesn't make for a brilliant scenario, since Napoleon had arranged the battle so that at French force was due to arrive in the flank of the Austrian force, and the battle itself was mainly to fix Wurmser.  Very sensibly therefore, the flanking force is left out of this scenario but it rather imposes a time limit on the game and victory or defeat can be assessed by how strong a position Wurmser is in by that time.  Of course, that in itself isn't entirely satisfactory - Wurmser wasn't aware he was under a time limit - but probably this won't make too much difference.

As ever, this battle was re-fought using the Polemos Ruse de Guerre ruleset. 


The Forces:

I used the following orders of battle for the game:

Republican French
C-in-C: Napoleon (Decisive)
1st Division (Massena): 4 bases Well-Trained Light Infantry, 9 bases Well-Trained Infantry, 2 bases Trained Cavalry, 1 base Well-Trained 8pdr Foot Artillery
2nd Division (Augereau): 1 base Well-Trained Light Infantry, 7 bases Well-Trained Infantry, 2 bases Well-Trained Cavalry, 2 bases Trained Cavalry, 1 base Well-Trained 8pdr Foot Artillery
3rd Division (Kilmaine): 1 base Well-Trained Infantry, 1 base Well-Trained Cavalry, 3 bases Trained Cavalry, 1 base Well-Trained Foot Artillery*
4th Division (Despinois): 2 bases Well-Trained Infantry

*alternatively, as Horse Artillery
 
These forces are a slightly scaled-down version of Glenn's original forces, but still well within the 'tolerances' of Ruse de Guerre.  One could optionally convert a third of the infantry in the French order of battle into more light infantry, depending upon a - your feelings about the relative numbers and merits of French and Austrian line infantry skirmishers in 1796 and b - whether you think the game will be hurt or harmed by making the French slightly more powerful than they are already.

Austrian
C-in-C: Wurmser (Capable)
1st Division (Davidovich - Capable): 1 base Well-Trained Light Infantry, 3 bases Trained Light Infantry, 1 base Well-Trained Infantry, 11 bases Trained Infantry, 1 base Well-Trained Cavalry
2nd Division (Sebottendorf - Capable): 2 bases Trained Infantry, 5 bases Well-Trained Cavalry
Artillery: 2 bases Trained 12pdr Foot Artillery, 2 bases Trained 6pdr Foot Artillery

I used quite a stripped down terrain set-up, as proposed by the scenario back in Miniature Wargames 101: 

The battle was limited to 16 turns, as this is when the French flanking force is deemed to arrive and Wurmser would be forced to withdraw.

The Set-Up:


French approaching from the bottom: Massena's Division is to the left, Augereau's to the right

Massena's Left.

And his Centre and Right.

Augerau's Divsion and Despinois' small brigade (on the road)

Kilmaine's Division on the right flank.

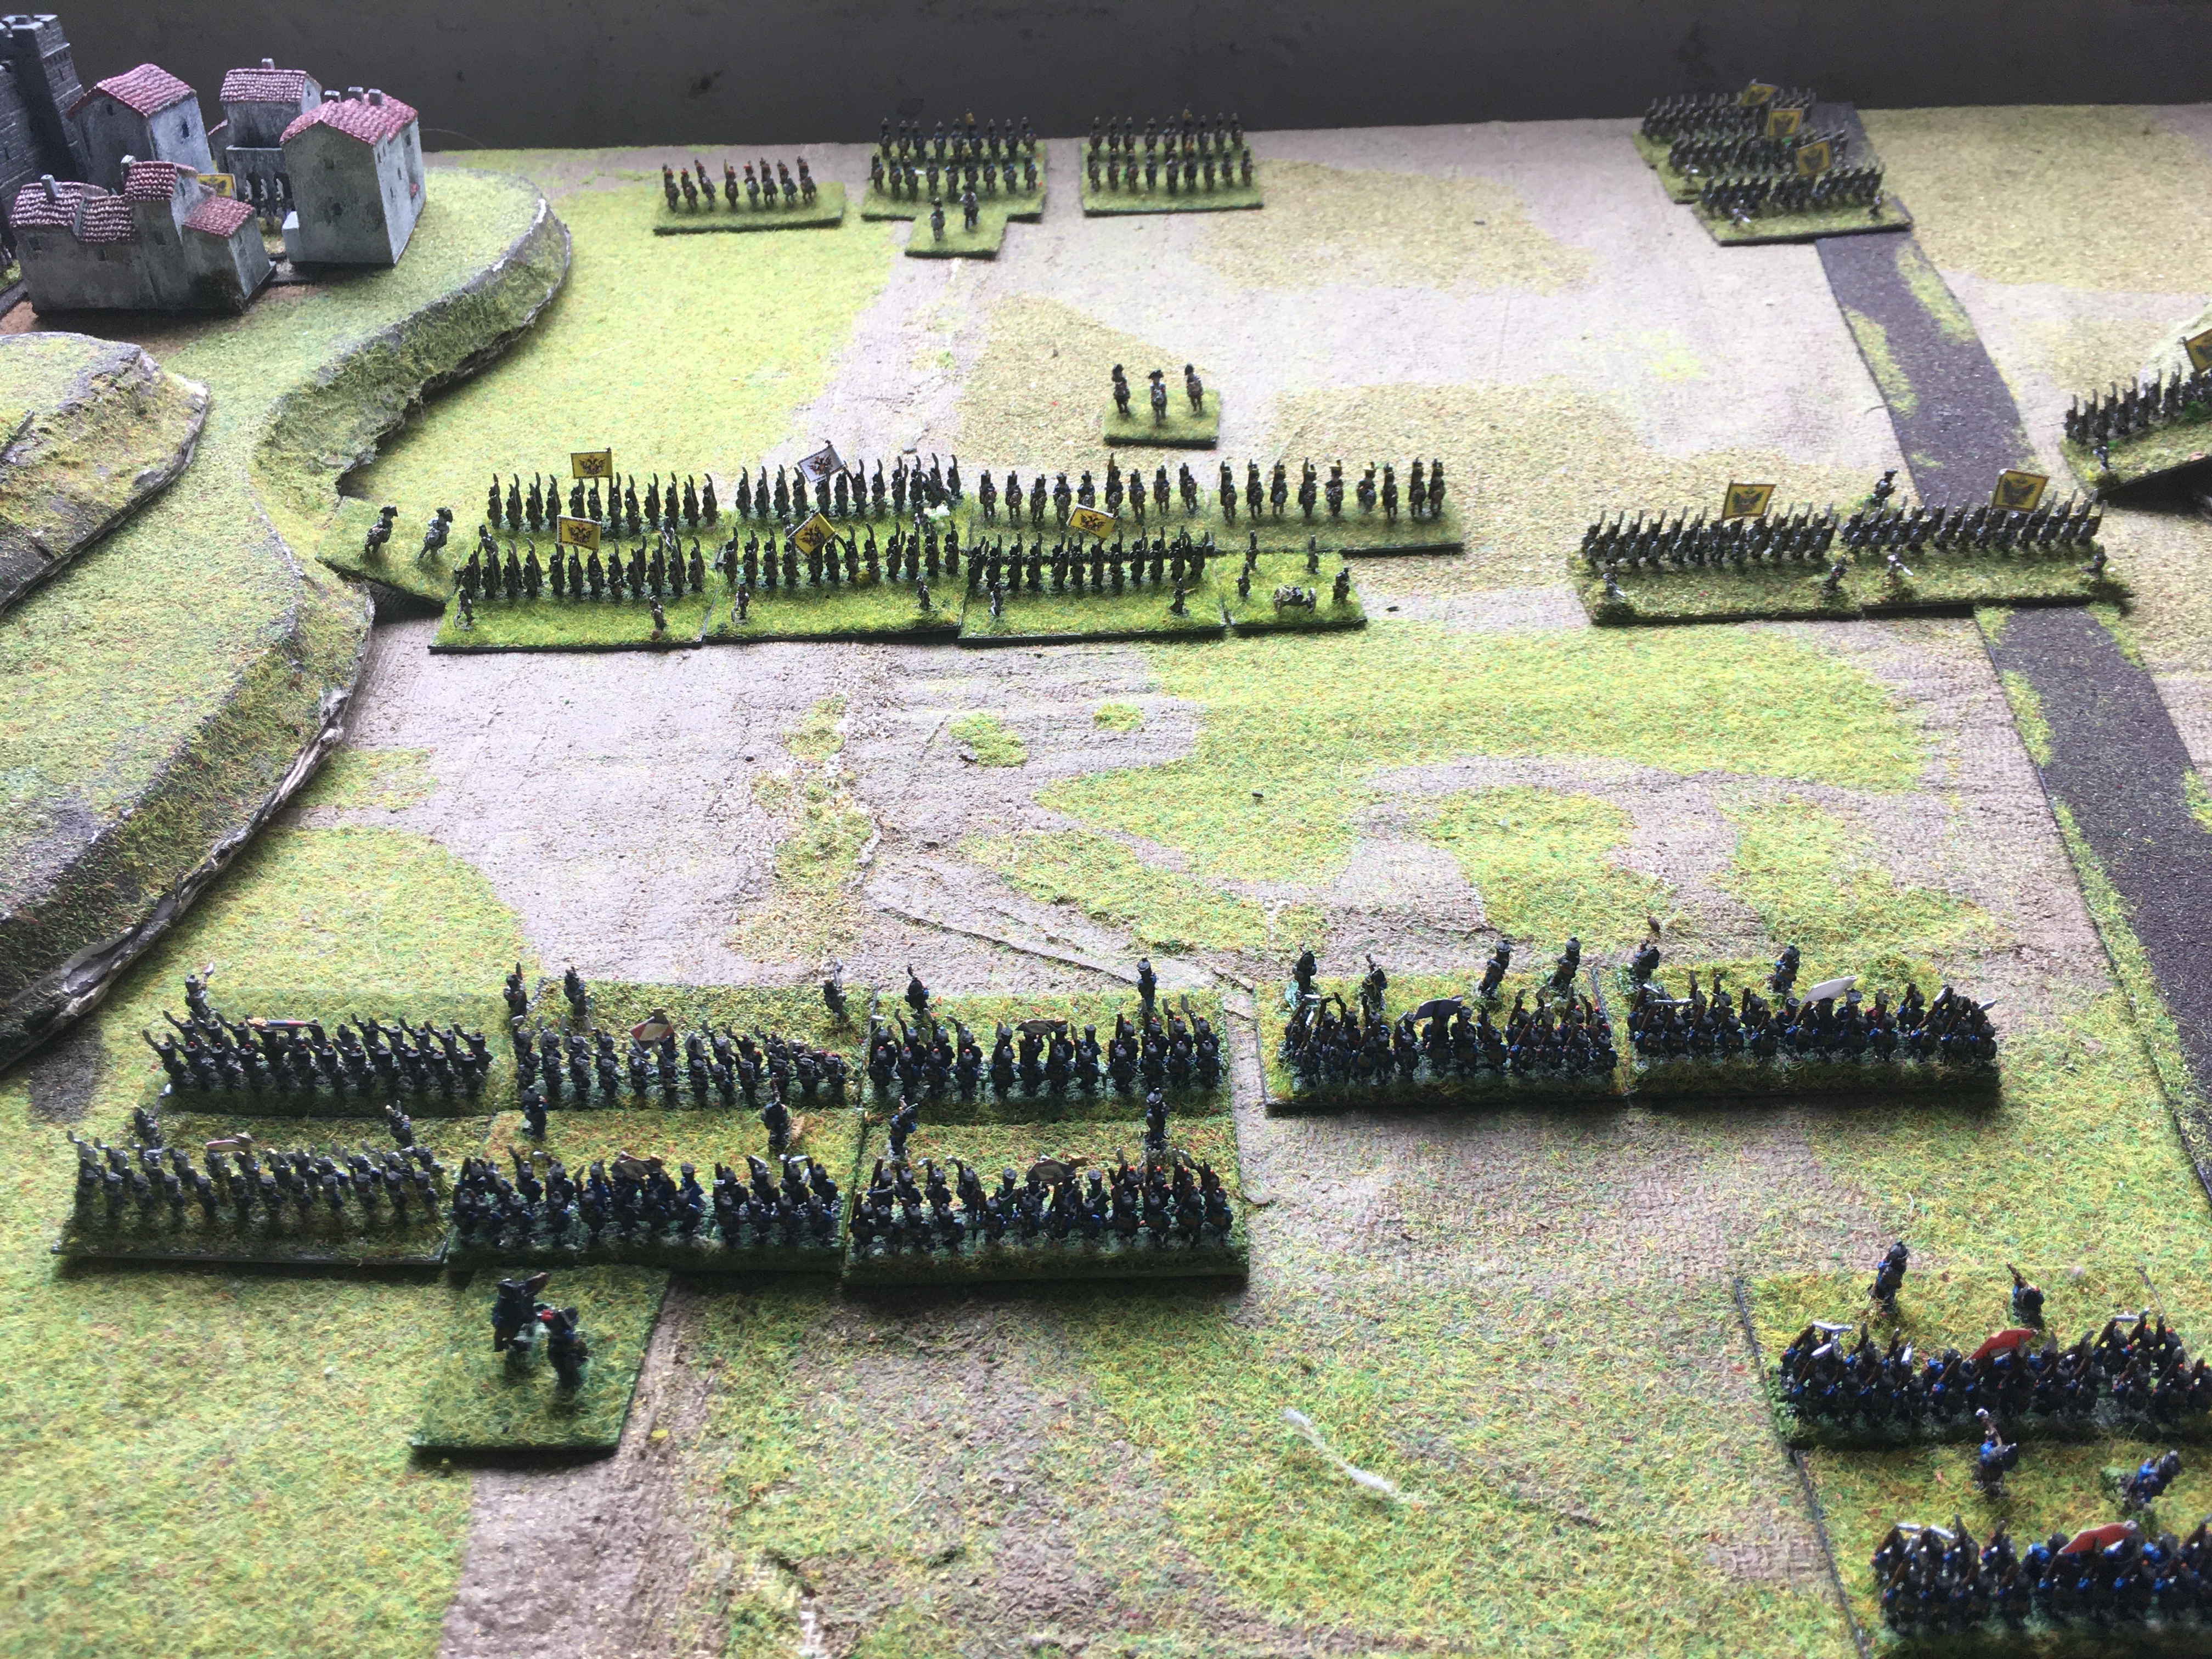
The Austrian Left, anchored on a hill.

And the Austrian Centre

Sebottendorf's infantry garrison the village and old castle.

The Austrian Right, with Schubirz Jaegers and Grenzers defending the high ground.

Another view

And another

And one last one for luck! The MW scenario really did simplify the terrain...no bad thing!

The Battle:
The battle begins with the Austrian infantry on the road taking casualties from French artillery fire; the initial Austrian artillery response was pretty ineffectual

It soon found its mark amongst Augerau's infantry, however

Massena decided that the weakest point was probably the Austrian right-centre, despite the troops concentrated there.

Another shot

Concluding that a lengthy exchange of fire would probably hurt rather than hinder the French, Napoleon orders Massena to charge the Austrian lines.

With mixed, but generally good, results.  The French Regiment on the left has been pushed back, but some of the Austrian forward battalions have been routed.

The French artillery pounding the Austrian infantry at the base of the hill are cutting swathes through the defenders...

Sensing a weakening in the Austrian line, Napoleon orders Despinois to advance from his reserve position to threaten the road and the Austrian strongpoint

Sensing an opportunity as the French try and reform after their attack - which has been hindered by some heavy Austrian musketry, Wurmser throws in a cavalry brigade...

Massena himself leads a French infantry counter-attack - successfully, as the leading Austrian battalion is routed

And despite their casualties and disorder, the neighbouring French battalions put up a sufficiently convincing line of bayonets to dissuade the Austrian cavalry!  Meanwhile, another successful French bayonet charge has routed more Austrian infantry (centre-right) - the Austrian position has deteriorated quite quickly.

A wider view: the Austrian centre is under huge pressure

After another bloody musketry exchange, more of the Austrian infantry clear off

Although the Austrian artillery continues to cause casualties amongst Augereau's static infantry

Until some excellently-directed counter-battery fire devastates the Austrian heavy artillery

Wurmser - in some desperation - throws in another cavalry charge to try and restore the situation

And leads another one in person!

Kilmaine's Division - which so far has only contributed by the excellence of its artillery's counter-battery work - launches a massed cavalry attack on the flanking Austrian Grenzer battalion from Mitrovsky's brigade.

A closer look.

Seizing the initiative, Massena's infantry catch the Austrians trying to redeploy to deal with the break in the Centre

Which is just as well since the tide of battle may be turning!!! The Austrian cavalry charge is successful, routing the French infantry

Wurmser's own charge has been equally successful! Hundreds of French infantry have been cut down, more or running...

However, another unit of Austrian infantry is put to flight by the road as the French flanking attack plays out...

The Austrian cavalry, although disordered, does well to push the attacking French backwards

The Austrian Grenzers hold off Kilmaine's attack

Meanwhile, the French panic spreads in the centre - thousands of Massena's infantry are in flight!!

A wider shot

However, just as Augereau is ordered to attack to restore the situation, the Austrian infantry starts to pull back, exhausted and demoralized

The battle ends successfully for the French, although in some confusion due to the panic of half of Massena's infantry

Another view of the confused situation in the Centre and Left of the Austrian position - there is a mounting crisis on the Austrian left and along the road, so although the Austrian cavalry have restored the situation the Centre-Right (left) the game is up for Wurmser - Davidovich falling during the last charge didn't help matters either

Final positions

Game Notes:

More good Polemos Ruse de Guerre fun. Mechanically these rules are just so solid and that helps the game rattle along at a very decent clip.  Fortune definitely favoured the French in this one - so much so that I actually swapped out the d10 I was using for the Austrians at one point (!) - I use different coloured dice for each nationality, incidentally, just to help me remember which die roll belonged to which side.  And this kind of worked, since Austrian fortunes were at least even in the second half of the game! By then though the damage had been done.
More interestingly though was where tactics and game mechanics interact in unusual ways.  I try and not to be too much of a "hey-diddle-diddle, straight-up-the-middle" type of tactician but here it seemed to make sense, given the rules: artillery and musketry can be random but deadly; conversely a unit managing the tempo correctly can avoid musketry fire (but not artillery) if it attacks swiftly; and the French have an advantage in quality but an inferiority in number and calibre of artillery and cavalry.  Perhaps I am reading the tactical rules incorrectly, but to me that points to a very aggressive strategy with one's infantry.  The only advantage in terms of using firepower to prepare an attack is the French numerical advantage in light infantry (they are slightly harder to disorder by fire and much harder to quick kill.  So the exact ratio of French skirmishers to opposition will determine how much exchange of fire is optimal for the French player.
I don't suppose I mind any of this very much, but it shows how much apparently small differences can make: the defensive fire routine of Polemos: General de Division and the extra shaken step in that ruleset (the third shaken step breaks a unit in that ruleset, whereas it is only the second in Ruse de Guerre), plus the overall greater importance of firepower in Ruse de Guerre, creates a very, very different tactical picture. Anyway, as I said, all great fun!

I did make another slight change to the Tempo system. As well as sticking with the changes I made last time (i.e. instead of a random d10 roll to determine the number of Tempo Points for bidding, using D6+competence modifier), I also used a competence modifier to change the bid; Napoleon can therefore change his bid upwards by 2 points if that would make a difference to the result; Wurmser was given a value of 1.  So if Napoleon rolls 3 and Wurmser rolls 8 for their bids, nothing happens and those scores remain the same; but if Napoleon rolls 5 and Wurmser 6, their rolls get modified to 7 and 7 respectively.  It worked fine and I will keep it to at least test if further.

Looking forward to the next game! Figures by Baccus 6mm, buildings by Total Battle Miniatures.