Not being happy with my
first attempt at re-fighting the Battle of Shieldfield scenario from the
Polemos ECW rulebook, I had another go. I used the same orders of battle for each side, but deleted the sub-commanders given in the scenario (details given in the link to the first battle). The scenario in the book gives subordinate commanders for each side, and rates one as "Good", which strongly implies that these commanders are not there for flavour but are intended to be used. However, the overall size of the forces seems to0 low according to the rules to justify sub-commanders.
The Deployment
 |
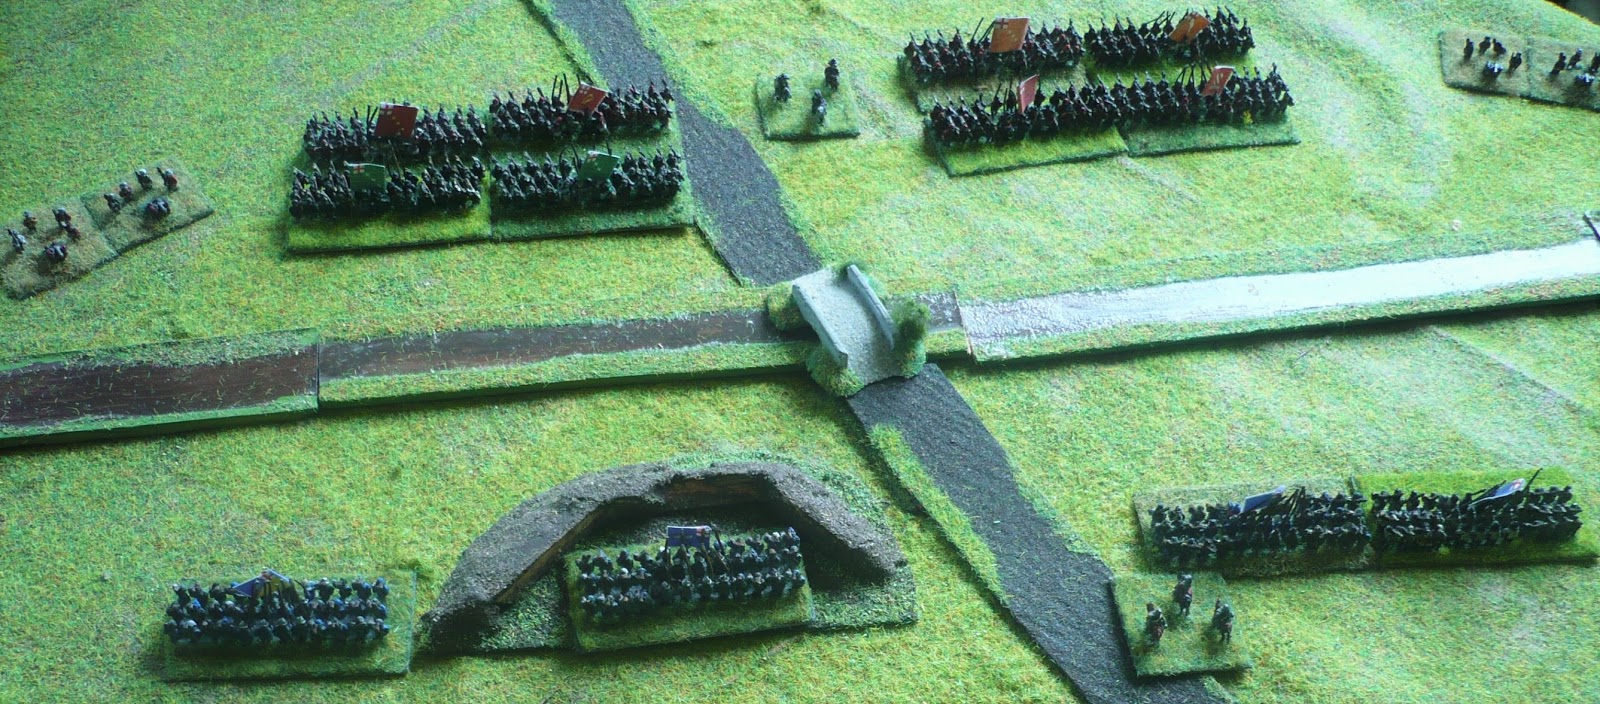
| The Covenanters advancing on Brandon Burn from the Northwest (top-left), with infantry at the front supported by frame guns, with a cavalry brigade in the rear. Four battalia of Royalist foot, one occupying a half-completed fort, oppose them. |
 |
| The fully-built fort in the rear, occupied by c.1000 infantry and some foot artillery |
 |
| The position from behind the Royalist infantry. In contrast to the first battle, the frame guns have started deployed and ready-to-fire. |
The Battle:
 |
| The Scots try to cross the Brandon Burn in the face of the Royalist musket fire |
 |
| The Covenanter cavalry move right around the Royalist flank. Royalist infantry from the fort move to block the threat. |
 |
| The Covenanter cavalry deploy from their march column to threaten the Royalist position. The Royalist infantry have succesfully halted the first Scottish infantry attack |
 |
| The Scottish infantry again fail to make progress but the Scottish cavalry and dragoons ride forward to threaten the Royalist infantry |
 |
| The Scottish dragoons push the Royalist infantry back but they retain their cohesion, despite their difficult position |
 |
| Apologies for the shadows on the picture: the Royalist infantry around the incomplete earthworks is pushed back as it is attacked alternatively by the Scottish infantry and dragoons. The Royalist infantry on the other side of the road is locked in struggle against the attacking Scots: half the Scots have been pushed back with heavy loss, but other Royalist infantry have been pushed back. However, the Royalist cavalry have arrived in march column into the rear of the position. |
 |
| A further attack by the Scottish infantry and dragoons finally defeats the Royalist infantry on this side, which flees from the battle. Note the deploying Royalist cavalry top-right. The remaining Royalist infantry continue to hold on. |
 |
| A wider shot of the battle as the Scottish infantry reform beyond the incomplete fort. They have also pushed back the Royalist cavalry, which refused to charge their Scottish opposite numbers. The Royalist infantry battalia on the right flank has also routed and a single foot unit is holding on by the bridge - but is now practically surrounded by its enemies. |
 |
| A closer shot: that third Royalist foot unit fleeing the Scots. |
 |
| Both sides spent the next 10 minutes or so reforming battle lines...note that the Royalist infantry by the bridge (blue flag) has turned around to avoid being hit on the flank, then to try and break out back towards its own lines. |
 |
| The clash between pike-armed Scottish infantry and the English cavalry troopers predictably ends in the defeat of the latter: one base in rout another with heavy casualties...the Royalist commander offers the Scottish commander his sword... |
 |
| The last Royalist infantry by the flag is routed after its heroic performance - with no way out, it surrenders. |
 |
| A further Scottish advance routs another English cavalry base and with the Royalist centre compromised, the battle ends as the Royalists cry out suave qui peut... |
 |
| And a wider shot of the victorious Scottish centre |
The Result:
A fairly easy and decisive Scottish victory, although the Royalist infantry did fight quite well. The Royalists lack an arm really capable of inflicting decisive damage, whereas the pike-armed Scottish infantry, although slightly outgunned in a firefight (and indeed didn't inflict any damage by fire throughout the battle), were able to break the English infantry when presented with the opportunities to do so. The Royalist cavalry did get in position by about turn 10 (i.e. after c.50 minutes) but just too late to tip the scales of the battle. As it was, the Royalists' cavalry was spectacularly unsuccessful during the battle, only one base carrying out a somewhat successful charge. Its failure to charge isolated Scottish cavalry just when the Scottish infantry were clambering over the earthwork effectively sealed the result. When the Covenanters reformed the battle line, the result was no longer in doubt...
Game Notes:
A much better game, which followed the same pattern as the first, but I didn't mess up the morale rules this time! I still have a few little doubts about the army morale system - it seems too random and doesn't seem too well calibrated for these smaller ECW armies. The original battle resulted in an easy victory for the Covenanters and I imagine it will be quite hard to achieve a Royalist victory. But the game worked cleanly and well, with no problems encountered. The battle took about 70 minutes of playing time, on a 5'x'3 home-made terrain mat. Figures by
Baccus 6mm.


Well, the army morale system probably is not well crafted to these smaller actions. On the other hand, it does attempt to reflect the overall volatility of ECW army morale - bits of Essex's army ran away at Edgehill, and other bits clung on and nearly won the battle.
ReplyDeleteFrom this perspective, you might like to try substituting the army moral rules from Polemos SPQR for the ECW rules; my own feeling is that the former are a bit simpler and more seamless. I'm allowed to say that because I wrote both of them!
Thanks very much for the suggestion, I may give these a try. On consideration, you are probably right about the volatility of ECW armies and the combination of the d20 roll with the number of army morale rolls in the Polemos rules does capture that.
ReplyDelete