Heretical Gaming is my blog about my gaming life, featuring small skirmishes and big battles from many historical periods (and some in the mythic past or the far future too). The focus is on battle reports using a wide variety of rules, with the occasional rules review, book review and odd musing about the gaming and history. Most of the battles use 6mm-sized figures and vehicles, but occasionally 15mm and 28mm figures appear too.

Thursday, 4 April 2024

Alcolea - a Polemos General de Division Refight

Continuing this short series of really lesser-known Peninsular War actions, playtesting scenarios from a forthcoming Michael Hopper scenario book, this game recreates the action at Alcolea, an early action in Dupont's ill-fated attempt to conquer Andalusia in the summer of 1808, which led to the surrender at Bailen.

The basic situation is that a Spanish force with a very small core of regulars supported by a ton of new levies is trying to stop Dupont's advance, by blocking the bridge. It is also on the high ground threatening his flank. Dupont either has to force the bridge, or defeat the Spanish force in front of him.

I used the Polemos General de Division Napoleonic rules for this refight.


I won't give the detailed forces - you'll need to wait for the scenario book to come out if you want that - but in broad terms, I used:

French: 6 bases of Cavalry, 17 bases of Infantry, 3 bases of Artillery
Spanish: 2 bases of Cavalry, 20 bases of Infantry, 1 base of Artillery

As with these other early battles, there are some important choices to be made: the French were hardly the veterans of Austerlitz and Jena, but even the Legions of Reserve and Provisional Regiments were much more experienced and better trained than the Spanish levies. How these are reflected in the game will depend a lot on what your ruleset can handle. But a little more of this in the game notes.

The Set-Up:

The Spanish on the hills and across the river.

One half of the Spanish army

And the other half, guarding the crossing

And a closer look at the built-up area and the bridge, the heart and hinge of the Spanish defence

The advancing Imperials. I don't have the Marins de le Garde so I am using a Young Guard battalion as the closest thing in my collection (I really should get around to doing them, some of the smartest troops to grace a battlefield ever!)

The Battle:

Slightly surprisingly, the Spanish begin by attacking! Seizing the initiative, they were at least doing something Dupont wasn't expecting...

The young French Fantassins seem to flinch a little as the Spaniards approach...

But they deliver a couple of devastating volleys which blow away the head of the attacking Spanish column

The remnants run away up the slope

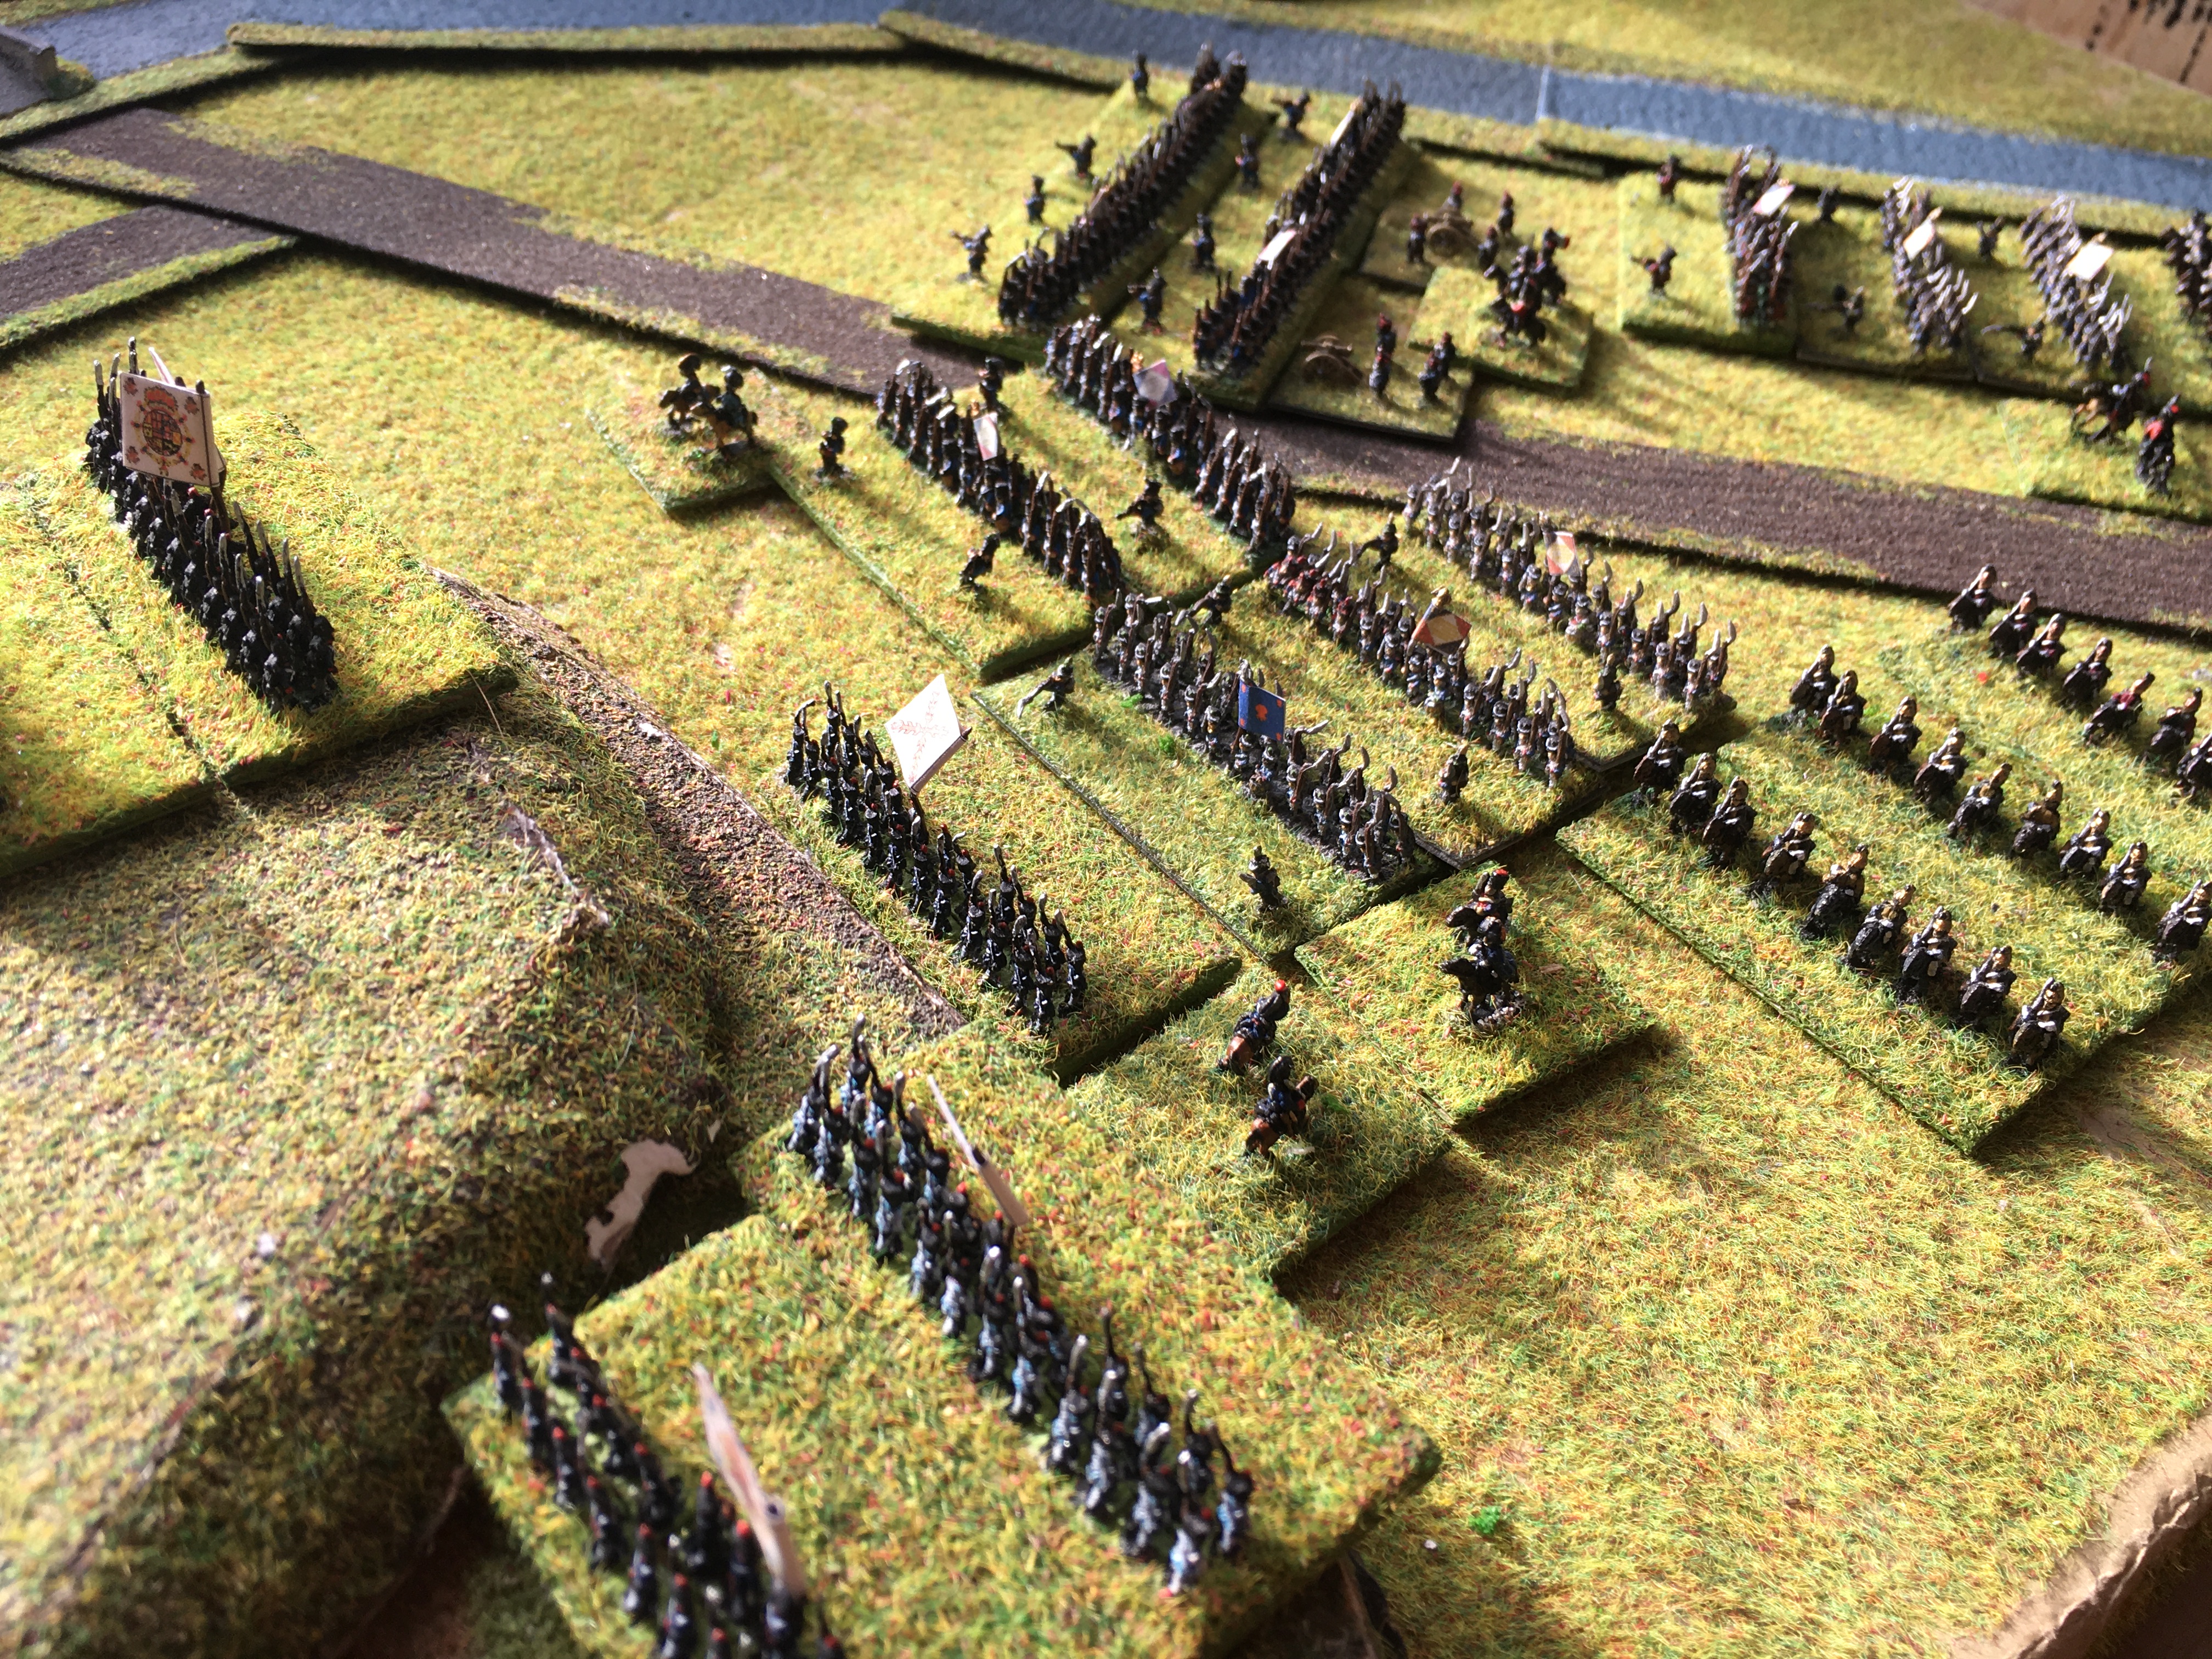
The French re-group, and then launch a much larger attack of their own, with the Marins de la Garde and Dragoons leading

There is some quite fierce fighting, but the Spanish are slowly being pushed back in the centre of the slope and the Marins break through the first line, which bends back to left and right; meanwhile, more of Dupont's troops are advancing towards the bridge

The French are waved forward for a second time, as their commanders try to renew the impetus of the attack

The Spanish are somewhat akwardly positioned, and suffering severely, but are still fighting hard - they have repulsed the French Dragoons, and stopped the supporting French infantry column

In the congested fighting, the French infantry - pinned on the plateau - re-orientate their supports and try and push back down the slope

The Spanish infantry on the right flank (nearest, bottom) break and run; Spanish counter-attacks can make no progress and more Spanish battalions rout (top of the hill)

Another Spanish counter-attack has some success, the French are just clinging to the edge of the plateau!

The French generals desperately try and re-organize their men


They launch yet another attack

Which partly miscarries! Successful on the far side of the plateau, the raw Spanish troops prove surprisingly handy with their muskets...

The Spanish launch another counter-attack into the heart of the French!

This act of heroism succeeds! Some of the French start to break and run!

The French look to be in some trouble, with two battalions running and third holding on in tatters at the base of the slope...

Meanwhile, the French assualt on the bridge begins and is executed with aplomb: the bridge is crossed and the defenders pushed back

Dupont leads his mn into the assault, sword in hand, at odds of 2-1 against (and more if you count the flanking troops!)

Suddenly Spanish resistance on the hill collapses and it is sauve qui peut...

The Spaniards are in full fight

Dupont and his troops will not be stopped!

With the Spanish in full retreat, their army morale collapses and despite the earlier scare, Dupont is master of the road to Cordoba...


Game Notes: 

Perhaps a surprisingly close game, or maybe the Spanish were a bit luckier than in real life. They were almost certainly more smartly-dressed than their historical counterparts, so perhaps that did it...
Polemos General de Division games definitely have a certain 'grammar' - poor infantry defend hills and better troops have to heave them off them; the first attack can be very dicey, but the second attack is a little more likely to succeed. The essential modifiers here are +2 for being uphill, -2 for being Raw. French troops will generally also get a +1 for being better/having more skirmishers. There are some detailed modifiers in the shooting, and interactions about what happens when the two sides are equally shaken, but that is the nub of it. So this gives the design space to have troops which are a bit less Raw, and only have -1 on their morale: I think that is what I used here for some of the Imperial troops, although the better logic would actually be to make the Spanish levies a -3 instead. Anyhow, it was all good exciting fun and perhaps not inherently too unreasonable. I did use a basically half-sized board which should be appropriate for figures based on a 60mm x 30mm base, but it felt a bit cramped in this game; I think 6'x4' tables might be better off going to 4'x2.66' rather than 3'x2', in this scenatio series.


Figures by Baccus 6mm, buildings mainly by Leven I think.

Wednesday, 3 April 2024

Kampfgruppe Heller: Battle 10, Poland

Next up in my refight of Just Jack's classic Kampfgruppe von Klink campaign is actually the eleventh scenario of Jack's rather than the tenth: there were a couple of scenario translation issues that make that one a little harder to figure out properly: if or when I do, I will assign that mission to a different group of German invaders! It is all to do with what dense urban terrain should look like in this scenario, there are possibly more groundscale issues the more urban it is. After all, my board in Gummipanzergreandier represents 1.2km x 1.2km. That isn't huge in the countryside, but it is quite a dense bit of a city or major town, potentially. I am not really sure how that interacted with the rules in Jack's original game.

 Anyway, this scenario that I am actually playing is a slightly unusual scenario - which I really like! - where two small forces are about to engage each other, and both sides are due to be reinforced from slightly different directions. 
 

The Forces:

The Germans:
Company Command: 1 x Command section, 1 x Armoured car
Grenadier Platoon: 3 x sections (bolt-action rifles and belt-fed LMG, including a command section), 1 x ATR, 1 x 50mm mortar, 1 x 80mm mortar 
Motorcycle Platoon:  3 x sections (bolt-action rifles and belt-fed LMG, including a command section)
Panzer Platoon: PzIVB, SdKfz 221
 
The Poles:
Company Command: 1 x Truck, 1 x Command section, 1 x 7TP
1 Platoon: 3 x sections (bolt-action rifles and BAR, including a command section), 1 x ATR, 1 x 46mm mortar
2 Platoon: 2 x sections (bolt-action rifles and BAR, including a command section), 1 x ATR, 1 x 46mm mortar
 
The Poles are trying to take the outpost defended by the Grenadier platoon, whilst the remainder of the German force is the relief force coming to assist the Grenadiers and maintain it.

 The Set-Up:

It really was a lovely sunny day when I played this and the previous game! Great for my spirits, not great for photos...

In any case, you can make out the Polish platoon at the top-left on the road, advancing towards the outpost by the wooded hill. The remainder of the Poles are crossing the stream (bottom-left). The German relief force is following the road towards the outpost (bottom-right)

A closer look at the Poles on the road (bottom) and the Germans defending the outpost - i.e. the farm. The Polish company command group can just be seen at the edge of the woods at the bottom. You can just see some German infantry in the woods at the top, observing the road.
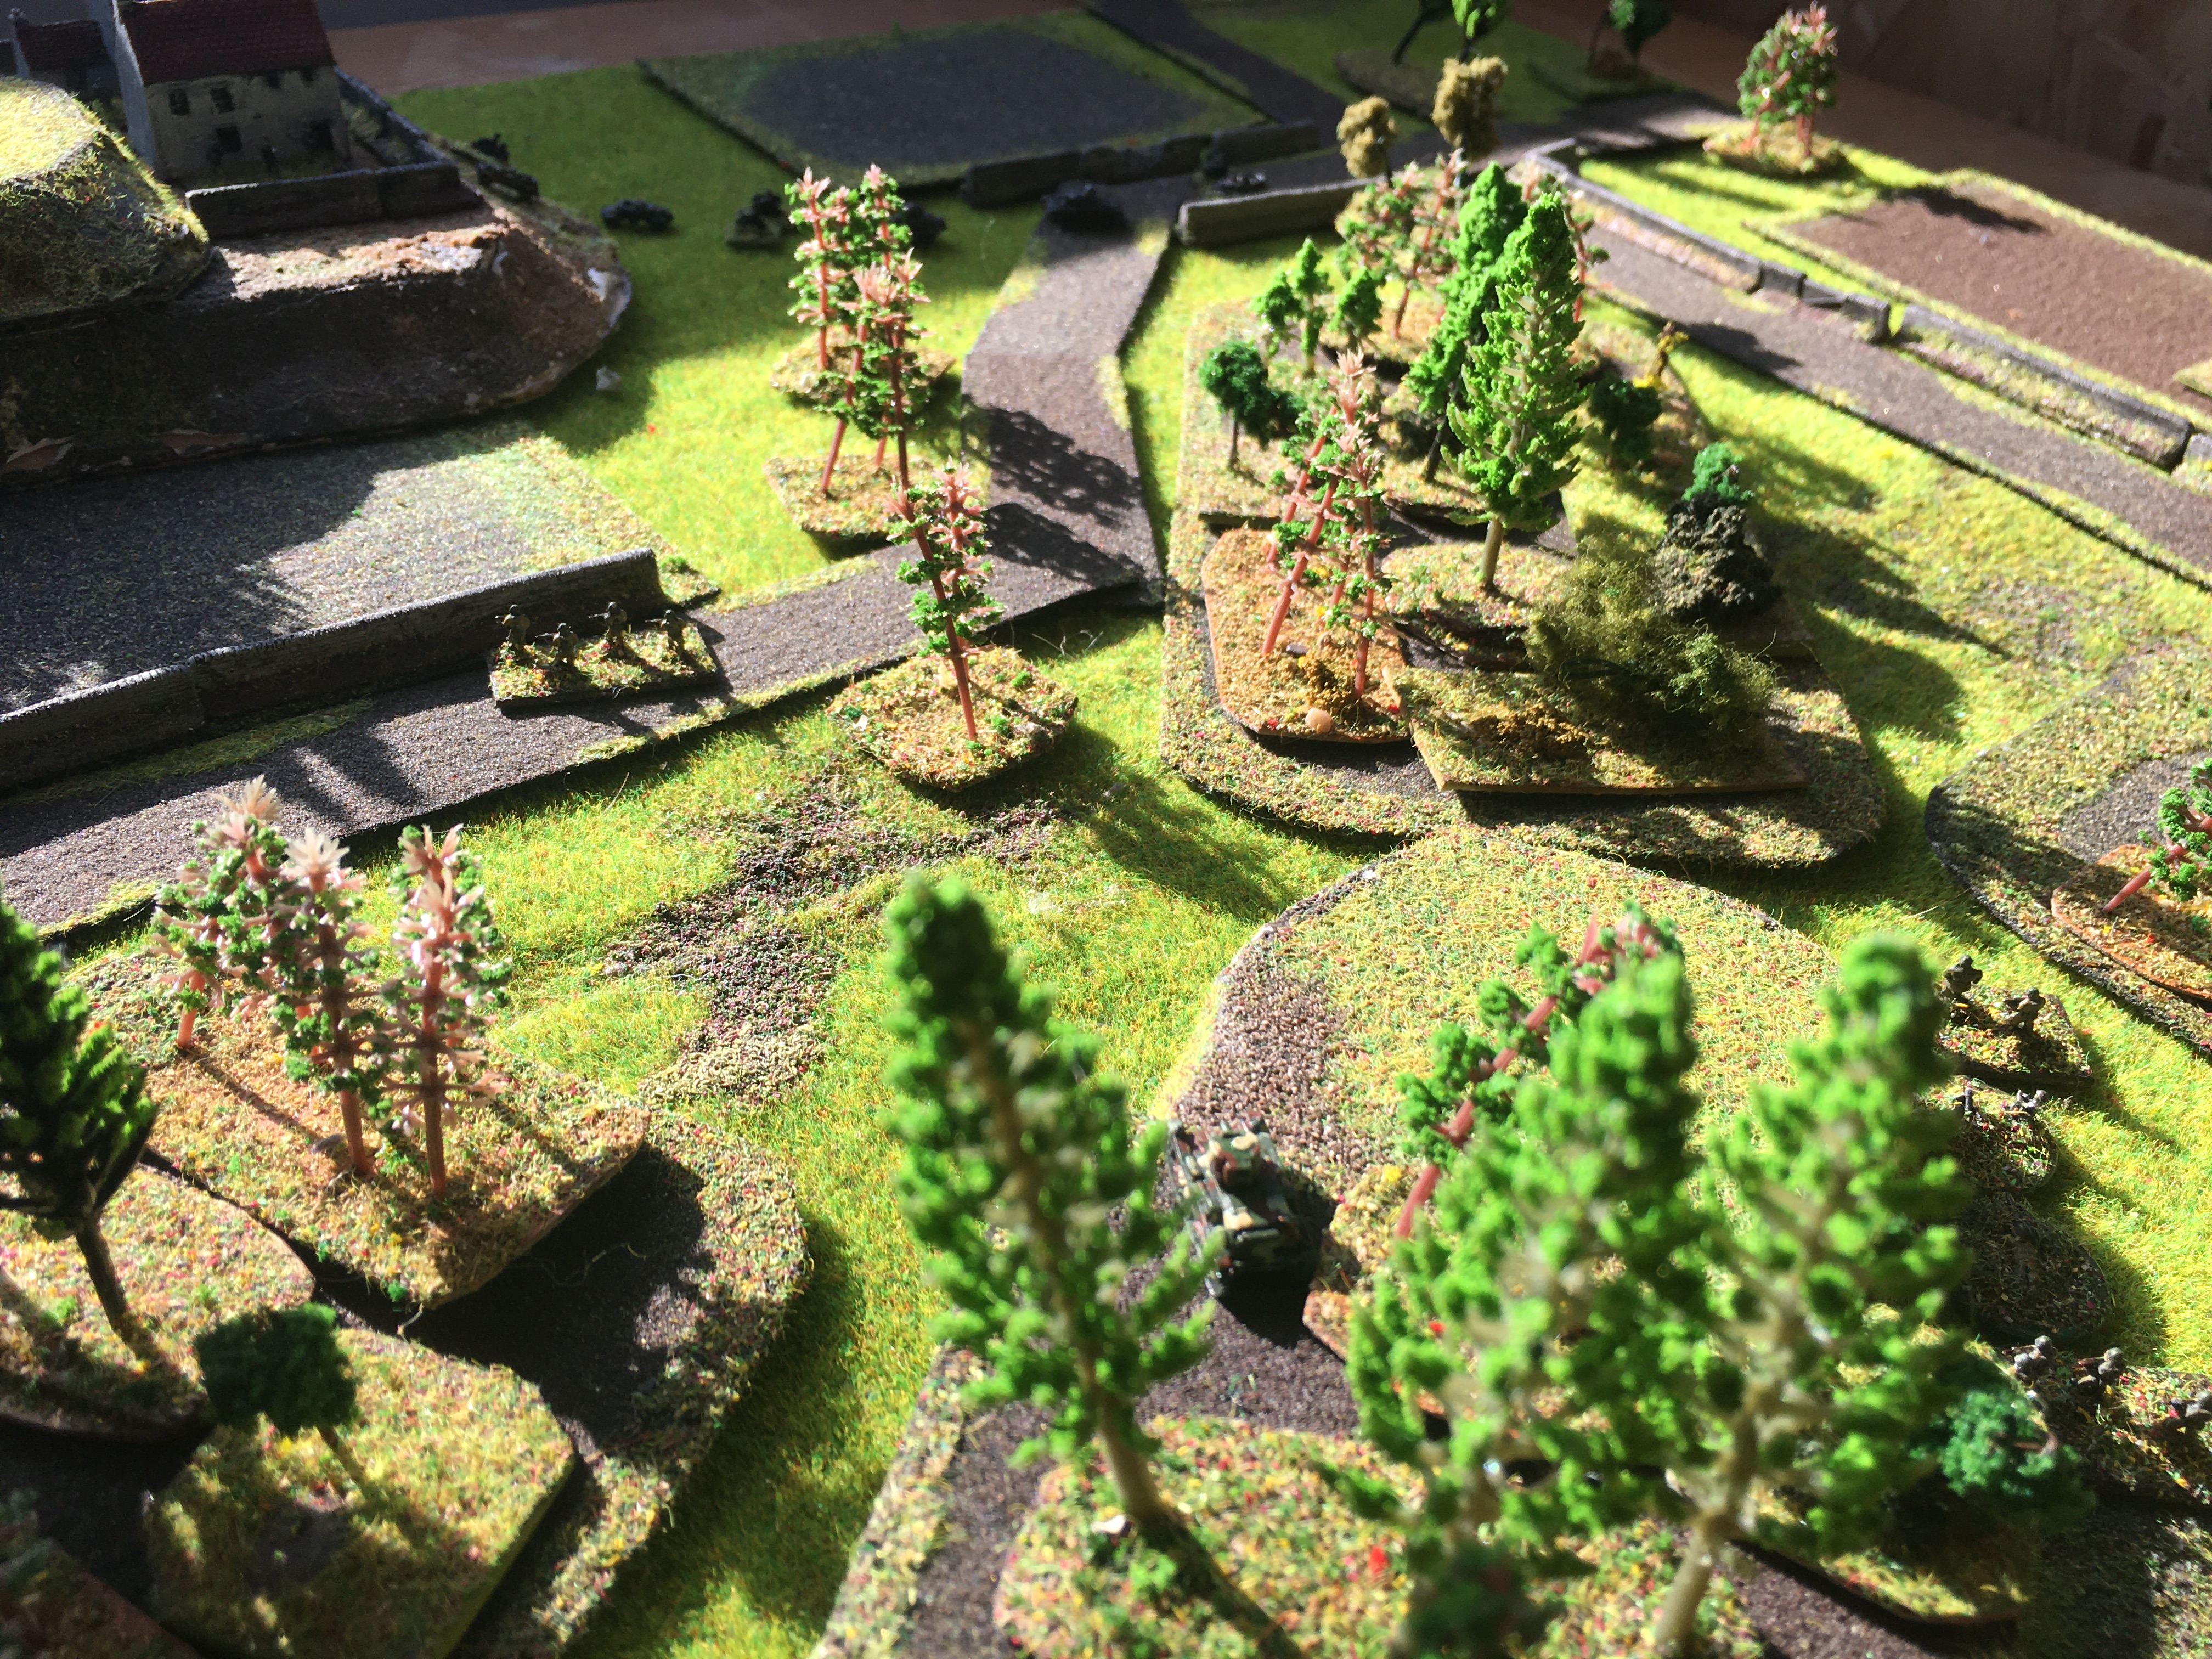

The 7TP and the (smaller) Polish 2 Platoon

The German relief force, with a mixture of motorcycles, a PzIV and an SdKfz221.

The Battle:

The Polish platoon sends a section down the road, hugging the wall to avoid being spotted. Meanwhile, the tank and the other platoon are moving up (bottom-right/centre)

The 7TP spots the moving relief force and opens fire - doesn't hit much though!

The relief force has mostly reached the junction; the Polish 2 Platoon is moving up by the hill (centre)

By now, the 7TP has pulled back - the relief force has again come into view...

This time there is no mistake: the Panzer IV brews up.

Firing begins everywhere: the Polish section by the wall opens up on the motorbikes, and is in turn shot at by German infantry in the woods and buildings; note the Polish 2 Platoon has reached the woods (centre-right)

The Polish infantry engage the tail end of the relief force; meanwhile, the rest of the motorcyclists have dismounted (left) and are firing at the elusive Polish riflemen...

The Germans on the hill come under mortar fire

German motorcyclists and Polish infantry let fly at each other at close range!

With mortar bombs falling down, the Polish 1 Platoon begins its left flanking movement (left)

However, the 7TP gets knocked out by the German ATR!

The German motorcyclists are fighting back with some ferocity around the junction; I think the SdKfz221 has been knocked out in the background too, just by the buildings

The German M/C platoon commander advances, covered by the wall..

And attacks! some of the Poles give up

The Polish lead section has cleared the woods and is firing into the compound; the Polish mortar is firing on it too.

The fight between the remnants of the German motorcyclists and the Polish 1 Platoon continues...

...the Germans emerge victorious!

However, the Germans have been cleared out fo the farmhouses..

Position at the end of the battle

Notes:

A good fun game - very intense this one! It gave quite a good work out to the infantry mechanics, since there was a lot of close range fighting. In particular, the mechanics tend to require either advancing to close or employ HE or big direct fire weapons to eliminate infantry; standing off with rifle-calibre weapons won't cut it. So there were a few work-outs for this (a platoon attack by each of the Polish rifle platoons, and one by the dismounted German motorcyclists). Everything seemed believable and it was all pretty tense.