Heretical Gaming is my blog about my gaming life, featuring small skirmishes and big battles from many historical periods (and some in the mythic past or the far future too). The focus is on battle reports using a wide variety of rules, with the occasional rules review, book review and odd musing about the gaming and history. Most of the battles use 6mm-sized figures and vehicles, but occasionally 15mm and 28mm figures appear too.

Friday, 7 April 2017

Nuts! 18 Platoon Campaign - Scenario 01: Mount Pinçon

I have been toying with the idea of doing a campaign based on the book "18 Platoon" by Sydney Jary.  It is a memoir of his experiences as the platoon commander of 18 Platoon, 4th Somerset Light Infantry from Normandy 1944 to Germany 1945.


 As Nuts! has recently been working quite well for me, I have written and played the scenario to fit in with these rules, but they should be easily adaptable to other systems.


Jary's first action was part of Operation Bluecoat. After a bloody failed daylight attack, a couple of companies of 4/Somerset Light Infantry successfully infiltrated onto the summit, after which the Germans retreated.  18 Platoon suffered a single casualty, as fire went through one of the attacking companies into it in its reserve position.  The next morning, it led the advance down the opposite slope and was then ordered to take the next ridge from any enemy opposition...

The Forces:

Jary says that there were only 12 men in the platoon for the Mount Pinçon battle.  It is unclear if he includes himself, or if he includes the casualty from the first part of the operation.  Thus there are a couple of options in the order of battle:


18 Platoon:

2 Lt Jary (Rep 4): Armed with a US large calibre pistol
Sgt Kingston (Rep 6): SMG or rifle
Cpl Proctor (Rep 5): SMG or rifle
9 - 11 Riflemen: generate as normal

Arm them with 0 - 3 Brens, 0 - 1 2" mortar and the remainder with rifles.

Reinforcements:  any AFVs generated are Bren Gun carriers.

Investment Level: 4 (relatively strong)

The Germans:

Investment level 2 (quite weak)


Special Events:
The first civilian generated will be a single female (Rep 2).  She must accompany the soldiers who first encounters her unless she can be taken to the (cleared) farmhouse.
In the random events table, replace the following numbers:
1 - All Germans within LOS surrender
4 - The British Coy Commander (Rep 2, medium calibre pistol)  turns up.  He will go straight to Jary and make his life a misery for D6 turns (unable to move when active, temporarily reduce Rep to 3).  He will then move to cover and fall asleep!
5 - Artillery strike (the Germans had pre-planned defensive 50mm mortar fire).

Objective:
Exit the table off the opposite edge (as per option two in the "Attack" mission). 

The Game:

View of the battlefield: bocage, with a large central orchard and a farmhouse in the centre


A slightly more elevated view, so you can see the end of the table (the objective)

18 Pl advance in two sections each in single file

18 Pl takes up defensive positions at the edge of the orchard, preparing to advance
 
A Panzershreck team stumbles into the edge of the British position: after a brief exchange of fire, the lead German falls, wounded; the other German (with the Panzershreck cowers behind the trees)


Sgt Kingston throws in a grenade, it doesn't cause any damage but the German keeps his head firmly down
hjjj

A British soldier advances and knocks out the Panzershreck man
hjjjjh

The Bren gun team establish a position in cover; then a German LMG team is sighted.  The German LMG team fire first but don't cause any casualties; when the British gun team are encouraged back into the fight by Sgt Kingston and Lt Jary, the German MG42 gunner is killed.  The number two runs for it and escapes

A closer in view of the fighting!

The German soldier makes his escape!

The British advance cautiously, but encounter no further opposition

Another view

The Brits found a civilian girl and take her to safety in the farmhouse (not shown - I have no 15mm civilian figures!) then adopt a defensive position (roof removed to show positions)

The British Pl form up along the final hedgerow, next to the road

Objective achieved!
Game Notes:

Hopefully this simple scenario may be of use to other Nuts! players.  It is simple and winnable, so it may one for the beginner rather than the grognard!  On the other hand, the beauty of Nuts! is that you never quite know what is going to happen next!
As a tactical note, cautious advances with lots of snap ambushes, taking care to create arcs of fire where the enemy can't simply retreat out of sight and into cover/safety are really useful in this game.  Try and have at least one good soldier in any group to increase the chances of getting that all-important first shot in, and have leaders ready to encourage support weapons.
Incidentally, although this mission went well (helped by the German LMG team missing, although it wasn't an easy shot) it didn't have as good a result as in real life, where the Germans encountered quickly surrendered - although 18 Pl was then hit by accurate mortar fire and could easily have lost some more.
Rules are Nuts! Final Edition, figures are a mixture of Plastic Soldier Company, Battlefront and Peter Pig, the farmhouse (sorry it is unpainted! but I think it looks quite nice anyway) is from John Banks.

The Battle of Bouvines 1214 - A Wars of the Roses-themed refight

Miniature Wargames 18 featured an article on refighting the Battle of Bouvines, fought between the armies of King Philip Augustus III of France and Emperor Otto IV on 27 July 1214, the latter being allied to King John of England in his wars against the French crown.  Not having a medieval French or German army, I plumped for using my Wars of the Roses armies as substitutes.


The Forces:
 The article gives the following strengths:
Otto - 6000 Knights, 18000 Pikemen
Philip - 7000 Knights, 3000 Crossbowmen, 12000 Foot soldiers

These figures seem a bit on the high side to me! Amusingly, the article writer recommends using a 1:20 figure:man scale for this engagment...Anyway, I ignored all this and just used the relevant DBA army list to generate two reasonable forces, viz:

Otto - 5 x Knights (3Kn), 1 x Crossbowmen (4Cb), 2 x City Militia spearmen (Sp), 2 x Brabanter Pikemen (4Pk), 2 x Archers (Ps)

Philip -  4 x Knights (3Kn), 2 x Feudal Militia (4Sp), 2 x Mixed Weapon Foot (4Bd), 1 x Mercenary Crossbowmen (4Cb), 2 x Archers (3Bw), 1 x Bidower (Ps)

The Set-Up:
The article gives quite a 'standard' set-up of both sides having infantry in the first line, mounted troops in the second.  However, other interpretations seem to indicate that both sides had foot troops in the centre of the first line with mounted men on each flank in the front line, and then the second line containing the reverse.


For no very good reason, I plumped for this way of setting-up:

The armies face each other.  The village of Bouvines is extreme centre-left.  The French at the bottom, the Imperials approach from the top-right.

The French Army: Knights, Crossbowmen and Spearmen in the front rank; Knights and archers in the second rank.

From behind the Imperial Army: Knights and Spearmen and Crossbowmen in the front rank, Pikemen, Knights and archers in the second.

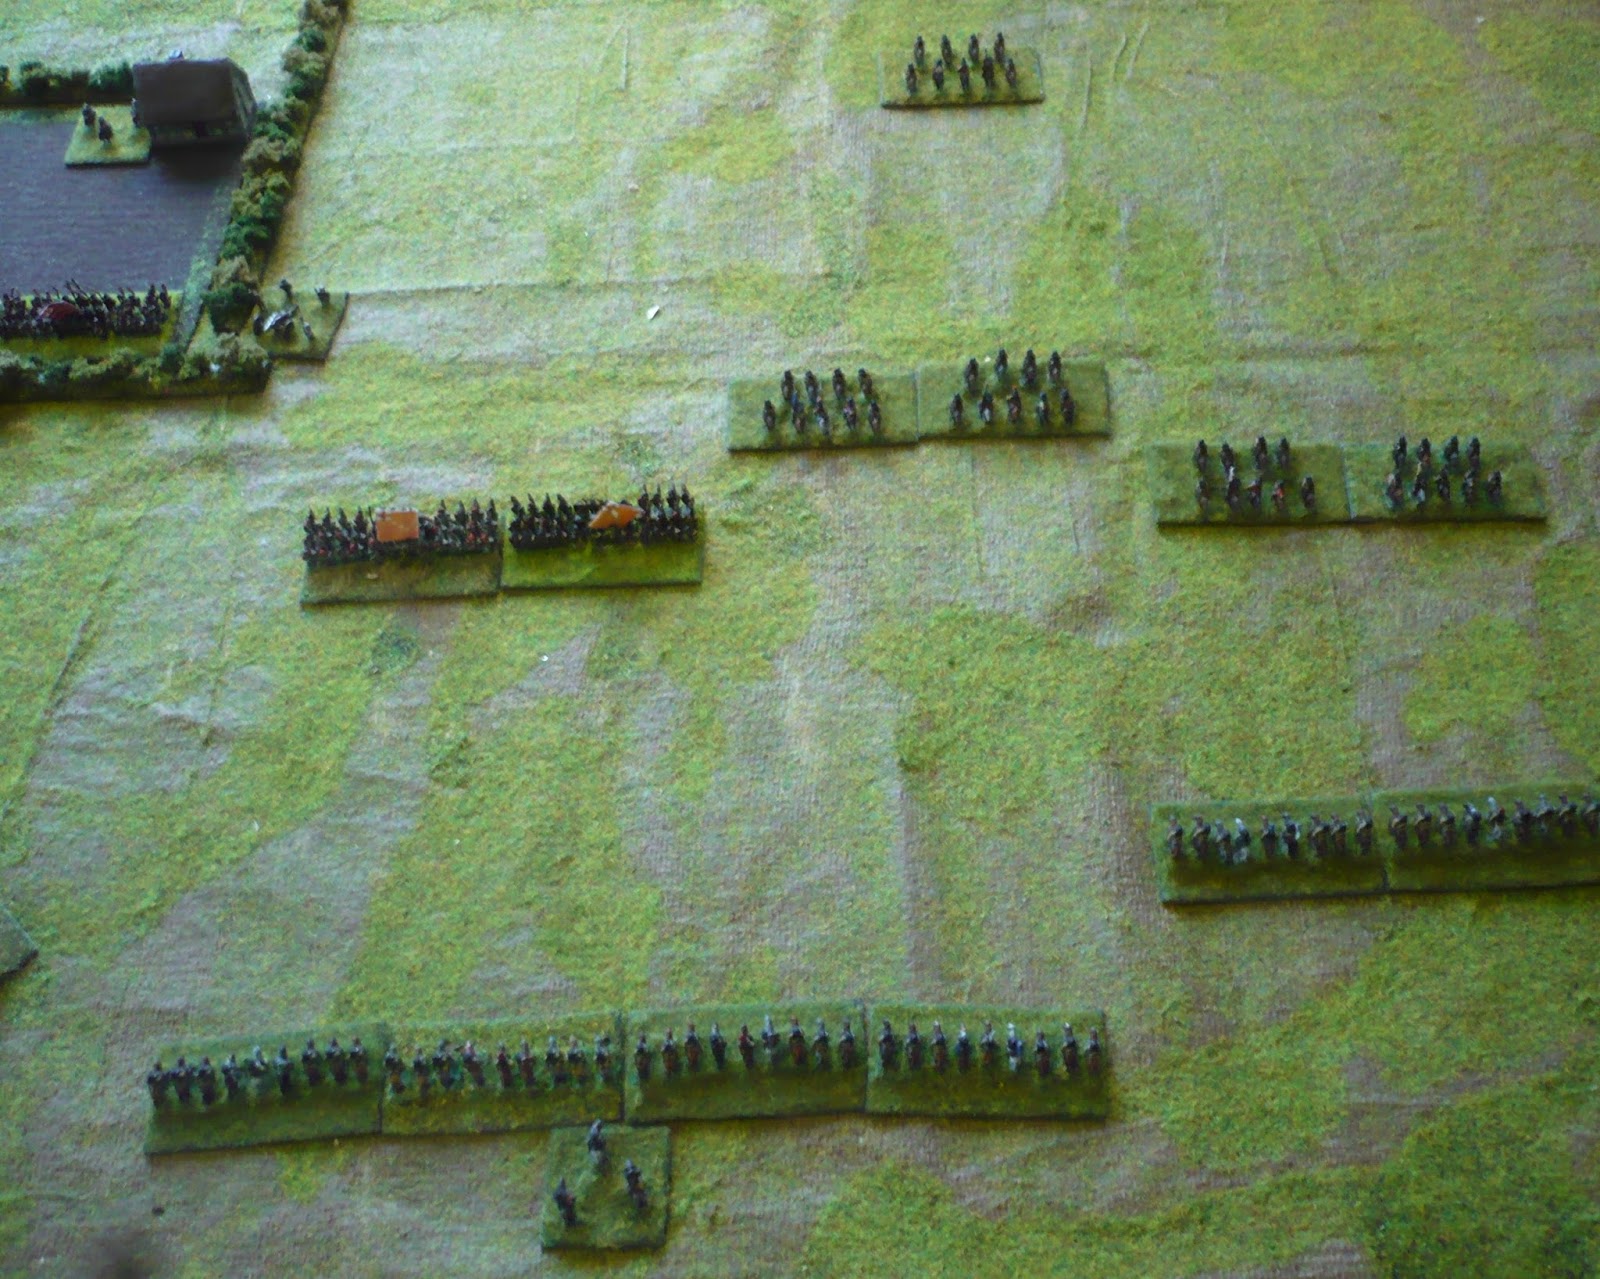
View from above.
The Battle:

I have always thought that the DBA "defender moves first rule" was a bit quirky - nevertheless, the French move up into position...

Another view


The Imperials were a bit surprised and discomfited by this - their battle line is by no means fully-formed as the French charge home

First blood to the French - French spears get amongst the German crossbowmen and create a gap on the Imperial right...However, the French crossbowmen then met the same fate at the hands of the German knights!, Next, the German knights and archers have encircled the leading French knights (left);

The French second line moves up in support

The French put more pressure on the German line - the German knights seem to be losing ground...

The French knights have capitulated on the left - both side regroup

More and more pressure on the German front line, but it bows, not breaks...

Fighting is indecisive on the French left - the French are struggling to make their numbers pay here

The Flemish pikemen and more knights attempt to bring succour to the left of the Imperial line...

German knights again triumphant on the French left...

French bowmen devastate a group of German cavalry but their own knights are pushed back..

The French Bowmen boldly (recklessly!!) advance to put the German nobility under fire, as the French knights continue to be pushed back

The indecisive fighting continues on the French left

Otto leads his Knights to massacre the French bowmen just as the Pikemen do the same - the French collapse!

At least the majority of the French nobility will probably escape...
 Game Notes:
An interesting game, with the historical result thoroughly reversed!  I think it is fair to say that the luck was with the Imperials: the elimination of the French crossbowmen was a very flukey outcome for the Germans, and without it they would most likely have been just under that little bit more pressure in the centre, which would probably have collapsed under it - they were lucky to maintain their line as it was.  The advance of the French bowmen at the end was suicidally stupid - although bowmen are stronger than knights in DBA (generally), everything else about the situation favoured the Imperials.  More caution would have prolonged the battle and perhaps allow the French to put together a decisive attack on their left, which they threatened but never quite pulled off, because the situation there was too dynamic (in game terms, the German simplicity in the centre allowed spare PIPs to be used to be creative on the flanks).
All-in-all it was a very good experience.  The DBA rules continue to give an exciting game and the PIP mechanism is an excellent aid to solo play, giving command-and-control problems and unpredictability in a very simple way.  Figures used were from Baccus 6mm Wars of the Roses range.  Buildings from Timecast and Leven (I think).

DBA really lends itself to re-theming battles, because all of its armies are expressed in terms of troop types which act consistently through the ages.  So as long as one can find troop types equivalent in the era that one actually has armies for, re-theming is a doddle.  I am sure, for instance, that there are several armies that could stand-in for their French and German counterparts, especially if one picks options that don't include crossbowmen. 

Sunday, 19 March 2017

ECW Refight Battle 02: The Battle of Andersea November 1642

General Situation: After his defeat at the Battle of Cricket St. Thomas, Hopton was called East to help restore the situation in the South after the fall of Portsmouth, to distract and delay Waller's victorious forces.  This was achieved, but his opponent in the Southwest, the Earl of Bedford, took this opportunity to advance further into Somerset, cutting off Hopton from his main areas of support in Cornwall and Devon by occupying Bridgwater and preventing Royalist movement of the River Parrett.  His mission in the south achieved, Hopton has retraced his steps westwards and is intending to break past the Earl of Bedford's army.

Royalists:
Hopton (Good): 4000 Foot (4 Veteran Foot (M) bases, 4 Raw Foot bases (M) ), 4 Guns (2 Arty bases)
1750 Horse (8 Veteran Horse (Sw) bases, 6 Raw Horse (Sw) bases); 250 Dragoons (1 Raw Dragoon base)

n.b. M - 1:1 pike:shot ratio; Sw - Swedish tactics

Parliamentarians:
Bedford (Poor): 4000 Foot (4 Veteran Foot (SH) bases, 4 Raw Foot bases (SH) ), 8 Guns (4 Arty bases), 1750 Horse (8 Veteran Horse (D) bases, 6 Raw Horse (D) bases); 250 Dragoons (1 Raw Dragoon base)

n.b. SH - 1:2 pike:shot ratio; D - Dutch tactics

(n.b. - I stuffed up the calculations, both sides should have had 500 Horse less than they actually had here.  As both sides were the same, I figure that no real harm was done).

The Set-Up:

Yet again, I rolled up a rather sparse set of terrain!  The terrain is randomly generated according to the tables given in the Polemos ECW rule book and for the second game in succession, I generated very few terrain features.

The Parliamentarians are defending the North (top) around an isolated farm, using a standard formation: infantry in the centre, horse on the wings.  The Royalists have overloaded their right wing with cavalry

Room to manoeuvre on the Royalist left wing is limited by the presence of the River Parrett and some marshy ground around its banks.

A view along the lines from the East: Royalists approaching from the left, Parliament's forces to the right, defending

And from the opposite angle, behind the Parliamentary right wing.
 The Battle:
The Royalist infantry on the left advance and are confronted by Parliamentary cavalry: the Earl of Bedford has ordered his right-hand infantry brigade out from the cover of the hedges to support.

The Royalist cavalry on theit right advance; Hopton halts the left-most brigade, fearing to charge too recklessly into the veteran Parliamentary infantry which is supporting the Royalist cavalry.

The first clashes!  The Royalist Horse charges in...

The Royalist infantry on the left continue to push forward...

The melee on the Royalist right continues: the first troops become disordered and start to waver...

Same position, slightly different shot

The Parliamentary horse begins to break in places...but the Cavalier cavalry is also looking shaky...

The Royalist veteran infantry confidently move up to attack the Parliamentary horse on the Royalist left at pike-point

Another Royalist infantry brigade moves forward to try and storm the Parliamentary main position

The Parliamentary horse's first line comes off slightly the worse, but the second line restores the situation, by and large.  Some Royalist cavalry again begin a wild pursuit of a defeated enemy (top-left)

The Royalist infantry on the left have routed some of the Parliamentary horse; Parliamentary infantry begins to pour in musketry to try and stop their advance

Parliament's left wing advance, daring Hopton to throw in his final brigades of horse

So near and yet so far: Royalist infantry briefly break through the hedge, but are repulsed subsequently

The Parliamentary forces have formed a solid line again on their left

A see-saw combat on the Royalist left sees Royalist infantry break some of their veteran oppenents (see the base routing top-left)

But the Parliamentary centre has held-off a second assault, this time leading to the right-hand Royalist battalia breaking...

A Parliamentary charge against the Royalist's second line cavalry has some of the cavaliers on the run, the others wavering...

Stalemate on the Royalist left, as some of the Royalist infantry are broken in their turn

The final position on the Royalist right: the defeat of that second-line brigade has stopped much hope of Royalist victory here.  The action continued indecisively for a couple of turns, before it was clear that the battle was a tactical draw.
Game Result:
A tactical draw - the Royalists lost slightly more infantry, the Parliamentarians more horse, plus two guns (temporarily).  However, the strategic win was clearly with the Earl of Bedford again, as he has held Bridgwater and the line of the River Parrett against Hopton.  Both sides lost c.850 men in this quite hard fought struggle.

The Earl of Bedford

Ralph Hopton


Game Notes:
The Polemos ECW rules continue to give a good game, quick to play but with convincing results, generally.  I may play about with the troop quality modifiers a little: using only  Veteran and Raw (because this fits in better with "The King's War", which is the boardgame being used as the campaign engine) seems to create too many "sure things".  The 1:1 pike:shot ratio continues to perform very well against 1:2 pike:shot ratio troops,  perhaps ahistorically.  The problem is that if musketry is generally ineffective, then more pikes seems like a good idea!  But on the other hand, this may be a consequence of my poor tactics...
There is also still much to be understood about exactly how best to use horse in this game.  The Royalist cavalry do have the advantage in terms of more ferocity in the charge, but their recklessness does leave them very vulnerable to second echelon forces of Parliamentary horse.
Figures by Baccus 6mm, on a homemade mat on a 5'x3' table.