Heretical Gaming is my blog about my gaming life, featuring small skirmishes and big battles from many historical periods (and some in the mythic past or the far future too). The focus is on battle reports using a wide variety of rules, with the occasional rules review, book review and odd musing about the gaming and history. Most of the battles use 6mm-sized figures and vehicles, but occasionally 15mm and 28mm figures appear too.
Showing posts with label Napoleonic Wargaming for Fun. Show all posts

Sunday, 6 January 2019

The Portable Napoleonic Wargame - First Playthrough

I bought veteran wargamer and inspirational blogger Bob Cordery's latest book, The Portable Napoleonic Wargame, more or less on a whim yesterday and decided to see if I could make a suitable board and put on a game.


 I had never played any of the Portable Wargame series before although I have followed the progress of the project with interest and I have looked at his Colonial Wars rules too, which look pretty good.  I have also always wanted to give his SCW rules which were published years ago in Wargames Illustrated a go at some point  There are four distinct games within the book, but the only one that suits my existing set-up without at least a little modification was the final game: the Big Battle rules, since that used a board of roughly 8-9x8-9 squares or hexes and single base units.  There is an example battle in the book, "The Battle of Twee Heuvels", which features an Allied Corps facing a French Corps in Belgium 1815 and since I have all the becessary forces, I selected that for my first test.

The Forces:

The French Corps:
C-in-C: Marshal Gerard
3 x Infantry Divisions each of 3 Brigades (2 divisions are of 'Average' quality the other is 'Poor')
1 x Cavalry Division of 2 Brigades
1 x Artillery unit


The Allied Corps:
 C-in-C: Gen Harman
1 x Infantry Division (1 x Veteran brigade, 2 x Average brigades)
1 x Infantry Divsion (1 x Veteran brigade, 2 x Poor brigades)
1 x Infantry Division (3 x Average brigades)
1 x Cavalry Bde (Poor)
1 x Artillery unit

The Battle:

The hills are the two-square offset tiles in the centre, with the farm in between them.

Another view.  The Allies are to enter from the North (top), the French from the South (bottom).

Gen Harman and some Hanoverian cavalry enter.

Another shot.

Bourgogne's Cavalry Division enters, with Marshal Gerard looking on (bottom)

The first French infantry division arrives


Bourgogne's French cavalry has pushed on through the farm (centre) and is facing the Hanoverian cavalry plus Crook's Allied infantry division (top)
 
The Hanoverian cavalry put in a flank attack on the French cuirassiers (centre)

More Allied infantry have arrived (von Gow's Division - top right; Kemp's Division (top-left) but Marshal Gerard is screaming at his aides in frustration, wondering where the rest of his infantry and artillery is!  The cavalry combat in the centre continues in and around the farmhouse.

Having been forced back, the French Cavalry are then able to put in a flank attack on the Hanoverian cavalry on the high ground, which destroys them

The French guns are arriving (bottom-right); but Crook's Division has secured the farm and the high ground (centre & centre-left) whilst von Gow has secured the high ground on the other side of the farm (centre-right)

The French cavalry charge up the hill to attack a Hanoverian infantry brigade; the Allied artillery has finally arrived (top)


The French foot and guns move up to support the French cavalry attack

The French artillery is now deployed and has commenced its bombardment of von Gow's position (right); Crook's Division has had to relieve its brigade of Guards with Hanoverian militiamen around the farm and hill


French infantry force the Hanoverians out of the farm (right); Kemp's Dutch brigade have moved closer to support Crook's hard-pressed infantry (left)

The Hanoverians counter-attacked and drove the French back out of the farm, but were themselves destroyed in the process (centre)!  The French have retired to reform too.  Note that the French artillery fire is starting to play upon the Brunswickers (right)...
 
The Allies re-occupy the farm, whilst the combat still ranges along the line...
 
Not put off, Marbot's infantry storm the farm again and once again its Hanoverian defenders are destroyed in the process...

Continuous French bombardment has also destroyed the leading Brunswick Bde in von Gow's division...

Marbot's Division has pushed forward into the farmhouse and beyond to try and split the Allied Corps!  General Harman uses Dutch and Brunswicker troops to try and eliminate the threat.  Bourgogne's Cavalry and the Brigade of Guards are still locked in combat on the slopes next to the farm


Coignet's Division has moved up and launched an attack on the Allied left!  However, Marbot has lost two brigades to Allied counter-attacks around the farmhouse...

Coignet's flank attack causes severe casualties...although von Gow's units are just about holding on, the Allied Corps has suffered enough and can no longer advance...General Harman knows that with his position compromised on the hill and the farm, he must retreat...

Position at the end of the battle
Game Notes: An interesting and absorbing game.  The mechanisms were simple enough to grasp quickly and easily and could be internalized after a few turns of play.  It broadly gave the experience one would wish to have from a small-board big-battle Napoleonic wargame.  It is certainly a really good basis for playing a large Napoleonic battle with limited means in terms of time, space and models. 
Command problems are simulated by using orders (a simple written instruction or a counter) and a die roll to simulate whether the formation or individual base acts upon that order, with the chances of doing so reducing the further away from the commander.  Movement is very simple and quick - the prime benefit of using a gridded system.  Combat is based on a single modified D6 roll per side, which is mercifully fast.   Interestingly these rolls are not opposed but are independent: each side is rolling to see if it suffers casualties.  The modifiers are certainly arguable and in practice having immediate support and a general present were sufficient to ward off most disadvantageous circumstances.  Controversially (unless I am missing something) the most effective way of attacking entrenched infantry is with massed cavalry (!).  Whilst a clever mechanism, I am not sure how far I agree with it. Troop quality is mainly reflected in how much punishment troops can take: poorer quality troops suffer heavier losses more easily and become hors de combat sooner.  There is very little other 'chrome' in the basic rules: no light infantry, no 'classes' of cavalry or artillery, no differentiation of 'quality' for generals, although the author positively encourages tinkering and adaptation.
There were a couple of situations where I didn't understand the rules.  It wasn't clear to me what to do if a base moved adjacent to enemies occupying two or more different squares.  I didn't understand if a unit 'initiated' combat each turn it fought, or only in the first turn of combat (combats typically last more than a single round).  Did units have to fight in subsequent turns where they remained adjacent?  Can units retreat to a flank?  Can cavalry units withdraw from a combat then attack the same unit in the flank in the same turn?  If a commander is with a unit that is destroyed but is himself uninjured, what happens - can he be fought or shot at?  It wasn't always clear to me in the rules when they were referring to the commanding general and when to all of the generals.
The rules are easy to read and generally clear.  I wish I had had access to a ruleset like this when I was starting out: they show a satisfying way to do big battles without needing lots of resources.  On first look, they appeal to me more than Neil Thomas' similar offerings, since the author really tries to capture, in very simple but effective and playable form, the kind of things that Napoleonic generals might think about it at a defined level of play.  Neil Thomas, in my opinion, is by contrast an author in the Charles Grant tradition: he creates a refined small-scale model in which 5 battalions do the work of 15, so the tabletop general is a kind of hybrid between an army, a corps/wing and a division commander at once.    I am looking forward to exploring these rules further.  The author makes clear his debt to the late Paddy Griffith's Napoleonic Wargaming for Fun rules and although the debt is clear, I think Bob Cordery's rules are actually better, at least in terms of playability and logic. 


Figures by Baccus 6mm, buildings by Leven.

Sunday, 9 December 2018

The Battle of Gunzburg - A Polemos General de Division AAR

The second scenario in Michael Hopper's book Rise of Eagles 1805 is the Battle of Gunzburg (but treat Wiki accounts with care!). It features Malher's Division of Ney's Corps trying to force a passage over the Danube in the face of Austrian opposition.


The French:
C-in-C: Malher (Capable)
3 units of Sappers, 1 base of Trained 8lb Foot Arty
1st Brigade: 3 bases of Trained SK2 Infantry, 5 bases of Trained SK1 Infantry*
2nd Brigade: 2 bases of Trained SK1 Infantry
3rd Brigade: 1 base of Veteran SK1 Infantry

*This brigade was split into two separate brigades for game purposes (Polemos suggests 2-6 for the strength of any one brigade)

The Austrians:
C-inC: d'Aspre (Plodding)
1st Brigade: 4 bases of Trained SK0 Infantry, 1 base of Trained Lancers, 1 base of Trained Light Cavalry
2nd Brigade: 3 bases of Trained SK0 Infantry, 1 base of Trained SK2 infantry, 1 base of Trained 6lb Foot Arty
3rd Brigade: 3 bases of Trained SK0 Infantry, 1 base of Trained Cuirassiers

Scenario Rules:
Every 4 turns (20 minutes in my scenario), Austrians can try and damage bridges if there are no French in musket range, with a 1-in-3 chance of doing so.  The French can try and repair them, with a 1-in-3 chance if not in musketry fire, 1-in-6 chance if they are.


The Set-Up:
The Gunzburg battlefield: the villages of Leipheim on the left, Gunzburg in the centre, Reisensburg on the right.  The French approach from the Northwest (top).

Reinhardt's Brigade occupy Leipheim and the nearby crossing

d'Aspre supervises the troops deplyed around Gunzburg.

The Austrian right-flank detachment around Reisensburg

Mahler's Division deployed in columns ready to advance


Another view of the position around Gunzburg
The Battle:

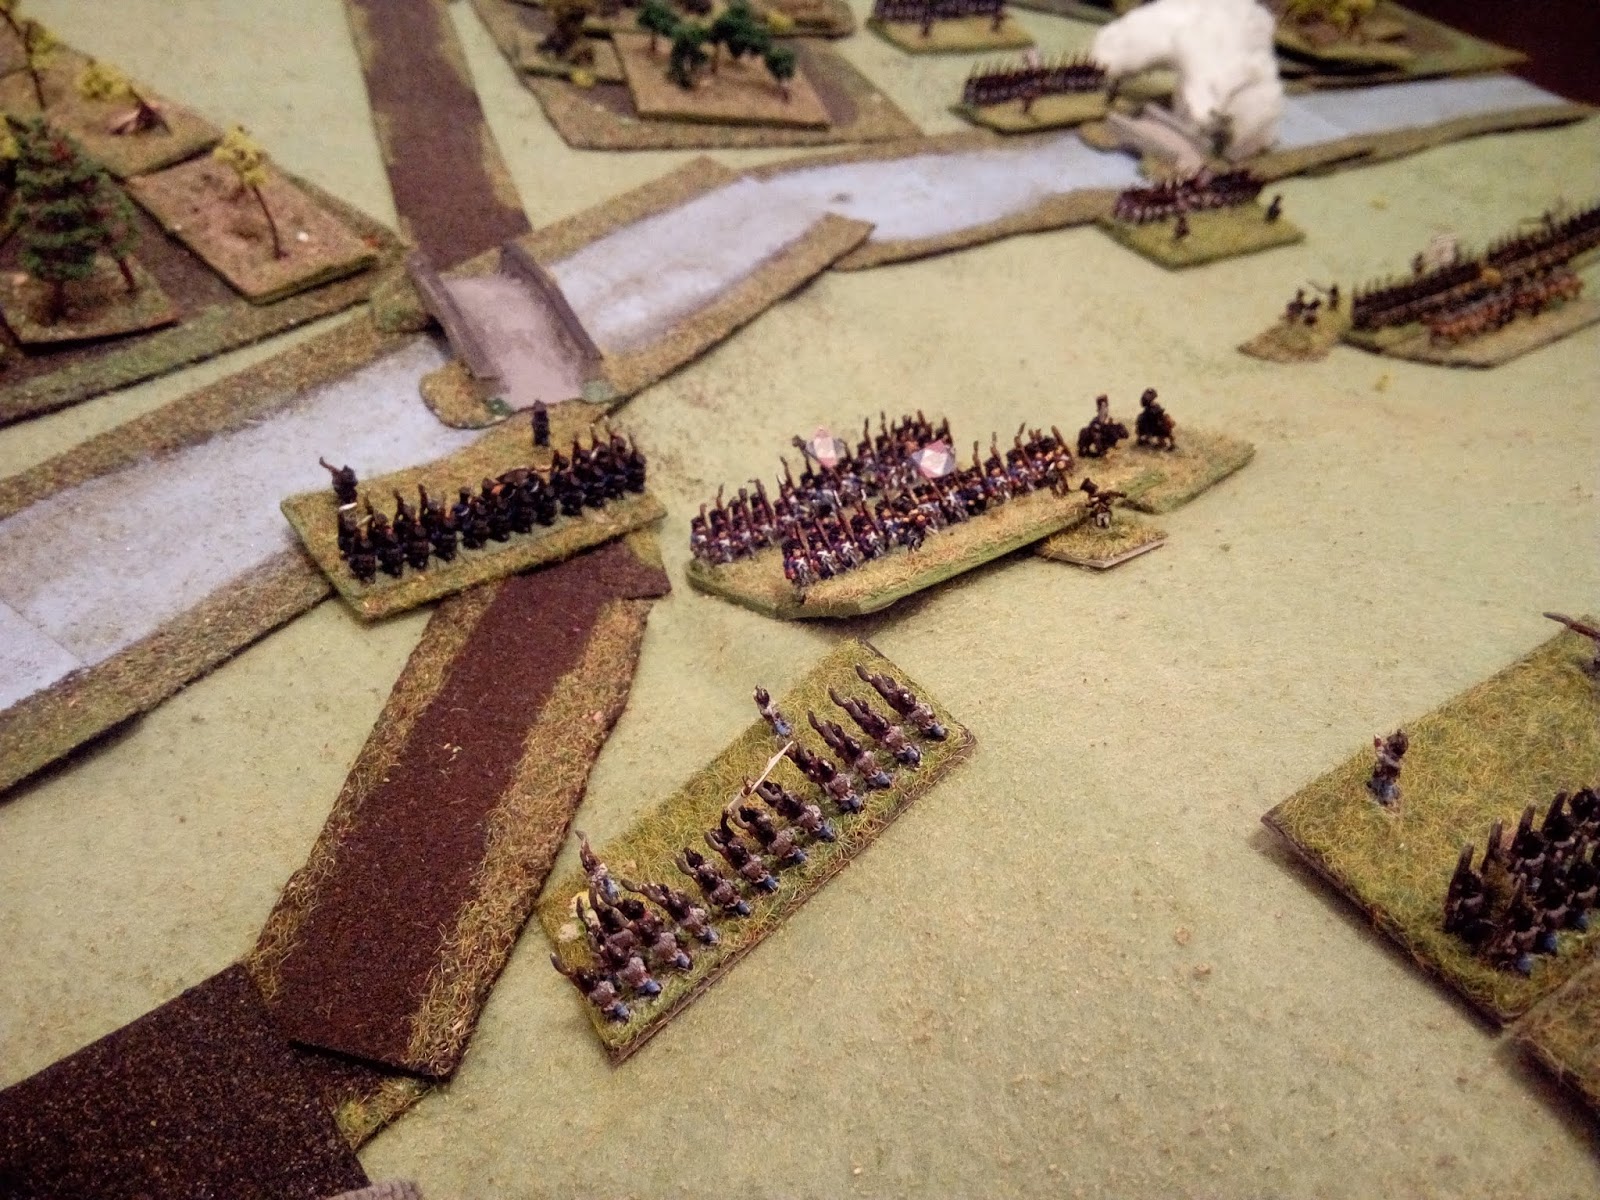
Mahler sends different regiments and brigades towards different crssing points in order to prevent a concentration of the defence

The Austrians damage the bridge around Leipheim before the French can get close.

Another French column approaches the other bridge around Gunzburg

Malher leads the first assault across the bridge in person...

...which is driven back with loss!

Accurate Austrian artillery fire pushes the other French column back down the road

Mahler leads a second attack: the Austrian infantry look distinctly shaky as a result of French skirmisher fire...

Mahler leads a battalion of the 25th Light over the bridge, sword-in-hand!  There is a missing photo here, but what happened was that the leading French battalion was hit by some effective volleys and routed, but had gained enough time for the French supports to pass over the bridge


A second French assault on the other bridge around Gunzburg is also successful, advancing through the Austrian artillery and musketry fire at the point of the bayonet.

A wider shot of the action around Gunzburg: the French have successfully stormed  across both bridges...

d'Aspre throws his reserve regiment in to stabilize the situation on his centre-right...(note that as alluded to above, the leading French Light Bn has been routed and one of the Line Bns is now leading)

But the 25th Light beat off the attack with loss, routing the lead Austrian battalion!

However, the other Austrian counter-attack has been more successful, the Tyrolean Jagers leading an assault to push the French back with heavy loss over the bridge...

French infantry (from the 59th Line) attempt to storm a third bridge, this time opposite Reisensburg on the Austrian Right

Although suffering some loss, the French successfully storm this bridge too! (n.b. this bridge had been damaged by the Austrians but partially repaired by French engineers - I forgot to remove the smoke I was using as a damage marker)

d'Aspre has quickly re-organized his right-centre to meet the attack of Mahler next to Gunzburg...

There are mixed results! One of the French battalions is routed, but the main force (centre) is holding on, led by Mahler himself.

Mahler leads another attack on the remaining Austrians...

The French push forward towards Reisensburg, despite their numerical inferiority...

And boldness is crowned with success!

Unlike for Mahler in the centre, who is driven back in disorder, the Austrians holding on in spite of their own casualties and disorder...

In order to reduce the pressure on the Austrian Right somewhat, the Austrians counter-attack in the centre-left!

The leading French battalion has been routed (top) and the remainder of the column has been pushed back down the road...

d'Aspre tries to outflank Mahler's force (left)


On the Austrian Right however, things have gone disastrously and the whole brigade is in headlong retreat!

Only the single battalion which was trying to outflank the French remains to d'Aspre between Gunzburg and Reisensburg (right)

On the other hand, d'Aspre's centre-left has been entirely successful, with the French having abandoned their artillery and all their infantry in rout

Mahler brings troops from his successful left to reinforce the attack on the centre

d'Aspre calls back his troops to try and scratch together a force to hold back the oncoming French

The isolated Austrian Bn to the right of Gunzburg is defeated and routed, despite causing some casualties to the French

The single Bn of French grenadiers tried to storm the bridge over Reisensburg after the French engineers repaired it under fire, but were driven back by the Austrian musketeers

Mahler brings up superior numbers for his assault on Gunzburg

There is a fierce struggle in the village...

But French numbers tell, although one column was thrown back by Austrian artillery firing canister.. (top-right)

But the Austrians have had enough and retreat in disorder!

The Austrian Left will be forced to abandon its position too.
Game Notes:  A good scenario produced a good game. The French have a difficult task, but they are generally superior troops.  In this game a mixture of hard fighting and a bit of luck led to victory: the Austrians did perhaps a little better than in history but the dismal effort on their Right led inevitably to defeat as Mahler was able to bring in superior numbers of better troops onto the Austrian flank.

This time, all the French infantry in the scenario were distinctly better than their Austrian opponents: effectively 3-up for the Grenadiers, 2-up for the Light Bns and 1-up for the Line Bns.  This consistent superiority allows the French to make otherwise risky attacks and (mostly) get away with it.  Here is a different way of expressing the quality of troops in Polemos:

2 (2) - Austrian Line Infantry
3 (2) - French Line Infantry
4 (2) - French Light Infantry; Tyrolean Jagers
5 (4) - French combined Grenadiers

The first number is the value of the troops in infantry combat, that in brackets their strength against cavalry and artillery.  The scale is arithmetic (i.e. added to a D6 roll per combat), so it does not mean that a French light infantry unit is worth twice an Austrian line infantry unit.  On the other hand, it does show that the Austrians do have to work very hard to resist French attacks, whilst French Grenadiers and light infantry can pull off attacks that the Austrians just can't: e.g. against superior numbers, uphill, towns and so on.  If anyone noticed that the Austrians did pull off a very effective counter-attack over one of the bridges, four points to note: firstly, the French were already shaken; secondly, the Austrians had artillery support; thirdly, it was the Jagers leading the assault; and lastly,  in Polemos GdD, bridges do not provide any bonus to the defenders in the rules as written...