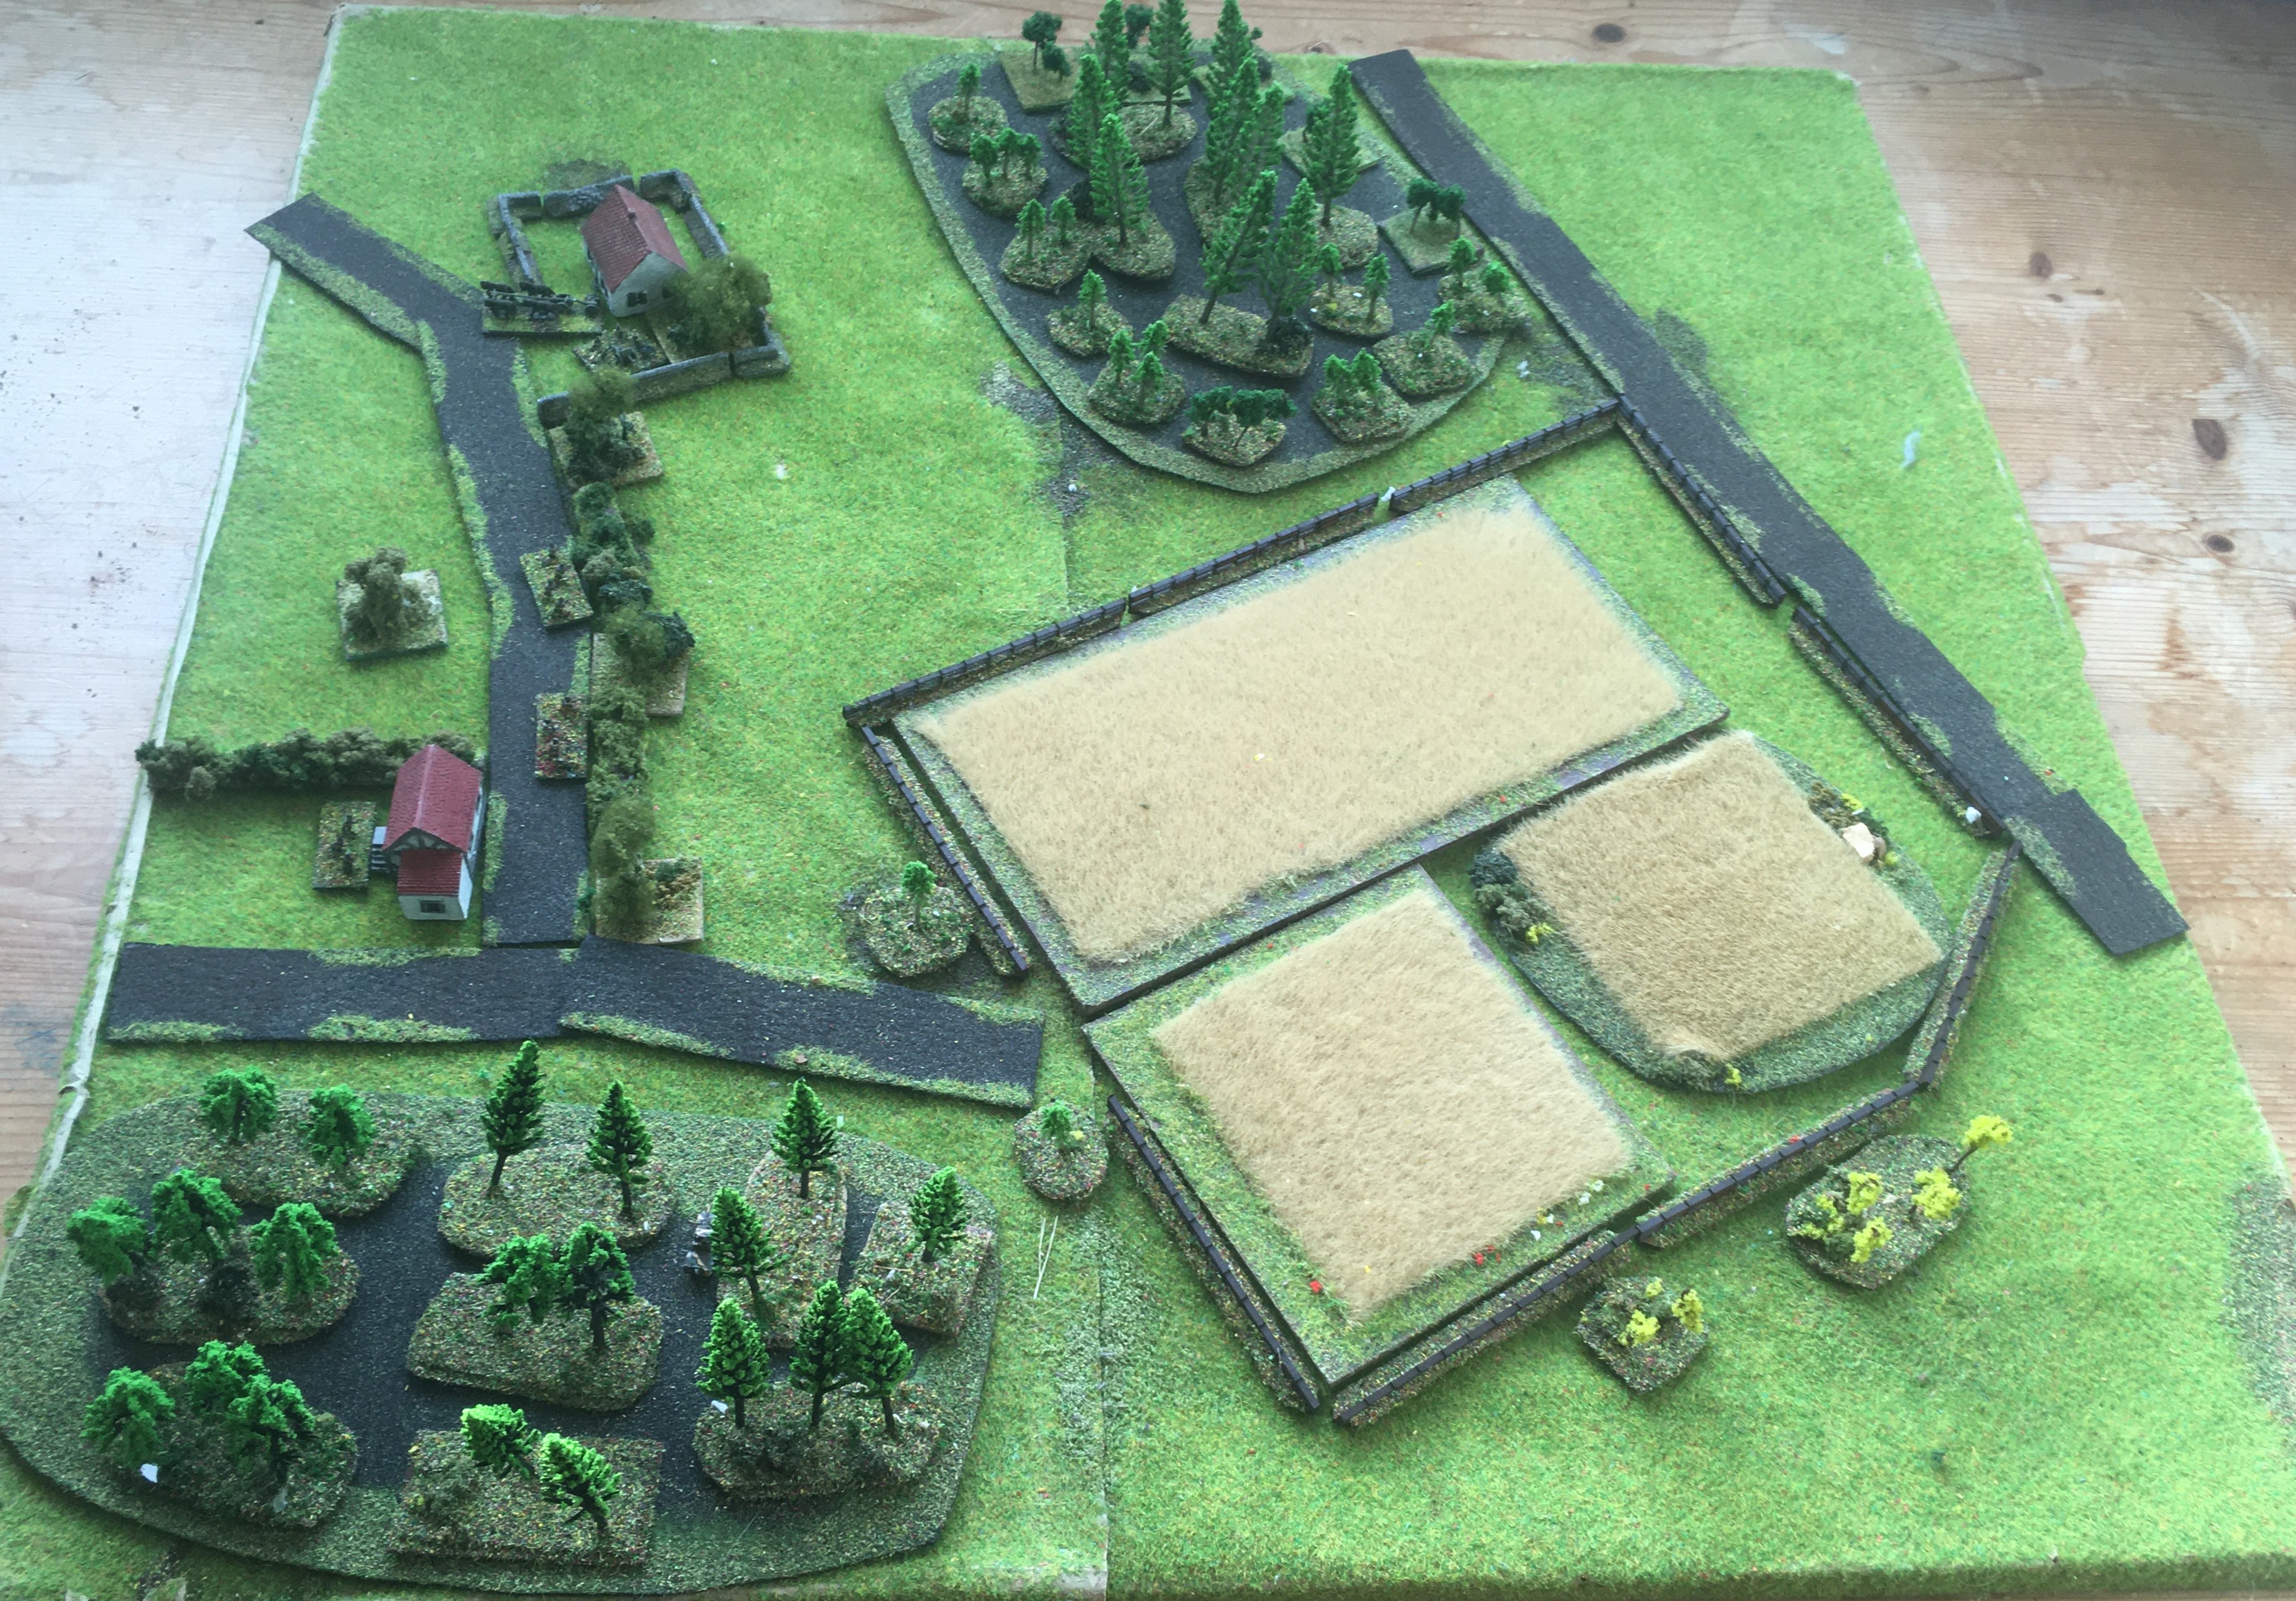
The Battle of Vauchamps:
The
Battle of Vauchamps is the next in my series of games using the same scenarios and rules used by the Napoleonic Miniature Wargames Society of Toronto -
Polemos Ruse de Guerre.
This battle was one of the actions during the 1814 campaign in which Napoleon repeatedly defeated the Allied Prussian and Russian armies under Blucher. This battle is one of counter-attack: one of Napoleon's Corps (that of Marmont) has been pushed through Vauchamps by Blucher's advance guard, led by the Korps of General von Ziethen. Napoleon reinforces Marmont with Grouchy's cavalry and the Imperial Guard and Blucher tries to restore the situation by bringing up the main body of his army. Petre's account of it is
here.
The Forces:
The Allied Army:
C-in-C: Prince Blucher
Prussian Formations:
von Pirch's Division: 4 infantry units, 2 light infantry units, 1 cavalry unit, 1 artillery unit
von Ziethen's Division: 4 infantry units, 2 light infantry units, 1 cavalry unit, 1 artillery unit
Prince August's Division: 3 infantry units, 2 light infantry units, 1 cavalry unit, 1 artillery unit
von Hache's Division: 2 cavalry units, 1 artillery unit
von Rader's Division: 2 cavalry unit
Artillery Reserve: 6 artillery units
Russian Formations:
Urusov's Division: 4 infantry units, 2 light infantry units
Turtscharin's Division: 3 infantry units,1 light infantry unit
Udom II's Division: 2 infantry units, 1 artillery unit
Artillery Reserve: 5 artillery units
The Imperial Army:
C-in-C: Emperor Napoleon
Mortier's Corps: 10 infantry units, 1 artillery unit (Guard)
Ney's Corps:
8 infantry units, 3 artillery units (Young Guard)
Lefebvre's Cavalry: 4 cavalry units (Guard)
Marmont's Corps: 5 infantry units, 5 light infantry units, 4 artillery units
Grouchy's Corps: 8 cavalry units
Leval's Division: 2 infantry units, 1 light infantry unit, 3 artillery units
This battle can only be won by one side breaking the other, or forcing the opposition to withdraw off a table edge.
The Set-Up:
 |
| The battlefield of Vauchamps. Vauchamps is on the main road (left), with Jouvilliers (top-right) and Fontain Au Bron (bottom-centre); the French will reinforce from the left, the Allies will reinforce Kleist from the right. |
The Battle:
 |
| Marmont's infantry attacks Vauchamps and von Ziethen's troops around it |
 |
| The French infantry are beaten off by musketry fire and recoil |
 |
| In the distance, the French cavalry (top-left) and their Prussian counterparts (centre-right) are both moving to the North of Vauchamps |
 |
| Marmont renews the attack around Vauchamps (bottom) - note that the supporting artillery has already been shot to pieces by the Prussian musketeers |
 |
| The cavalry manoeuvres continue; the French near envelopment (centre) is blocked, but the deep envelopment (top-centre) is progressing |
 |
| Marmont's infantry begins to push back Ziethen's troops... |
 |
| And some of whom break under the pressure, even though the French have suffered heavily too |
 |
| Concentrated artillery and musketry fire have destroyed the Prussian battalion at the edge of Vauchamps (centre-left) |
 |
| Zeithen launches a counter-attack to the south of Vauchamps (bottom) |
 |
| In spite of the heavy losses the French sustained, they retain enough order to drive back the Prussian attack |
 |
| Meanwhile, the French envelopment has proceeded quickly and the Russians have been forced to counter-attack off the march |
 |
| A closer view |
 |
| Further attacks from Marmont;s infantry make inroads into the remainder of Vauchamps, although the Prussians have managed to gain back the other half (top of the village) |
 |
| Another unit of Prussian musketeers breaks (bottom-right)... |
 |
| The French Guard cavalry charge the Russians... |
 |
| And again! |
 |
| The Prussian infantry retain their grip on Vauchamps |
 |
| The Russian infantry see off the French cavalry |
 |
| And the cavalry of the Imperial Guard do no better |
 |
| The Prussian cavalry put in a charge of their own |
 |
| Routing the leading French unit... |
 |
| The Russian infantry attack the French, routing some of the horsemen, but then their attack halts in disorder... |
 |
| The French infantry storm forward again into Vauchamps, with the Prussians only just hanging on at the edge of the town |
 |
| French infantry face off against Prussian cavalry |
 |
| The remining French cavalry charges... |
 |
| And routs the entire Russian division!! |
 |
| von Zeithen's division has suffered enough and its survivors run for the rear |
 |
| Prussian artillery fire breaks the successful French cavalry and sends it to the rear (top-left); the Imperial Guard cavalry suffers badly also |
 |
| The French renew their attack on the Prussian cavalry to the North of Vauchamps (centre) |
 |
| Much of the Prussian Cavalry flinches and breaks... |
 |
| Quickly, von Pirch deploys his brigade to help protect the rear of Vauchamps and the remaining Prussian cavalry |
 |
| More of the French cavalry is routed (left), but the remainder keep up the pressure on the Prussians (right) |
 |
| A wider shot - notice the use of the large Prussian artillery reserve to protect the flank (right) |
 |
| Bloody hand-to-hand fighting continues around Vauchamps |
 |
| With the French pressing inexorably forward |
 |
| A wider shot |
 |
| Grouchy's horse and Marmont's foot continue to attack to the North of Vauchamps... |
 |
| But Pirch's men remain firm and drive the French back with loss |
 |
| However, the French have routed the remainder of Pirch's units that were hanging on in Vauchamps... |
 |
| ...which sparks a general Allied retreat! |
 |
| The position at the end of the battle! The Allies do have a good line of retreat and three relatively untouched divisions, but it is clear that they have no good position to withstand the French advance |
Game Notes:
An exciting game which was quite an interesting mix of manoeuvre, timing and attrition with all of the arms on both sides getting some use. The Allied army is quite strong but is quite a poor position - they are sort of forced to make the best of it, because deploying into order and then advancing will simply allow Zeithen to be overwhelmed and the centre of the position eliminated before the Allies cna get into the action. By
not doing this however, the Allies find it hard to get their troops in the right order. The French suffered heavy cavalry casualties but their actions were most influential on the battle, the charge of a single regiment overwhelming Urusov's Division, who had been committed in a sub-optimal formation to try and halt the French left flanking moves. The Prussian infantry did not fight amiss, but they struggled to hold Vauchamps in the face of superior French numbers (locally), especially in artillery. The French seemed to have the rub of the green overall in the combats too. The massed Prussian artillery did severe damage to the the French horse too though.
I'm not going to say much about the rules since I have talked about them extensively in previous posts. They coped very well with this battle - even the time factor wasn't implausible (c.15 turns, so 2-and-a-half hours or so of "real" time). One thing that I have noticed is that I am following the rules-as-written slightly too slavishly for solo play - there is a step which could easily be simplified and improved for solo play in the "tempo" stage and I will look to do that in my next games (basically I am going to get rid of the low tempo/high tempo roll and simply assign a "commander quality" number instead, which will inform the actual tempo bid). I am also inclined to reduce the risk to commanders in close combat. Currently it is so dangerous and the penalties in morale are so high that it is simply not worth doing.
The board probably was a little small for the game, athough as things worked out at least resembling history in some bits, it wasn't too bad. But more space on the flanks and more French troops on from the beginning may have been better, if I'd had it. I still think it was the correct decision to play it lengthwise, since that was one of the major issues for the Allied commander.
Figures are mainly Baccus 6mm, with some Commission Figurines amongst the Prussian force. Buildings are mainly from Leven.
:strip_icc()/pic5163498.png)