For this thirteenth scenario on this series from Neil Thomas' One Hour Wargames book, a Franco-Jacobite force has to try and roll through a small British blocking force before it is reinforced to such a strength as to make success improbable. As previously, although the scenario used is from One Hour Wargames, the rules are Neil Thomas' Simplicity in Practice rules from Battlegames 023.
It has been a while since this game was actually played, so possibly these notes will be a bit briefer than usual!
The Forces:
The Franco-Jacobite Army:
5 Infantry units
3 Cavalry units
1 Dragoon unit
The Hanoverian British Army:
5 Infantry units
1 Artillery unit
2 Cavalry units
1 Dragoon unit
The Hanoverians started with 2 units on the table: this was increased by 3 units every second turn (IIRC).
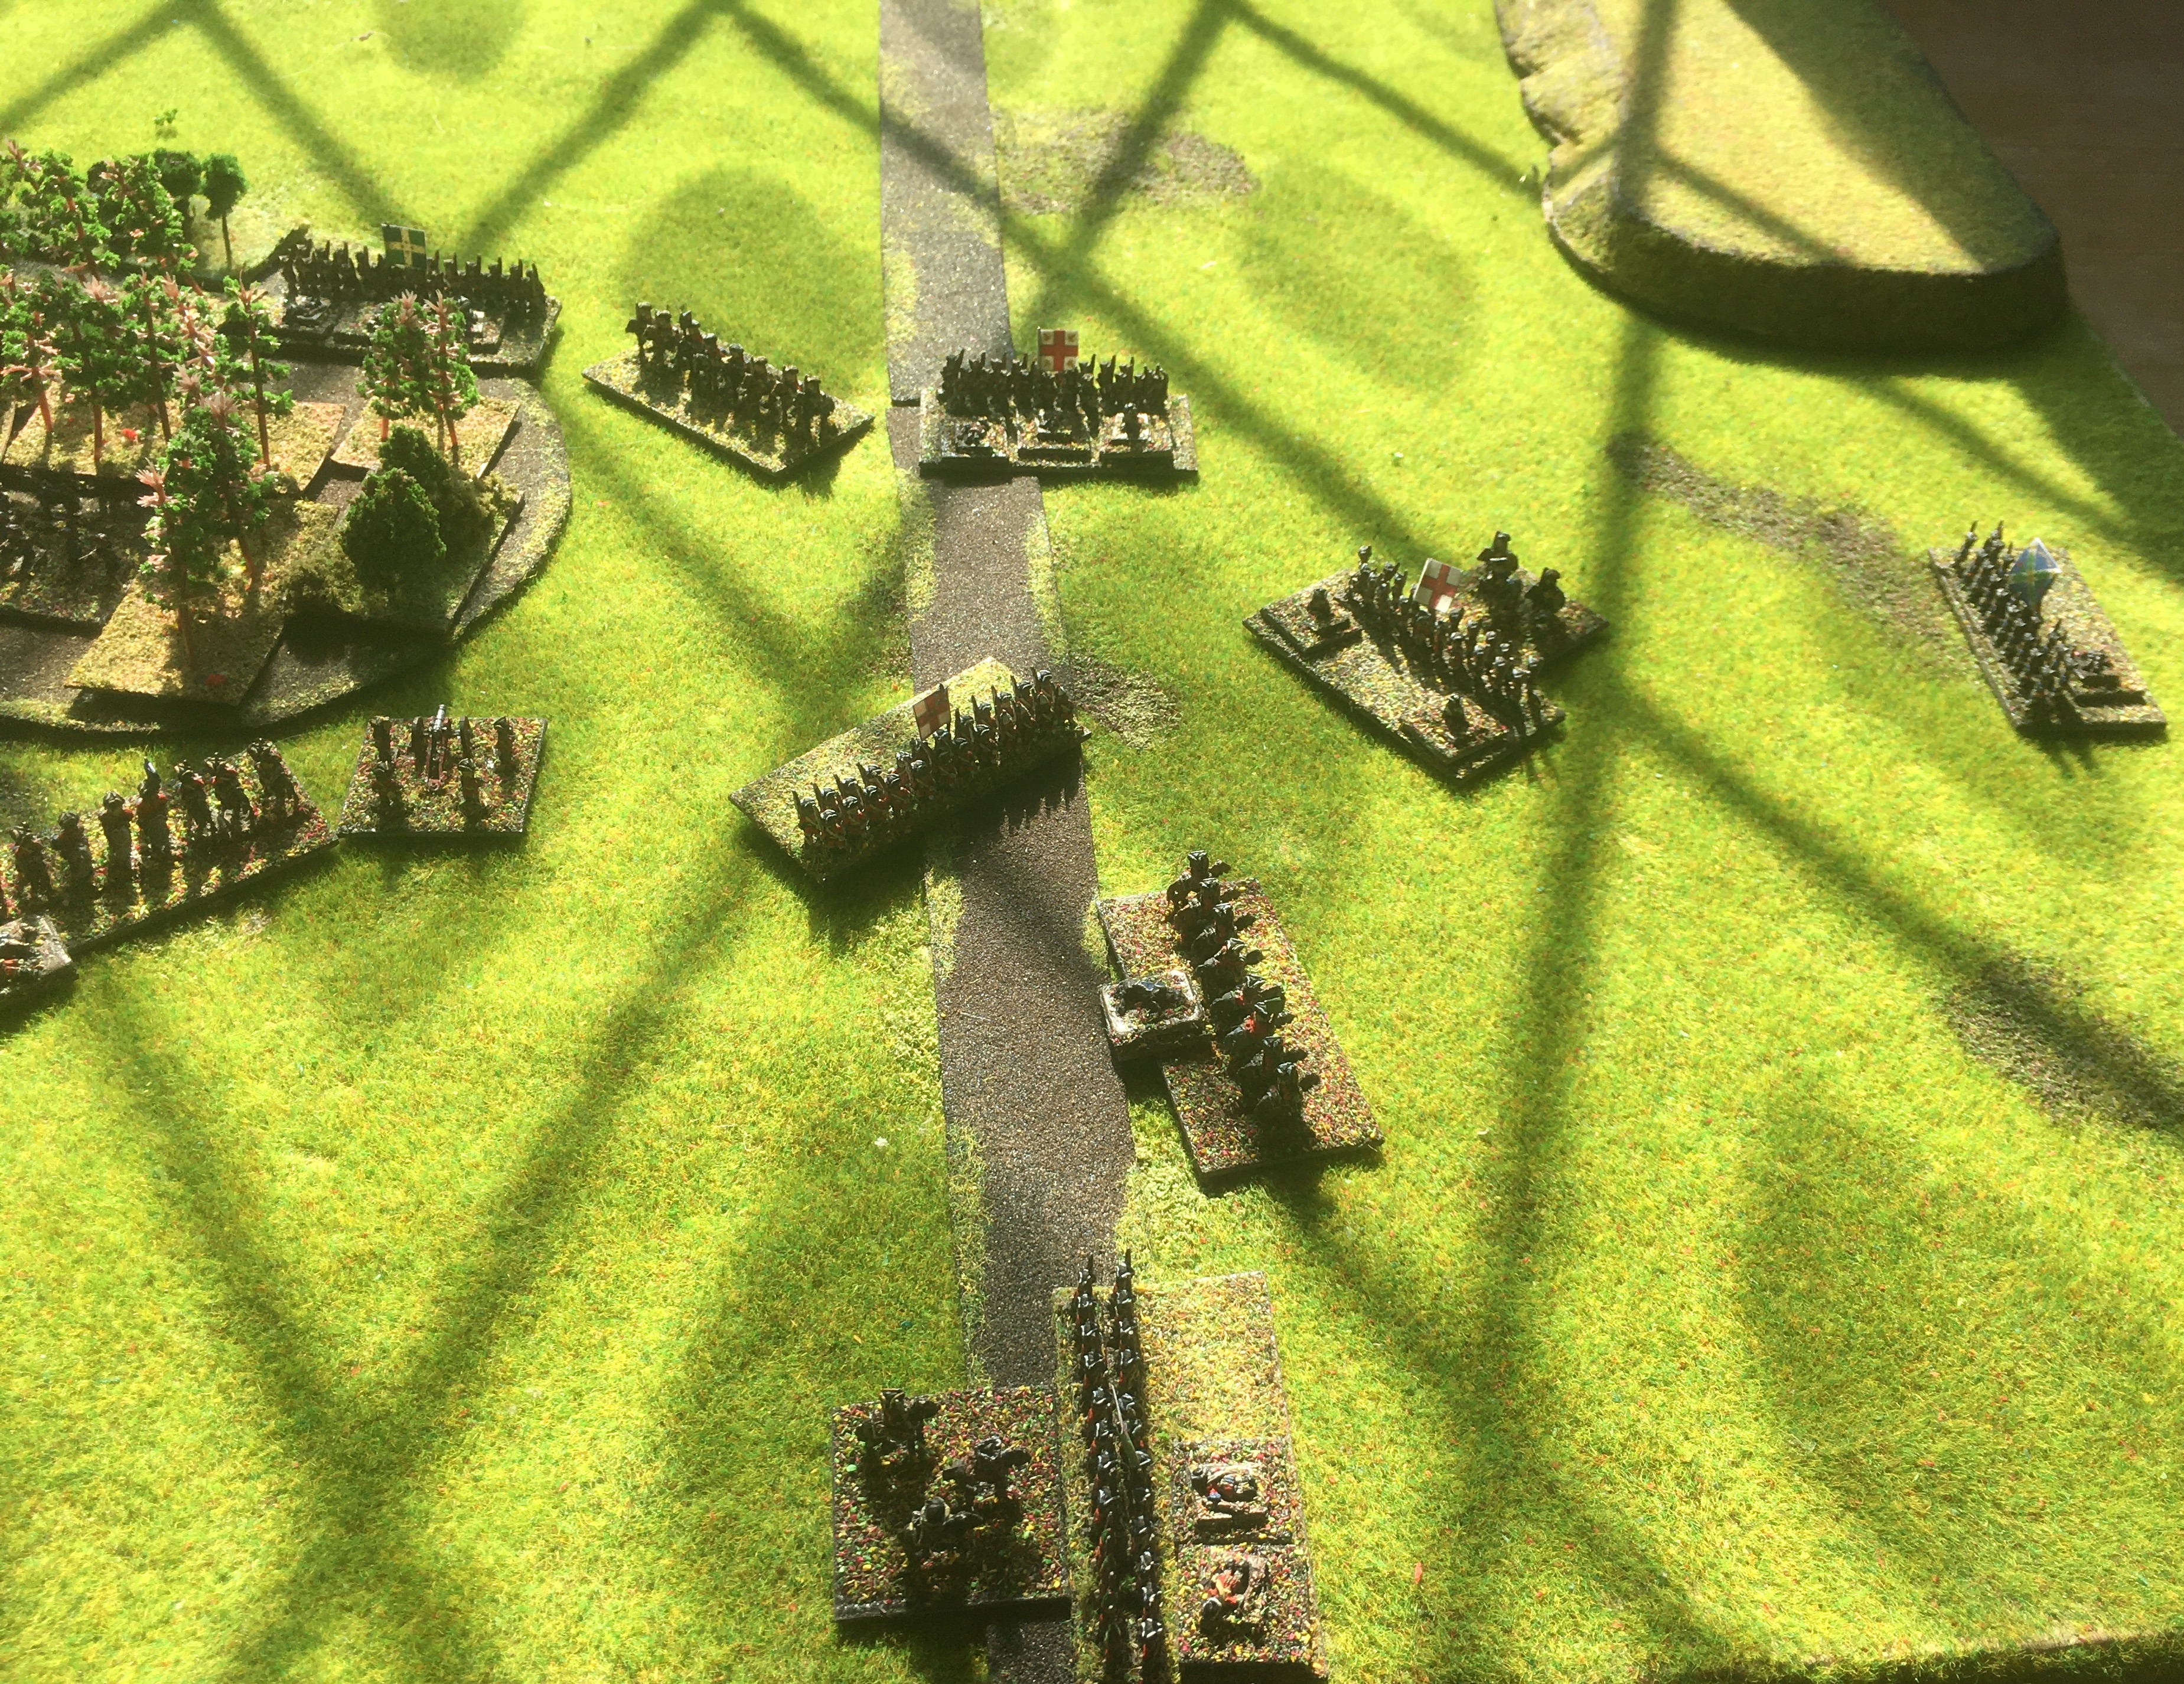
The Battle:
 |
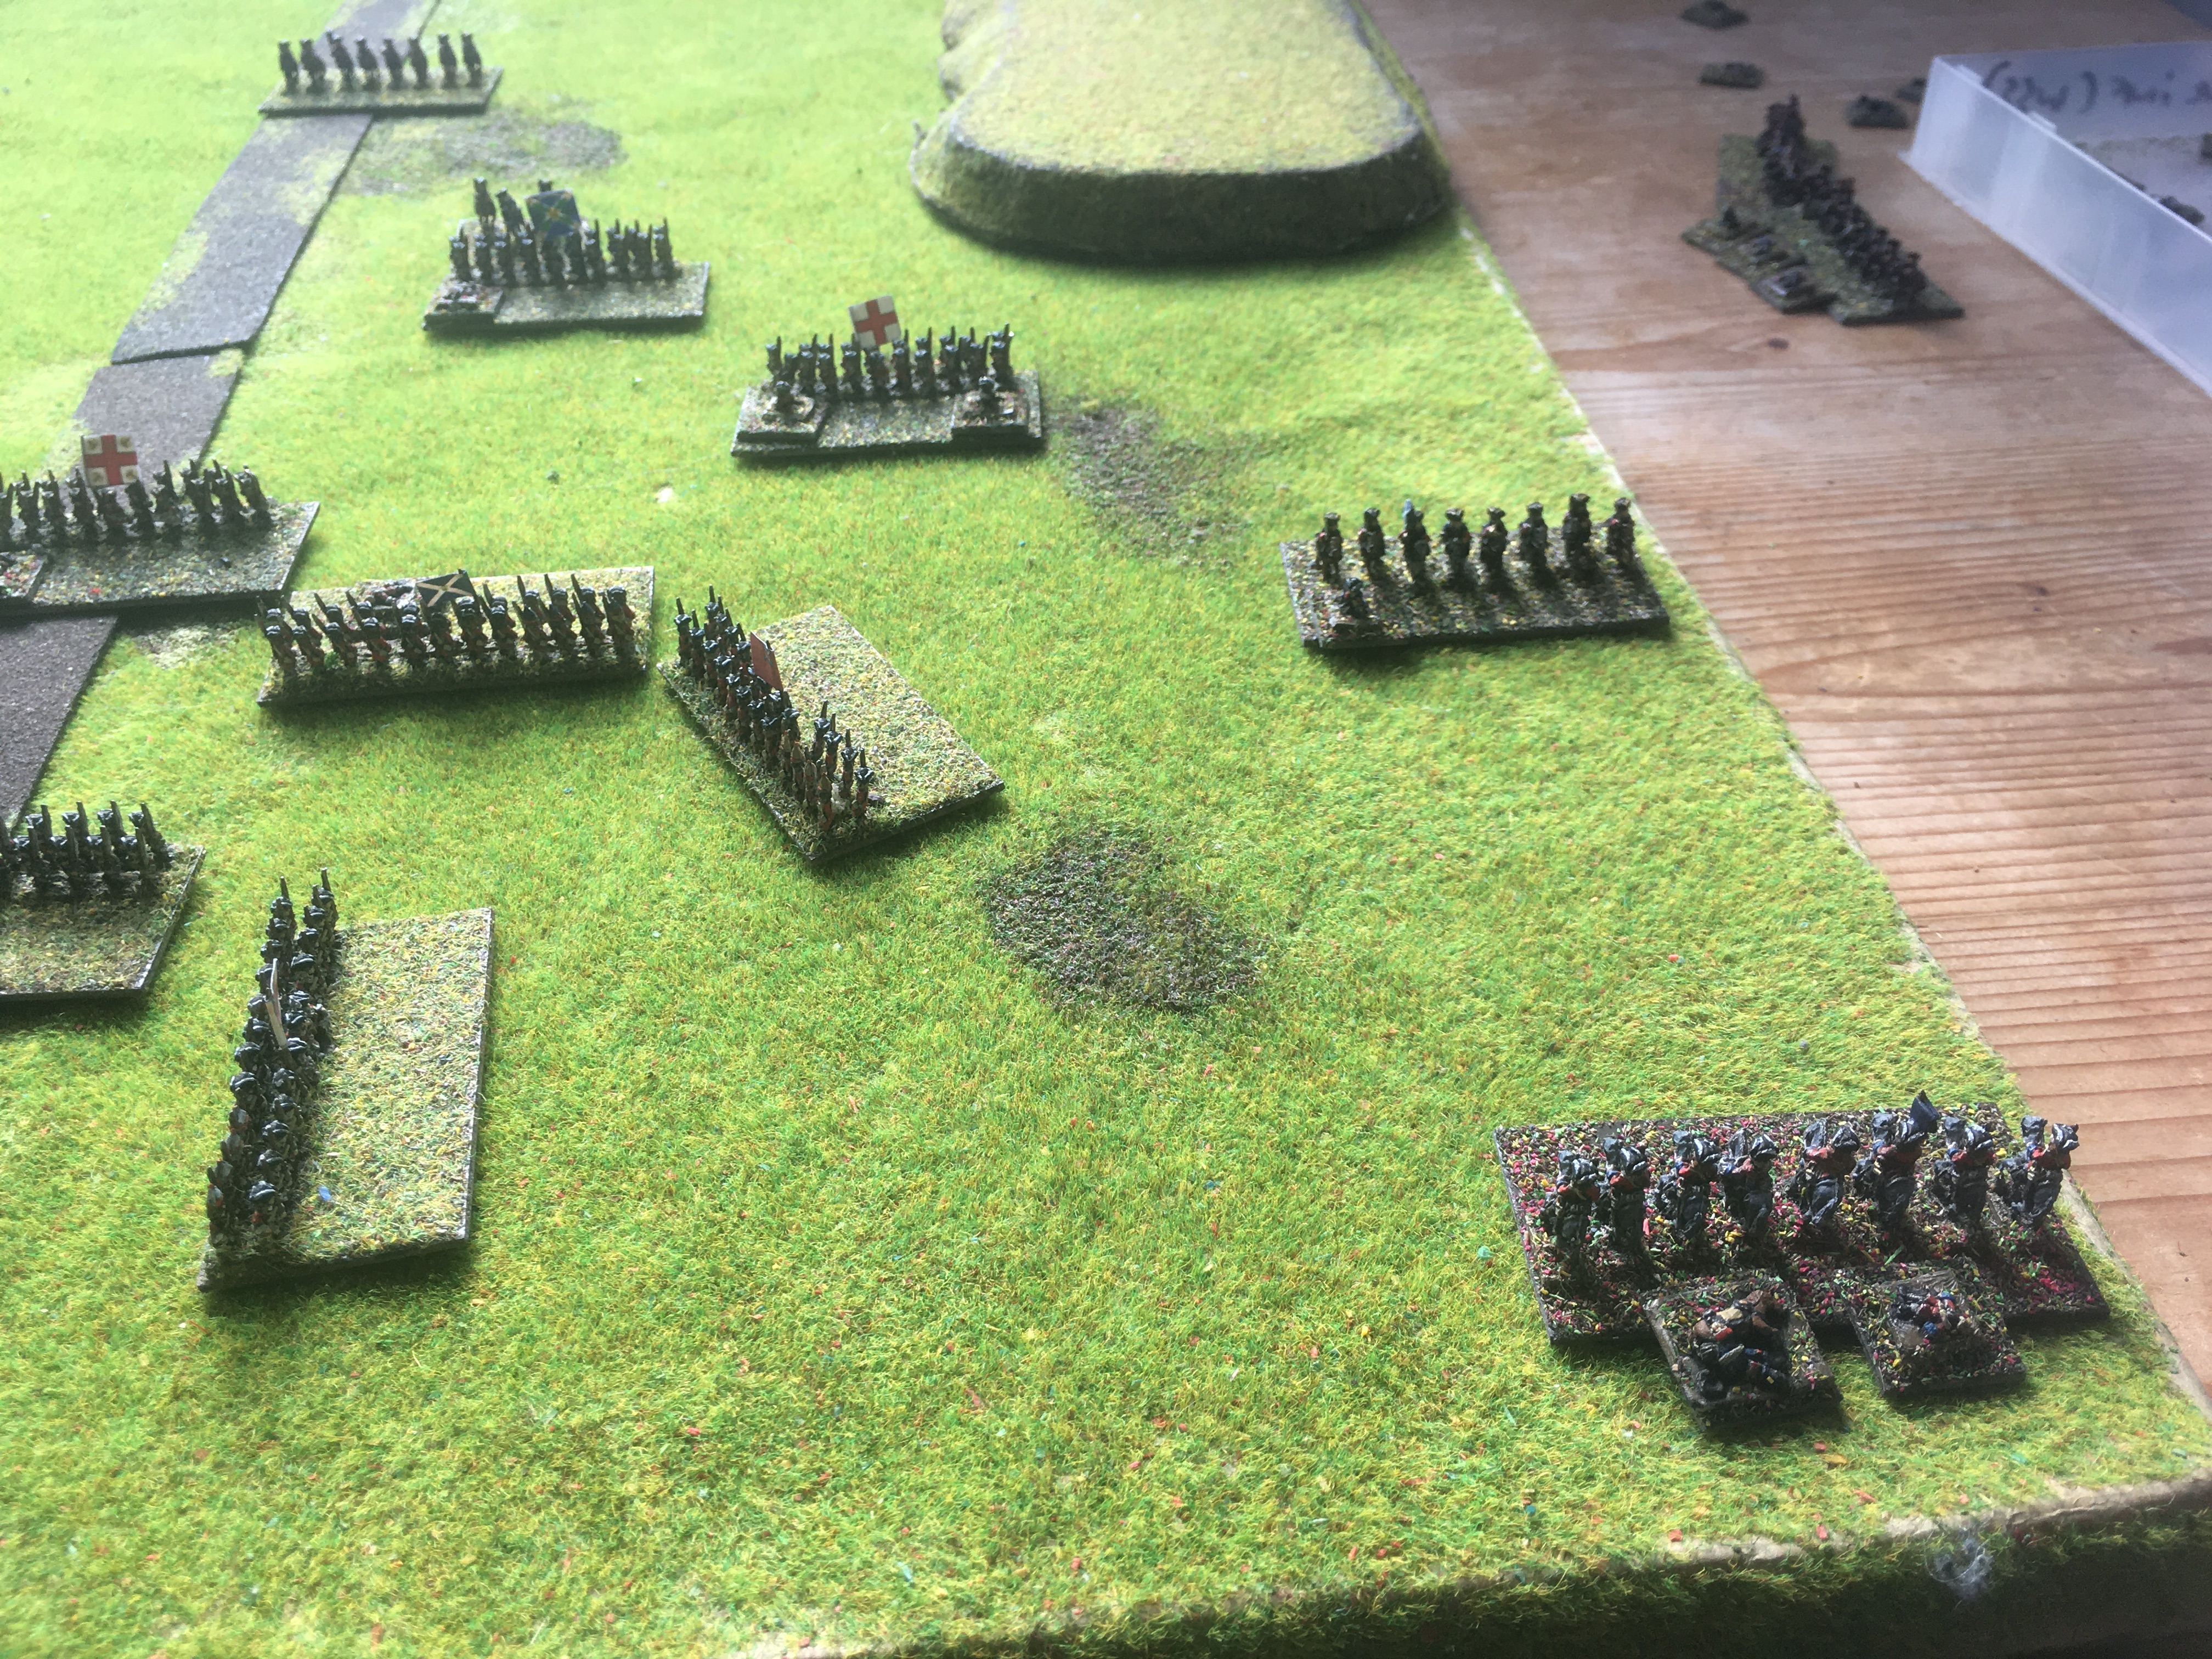
The small British blocking force is approached by the Franco-Jacobite column
|
 |
The Franco-Jacobite cavalry lead the advance, with the infantry of the main body following after
|
 |
The Franco-Jacobites try a bold charge to try and seize the British artillery early, whilst simultaneously giving the Franco-Jacobites time and space to begin their deployment
|
 |
And who dares, wins, it seems! The British artillery is defeated and must reform in the rear after heavy losses to the Jacobite sabres.
|
 |
A wider version.
|
 |
More British infantry arrives just in time to try and shore up the line; the artillery has been withdrawn and deployed off to a flank (left)
|
 |
The Jacobite cavalry then moves to threaten the British right flank
|
 |
The British attempt to form a rough defensive line, with both flanks refused
|
 |
The position doesn't look too strong
|
 |
The Franco-Jacobite infantry attack begins to develop, and some British infantrymen fall...
|
 |
The British bring their guns back up now the cavalry threat from the immediate front has vanished
|
 |
But the British flank still looks a little threadbare
|
 |
Both sides try to extend their lines, although the Franco-Jacobite position looks better developed
|
 |
But musketry is proving more deadly than the threat of sabres at present
|
 |
Franco-Jacobite infantry move up to help the assault on the British Right, whilst British Horse moves up to help reinforce it.
|
 |
The fresher British Cavalry smash their Jacobite opponents (right), whilst the British infantry (centre) withdraw to a less exposed position
|
 |
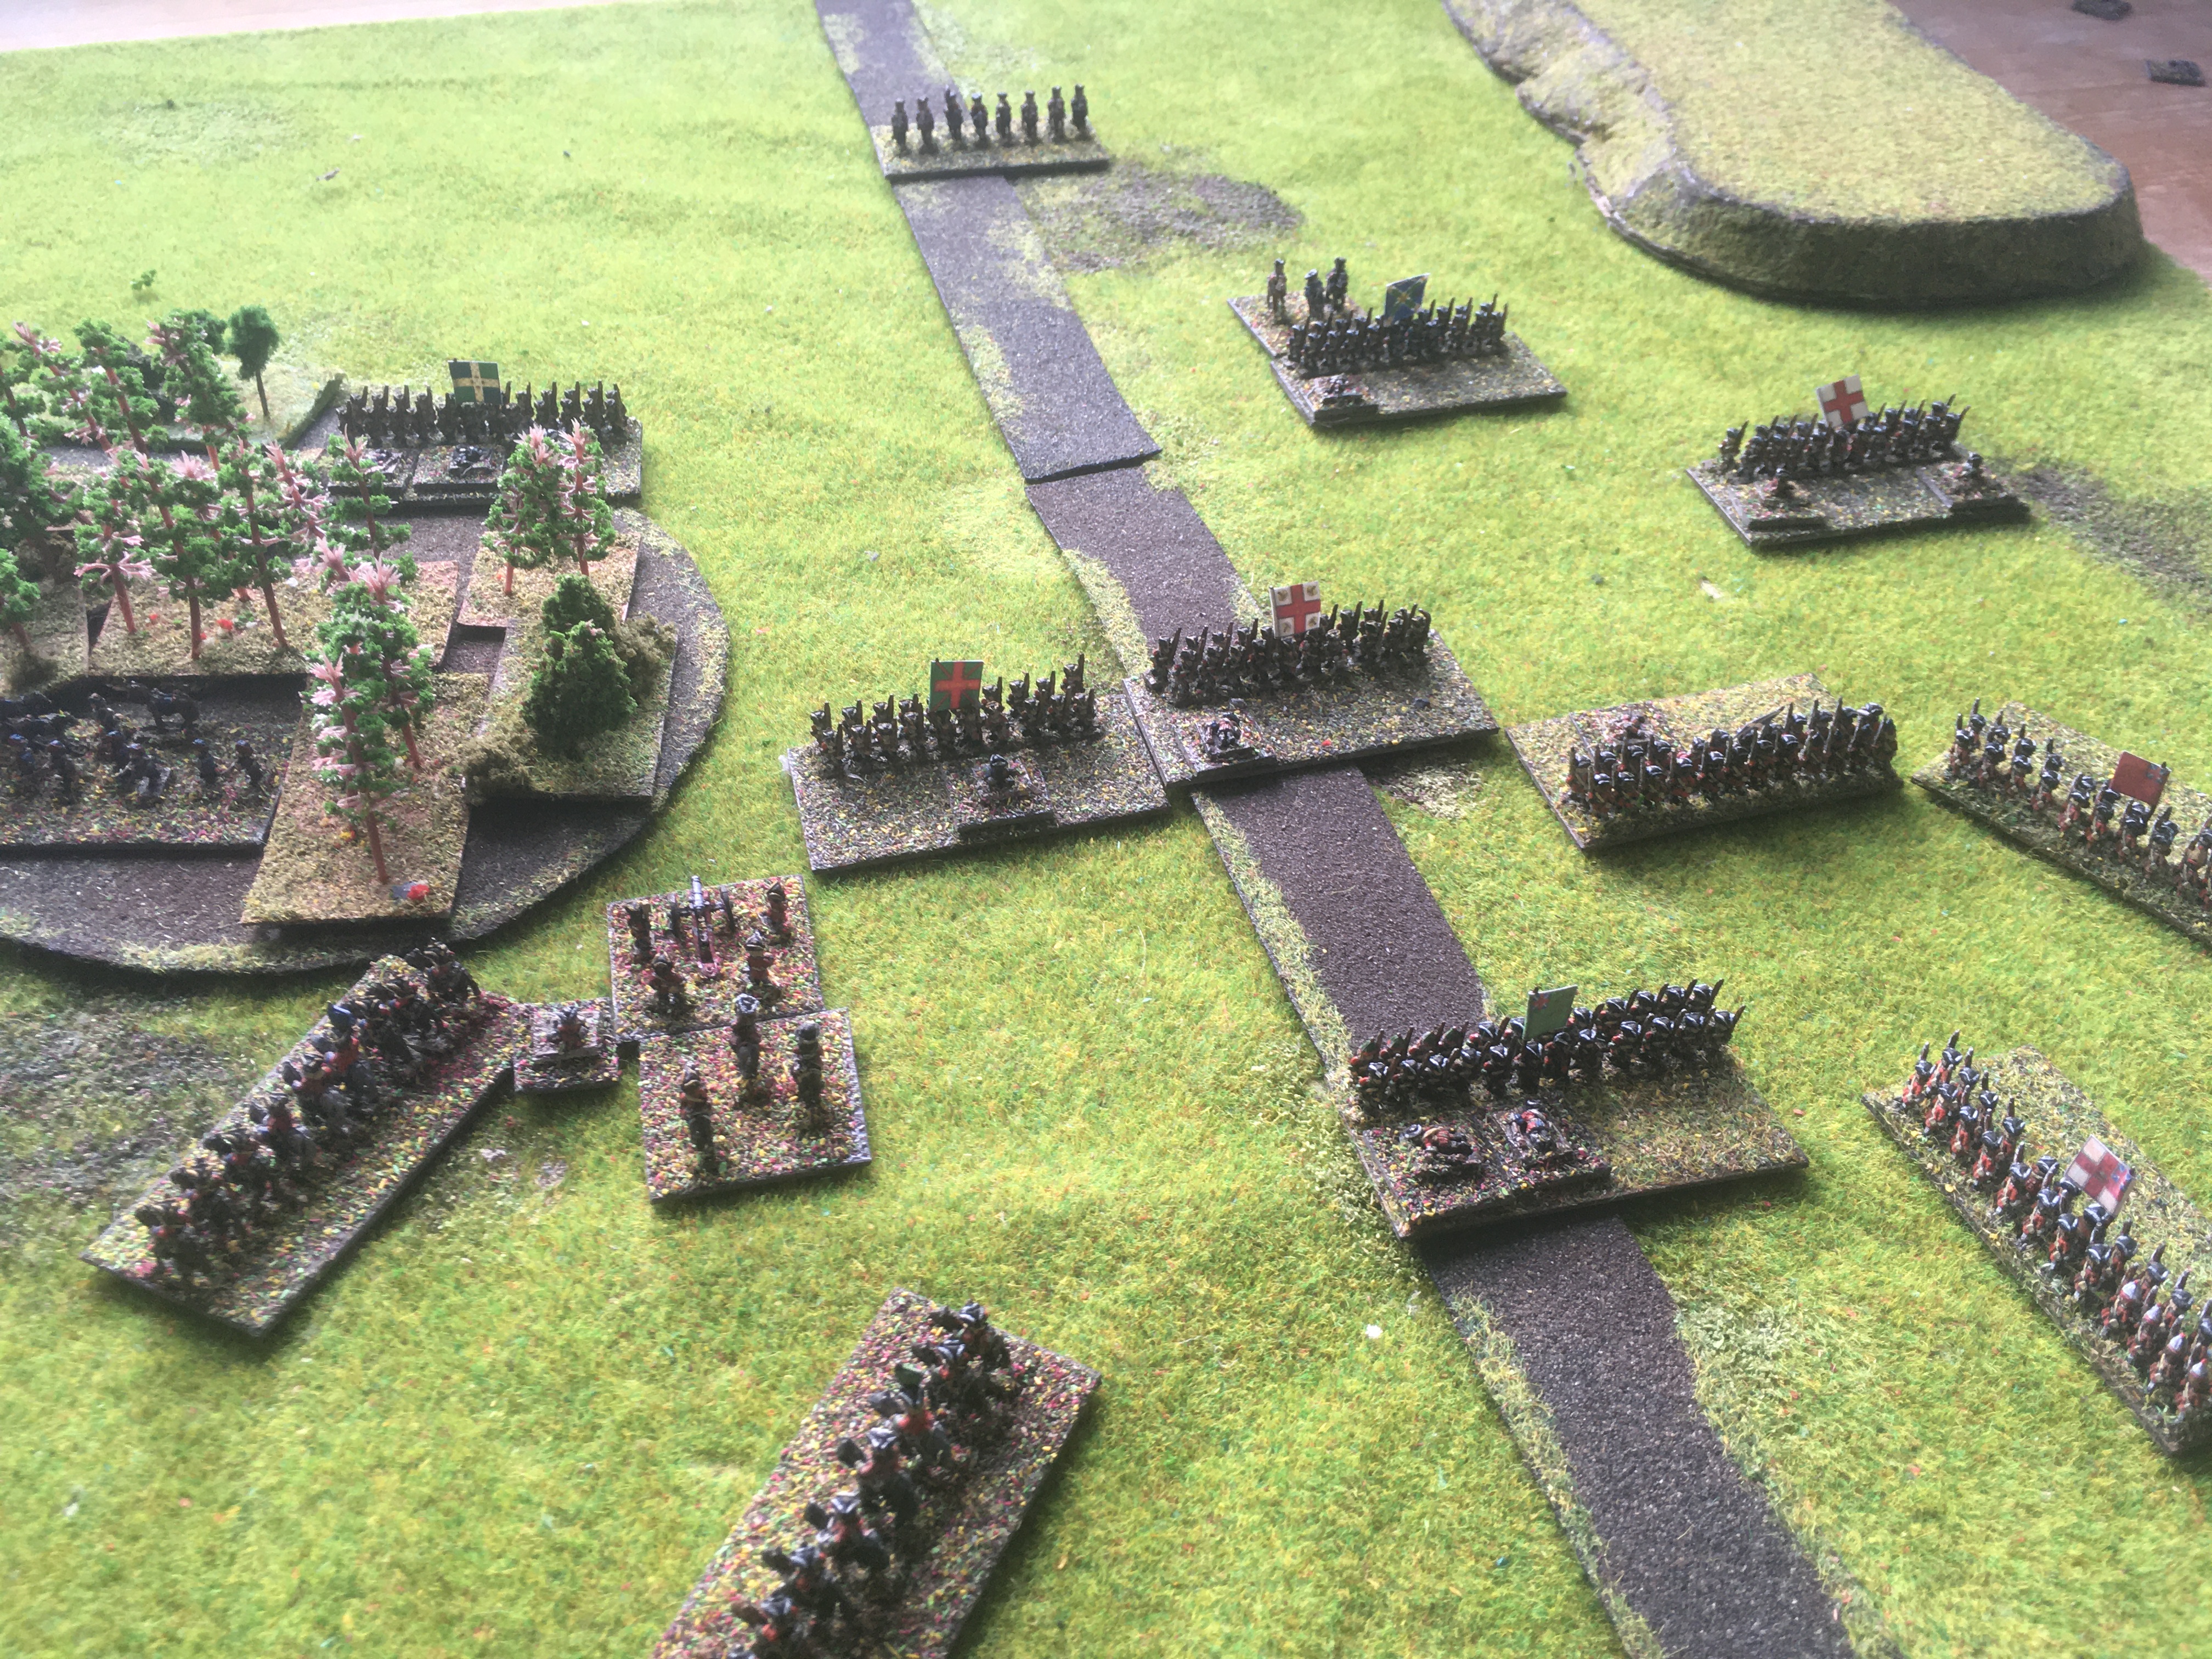
The battle lines are fully developed now - note that the French Dragoons have dismounted and gone through the woods (left) and are firing at the British cavalry and artillery (left-centre)
|
 |
The leading Jacobite cavalry regiment has been seen off and the British right flank somewhat stabilized
|
 |
But the other Jacobite Cavalry hits the British Horse on the flank...
|
 |
The action hots up in the centre as the Franco-Jacobites deliver a bayonet charge; the British infantry on the road had been withdrawn before the attack, as it needed to reform and recover after the casualties it had taken
|
 |
Regiment la Reine advances through the woods in support of the Dragoons and attacks the British artillery
|
 |
Unsurprisingly, the outflanked British cavalry has been defeated and has retreated (bottom-right)
|
 |
Berwick's Regiment drives its attack home to bayonet point...
|
 |
Their British opponents are routed instantly with heavy casualties!
|
 |
The British infantry in the centre are retreating, routed, dead or surrendered! Luckily for the British, their artillery has driven the French infantry back into the woods (left)
|
 |
It is backs to the wall stuff for the British now - they have extemporized a line to contain the Franco-Jacobite infantry advance along the road, but the British right is in some disarray
|
 |
An Irish regiment (Dillon's, I think) holds off a British counter-attack and drives it off...
|
 |
The British have been pushed around into a very odd position!!
|
 |
Jacobite Cavalry charges again, moving in for the kill...
|
 |
And the remaining British troopers flee!
|
 |
To the surprise of no-one, another Irish attack routs the disorganized British battalion in the centre
|
 |
A fairly dire situation for the British, with the left taking casualties, the centre pushed back and the right looking extremely exposed!
|
 |
However, the 27th, despite being exposed out on the right, is resisting with incredible fortitude
|
 |
Nil desperandum: The British infantry counter-attack with the bayonet (centre)
|
 |
This time the British Foot is victorious...
|
 |
And the Jacobite infantry is driven back
|
 |
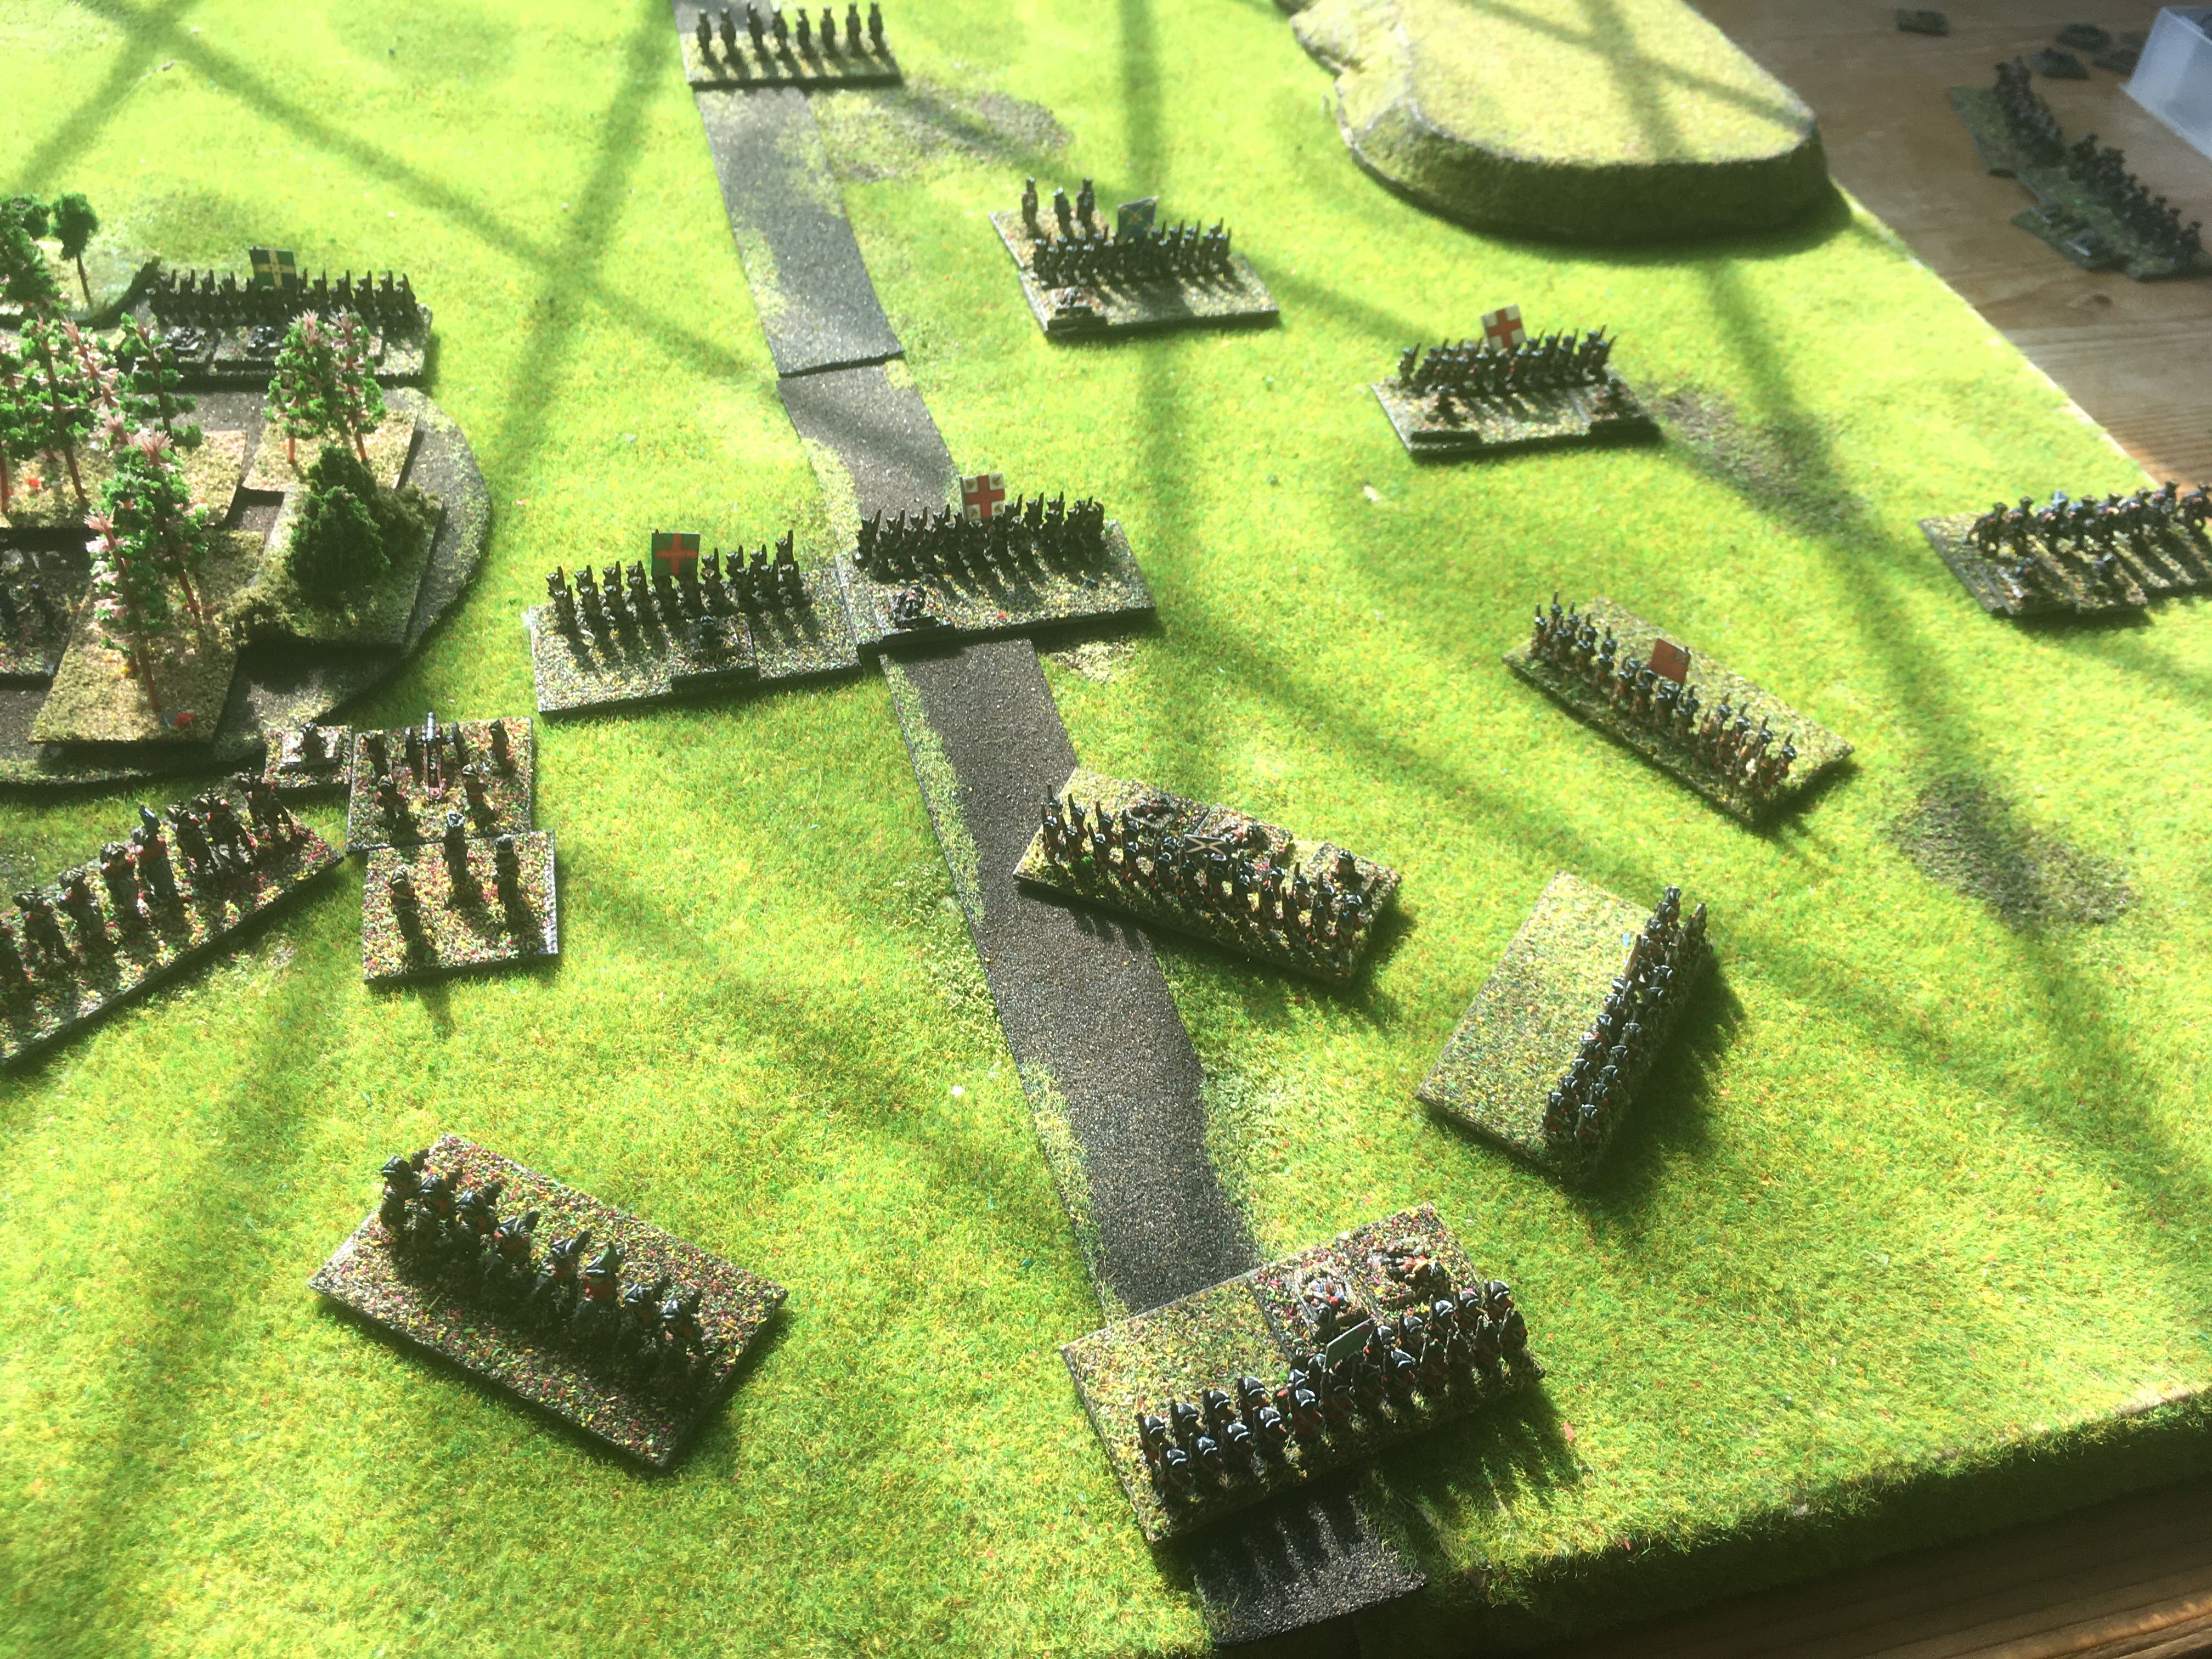
A complicated quick series of actions sees the British Right entirely disordered, with its flanking battalion (the 27th) driven off to the right (right) by a combination of the efforts of Regiments Dillon & Royal Ecossais.
|
 |
Another picture with a lot going on: the remaining British Horse has been brought across to help stabilize the situation and is now facing the remnants of the Jacobite cavalry (bottom-right); the 4th Foot is continuing the central counter-attack (centre-right) to drive back the Jacobite Foot (Berwick's Regiment)
|
 |
Berwick's Regiment, taken slightly unawares and having suffered earlier losses, is defeated and routs...
|
 |
Somehow a semblance of order is returned to the British line!
|
 |
A French Cavalry regiment is brought up to plug the gap
|
 |
The Royal Ecossais delivers the coup de grace to the 27th, isolated away on the Right - it must surrender to the victorious Scotsmen.
|
 |
However, the relatively fresh British Horse has in its turn routed the last of the Jacobite cavalry.
|
 |
The British Centre is now effectively its right, thrown back at right angles.
|
 |
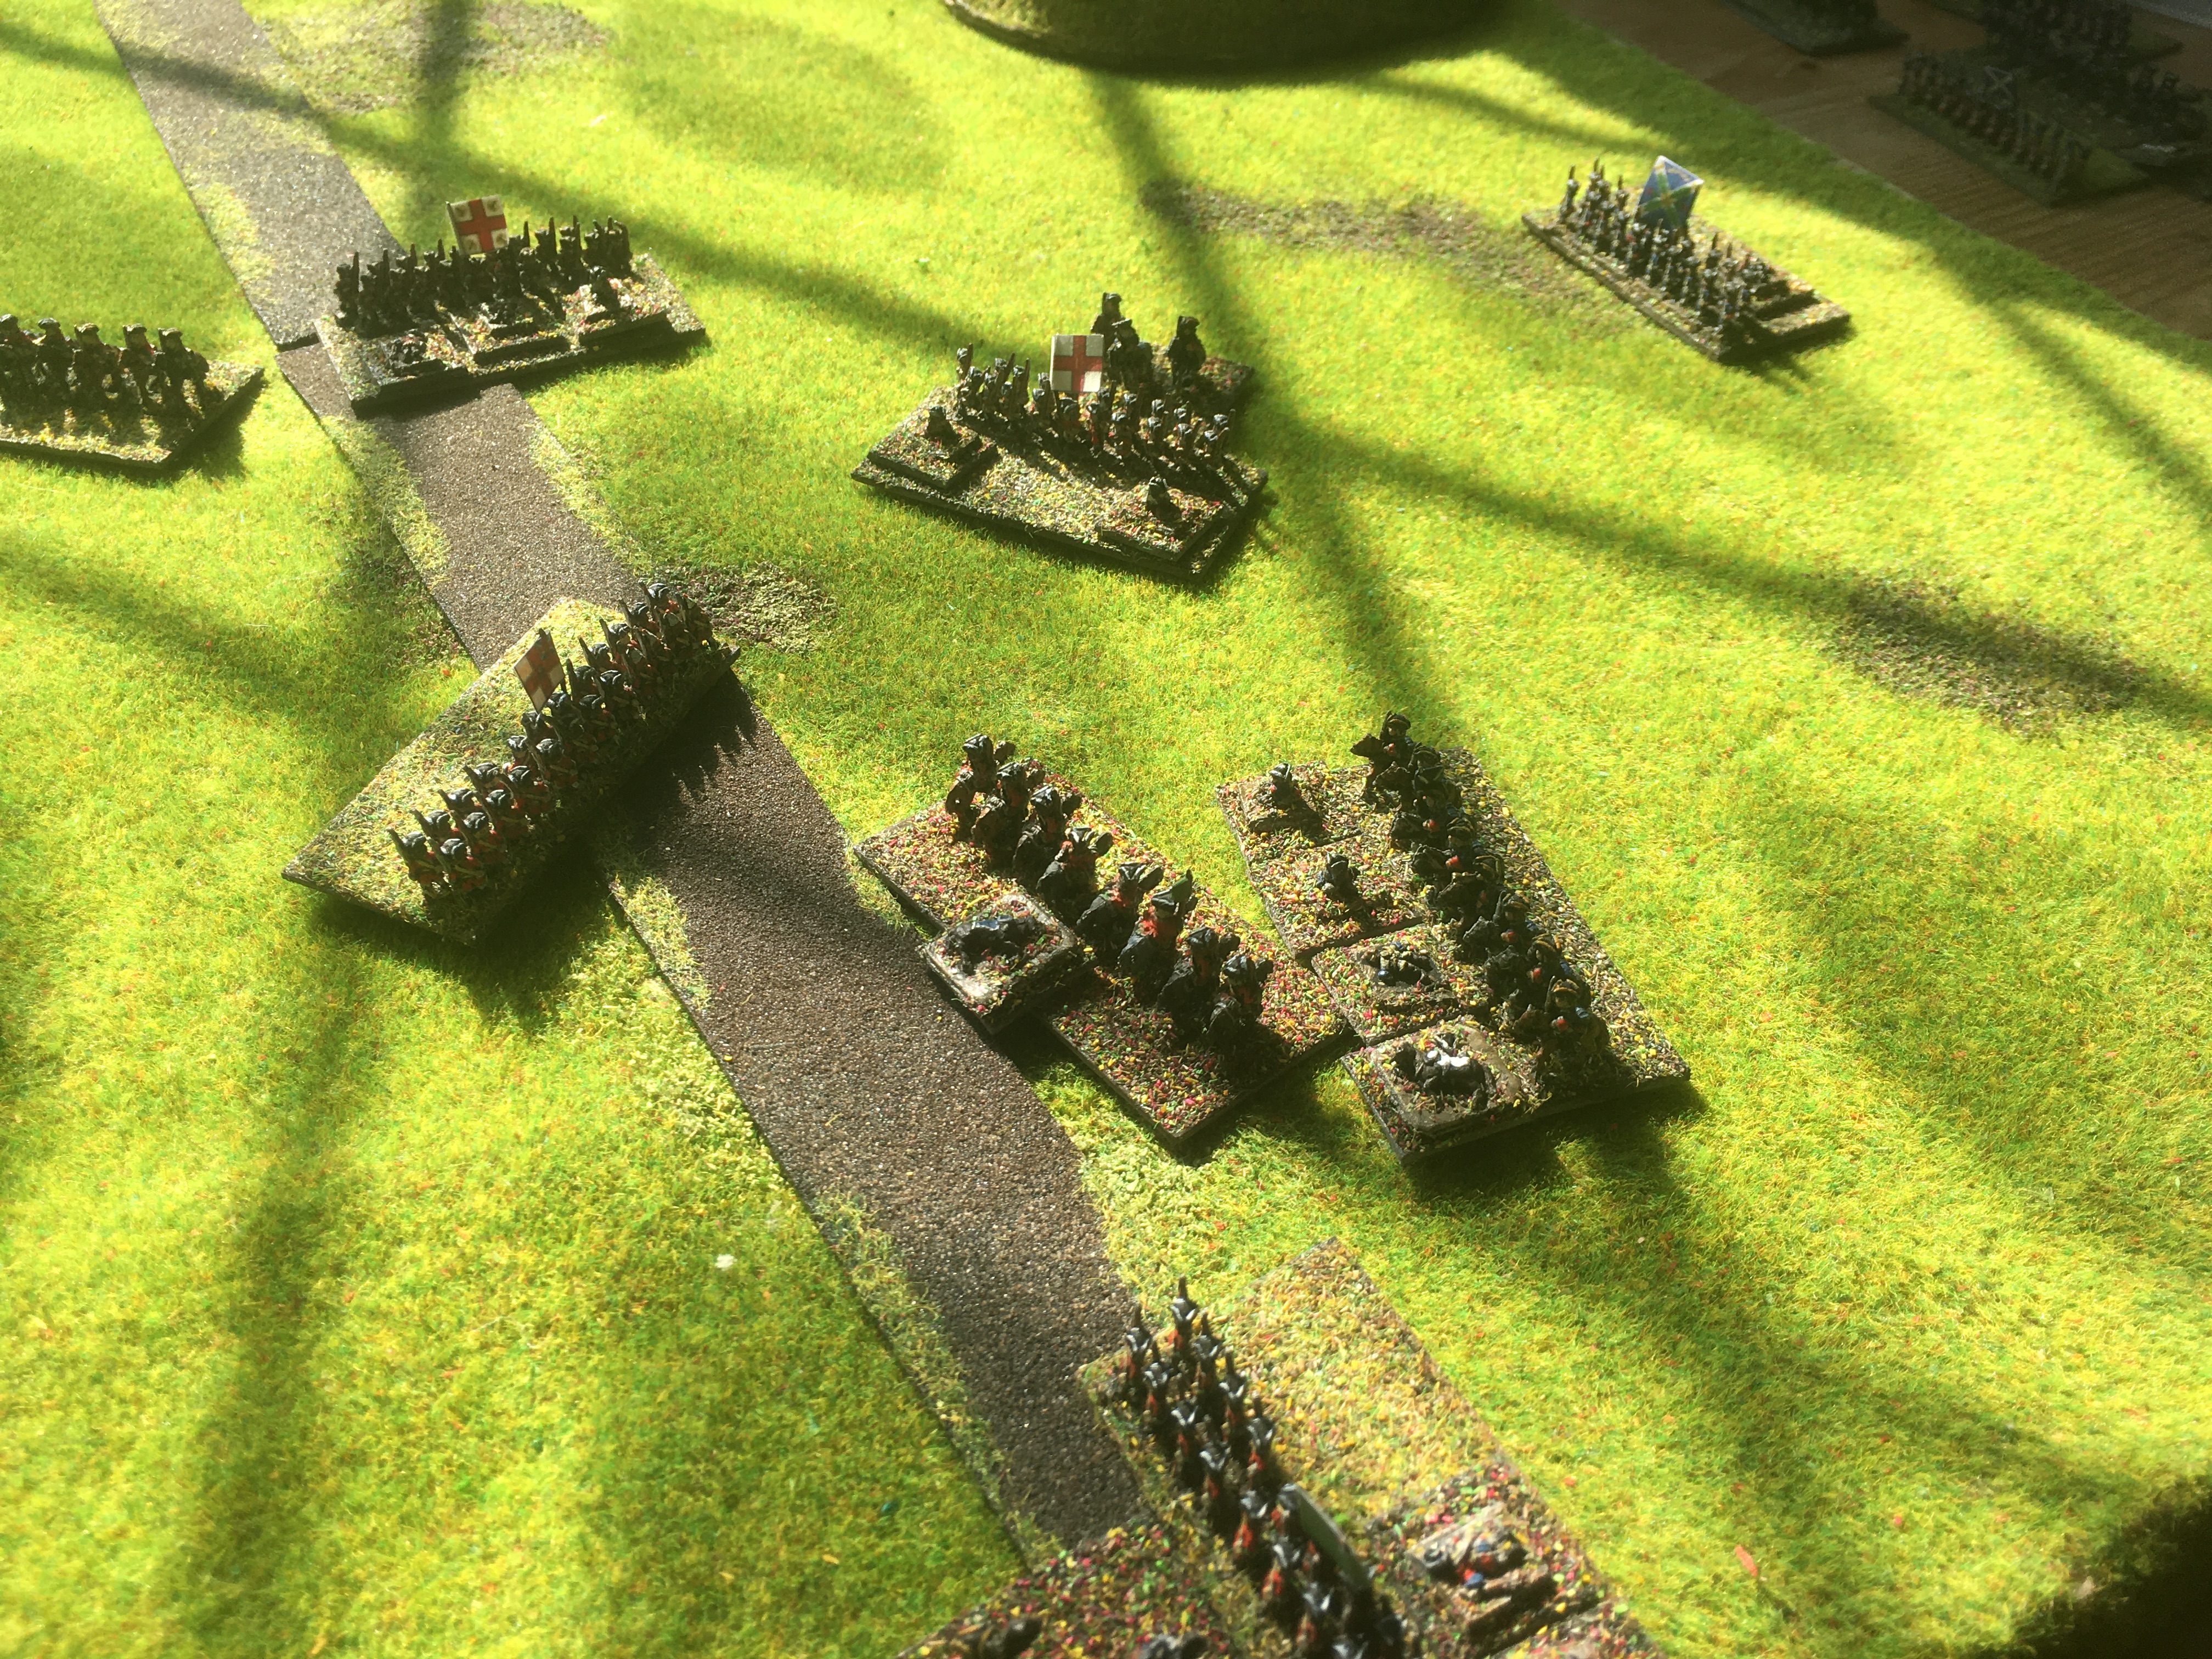
The British Horse catch Royal Ecossais unawares and charge them in the rear (right)! Meanwhile British musketry has started to really wear down the remaining Jacobite infantry.
|
|
 |
Clare's Regiment just dissolves under the weight of fire (centre)
|
 |
Whilst Royal Ecossais has been badly cut up and forced to withdraw and reform.
|
 |
The Franco-Jacobites make one last effort: a combined infantry and cavalry assault on the centre.
|
 |
But the British guns drive off the French cavalry...
|
 |
Although Dillon's Regiment has more luck, wining the close quarters fight against Seymour's Marines...
|
 |
Who are thrown back...
|
 |
However, the last British battalion (the 5th) is thrown into the fray...
|
 |
Sufficiently recovered form their surprise, the Royal Ecossais stands firm against the renewed attack of the British Horse and delivers a devastating short-range volley...
|
 |
But the exhausted Dillon's Regiment is no match for the relatively fresh 5th - the Irish regiment collapses in rout
|
 |
As do the British Horse!
|
 |
Like so!
|
 |
But it is too little, too late - the Franco-Jacobite army has reached its limit first and must call off its attack!
|
Game Notes:
A thrilling action which genuinely went down to the wire. I had honestly thought at one point that the Franco-Jacobites had this one sewn up, but that obviously proved deceptive: what was going on was that the stream of fresh British units arriving was always letting the British just restore the situation. The steady attrition of the British artillery was more effective than that of the French Dragoons in the wood, so that every time the Franco-Jacobites thought the British were going to collapse, a fresh bayonet charge staved off disaster. Oh, I just said that before didn't I? Never mind, it was such a strong impression, I need to say it twice!
Apart from that, the only things of note really were to do with the Cavalry. I still haven't found the best way of using it in these rules. Attacking guns is roughly a 50:50 business (which is actually a decent bet, since the guns are more useful than the cavalry) but attacking even disordered infantry frontally is no piece of cake, unless the cavalry has more support available. I think I still instinctively assume that the odds are better for the Horse than they actually are...
It would have been quite interesting to see how the French might have got on with some artillery and perhaps one less Horse unit. Perhaps I should just pick the forces for each side??
Anyway, really good fun, figures as ever by Baccus 6mm.
:strip_icc()/pic2450648.jpg)
:strip_icc()/pic6593339.jpg)


"I think I still instinctively assume that the odds are better for the Horse than they actually are..." spoken like a true cavalry general :) This seems to be a consistent theme in history.
ReplyDeleteHahaha! I really chuckled at that...
DeletePS wonderful looking game and thanks for the write up.
ReplyDeleteThanks Ben, appreciate that.
DeleteGreat writeup. I think that scenario is one of the best ones, nail biting to the end.
ReplyDeleteAgreed - the time and reinforcement equation is balanced really well in this one.
DeleteBlimey, half way through and I thought the British were completely done for! So I was amazed when I reached the end to find they managed a hrad fought win. Incredible. This is one of those games that will stick in your mind for sure, or so I would imagine.
ReplyDeleteYes, quite a few of these have stuck in my mind, this one amongst them. It is part of a gamer's self-education I think, knowing which situations look bleak but may be turned around and which situations are just doomed and you need to shake hands/pack up and move on...generally the first are the ones where a fresh reinforcement might just tip the balance...
Delete