
The English:
300 Royal Bodyguard (Excellent armoured "mounted infantry" - despite Halsall's loathing of the term he uses it in the scenario, presumably it was in the WRG rules of the time)
2000 Warriors (Veteran leather armoured spearmen)
400 Peasants (unarmoured)
200 Archers
200 Javelinmen
The Picts:
80 Heavy Cavalry
500 Light Cavalry
2800 Infantry (unarmoured spearmen)
600 Archers
320 Javelinmen
I was using DBA. Consulting the relevant army lists, I created a DBA order of battle as follows:
Middle Anglo-Saxons (III/24):
1 x General (4Wb)
5 x Select Fyrd (Sp)
1 x Great Hyrd (7Hd)
1 x Archers (Ps)
1 x Javelinmen (Ps)
Picts (II/68a):
1 x General (Cv)
2 x Light Horse (LH)
8 x Spearmen (3Pk)
3 x Archers (Ps)
1 x Javelinmen (Ps)
The Anglo-Saxons would thus collapse after losing 3 elements, the Picts after losing 5. I used two special rules. The Anglo-Saxons had to advance straight ahead in their first turn. The Pictish cavalry was -1, despite having the general, to reflect its weakness in numbers and equipment.
The Set-Up:
 |
| The Anglo-Saxons are advancing from the bottom-right, pursuing some Picts who are feigning flight. Two large groups of Picts await in ambush! |
 |
| The view from behind the main force of Pictish spearmen |
 |
| View of the advancing Anglo-Saxons from behind Dun Nechtain |
 |
| And a view from behind the main body of Anglo-Saxon warriors, looking through their king and his bodyguard towards the lake. |
 |
| The Anglo-Saxons push forward into the jaws of the attack |
 |
| Same position, slightly different view |
 |
| First blood to the Anglo-Saxons: the King himself leads his bodyguards into close combat personally and destroys the Pictish warriors who had feigned retreat by the banks of the lake; meanwhile, one jaw of the Pictish trap closes: the Anglo-Saxons form some sort of shieldwall to face the Pictish spears; the remainder of the Picts and the Anglo-Saxons seem equally frozen! |
 |
| On the far side, a battle line of sorts is formed, although the light troops are equally engaged; on the near side, the Anglo-Saxon bodyguards and archers are harrassing the Pictish warriors; many of whom are still hanging back whilst more Anglo-Saxons form another shieldwall |
 | |
| The Anglo-Saxons have managed to form two battle lines: can they carry out a withdrawal and escape from the trap relatively intact? |
 |
| The Anglo-Saxons on the far side start to push the Picts back! |
 |
| On the far side, the Anglo-Saxons start to gain the upper hand: some of the Pictish skirmishers run to the rear; on the near side, the Picts finally manage to put a concerted attack in, allowing their numbers to tell and push the Anglo-Saxons back, slightly |
 |
| And suddenly, it was all over! The Anglo-Saxon King and his bodyguards fell under the spears of Pictish infantry and their supporting light horsemen. Technically this would automatically win the battle anyway, but I played out the remainder of the turn and the Anglo-Saxons lost another couple of bases as the Pictish pressure told. |
 |
| Some Pictish troops didn't actually make it into the battle |
 |
| That Anglo-Saxon corridor has thoroughly collapsed and very few of their warriors would escape: only the warriors on the hill who never made it into the battle would be able to escape easily. |
A short but enjoyable game using the DBA v3.0 rules . As ever, the DBA PIP system does throw up some interesting situations. Because the Picts initially threw so low on their PIP scores, the ambush went off a bit half-cocked. For a moment, just after the Anglo-Saxons had polished off a unit of warriors and formed two shieldwalls, I thought that the Anglo-Saxons might well escape, or even win. But when the Pictish spearmen got fully into action, the Anglo-Saxons collapsed quickly.
As ever, DBA throws up some interesting points. DBA, by making Pictish spearmen "Fast Pikemen", makes them the most effective troops on the battlefield. In basic frontal combat, they would start at a base '6', whilst a supported Spearmen unit would be '5'. Given average luck and a decent number of combats, then the Pictish infantry will come out on top. Add the advantages of the tactical situation and the numerical superiority, it is going to take good play for the Anglo-Saxon player to get out of this one. I think if I do this scenario again, I may make the Pictish foot-soldiers Spearmen.
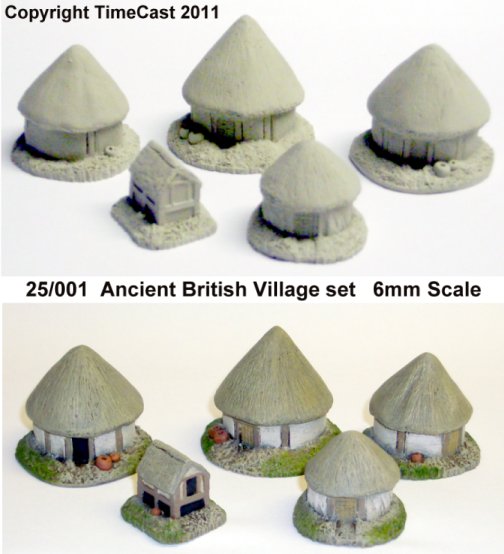
The rules do give a good, interesting game and are normally easy to follow. I think it took about 45 minutes. I used my Baccus 6mm Ancient British army for the Picts and the Baccus 6mm Anglo-Saxons for the English army. I think the buildings are from Timecast.
And thanks to Guy Halsall for writing such an interesting scenario. He has quite an interesting history blog too.
A couple of questions:
I did wonder about flank support by light troops. As far as I understand, light infantry (which is "fast") cannot give flank support, but light horse can? Is that correct? And the other thing I wondered about is if flank supporting troops should advance if the troops they are supporting advance after the target recoils?
Thanks for revisiting and updating these old pieces, and for your kind comments.
ReplyDeleteYou are very welcome - you wrote some great stuff for the magazines back in the day. I really liked your books on Worlds of Arthur and on Early Medieval warfare too.
Delete