Heretical Gaming is my blog about my gaming life, featuring small skirmishes and big battles from many historical periods (and some in the mythic past or the far future too). The focus is on battle reports using a wide variety of rules, with the occasional rules review, book review and odd musing about the gaming and history. Most of the battles use 6mm-sized figures and vehicles, but occasionally 15mm and 28mm figures appear too.

Thursday, 16 April 2020

Twilight of Divine Right AAR: Battle of Lens 1648

As part of my preparations for my refight of the Thirty Years' War, I need to get back into playing a few games of the chosen ruleset, Twilight of Divine Right.


In its excellent accompanying scenario book for the Thirty Years' War there was a scenario for a battle I know pretty much nothing about, the Battle of Lens, which I understand to be the last major clash of the war, featuring the French against a Spanish Army invading from its holdings in the Low Countries.

The scenario suggests that the two armies were fairly equally matched, viz:

The French Army:
C-in-C: d'Enghien
Right Wing:  7 units of Cavalry
Centre: 7 units of Infantry, 2 units of Cavalry, 2 units of Artillery
Left Wing: 7 units of Cavalry
Reserve: 2 units of Cavalry

The Spanish Army:
 C-in-C: Leopold
Right Wing: 8 units of Cavalry
Centre: 9 units of Infantry, 5 units of Cavalry, 2 units of Artillery
Left Wing: 7 units of Cavalry

The scenario book contains many more details than this, since the rules evaluate each unit by its equipment mix and its tactical doctrine too, as well as rating the individual wing commanders.

The scenario puts the onus on the French to win this battle (i.e. if they don't win, then the Spanish do by default).

The Set-Up: 
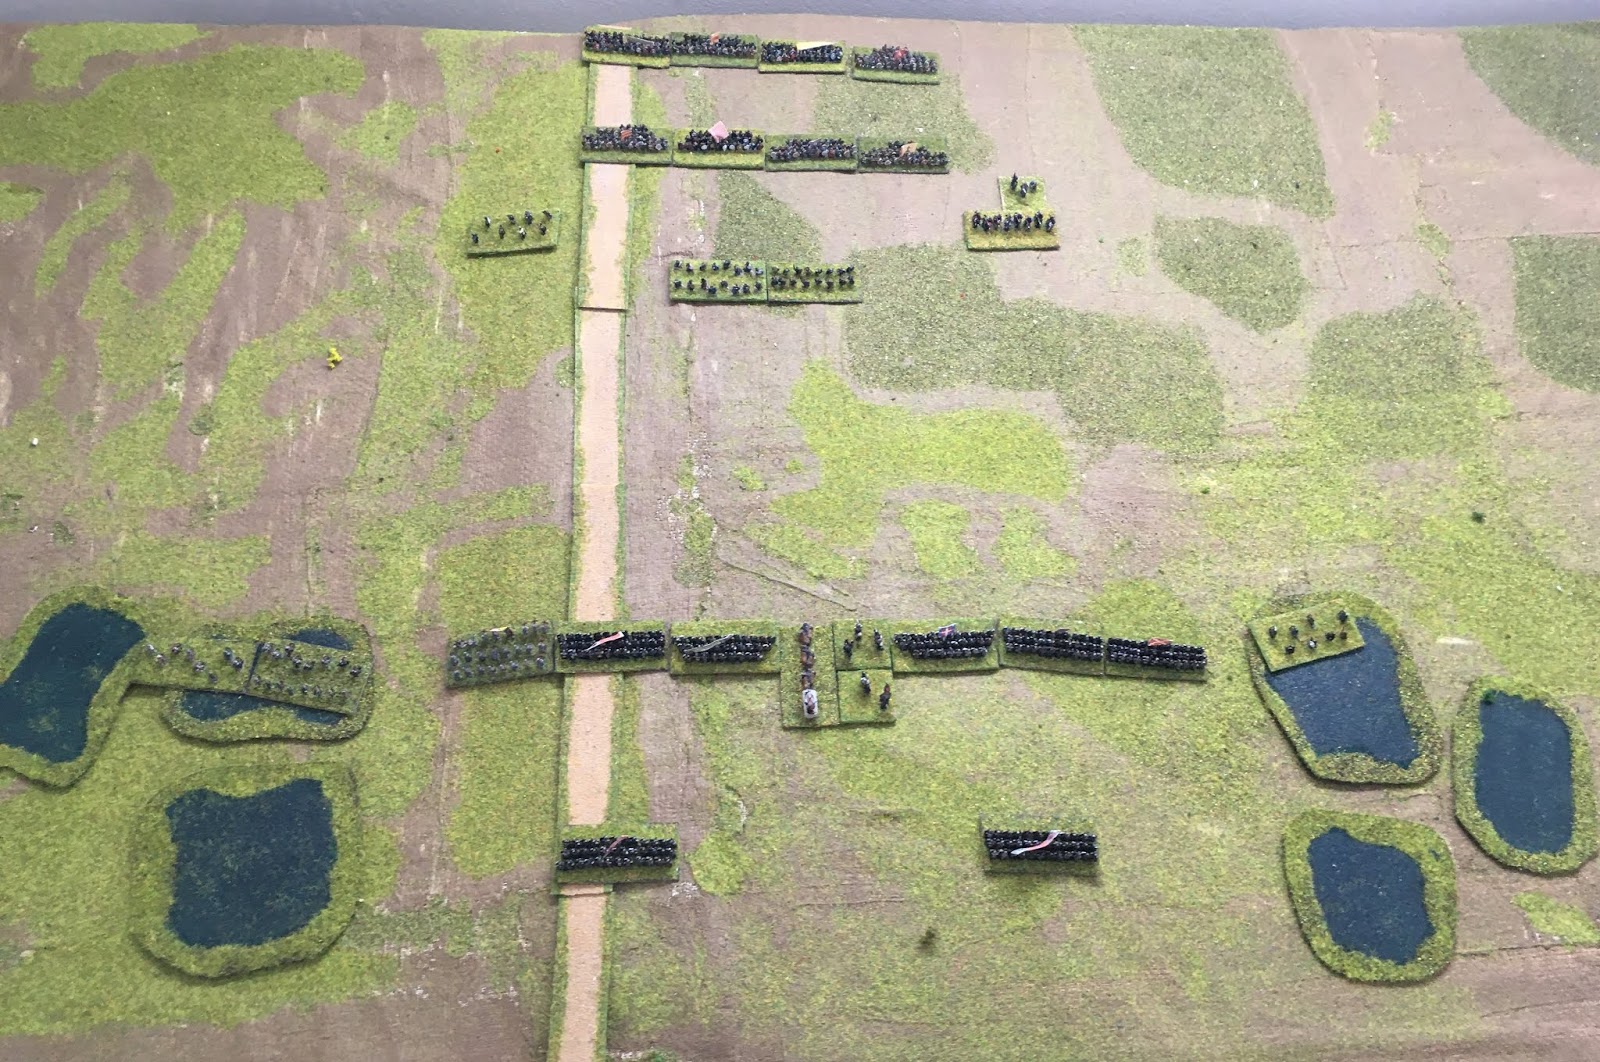
The French set-up at the bottom facing the Spanish at the top.  Both sides are in a standard infantry-centre cavalry-wings deployment

The French left wing.  I got the terrain slightly wrong here: the scenario suggests a mixture of trees, light marsh and fields on the French left, but I misread the map as all woods. So the left of this shot should be mainly fields and boggy terrain, which would have made it a bit more open to both sides.

The French centre with Cavalry supporting the Foot

And the French right wing

The Spanish left wing, comprised of mounted troops

The Spanish centre, with predominantly foot troops, as well as its artillery (centre-right)
 
And the Spanish Left
 The Battle:
The battle begins with a French advance in the centre, which immediately attracts heavy and effective Spanish artillery fire

Which is returned by the French artillery: the Spanish try to move bakck out of range, although they suffer some disorganization in doing so...
The French put in their first attack in the centre-right where their advance has been masked by a small copse from the Spanish artillery (left); however, Spanish musketeers supported by Horse contest the advance
 

The massed horsemen on the French Right - Spanish Left clash!  Both sides take casualties....

The struggle in the wood continues with casualties mounting on both sides...

The cavalry clash continues...

A view of the centre: both sides have withdrawn their centres slightly to get out of range of the others' artillery which has proved surprisingly effective - all the action is therefore on the Spanish left at the moment (right)

Deprived of other targets, the Spanish and French artillery began a counter-battery duel: eventually, the Spanish emerge victorious.  Unable to match the Spanish artillery fire, the French will now have to commit to a full-scale attack

The French attack on the woods has foundered against superior numbers and the leading regiment has disintegrated...

Both sides on the Spanish Left are committing squadron after squadron, attempting to gain the upper-hand; the French Horse on the extreme right appear to have it!
 
In some desperation, the French renew their attack on the copse...

And make some progress! One of the Spanish regiments is routed

A wider view
 
The Spanish cavalry manage to pull-off a flanking manouevre on some of the French cavalry*

The French Centre continues its stately progress into the Spanish cannonballs...

The Spanish manouevre pays off, with the leading French cavalry destroyed...
 
However, the French Cavalry on their extreme right (top) has finished off their Spanish opponents and has broken through

The remainder of the French centre has caught up with its right flank and is preparing to assault: it actually suffered much less in the advance than might have been supposed compared to its sufferings when stationary earlier

The French cavalry from the right hare off towards the Spanish camp!**

The infantry centres come up to musketry range - the French have suffered further serious casuaties from the Spanish musketeers...


The situation is grim for the French, suffering losses all along the line


In for a penny, in for a pound: The French left wing joins the fray!

The French infantry, despite their heavy losses, have created a small gap in the Spanish lines, which they try to exploit by swinging an infantry unit around to hit the Spanish flank, although simultaneously exposing themselves to enfilading fire from the Spanish (centre)

The French Horse on the right withdraws to re-organize (right)

More and more Frenchmen fall in the central push of pike...


The remaining French guns are taken by the Spanish Cavalry (centre)

The French infantry have suffered massive losses and have still achieved no breakthrough...


...which leads to the French centre fleeing the field! Only a couple of units of French Horse still protect the centre


However, a renewed French cavalry attack on the Spanish left has left this Spanish Wing holding on by its fingernails...


The Spanish Centre advances forward to try and sweep away the French remnants

...and the end cannot be far away

With both sides gasping at the end of their strength, the cavalry combat resumes

The cavalry on the French left is slowly giving ground to the Spanish as the French cavalry's right flank is exposed by the defeat of the French centre


The French Horse has ever really been able to get itself into a decent tactical configuration - it is here again outflanked

The French left and centre are falling back...

And the Spanish Left Wing holds on long enough for the French Right to collapse and flee!


The battlefield at the end of the game: the collapse of the French Centre and Right is obvious and complete
Game Notes: I had struggled with this for a couple of abortive games before finally getting this one done.  It isn't that the rules are complicated, just that I had seemed to forget key bits of them in my initial refights. I wouldn't normally let these things stop the game but in this case it seemed more fun to do so than not.  Anyway, once I was back into the swing of it, the rules gave a really good game.  Tactically it was dominated by the early effectiveness of the artillery of both sides, in particular the Spanish.  The French rolled very poorly early on which meant they got hammered by the massed Spanish artillery.  Incidentally, massed artillery is so much more effective in these rules than single units that it isn't really a decision to do so.  Massed artillery causes activation and morale checks, single artillery only the former until at close range.  Morale checks can be devastating, activation checks are merely annoying, especially at long range.  I felt it is quite a hard set-up for the French to win, since they seem to need a bit of luck somewhere to create an opportunity, rather than there being an obvious opportunity or capability superiority that they can exploit, so it is very much on the French to win it.  Their commanders are rather better but as long as the Spanish don't have to do anything very clever, that doesn't matter too much.
I had put off playing more Thirty Years' War until I had finished painting and basing some individual colour parties appropriate to the armies.  I am normally very happy just to proxy but for some reason I find TYW flags really evocative of the period, so I put them in (they are on the small round bases placed next to their units).  I didn't remove the WotTK flags since my eye tends to focus on the TYW flags, so I thought it kind of worked at relatively small cost in money and effort.  Better than raising entirely new armies, anyway.
I had a couple of rules queries that I marked out in the report:
* - Is this  kind of wheel to flank and into contact move legal? I can't see why not in the rules.  Also, is the intention that the unit moves the full 90 degree wheel or only as far as the unit can move?
** - Once a unit has broken through, I can't tell from the rules whether that unit can be rallied or not and if it can, what the mechanism is.
Figures and flags from Baccus 6mm, buildings were a mixture of Timecast and Leven (I think).  The board is 3'x2'.

Monday, 30 March 2020

DBA: Battle of the Standard AAR (1)

The Battle of the Standard took place near Northallerton in 1138, as an English Army attempted to stop a large-scale Scottish raid made by King David himself.  It has been the subject of two magazine articles in my collection, one in Miniature Wargames 20 and the other in Wargames Illustrated 74.  The former proposes quite a large battle and a very large Scottish Army, the latter is slightly more sceptical and in any case proposed a DBA scenario, which makes things easier.  The Wikipedia page is pretty good for this one and was very helpful in fleshing out the two magazine articles a little.


The Forces:

The English Army:
1 x Standard (General) (CWg)
4 x Dismounted Norman Knights (4Bd)
3 x Serjeants and Local Levies (4Sp)
1 x Crossbowmen (4Cb)
3 x Archers (Ps)

The Scottish Army:
1 x Mounted Knights (3Kn)
8 x Spearmen (4Pk)
2 x Galway Warriors (3Wb)
1 x Bowmen (Ps)

The Scottish army was deployed in four lines, with the Galwegians in the van, and the archers in the second line.  I put the Scots' King with the mounted knights, but he could equally well be placed with one of the pike elements.

I think these are straight selections from the DBA list at the time of publication (Nov 93) and this is what I used for my refight; the latest version of DBA differs a little.  In the latest list, the orders of battle should probably be:

The English Army:
1 x Standard (General) (CWg)
3 x Dismounted Norman Knights (4Bd)
4 x Serjeants and Local Levies (4Sp)
2 x Bowmen (3Bw)
1 x Archers (Ps)
The final element could be either extra knights (3Kn), mounted archers (Mtd-3Bw), Welsh (3Ax) or South Welsh (3Lb). I don't think any of these really fit, but might be tempted to go for the extra knights.

The Scottish Army:
1 x Mounted Knights (3Kn)
7 x Nobles & Yeoman (4Pk)
2 x Galway Warriors (3Wb)
1 x Highland Archers (3Bw)
1 x Small Folk (7Hd)
This would probably work just as well for the Scots.

The Scenario:
The Scottish Army is trying to break through, or simply break, the English Army blocking the Great North Road going to Northallerton.  It had high morale having previously defeated an Anglo-Norman Army at Clitheroe.  The main special feature of this scenario is the Scottish deployment and command and control issues.  I simulated this by deploying the Scots in four lines, with the Galwegians in the lead; and ruling that the Scottish side must use its first PIPs to advance the Galwegians (i.e. the Warbands) to attack the nearest Anglo-Norman troops.

The terrain is very simple.  There is a slightly raised ridge along which the road lies.  This acts as a slope for troops moving laterally.  The English position is flanked by passable marshy ground.

The Set-Up:
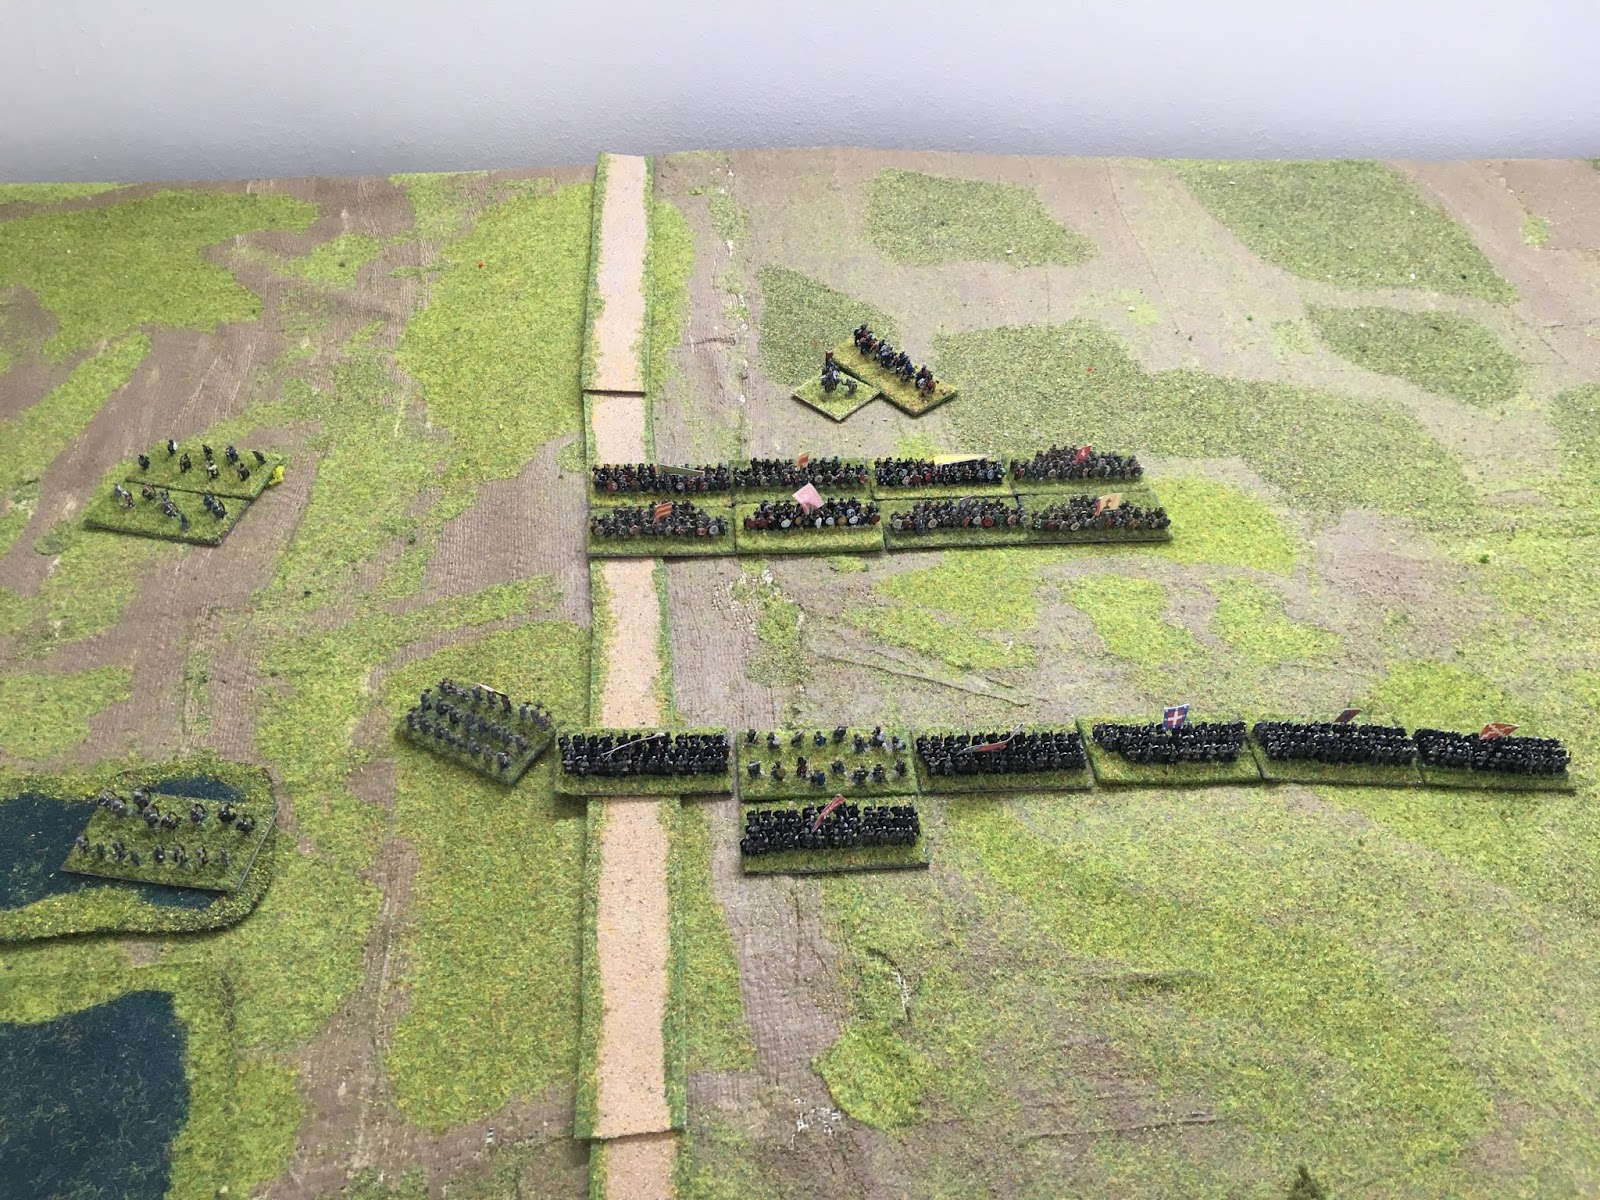
The Anglo-Norman army defending its position astride the road and ridge, flanked by marshy ground to both sides.  The standard is in the centre of the line, with spearmen to its right and dismounted knights and the crossbowmen to the left.  There are a couple of groups of dismounted knights as reserves, and skirmishing archers on the flanks.


The Scottish Army in its four-line deployment: Galwegian warriors in the van, archers and mounted knights in the second line (and offset), and the spearmen in the third and fourth lines.


Another wider view of the terrain, showing the ridge a little better.

The standard in the middle of the Anglo-Norman line.
The Battle:
The Galwegians charge, not waiting for any support!


The Anglo-Norman crossbowmen turn to fire at the advancing Galwegians (left)...

...which makes absolutely no difference and the Galwegians charge home into the dismounted knights on and around the standard

And the ferocious Galwegian warriors eliminate their opponents in short order!


The Anglo-Normans rush in their reserves of dismounted knights...

Who at least temporarily restore the situation, and half the Galwegian warriors have fallen...the remainder of the Scottish Army advance more slowly in support

A wider shot; the Galwegians again try and break through the Anglo-Norman line; on the Anglo-Norman left, groups of archers indulge in ineffective skirmishing (left); King David moves his knights towards the other flank (top)

A closer view of the Galwegians resuming their attack in the centre...

Which is totally successful! At this point, the morale of the Anglo-Norman army broke...

A wider view of the position at the end of the battle.
Game Notes: Typically DBA - short and sweet! 


The result of this refight was more or less what would have happened in reality if the battle had gone according to the Scottish plan.  The key element in the rules here is that although dismounted knights and Anglo-Norman spearmen have better combat factors than aggressive tribal warriors, if the tribal warriors win they are likely to eliminate their enemy straight off whereas the warriors are only beaten if they are decisively defeated, otherwise they will merealy be pushed back.  The English were undone in this refight by basically horrible, horrible dice rolling and the Galwegians should never have been able to get waway with this so easily...the best one could say is that probably the vast majority of the Anglo-Norman would have escaped in the rout...
The terrain set-up seemed to work reasonably well.  The English army came from the Normans in the Baccus 6mm Early Medieval range, with an Irregular Miniatures' later medieval wagon-standard filling in (IW32);  whilst the Scottish army mainly came from the Baccus 6mm Saxon range, but with Celtic warriors being used for the Galwegians ("Picts").
Anyway, with this game being so short, I re-loaded and had another go...Battle 2 coming up shortly!