Heretical Gaming is my blog about my gaming life, featuring small skirmishes and big battles from many historical periods (and some in the mythic past or the far future too). The focus is on battle reports using a wide variety of rules, with the occasional rules review, book review and odd musing about the gaming and history. Most of the battles use 6mm-sized figures and vehicles, but occasionally 15mm and 28mm figures appear too.

Saturday, 19 November 2022

Portable Wargame Battles 02: Battling Bobforce

 The next battle in this sequence of games using The Portable Wargame rules for the mid-20th Century features the clash of a German Panzer Division with a British armoured force.  Historically, the British 1st Armoured Division hadn't been brought into action yet, although there was plenty of British armour in action, so I, in the style of the time, have christened the British as 'Bobforce'.  Again, this action is relatively even in terms of strength, so the Germans have to take advantage of the initially scattered British deployment.


The original Bob Cordery scenario which this was adapted from can be found here.

The Forces: 

 
German 101 Panzer Division
Command and Staff (Good)
101 Panzer Regiment (3 SP, Average)
102 Panzer Regiment (3 SP, Average)
101 Panzer Grenadier Regiment (4 SP, Average)
101 Artillery Regiment (2 SP, Average)
101 Recce Regiment (2 SP, Average)
101 Anti-Tank Battalion (2 SP, Average)
 
British 'Bobforce'
Command and Staff (Average)
1st Tank Brigade (3 SP, Average)
2nd Tank Brigade (3 SP, Average)
3rd Tank Brigade (3 SP, Average)
1st Motor Brigade (4 SP, Average)
Reconnaissance Force (2 SP, Average)

The same comments apply as in the previous scenario - I am using the 'vanilla' Portable Wargame rules, so I simply gave the Germans +1 on the dice when rolling for who goes first each turn.

Incidentally, I use one physical vehicle or base of infantry or artillery to represent one strength point, in case that isn't obvious.

The Set-Up:

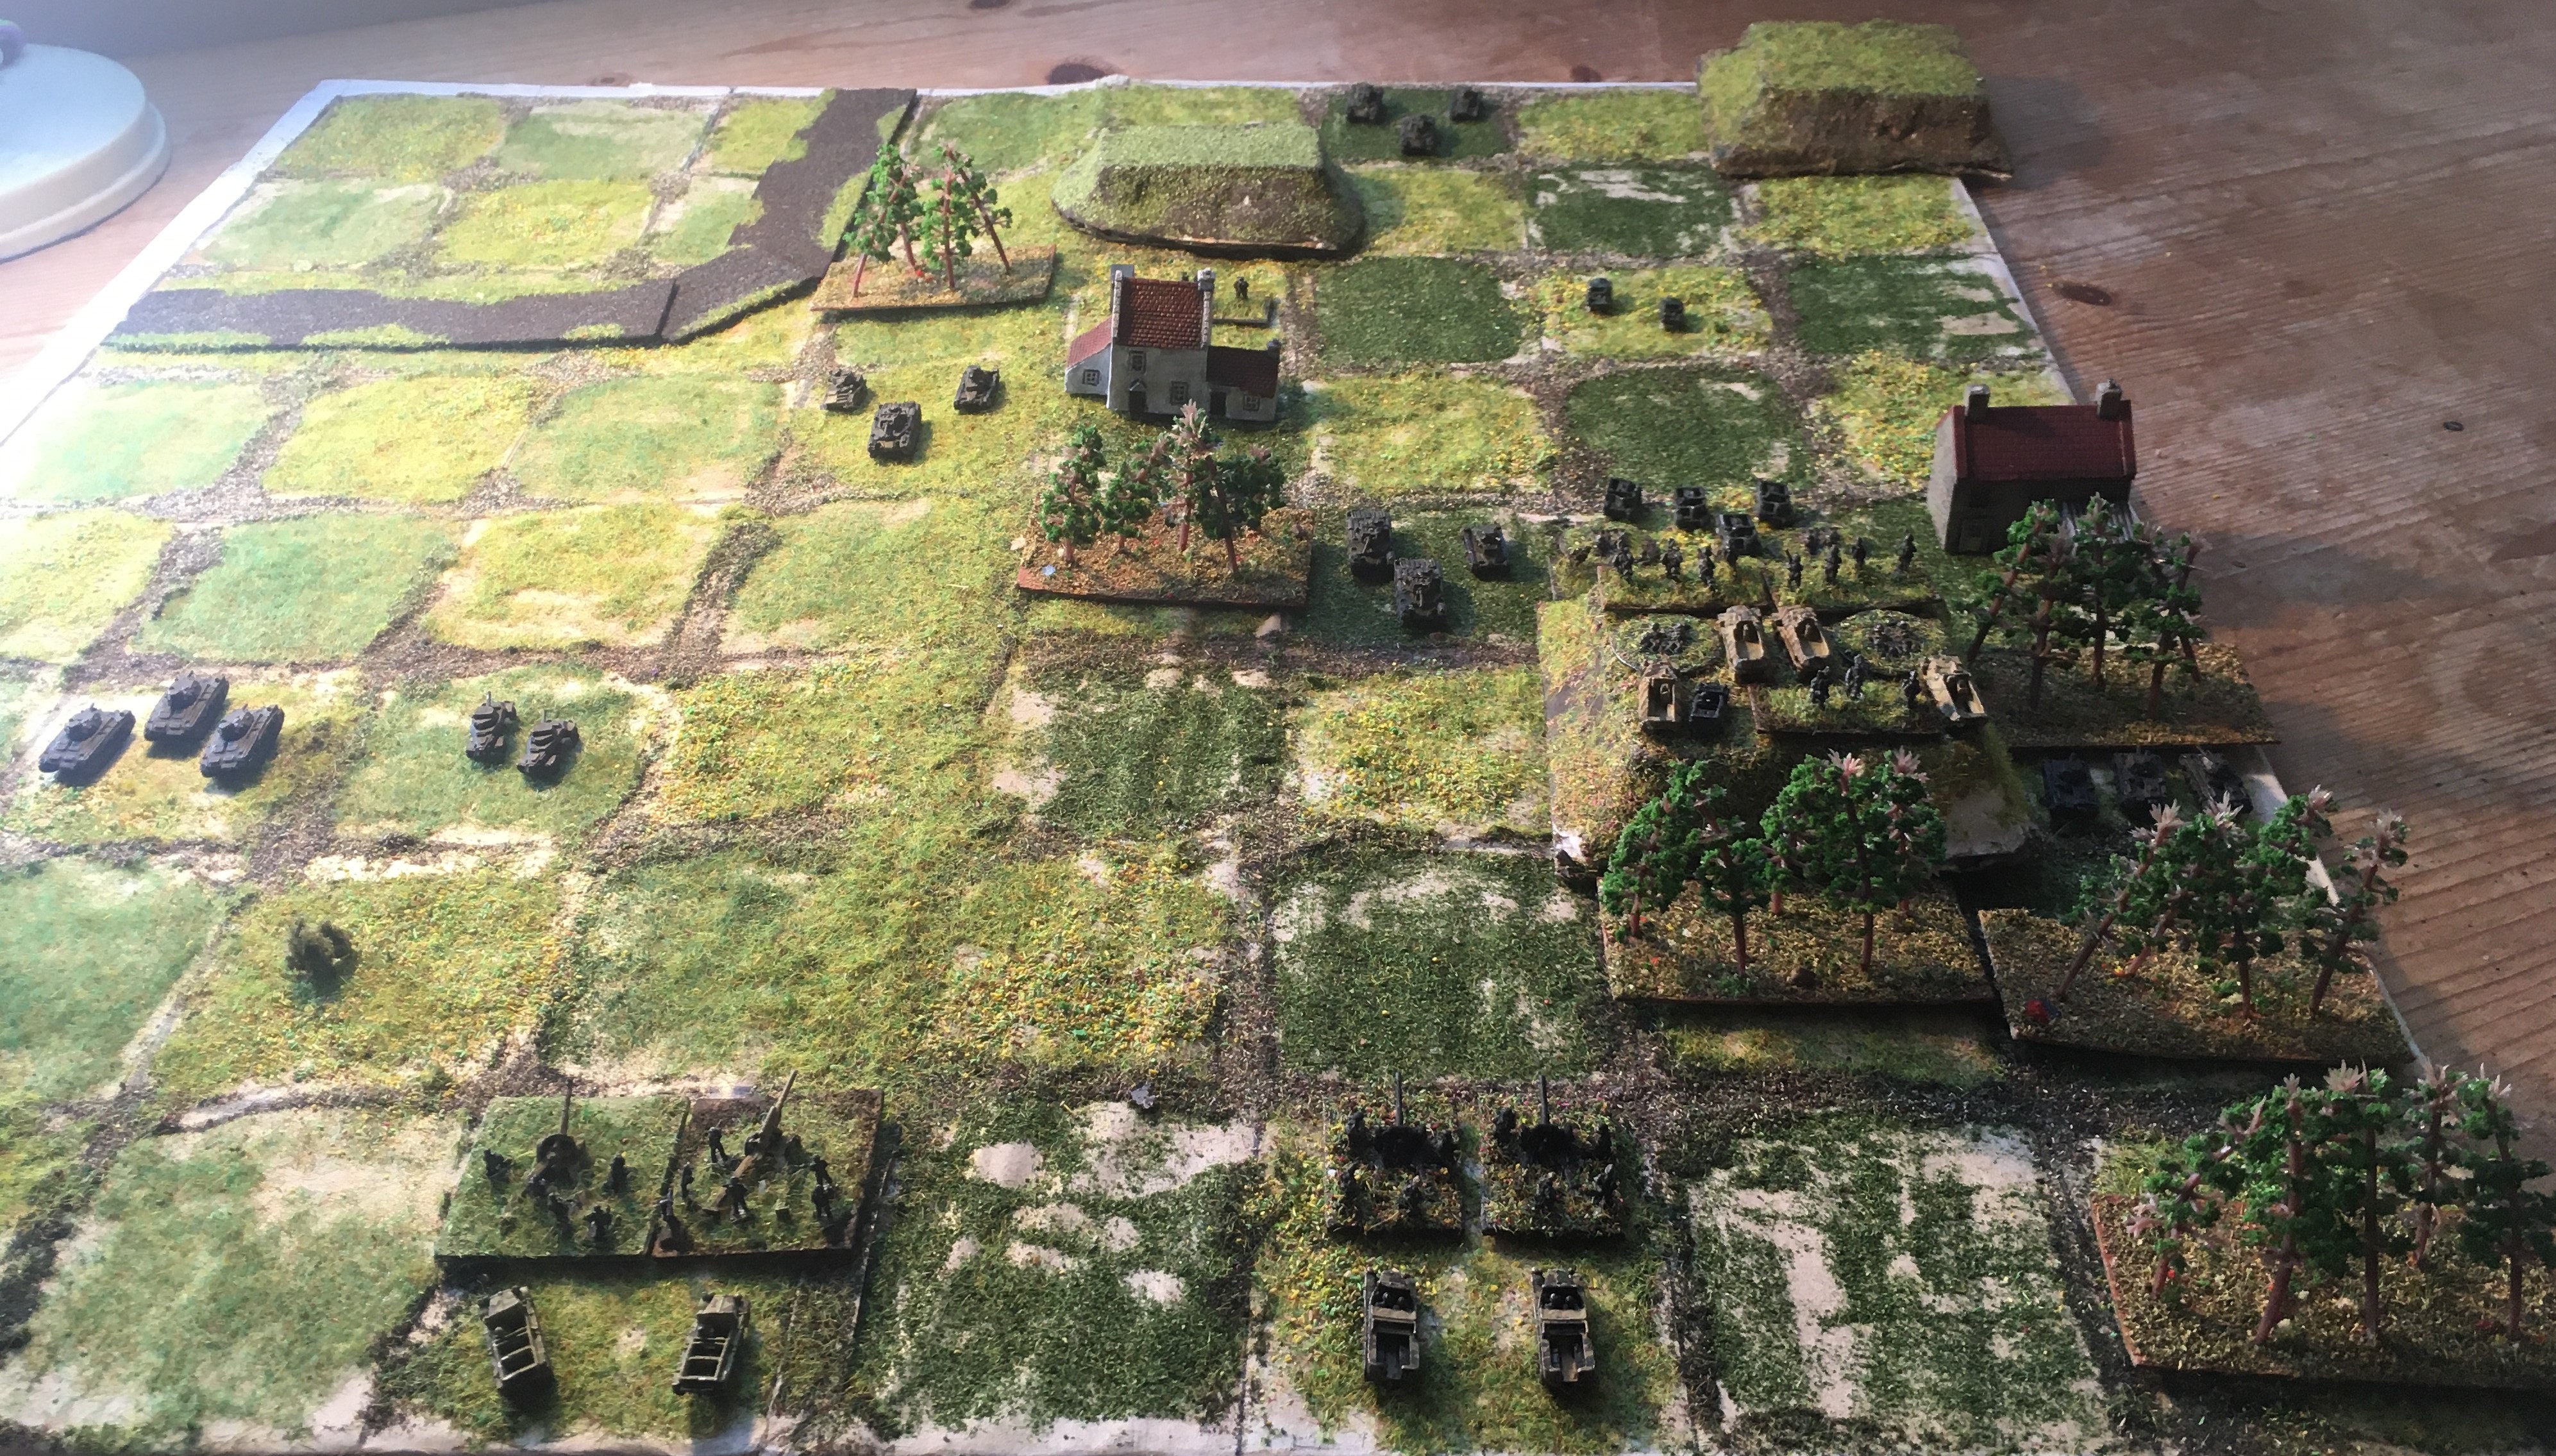
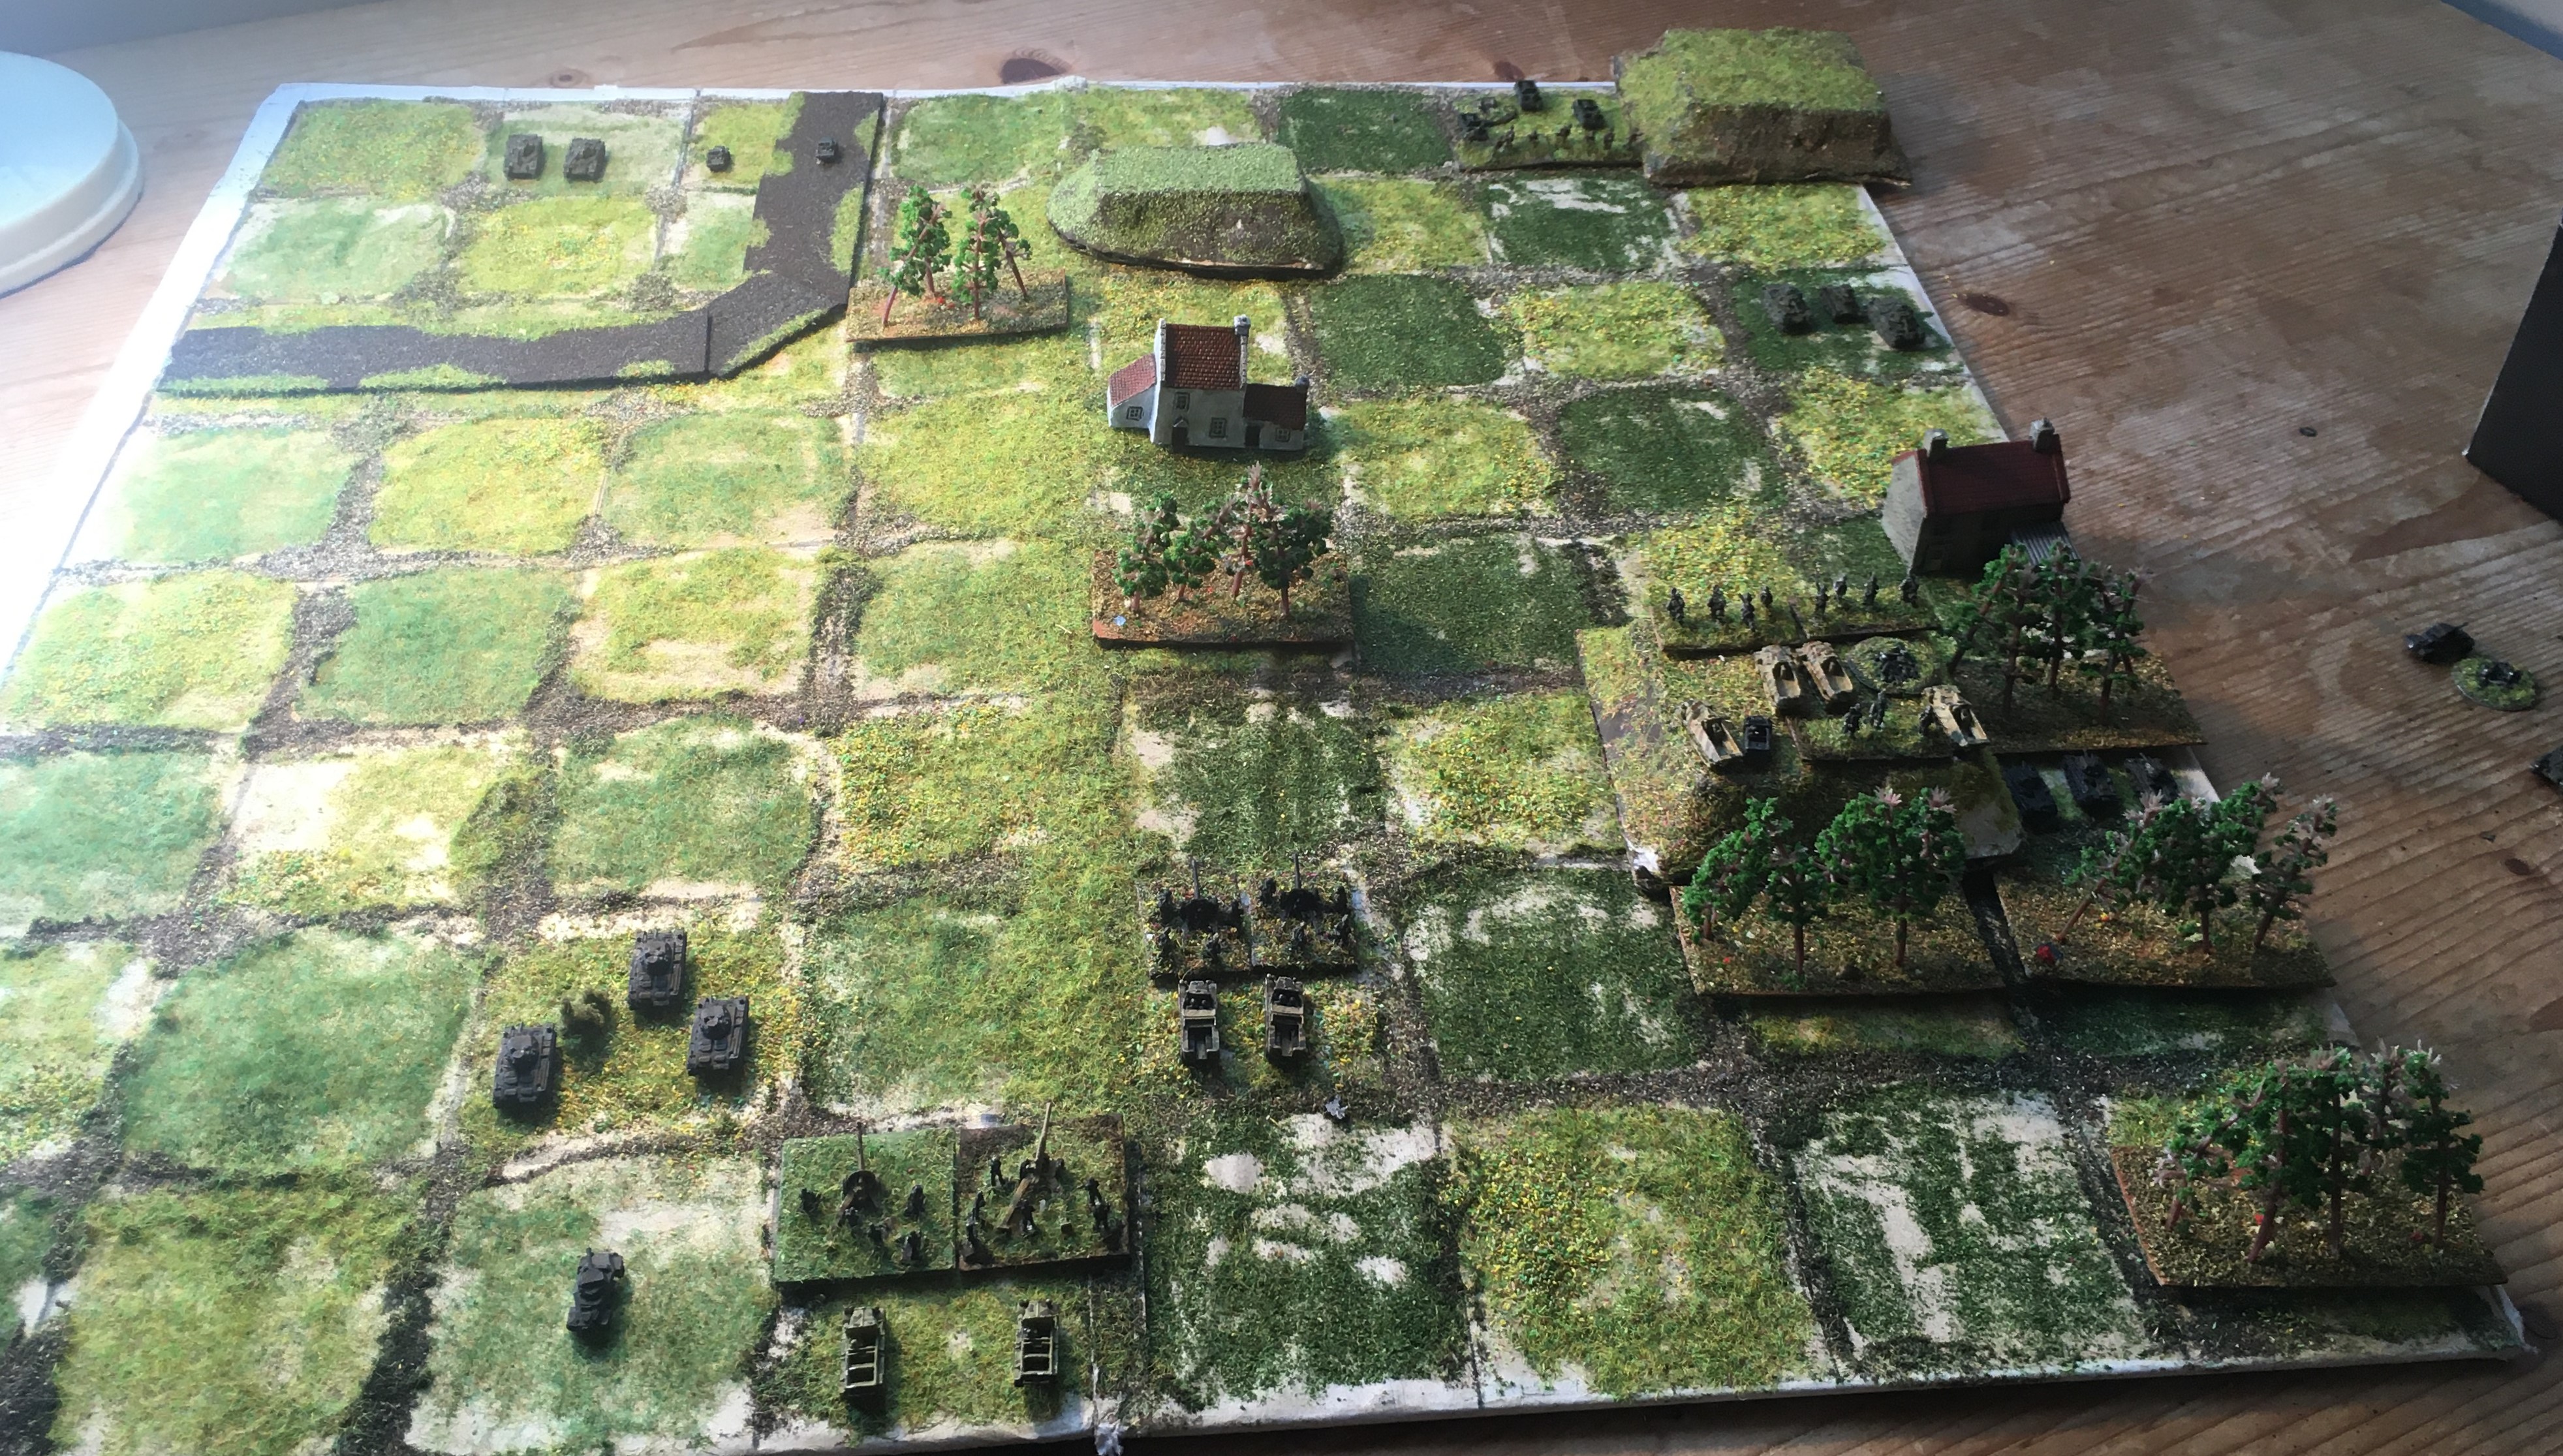
The battlefield: the British are spread out, but with the main weight of their position hanging on the high ground by the large woods to the right.


Another view: the British infantry occupies the high ground, but the British armour is quite widely spread.

The Battle:

The Germans arrive, bringing their guns on in to the centre and attacking on both flanks

Slightly wider shot

A little difficult to tell, but one of the British tank brigades has counter-attacked in the centre, whilst the Germans are attacking the hill on the right with panzers and panzer grenadiers - this attack succeeds, and the British motor infantry have been pushed back

The fight on the left becomes a more swirling affair, as more British armour is committed but the Panzers are counter-attacking; honours are about even at this stage

Losses on both sides, but the British have had rather the worse of it and pull back slightly to establish a line

In essence, the extra firepower of the German artillery and anti-tank units has told

And then a fortunate shot eliminates the British HQ - added to the losses spread throughout the force, then this has demoralized Bobforce

Further British vehicles are destroyed as they prepare to retire

But the mobility of the force ensures its safety and in any case, the Germans have suffered sufficient losses to discourage an overbold pursuit

The position at the end of the battle - the Germans have pursued quite ineffectively despite the Panzer Grenadiers pushing forward on the right (top-right) and the British escape without further loss


Game Notes:  

This one provided another very interesting game although it is perhaps a little hard to follow visually.  I was using a lot of close combats in the armoured fight which is not really the best way to fight I think, but you are trying to engineer a series of flank attacks, so it ended up as a bit of a swirling, turning fight...until some decent German artillery and anti-tank shooting settled the issue with the lucky shot.  Eliminating a commander is hard to do but if it happens, it is really tough luck on the enemy.  C'est la guerre!  Otherwise it was a very even game.  The British can definitely win this one I think, but they have to balance mobility with avoiding becoming a target of the German artillery. 

This game featured a lot more 'kit' than the earlier games and this is going to be bit where the abstraction of the rules may bother the historical gamer a bit.  The dynamic between British and German forces in 1940 is highly dependent on whether the British have Matilda IIs or Is or A10s, and whether the Germans have Panzer IIIs, Panzer IIs, 37mm anti-tank guns or 88s.  This in turn is going to largely depend on what level of command you are imagining each force to represent.  However, I think this is where the scenario designer is going to come into their own by altering the numbers to fit the situation.  At this stage I was happy to not do that; visually I made the compromise by making the British armoured forces a mixture of the various types.

On that subject, this is why I don't use the 'Pinning' rules from Developing the Portable Wargame: although the rules seem fine as mechanics, I don't associate pinning (or suppression) as an action that has much meaning at a battalion or brigade level.

The vehicles in this one were all Heroics & Ros, as were the guns; the infantry are from Baccus 6mm and the buildings are by Leven.

Portable Wargame Battles: 01 - The Battle of Rignay

 For my next Portable Wargame I converted some battles from a mini-campaign of Bob Cordery's he fought a couple of years back.  His battles were situated during the initial stages of Barbarossa but I don't have quite the right mix of Soviet troops to do them justice, so I reset it for the attack on France in 1940.  A corps of one Panzer division and two infantry divisions is attacking two British Territorial Divisions, ill-equipped Line-of-Communications troops plus an improvised armoured division-equivalent, "Bobforce".


The first battle is a conversion of the first battle in Bob Cordery's mini-campaign. My version features the German 714th Infantry Division attacking the British 21st (Westmoreland) Division on 20th May 1940, as the full extent of the German armoured thrust begins to become known...

Forces:


German Division:
Command & Staff (Good)
7140 Infantry Regiment (4 SP, Average)
7141 Infantry Regiment (4 SP, Average)
7142 Infantry Regiment (4 SP, Average)
714 Artillery Regiment (2 SP, Average)
714 Anti-Tank Battalion (2 SP, Average)
Breakpoint: 6 SPs

British Division:
Command & Staff (Poor)
210 Infantry Brigade (4 SP, Poor)
211 Infantry Brigade (4 SP, Poor)
212 Infantry Brigade (4 SP, Poor)
21 Regt RA (2 SP, Average)
212 Regt RHA (AT) (2 SP, Average)
Breakpoint: 6 SPs 
 
These games used a slightly different set of rules, so they have been modified slightly back to The Portable Wargame standards.  To reflect the different command rules I simply add 1 to the German die roll to see who moves first each turn.

The Set-Up:

The British have been caught by surprise so start in a poor position, with their units scattered.

The divisional artillery, supported by an infantry brigade, with the HQ just behind.  The divisional reconnaissance unit is at the front (bottom)

Another infantry brigade, far in the rear.

As is the anti-tank unit.

The other infantry brigade is astride the road.

The Battle:

The Germans advance: a two-pronged attack on the British Divisional Recce unit

And it is quickly eliminated.

Fire from the German Infantry regiment forces the British brigade back down the road

The German artillery and anti-tank guns pound the British artillery, causing some losses

The British commander moves up units from the rear in support

The British have replaced the artillery in the wood with an infantry brigade, withdrawing the artillery into a supporting position (top)

British infantry fire causes losses amongst the German gunners

The British establish a line on the high ground and around the village: the Germans exchange fire whilst the left-hand regiment attacks across the road...

The British infantry cannot be winkled out of the wood and losses amonst the German gunners continue to mount

The German infantry has successfully taken the British defence line and eliminated the British anti-tank unit, although losses are about equal on both sides; the German Right could make no substantial progress though. However the British have now reached their exhaustion point and can only hold or withdraw.

However, with the central position compromised, the British commander orders a general retreat in order that the forward brigade doesn't get compromised and surrounded

Most of the British forces are able to withdraw successfully: lacking any fast-moving troops, there is nothing to really stop them

Position at the end just as the last British artillery and infantry withdraw

Game Notes:

A good game which rattled along very quickly.  It was quite close because I played the 'full original' version of the Portable Wargame rules which doesn't really allow much chance of quick kills, especially on infantry and armour units.  This probably helped the British in this game, since that allowed them more time to move into a decent position.  That made it a resaonbly balanced scenario: can better German morale and initial position overcome the advantage of the defensive? I don't think I have much argument with the essence of it although I am still exploring what is tactically optimal.  I do have a query about whether close combat is optional or mandatory: the rules don't really say explicitly but I could make a case for it either way.  There is perhaps a marginal call about whether allowing defending troops to deploy close to the attackers entrance points is fair and whether it should be 2,3 or 4 areas back.  Another question relates to retreats, mainly from close combat - although depending on the answer to the close combat question, it might apply to one-area range fire too - whether a retreat is away from the attacker or to the rear of the retreating unit by facing.  Lastly, and this is more of an observation than anything else, any unit can initiate close combat; so a 1 strength point artillery unit can initiate close combat with a 5 strength point unit of elite paratroopers and it would not necessarily be an awful move.  The author takes the approach that Neil Thomas does in Simplicity in Practice, which is to say that losses in strength points do not cause any loss in combat effectiveness. Not necessarily 'wrong' of course but it does have some interesting effects, escpecially in that army morale is effected by individual SP losses.  So at a 'strategic' level it doesn't matter how casualties are distributed in the opposing force, but tactically it is the only thing that matters.  So, much to think over.

Anyway, minor points to think about - more coming soon!

Figures by Baccus 6mm, guns a mixture of Baccus and Heroics and Ros, vehicles a mixture of GHQ and Baccus, buildings mainly by Leven, I think.

The board is 8 x 8 squares, with each square being 6cm x 6xm.

Obviously lots of things are simplified but it all seems to work well.


Tuesday, 15 November 2022

The Gembloux Gap Campaign Battle 01 - Palm-Off At Perbais

The first scenario in the Too Fat Lardies' Taking the Gembloux Gap pint-sized campaign set during the early stages of the 1940 campaign in the Low Countries and France is 'Palm-Off At Perbais', as infantry elements of 3 Rifle Regiment from 3 Panzer Division attempt to break into the defensive position of the French 110 Infantry Regiment, belonging to 1 Motorized Division.  Other scenarios in the campaign feature the feared German panzers but in this scenario, due to earlier losses, the German commander is holding back their armour and relying instead on infantry and artillery to achieve the breakthrough.


I was once again using the "Farquhar Variant", a development of the WRG 1950-75 2nd Edition rules to cover the WW2 period.


The Forces:

The French (reinforced Infantry platoon)
1 x Rifle command group
1 x Rifle grenadier group
3 x Rifle+LMG groups 
3 x Rifle groups
1 x 75mm howitzer
1 x Panhard armoured car

The Germans (reinforced Rifle platoon)
1 x SMG command group
6 x Rifle groups
3 x GPMG teams
1 x 50mm light mortar team

The Germans receive additional reinforcements from their list which are randomly generated - more on this in the Game Notes at the end.

1 x PAK37 and tractor
1 x MG42 (SF role)
1 x Pioneer Demolitions group
2 x Rifle groups
1 x LMG team
1 x SMG command group (the Company commander)
1 x 50mm light mortar team
1 x bombardment from 4 x 105mm howitzer
1 x attack from 2 x Stuka with 1 x 550lb bomb each

The Set-Up:

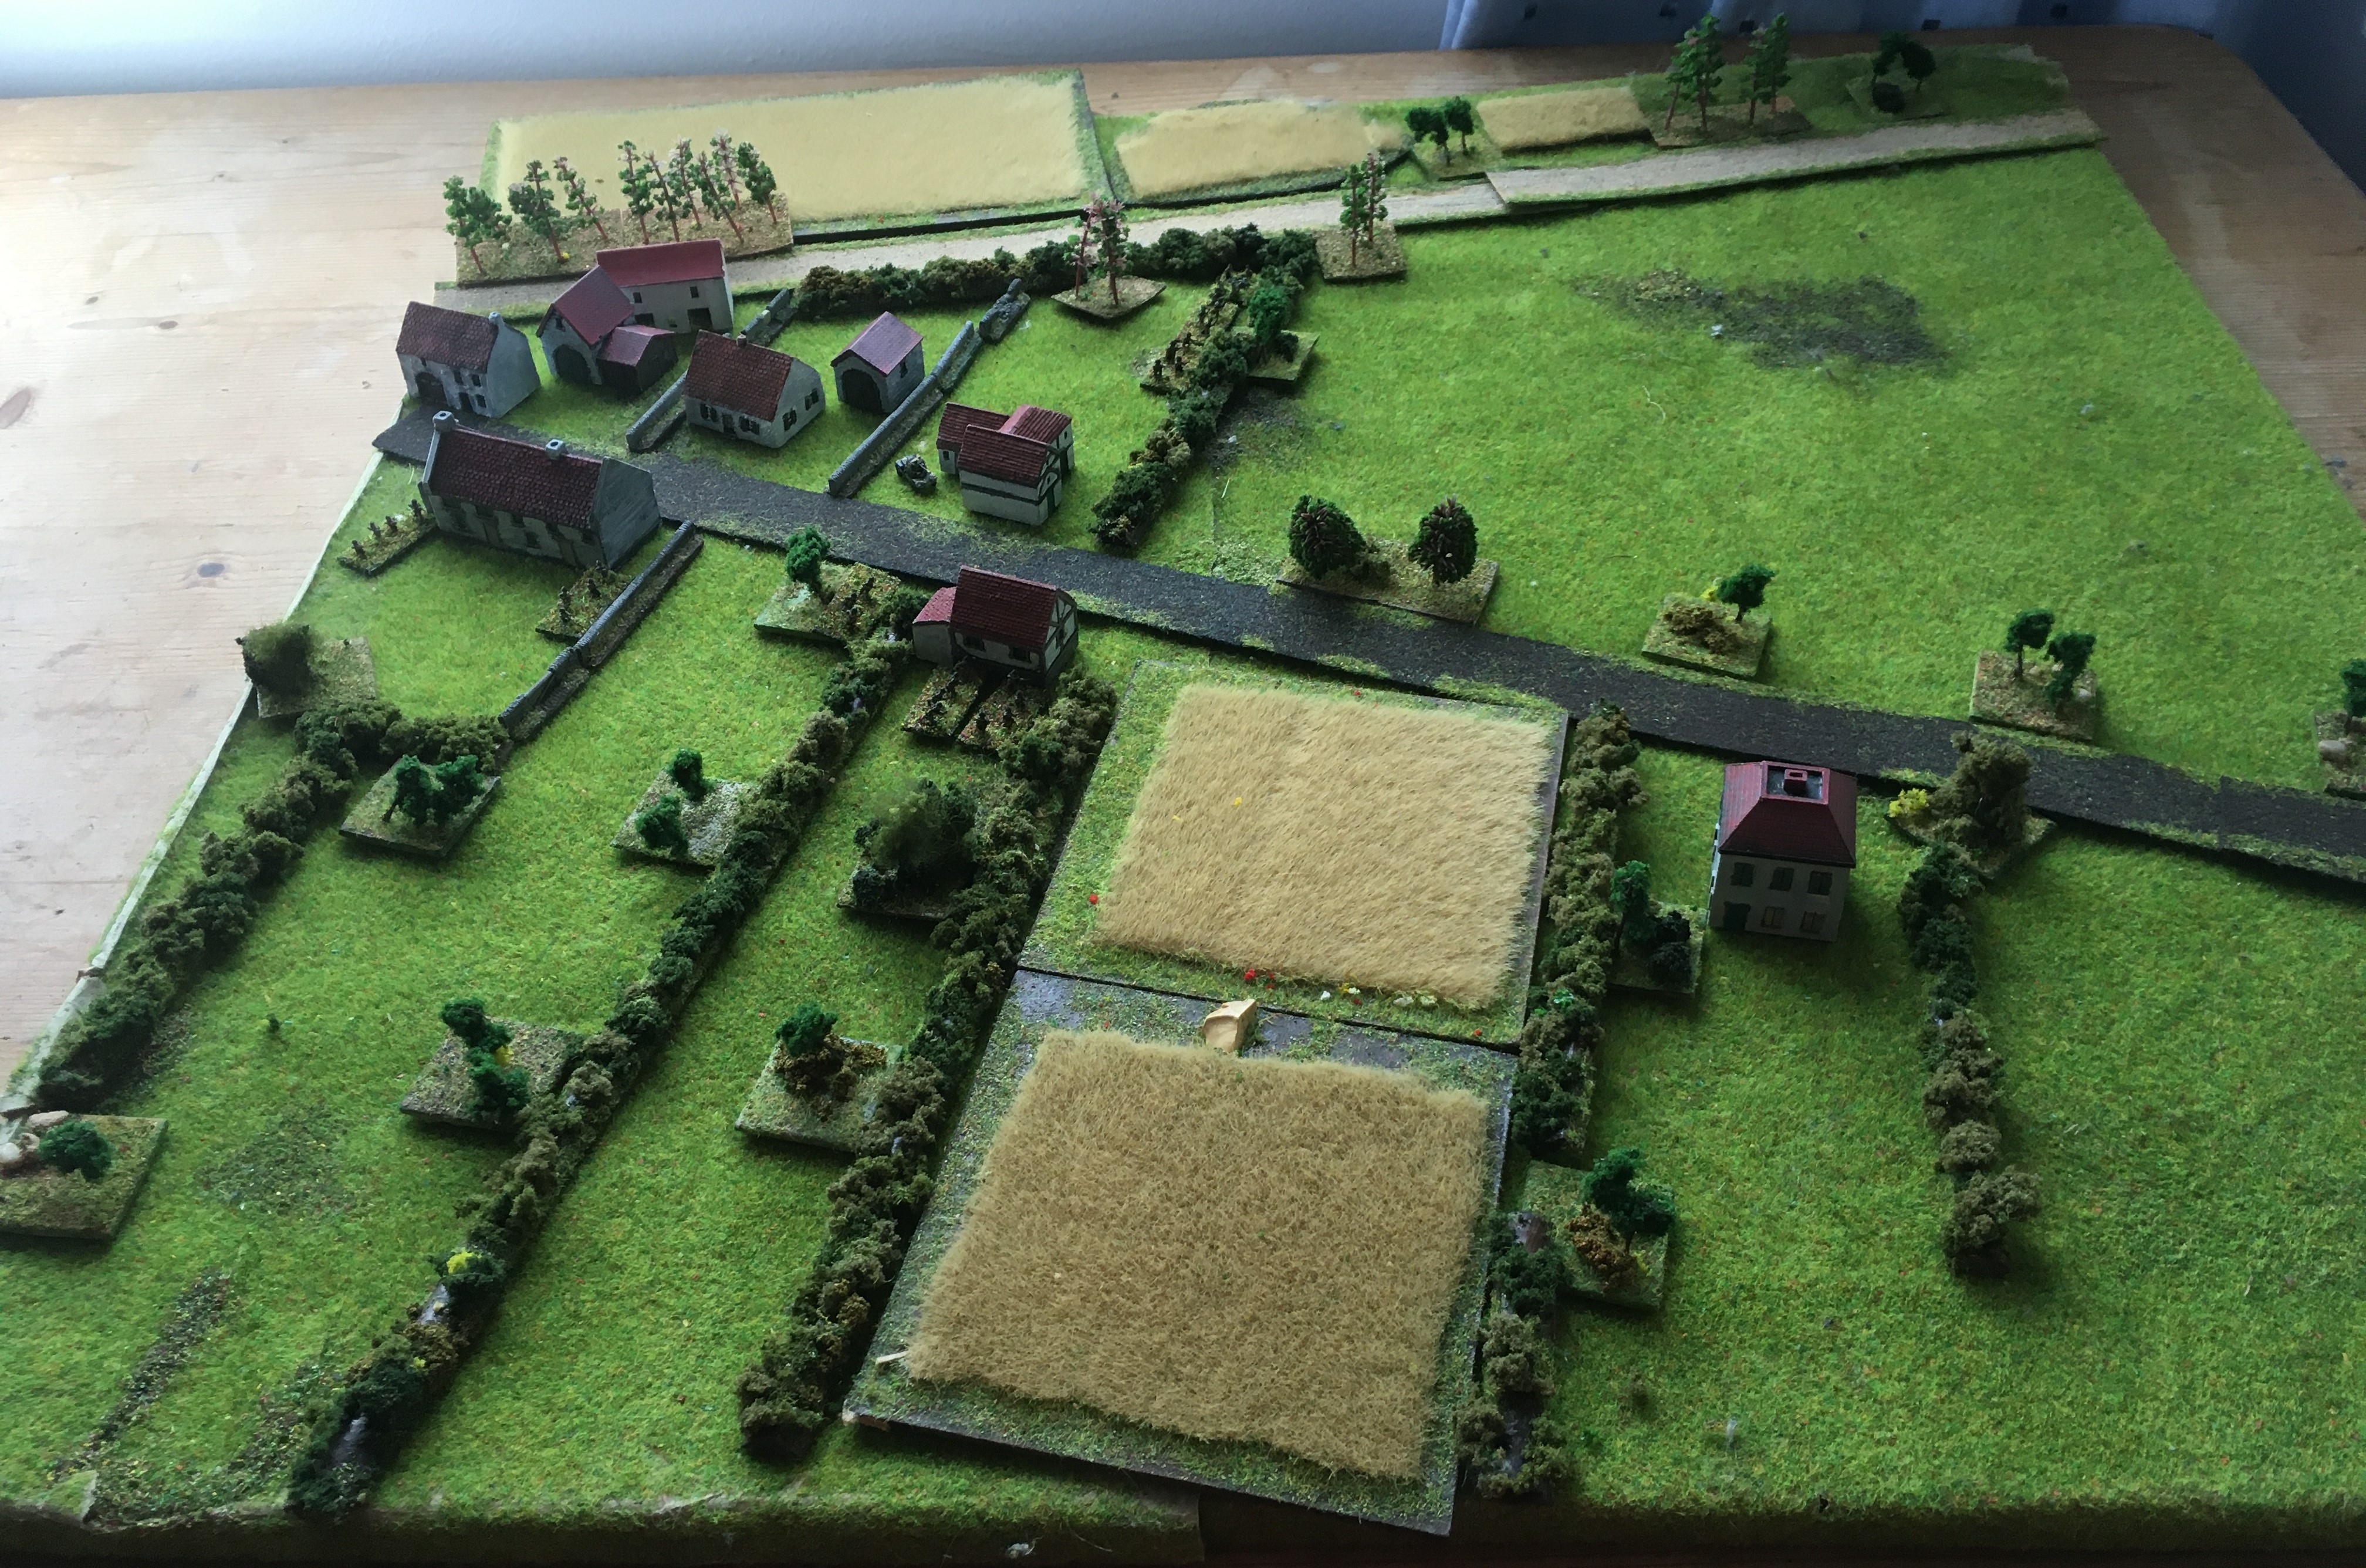
The Germans are approaching from the right (East); the French are holding the area around the village 

The leading French section by the house (done for illustrative purposes, half of the section - or combat group, if you must - is actually in the building); the French platoon commander is behind the next hedgerow and the Panhard is across the road, whilst the second section is behind the stone wall (top-left)

The second section (in reserve); again, this is illustrative, half the French section is in the building (which I am sure you all recognize!)

The last section is on the far flank, protecting the 75mm howitzer (okay it is a 25mm ATG, but y'know, details!)

And the Panhard, hiding out of sight in the centre of the village.

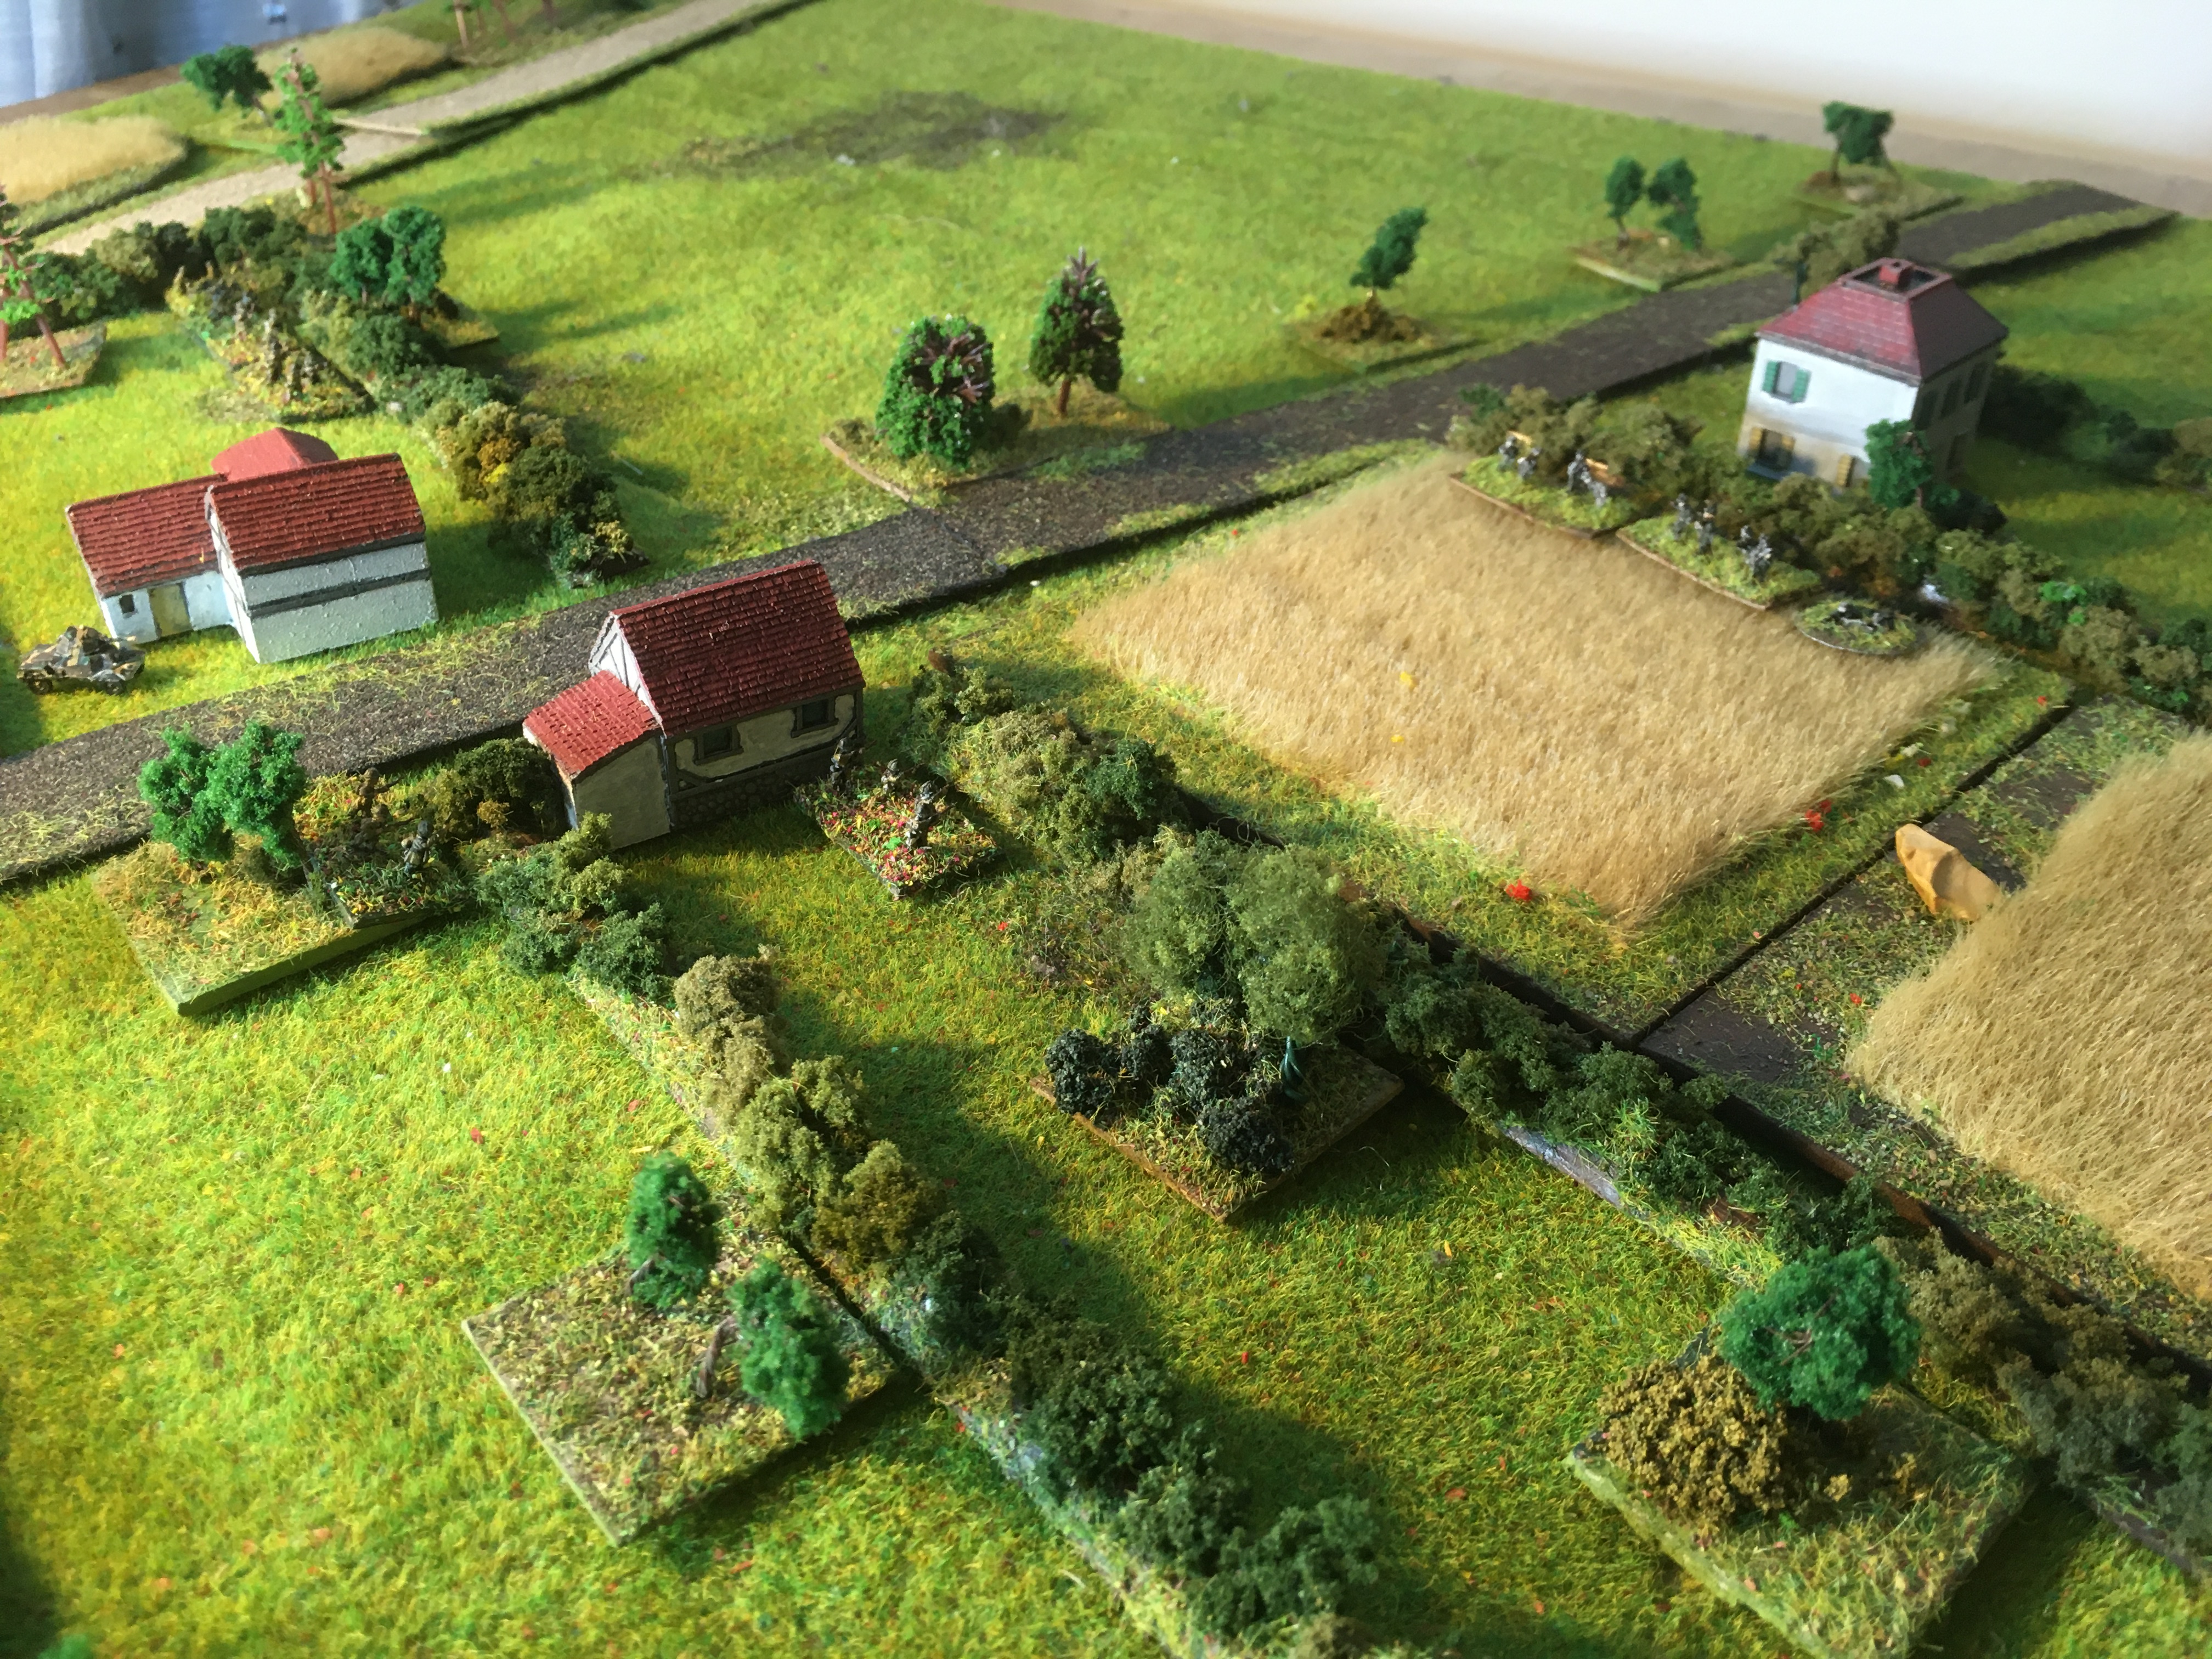
The scene from a different angle

And again

The Battle:

The action begins when the French spot the leading German infantry squad moving through the wheatfield

Half the Germans fall in the first few moments

The German artillery strike impacts around the village: the French rifle group in the first occupied building (centre) become casualties and several other French soldiers are suppressed

The lead German section gamely tried to fight it out, but their LMG team is put out of action

A German MG42 team arrives...

...but is quickly eliminated by fire from the howitzer and the French LMG gunner

The German company commander has turned up and is now occupying the building; and a pioneer team arrive in support.

The surviving Germans are regrouping around the building, whilst the Pioneers attempt to work around the flank

The pioneers cross the hedges whilst the Germans by the trees and in the building give cover

The Pioneers have managed to get across the wheatfields

But they are quickly eliminated by some very accurate fire from the French in the village

The Germans around the building and hedge maintain fire upon the leading German positions

The German fire eventually finds its mark and eliminate the other half of the lead French section

A German air strike arrives! (forgive the Bf109s, I haven't painted up any Stukas yet - the positions of the aircraft show the intended point of release)

One Stuka misses, hitting the edge of the village rather than the centre

The other aircraft misses and drops off to the right

Half of the French section is put out of action in the explosion

The other aircraft's bombs overshoot but unfortunately for the French, the building to the left is hit (marked by smoke) and another few Frenchmen become casualties.

A German anti-tank gun arrives and sets up...

...but the French howitzer group and French infantry have acquired it quickly...

It too is eliminated in short order

More German infantry arrive to restart the attack

The attack develops and the German infantry again get across the hedge...

...but are again driven back with loss by the French riflemen

Yet another attack is made: this time the Germans bring up a light mortar 

However, the Germans are suppressed by fire and then surrender as the Panhard approaches

The position at the end of the engagement: although more reinforcements could arrive, German morale has become so shaky that there is more-or-less no chance of progressing an attack here.

Game Notes:

The game went reasonably well and it was nice to get a TFL scenario to the table, as ever.  The result seemed like a relatively easy German victory, although it is a bit misleading because of the effectiveness of the German indirect weapons, the French lost a decent chunk of their force.  In total, the Germans lost 6 men killed, 12 men wounded and 6 unwounded prisoners, in addition to an abandoned Pak37 and mover; whilst the French lost 5 men killed and 11 wounded.  Unluckily for the French, all the casualties were amongst their 'core' troops, whilst most of the German losses were amongst the platoon's attached supports.

This scenario gave me a chance to use some of the rules at the dustier end of the rulebook like the air and bombardment rules, both of which worked fine.  The way the scenario and solo rules interact pose a very minor issue with what type of bombardment is available to the Germans but I resolved that as being automatically in favour of the Germans (i.e. they could choose whichever option seemed best).  The infantry and heavy weapons rules continue to work fine, although there is an interesting conundrum regarding the French infantry: John and Too Fat Lardies seem to think of the French LMG as being the equivalent of the Bren, Phil Barker and Leon of Adler are more in the camp that it should be treated as a BAR(!).  My figures (being Adler) are currently based with the latter option in mind...In  similar vein, the Barker and Clarke treatments of the French rifle grenadiers are very different too.  This has quite a cumulative effect on the effectiveness of a French infantry platoon: the TFL version is a good deal more effective than the Barker version.  Against the former, the Germans would have had an even thinner time.  A bit more playing experience has reinforced my belief that the introduction of dice rolling to acquire targets and allowing suppressed elements to return fire do create quite a different dynamic in the game, but with a small but noticeable cost in time through extra dice-rolling and checks, compared to WRG 1925-50 1st edition.

But the main thing to discuss is that the Threat Generation System, whose virtues I have mentioned in many previous games, just didn't work that well here.  Given the ground, there is only one quadrant of the battlefield that is really worth using for the Germans, everything else is just too open.  So where usually randomness is more true to the WW2 experience and produces more exciting games, here it just decided which of the Germans was going to have a chance and which were going to be, in all likelihood, quickly gunned down in the open.  With the lightly-armed British paratroopers in the previous campaign, it wasn't too bad: against an opponent with even a dusting of heavy weapons, it wasn't going to work.  This seems to be mainly a problem when I am actively playing the defenders, the randomness of a defence seems to help and hinder the attackers more equally.  I think that the TGS is in need of a little further development to make it more suitable for these games.  More anon.

As a related issue, although I still haven't figured out all the interactions, it is worth mentioning that for all the good games that they have generated over the years for me, these pint-sized campaign scenarios aren't really designed for a ruleset like WRG 1925-50 or this development from it. It isn't so much to do with number of figures as size of battlefield: a TFL scenario covers 240m x 160m - which is 24cm x 16cm on a normal WRG ground scale, and 7.5 times smaller than the recommended game size.  So this seems to effect how observation and time interaction is supposed to work, I think.

Anyhow, all good fun and I am looking forward to the Germans next attempt to get forward.  The Germans were mainly Baccus 6mm, whilst the French infantry are from Adler and the vehicles and crew are from Heroics and Ros.  The aircraft are from Plastic Soldier Company.  Buildings are mainly from Leven in this one (I think).