The next battle in the Too Fat Lardies'
Gembloux Gap pint-sized campaign is entitled "The Culverts at Noirmont"; this is basically a bridge destruction scenario, although, with the name being the clue, the targets for destruction being culverts rather than bridges...
Having got through the outer crust at Perbais, the Germans now release the Panzers whilst the French attempt to stop, or more realistically, delay them.
As usual, I am using "The Farquhar Variant" of the WRG rules: essentially the
1979 2nd edition "Modern" rules re-engineered to cover WW2.
The Forces:
The French:
1 Rifle command group
1 Rifle/rifle-grenadier group
3 Rifle/LMG groups
3 Rifle groups
1 Panhard armoured car
1 25mm anti-tank gun
2 engineer demolition groups
The Germans:
The basic German platoon consists of:
1 SMG command group
1 50mm light mortar team
5 Rifle groups
3 GPMG groups
The following reinforcements were given to the German platoon:
1 Panzer IIIc
1 Panzer IVb
1 SdKfz 221
1 MG34 SFMG
1 37mm ATG with tractor
1 FOO with 80mm mortar battery on call
1 Pioneer demolitions team
1 Sniper
Company HQ (1 SMG command group)
Ouch indeed...
The two French engineer groups are working on the culverts: one will blow up after turn 6, the other will blow up after turn 12. If the Germans prevent either explosion, they have succeeded.
The Set-Up:
 |
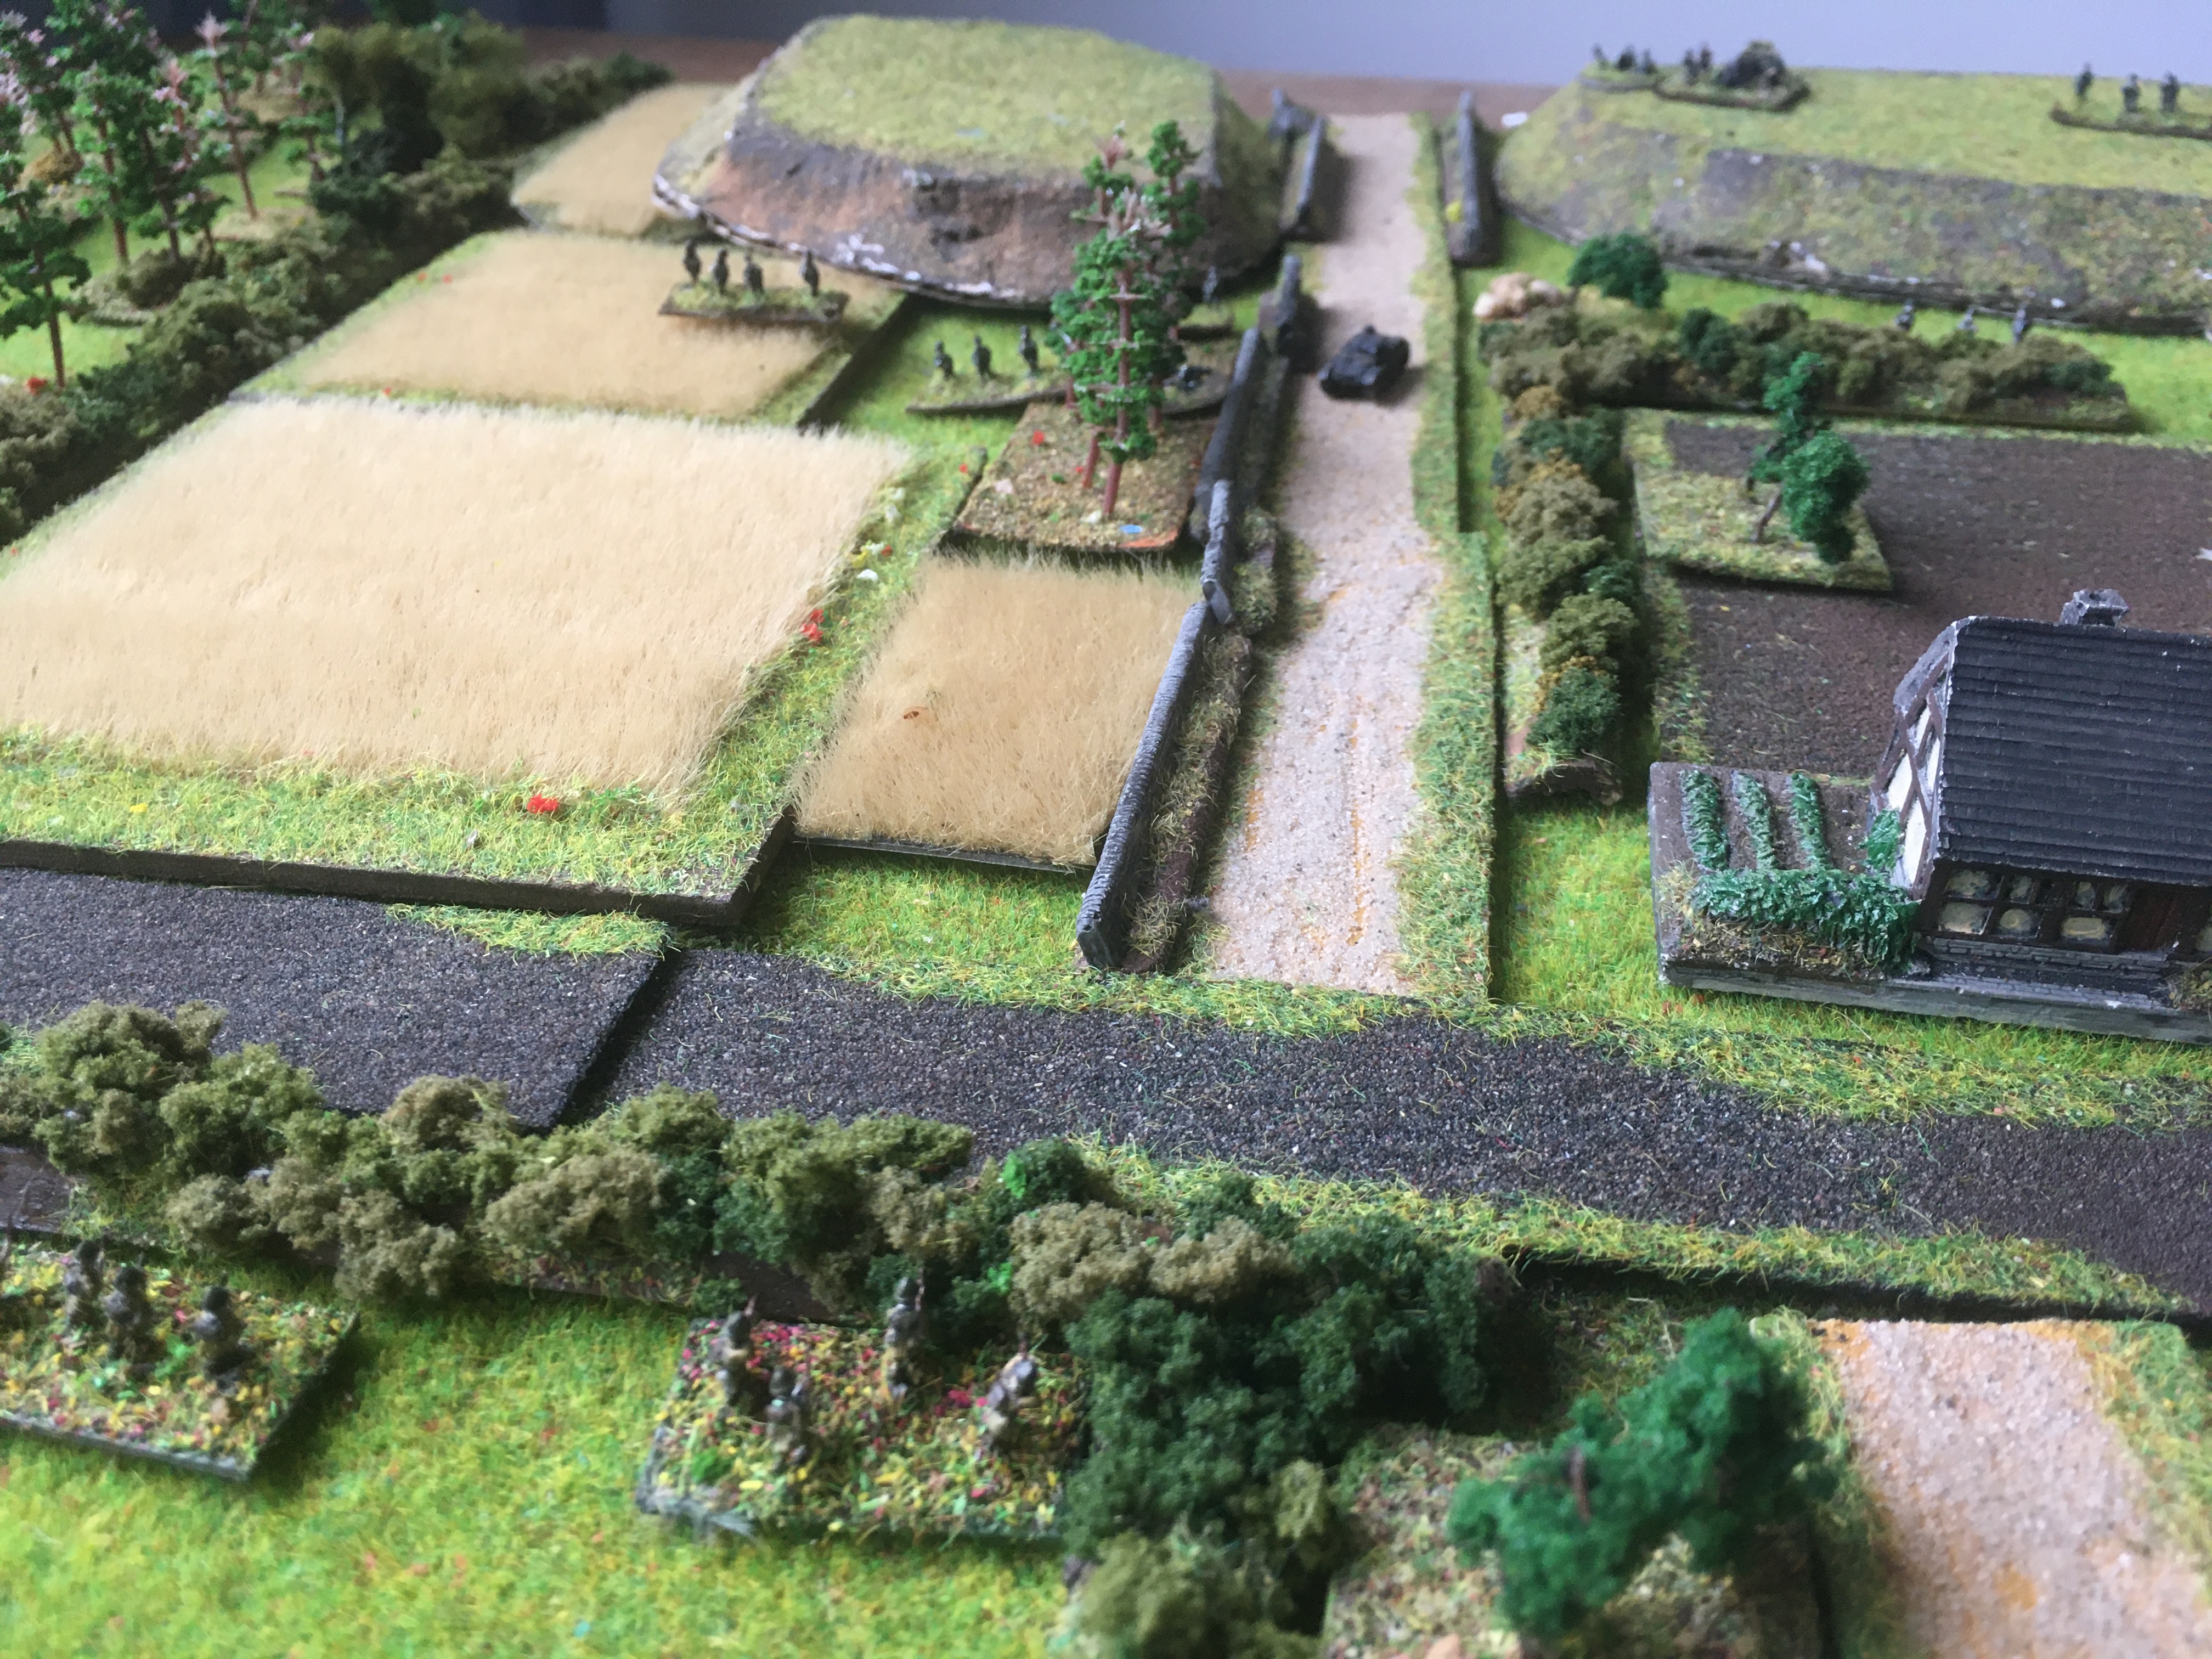
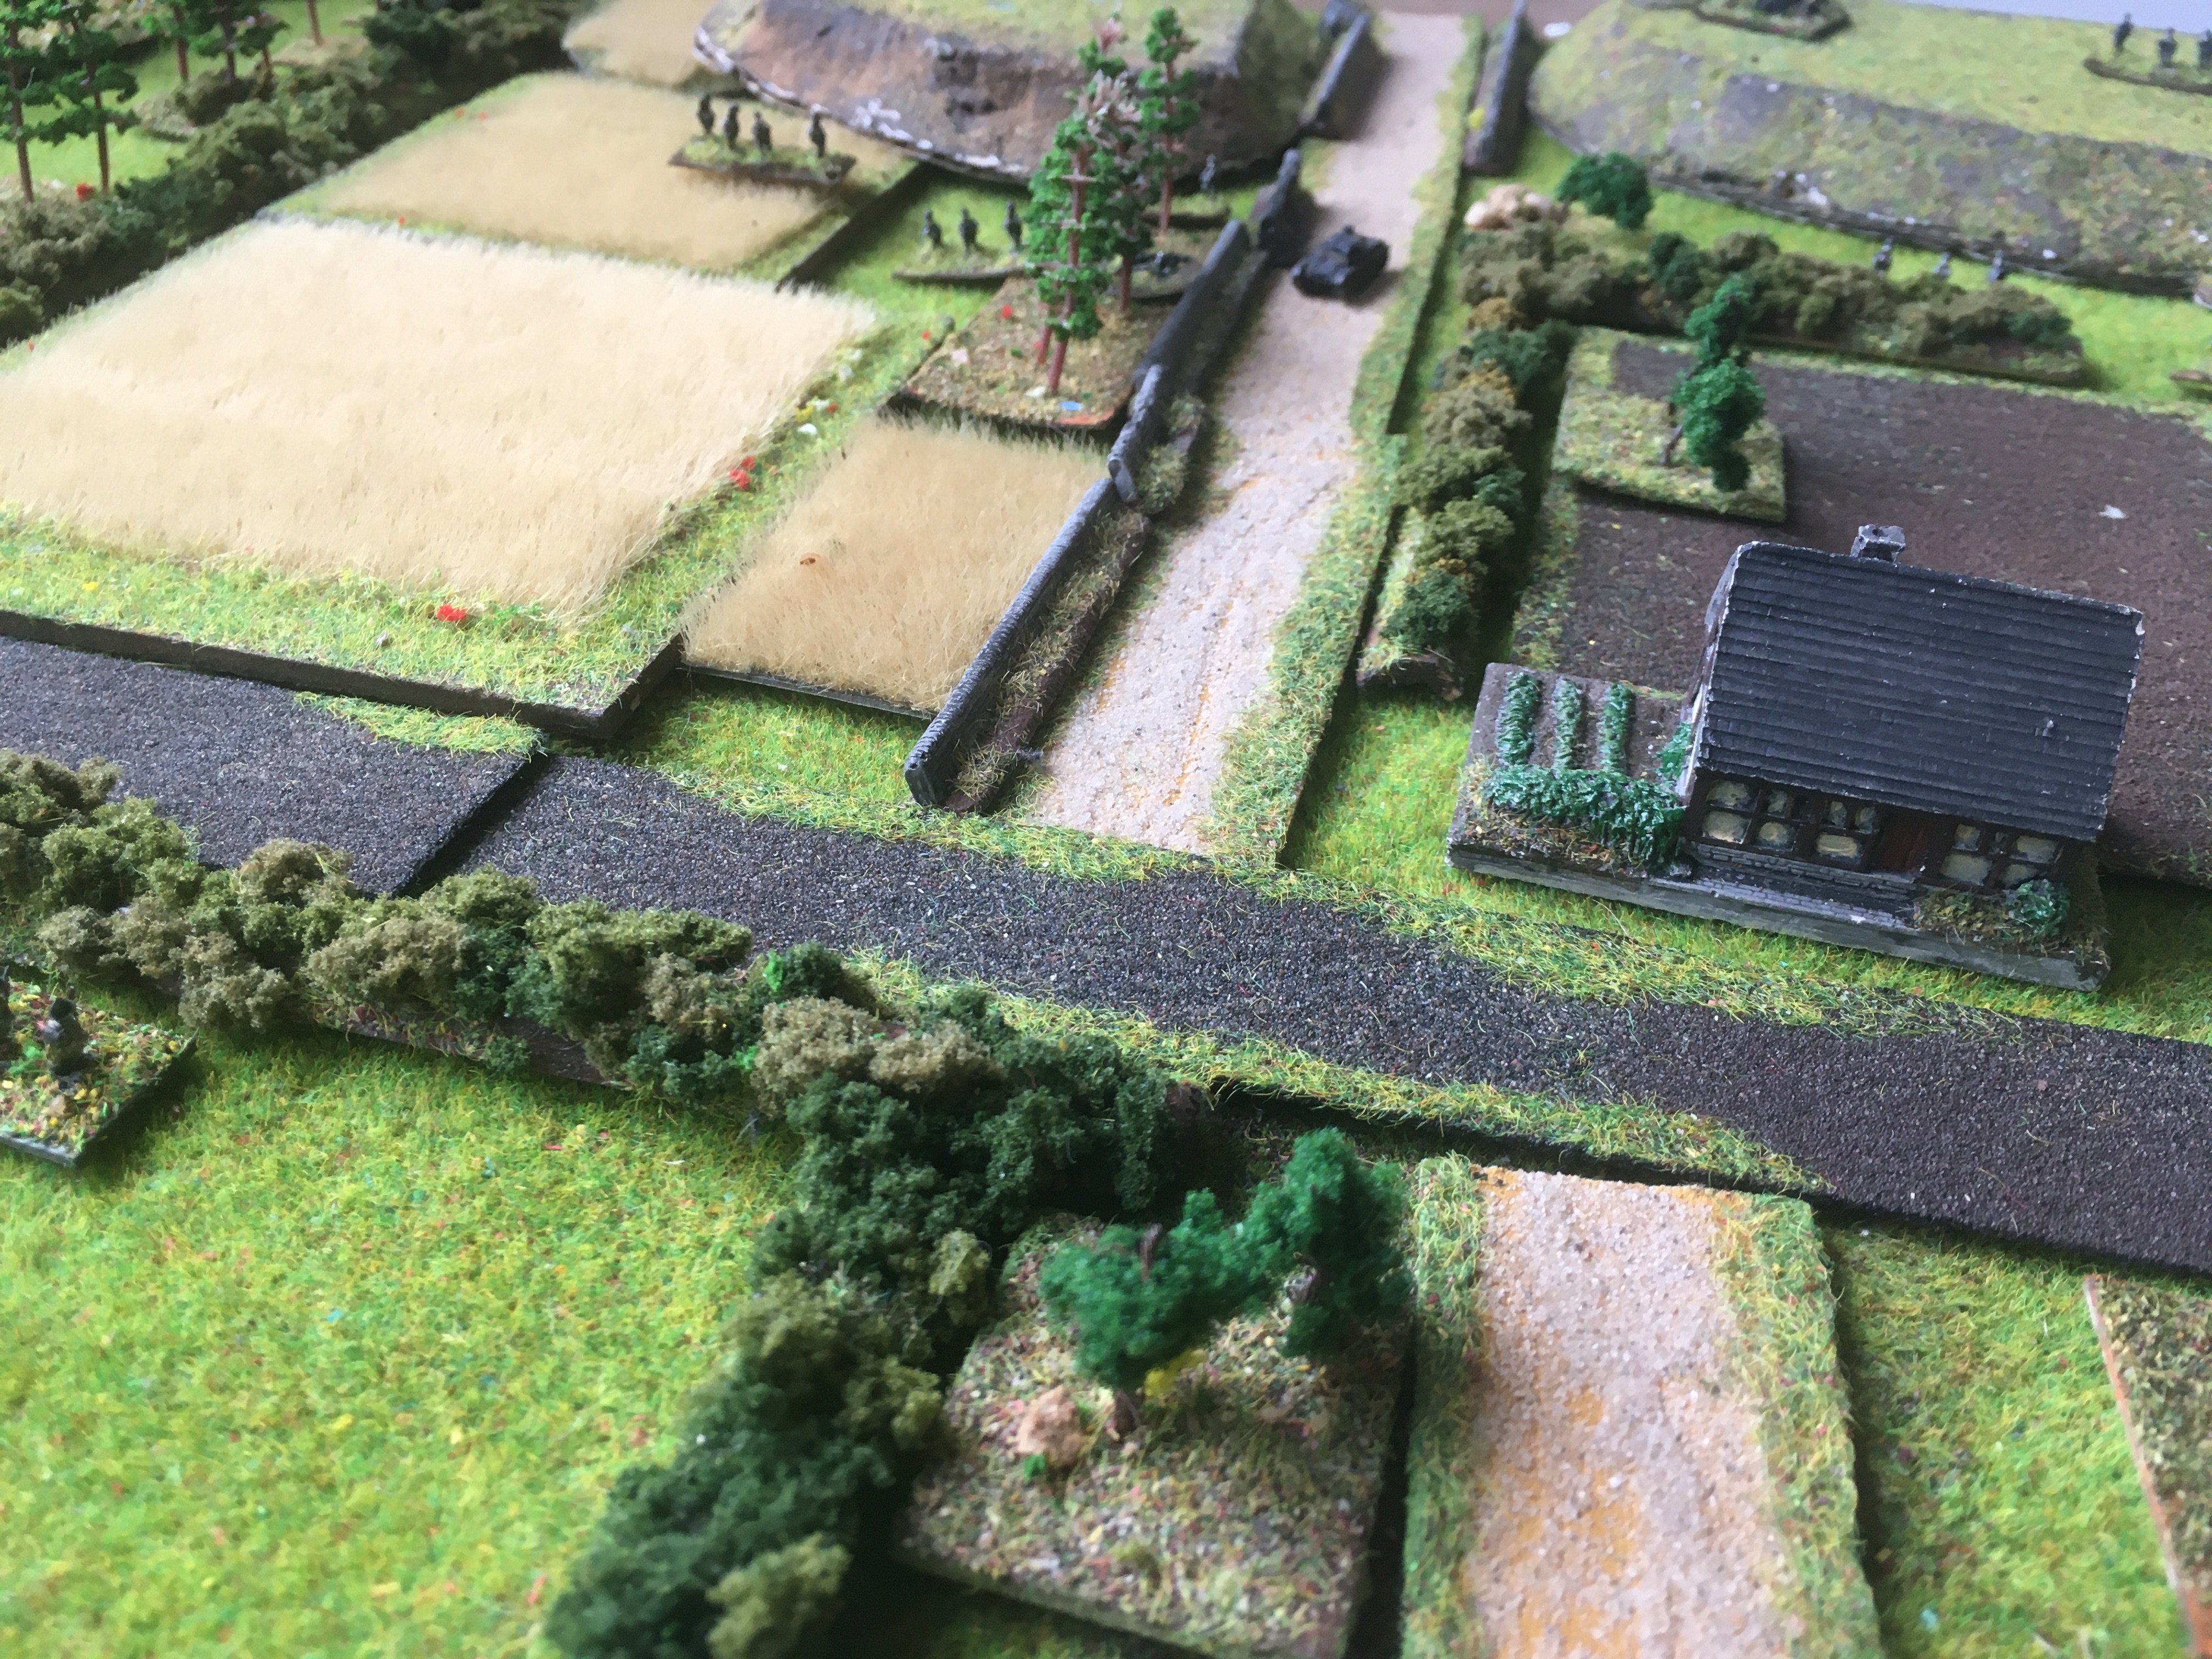
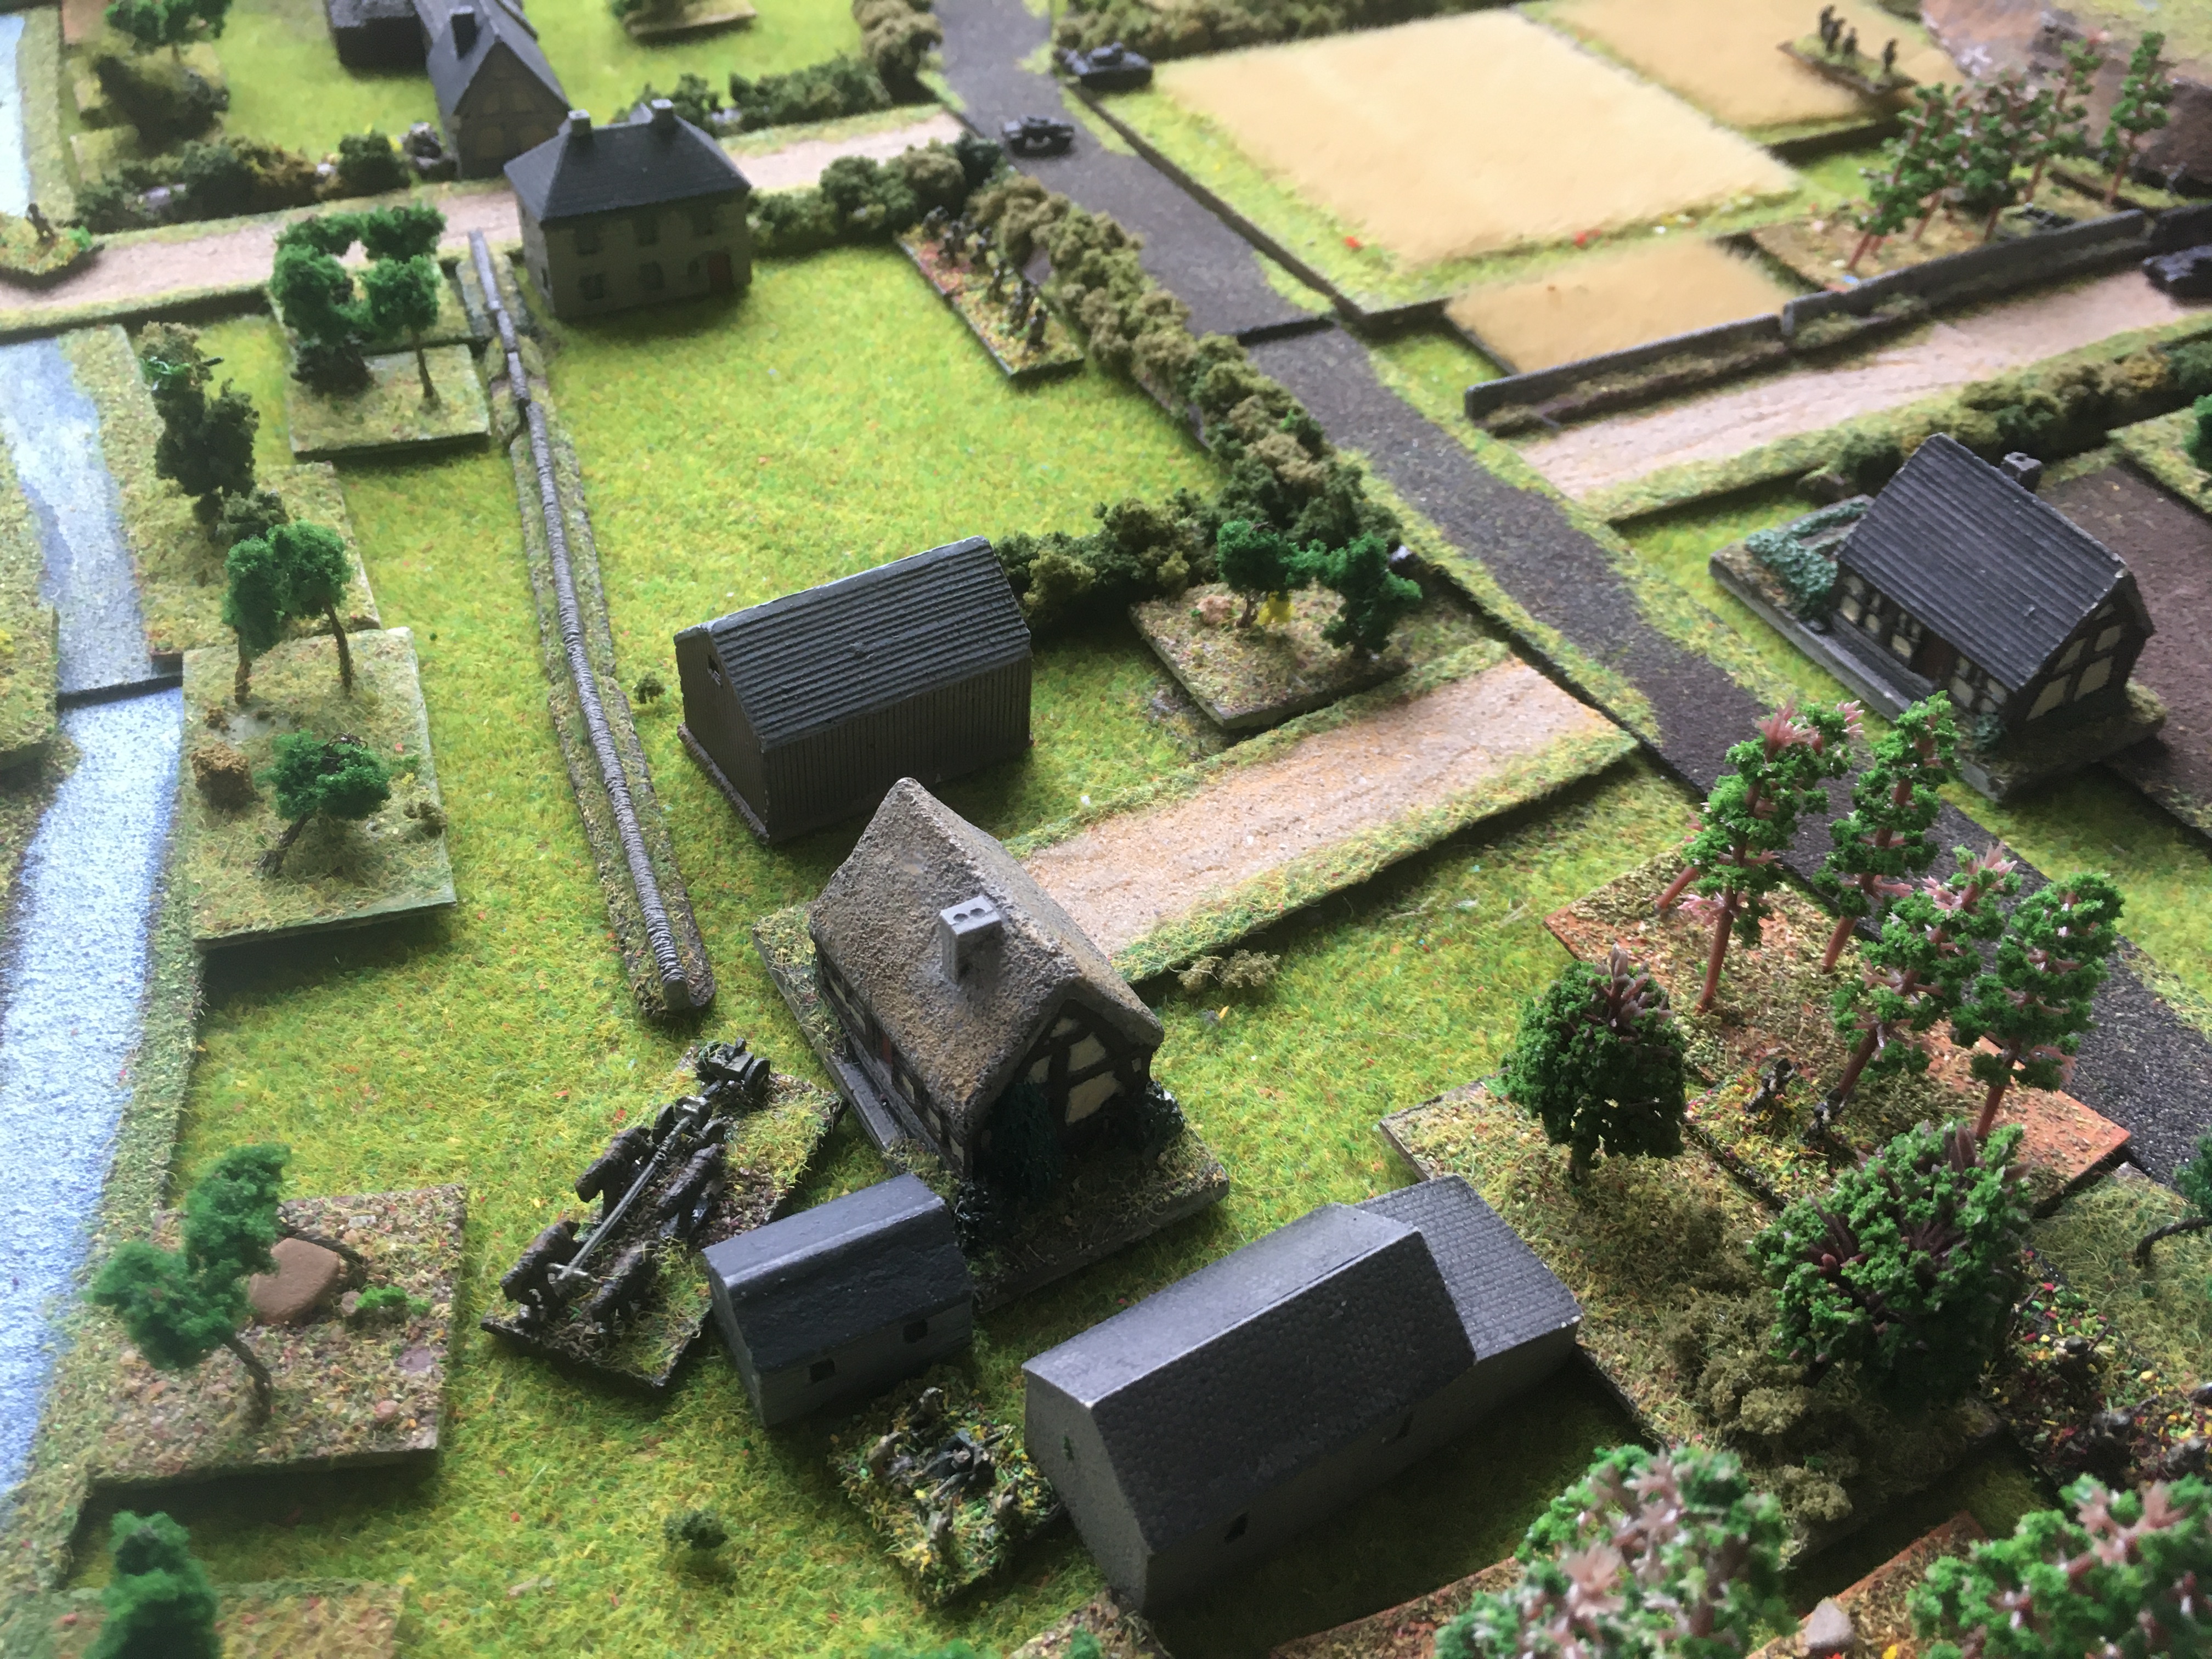
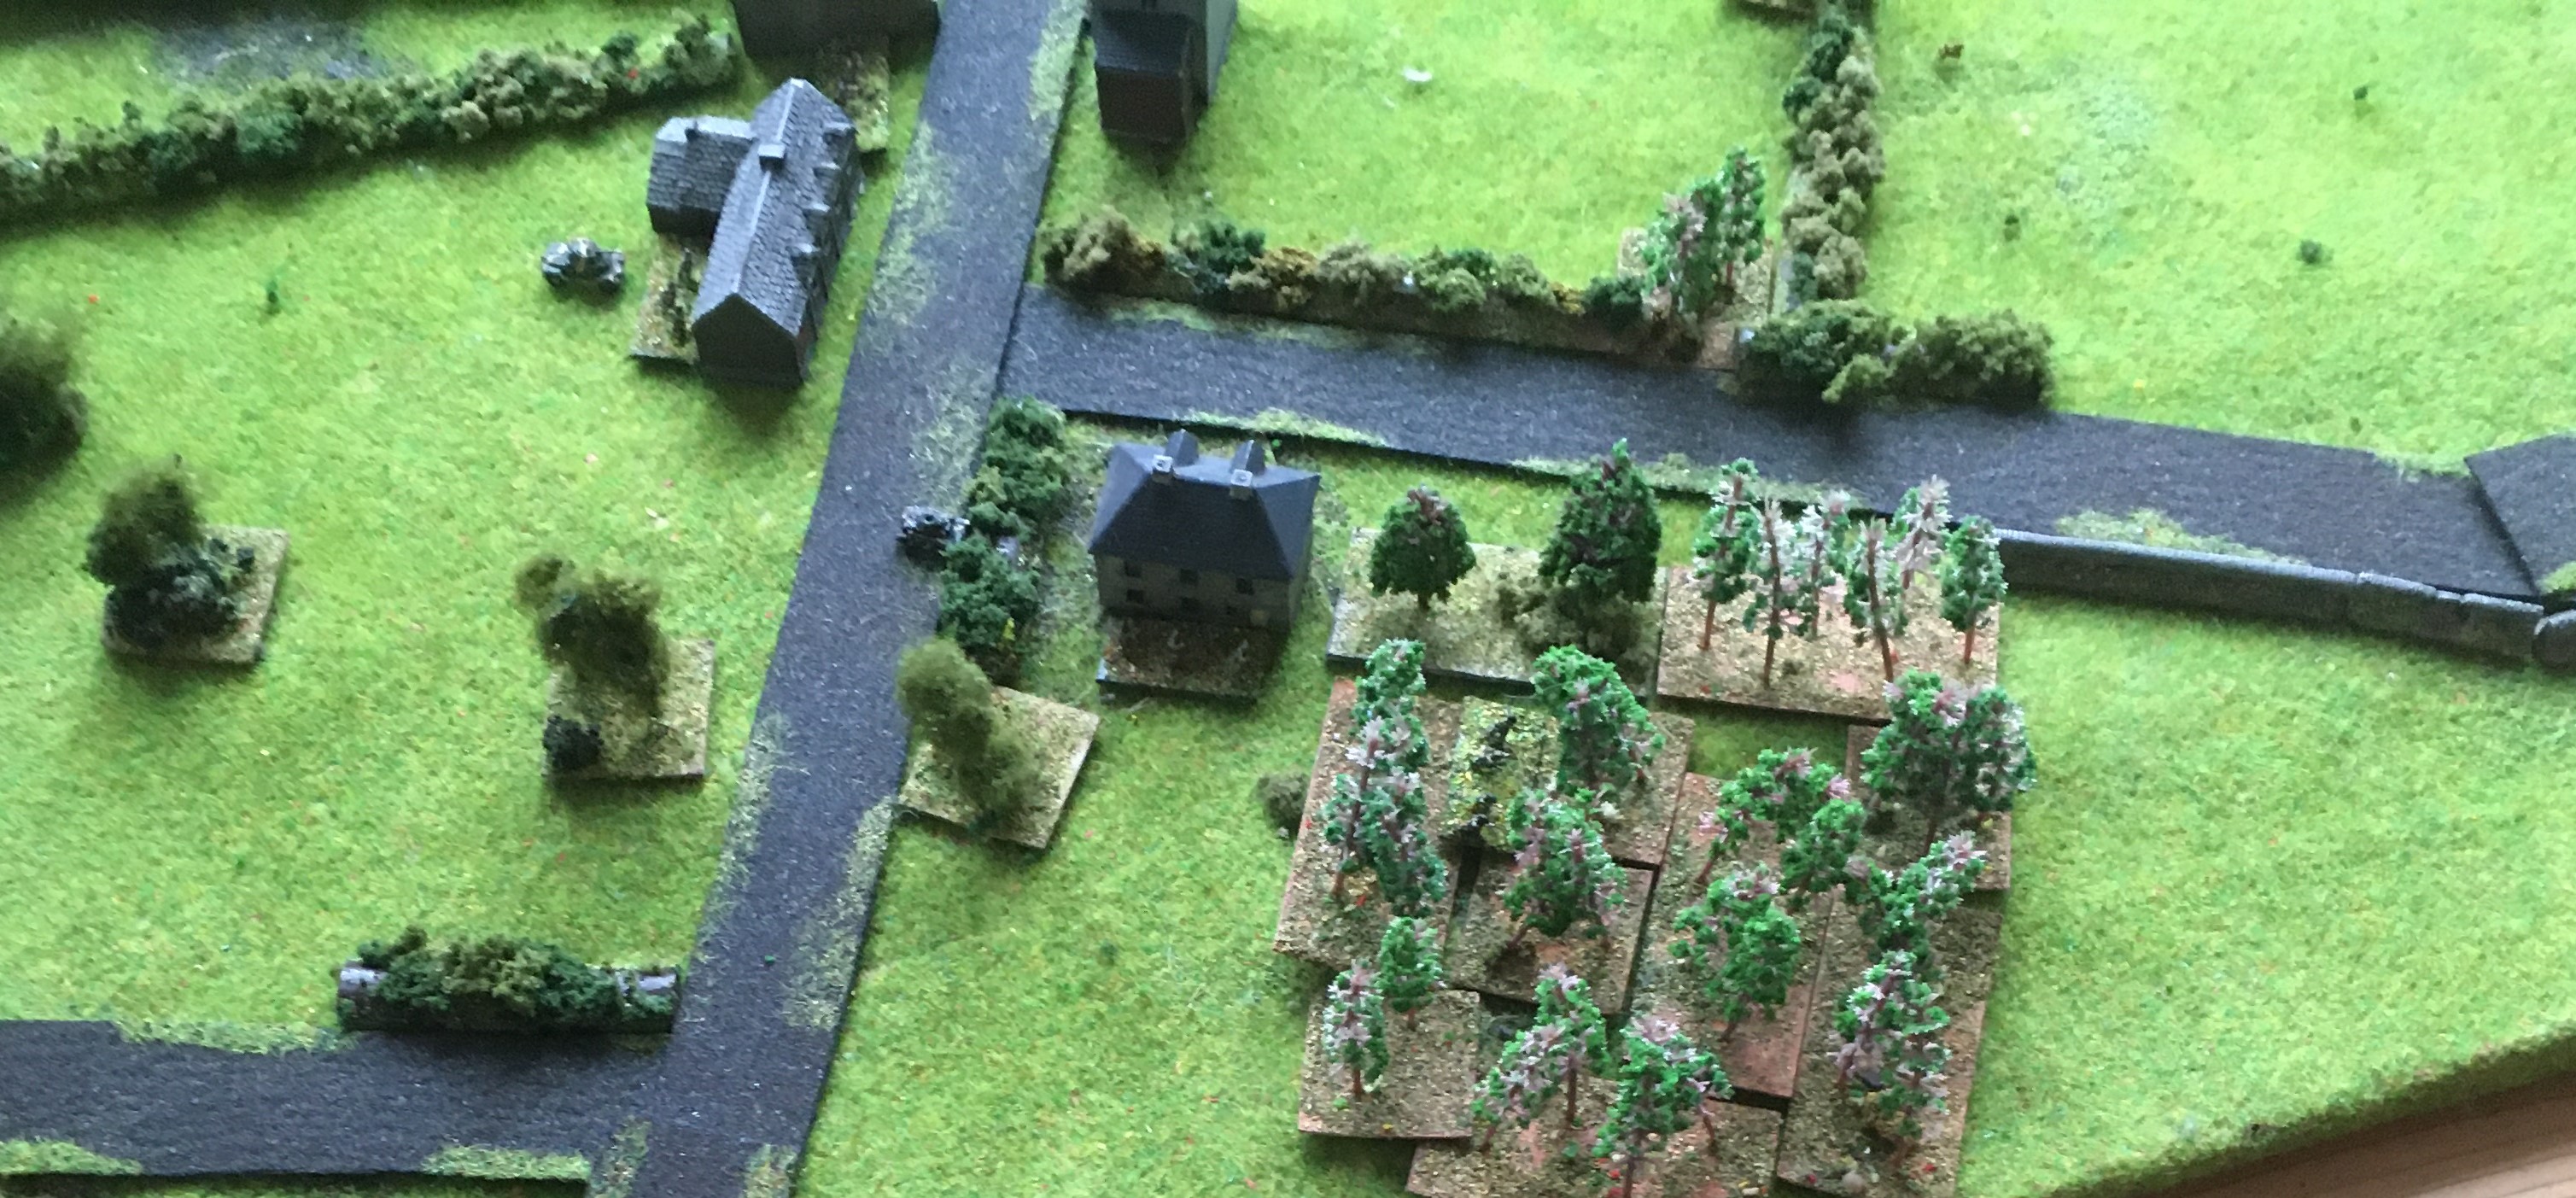
The sleepy village of Noirmont. The French enginners can be seen working around the culverts: meanwhile, the French platoon has a section deployed in the woods just adjacent to the culvert bottom-centre; in the hedges and barn by the junction (centre), and in the hedge below the second junction (centre-top). The anti-tank gun is hidden in the farm complex (bottom-left), the Panhard and the rifle grenadiers are by the building in the top-left, and the platoon command group is in the square-ish building near the second culvert.
|
 |
A closer look at the anti-tank gun hidden in the farm but covering the junction; and a rifle section is hidden in the woods by the culvert.
|
 |
The French have two rifle sections by the hedge along the road, with a few soldiers held back in the building (bottom) as a reserve; the platoon commander is by the building (centre).
|
 |
The engineers are working on the culvert (bottom-left), with the platoon's grenadiers in the L-shaped building. A Panhard armoured car hides behind the cottage, doubtless trying to avoid being spotted from the air...
|
n.b. Where an infantry element is next to a building, that was for display purposes: the element is actually in the building and removed from the table, so if one doesn't show up where you were expecting, that is why.
The Battle:
 |
Squad 1 gingerly enters over the high ground...
|
 |
A wider shot
|
 |
The French must be dozing or something, because the squad manages to get down the slope without being spotted!
|
 |
Meanwhile, the Germans have managed to infiltrate forward on their right flank, bringing up an infantry gun
|
 |
The French spot it but choose not to reveal their positions by firing
|
 |
The French on the other flank do now spot the advancing German infantry however...
|
 |
and in a few seconds, four Germans fall to the French fusillade - the others have their heads down out of the way at the bottom of the tree line
|
 |
German 2 Squad arrives: but the entire platoon is halted, wondering what has just happened and what is going on
|
 |
A sniper has snurgled forward onto the hill without being spotted, but he too isn't feeling too much like advancing at the moment!
|
 |
After 30 minutes, the Germans have achieved absolutely nothing apart from lose four men, and the first culvert is blown!
|
 |
The management is not happy...the German Captain arrives to take over affairs and brings up the rest of the platoon, a tank, an armoured car, an extra machinegun, an anti-tank gun and a FOO to get things going!!!!! Whatever might be thought of their dash or lack of it, the German platoon has obviously taken concealment seriously - none of the foot elements get spotted!!
|
 |
As the Germans push forward, another tank (a Panzer III) and a small team of Pioneers arrives to assist
|
 |
The Germans have got going, but again been hit by effective French small arms fire: the light mortar team was shot down as it moved down the slope, and the platoon commander is pinned down by the hedge
|
 |
The French marksmanship has been very good early on - if only it had been matched by their observation skills!
|
 |
The Panzer IV crew, by contrast, spies a little movement in the hedgerow...
|
 |
The French suffer their first casualties as the 75mm HE round lands close enough to make life impossible
|
 |
But the French infantry was not unsupported: the anti-tank gun is covering the junctions..
|
 |
...and when the SdKfz 221 boldly moves forward to try and probe the French defences...
|
 |
...it does not miss! The German armoured car is destroyed
|
 |
However, the Panzer III has moved up towards the culvert, and only the Panhard can stop it...it emerges from its cover to fire...
|
 |
...the gunner does his job and the Panzer III is hit...but the shot is deflected
|
 |
the German pioneers are following in the wake of the Panzer III, as the Germans break right; the French infantry fire but without much effect, merely keeping a few German heads down...
|
 |
The German return fire is rather more accurate, and more Frenchman go down
|
 |
Whilst more accurate German rifle and machinegun fire cuts down the other French squad in the woods!
|
 |
And at the end of a dismal few minutes for the French, the Panzer III knocks out the Panhard for good measure
|
 |
This proves too much for the French, who begin to run: the French crew try and limber up their gun
|
 |
15 French infantry (including 4 running through the building to avoid detection/fire) and 3 engineers in flight
|
 |
The wider picture: note the Germans advancing through the woods (bottom)
|
 |
Most of the French get away, but these last four are too slow and surrender to the German pioneers
|
 |
The French anti-tank gunners decided there was no route back, so abandoned their gun and team to the advancing Germans
|
 |
The position at the end of the battle
|
Game Notes:
The Germans lost 3 KIA, 6 WIA and an armoured car. The French lost an armoured car, an anti-tank gun, 5 KIA, 11 WIA and 4 unwounded prisoners. Well, it was all going so well for my Frenchmen at the beginning, wasn't it? The German initial card draws were very weak and their advances were quickly stopped so I began to wonder if the battle was going to be a piece of cake. And then the Germans arrived en masse and swamped the French defence. In fairness to myself, the Germans could never have had that much stuff in a face-to-face playing of this scenario, but it can be done in my solo rules, since the draw is much more random and allows combinations which are impossible in the normal scenario (e.g. a Panzer III and a Panzer IV). And it really would have been quite easy for this to be a terrible German failure, since the initial platoon advance was stopped in its tracks and could not get going until a commander arrived or there was another reaction test forced by the French fire...who weren't going to do that unless a decent target turned up. Even then it was quite touch and go - the odds were actually with the Panhard in the AFV duel but their round failed to penetrate and the Panzer III's shell did - after which it would have been really difficult for the French, even if their morale didn't just collapse anyway.
So a very exciting game - and not too much to say about the rules that I haven't said before. I made some changes to the threat generation system, using the area entry I used in the previous game but this time the 'threat' is automatically generated at the furthest point that the 'threat could be seen on that line of advance. So, the German infantry gun rolled a '1' for its entry point. I used equally weighted arrival points in this game, so this meant 5cm down from the top-right corner. But no French element could spot it there, so it was allowed to move forward until just by the house at the top, where it was possible that French elements could see it. As long as you have mental "routes of approach" mapped from each point towards the objective, this is really easy to do and it seemed to work quite well. Obviously in this game I as the solo player ended up pretty overwhelmed: but that is all part of the solo game for me, the flipside to the games when it ends up being a turkey shoot...
Buildings were a mixture, mainly by Leven, on a 60cm x 60 cm board. The figures and guns are by Baccus and Adler (with a couple from GHQ too), with the vehicles by Heroics and Ros.
:strip_icc()/pic5163498.png)






:strip_icc()/pic5163498.png)