The next Thirty Years' War battle I have attempted with the
Twilight of Divine Right rules was the
Battle of Wittstock, again from the scenario in the accompanying book.
Wittstock is an interesting and unusual scenario, since it features an attack by the Swedish/Protestants on one flank then an attack on the other flank later on.
Summarized Order of Battle:
Swedish/Protestant Army:
C-in-C: Baner
Vanguard
12 units of Horse
Centre (reinforces the Vanguard):
5 units of Foot
2 units of Guns
Flanking Force:
8 units of Horse
1 unit of Dragoons
3 units of Foot
Imperial-Saxon Army:
C-in-C: Elector Johann-Georg
Left:
14 units of Horse
Centre & Right:
6 units of Horse
1 unit of Dragoons
14 units of Foot
4 units of Guns
The order of battle in the scenario book is
much more detailed than this, in ways that do make a difference to the game. This is especially true for the Imperial-Saxon side, since they re-deployed elements of the their force in specific chunks to face the Swedish threat.
The Scenario:
The Imperial-Saxon army is set-up in one direction, in entrenchments. They are then faced by a Swedish force turning their left flank, and two contingents of Horse have been dispatched to face them. There are a couple of different ways offered to replay this in the scenario book. I selected the scenario when the first two Imperial-Saxon forces have already moved and Baner's Swedes are ready to attack. However, after 10 turns, another Swedish flanking force turns up facing the edge of the Imperial-Saxon right wing; although the exact turn of arrival is diced for. Then, more Swedish-Protestant infantry will turn up to reinforce the Swedish vanguard.
As a self-imposed rule, I forbade the Imperial-Saxon forces from advancing beyond their line of entrenchments before the arrival of the Swedish-Protestant flanking forces: it seemed unlikely and unfair to allow a re-deployment on this flank to face a basically unknown threat.
The Set-up:
 |
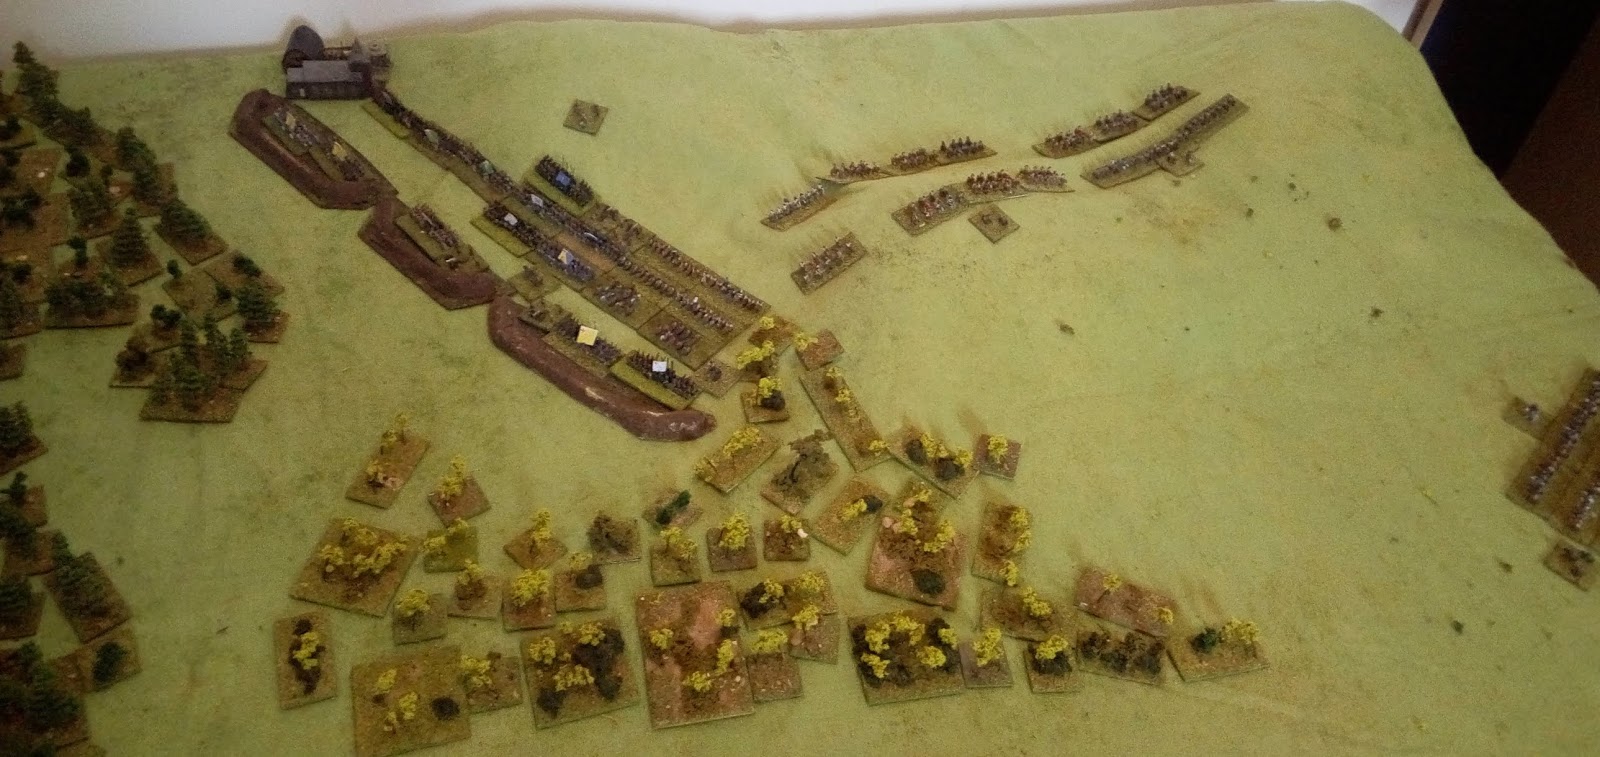
| The main Imperial-Saxon position is to the left behind entrenchments; the re-deployed force is on the high ground to the right whilst the Swedish vanguard has just entered (bottom-right) |
 |
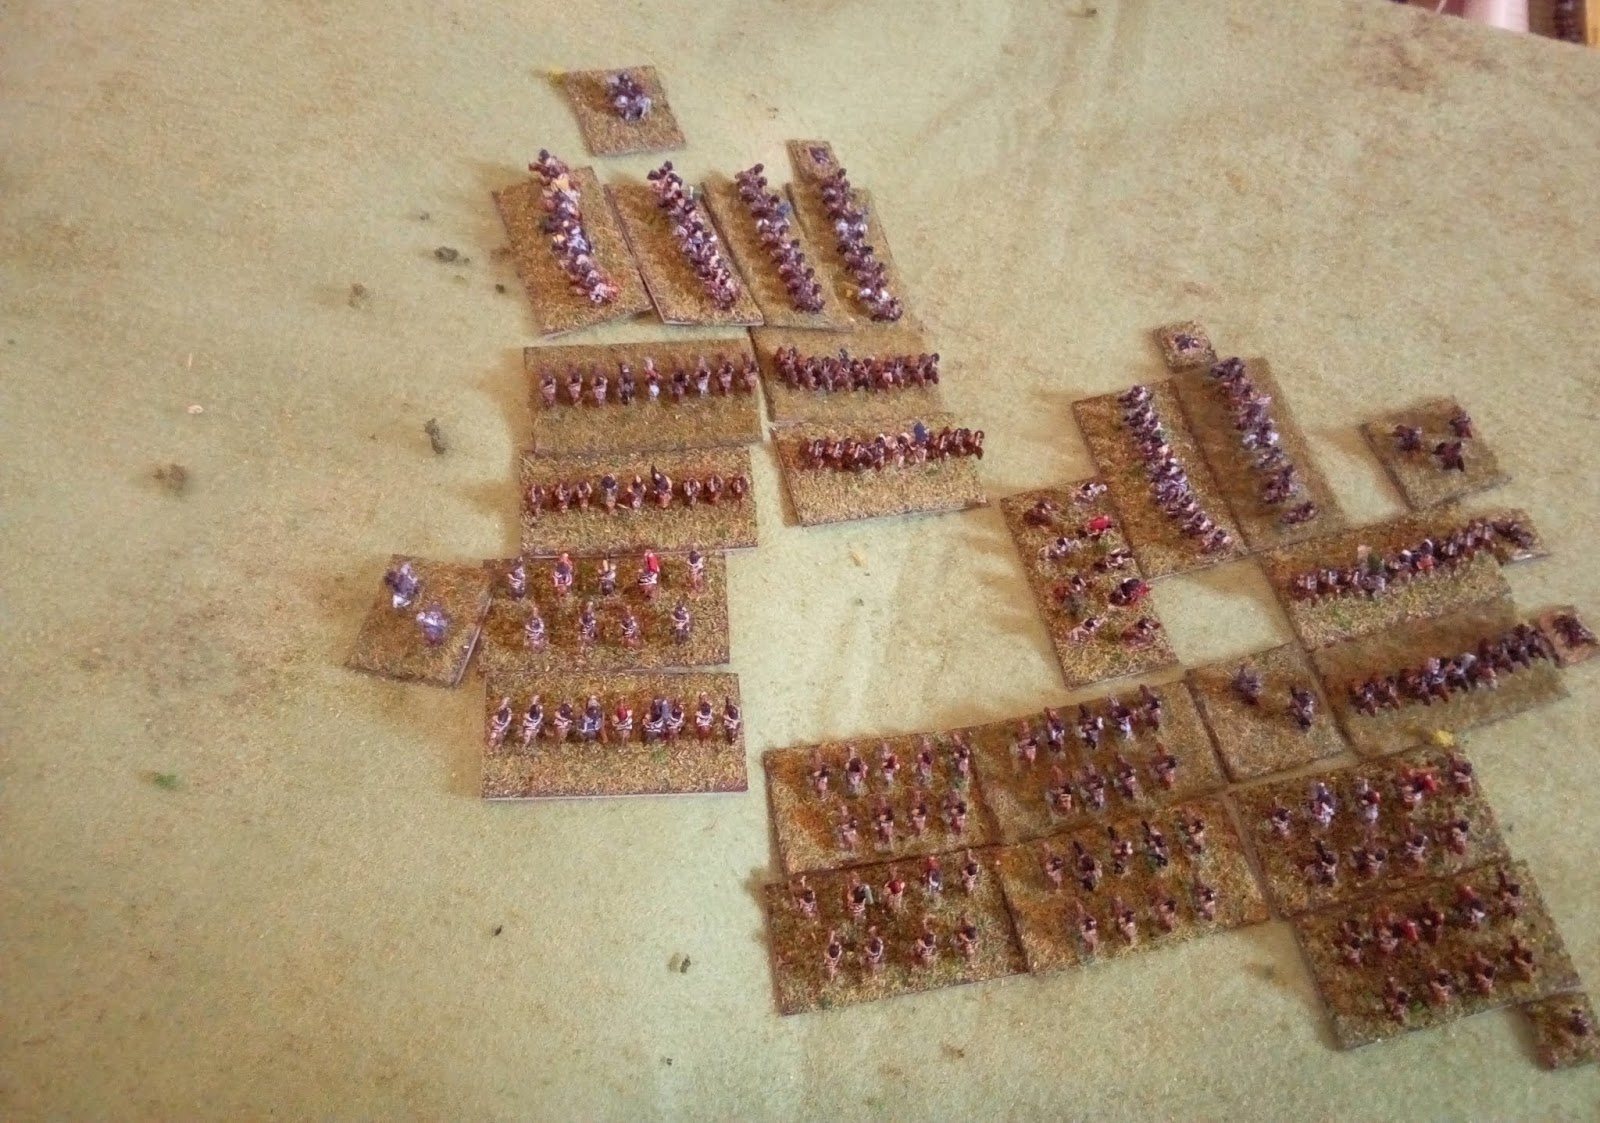
| The main Imperial-Saxon army behind its entrenchments |
 |
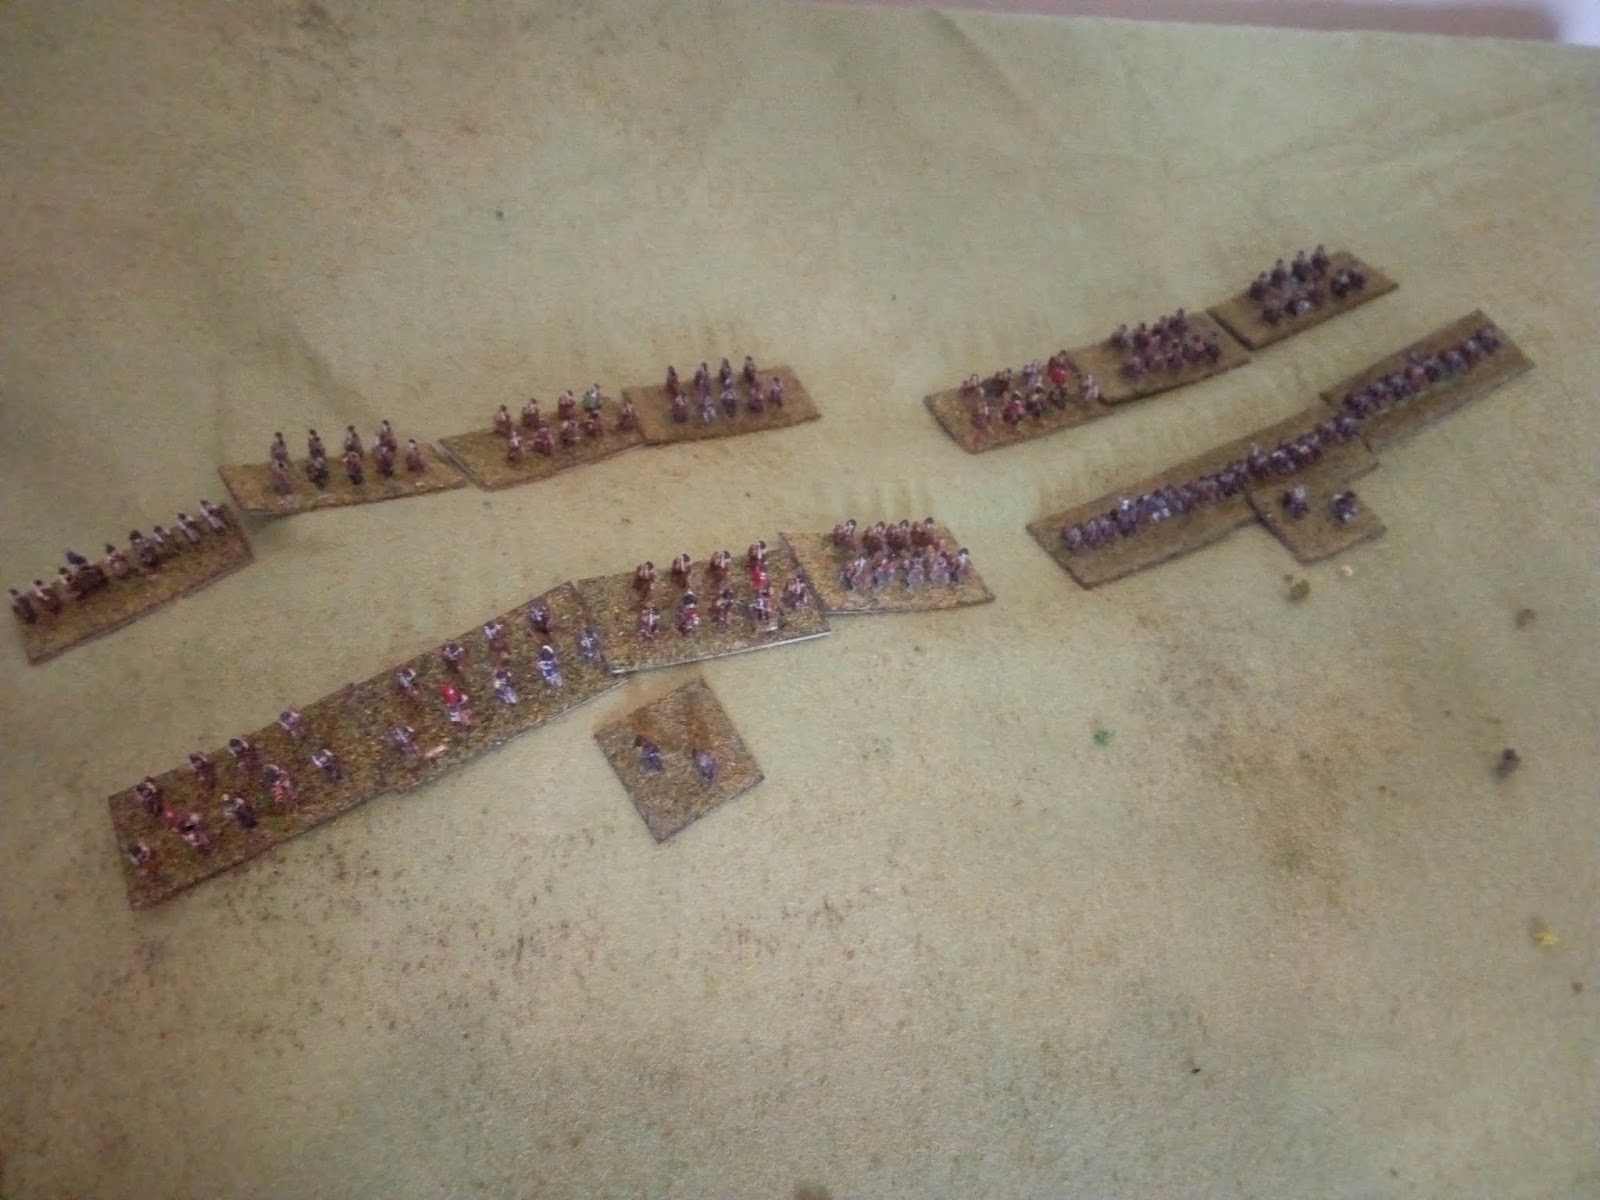
| The Imperial-Saxon Horse |
 |
| Baner (right) supervises the advance of Torstensson's Horse |
The Battle:
 |
| Why waste time? Baner organizes his Horse and advances; the Imperial-Saxons feel their hand is forced and get their retaliation in first, ordering a charge |
 |
| First blood to the Imperials: the Swedish Horse start to take some losses (see casualty markers in Swedish front rank) |
 |
| After a couple more turns of fighting, the situation has become more confused: however the Imperialists are doing quite well and more importantly, have got an organized forces around the Swedish flank (bottom-left quarter) |
 |
| Elector John-George gets a detachment of Foot and Guns from his main body on the march to support the left wing |
 |
| The melee continues: this time the Swedes get their charge in first to forestall an attack (centre) |
 |
| Notice in the centre that the Swedes are doing quite well and have reached the higher points of the slope (top) |
 |
| And...breakthrough! The Swedes have split the Imperial-Saxon Horse in two... |
 |
| Surely the Swedish left cannot hold under such pressure (bottom and centre)? |
 |
| They are being pushed back, but are still basically holding out |
 |
| Torstensson makes sure that he finishes the business at hand, trying to secure the slopes before helping his beleaguered left |
 |
| The wider position: there are a couple of uncommitted units of Horse about to be committed by the Imperial-Saxons (centre), whilst the foot column just hoves into view (top-left) |
 |
| The melee continues. Things are beginning to look a bit bleak for the Imperial-Saxons though: they have failed to take advantage where they were strongest (foreground) but the Swedes have polished off the left-wing of the Imperials quite smartly and will soon be able to use these troops to help out |
 |
| And so it is proving; the final two Imperial-Saxon Horse units charge in (left) since this is the last moment of near parity... |
 |
| But without any great effect. Torstensson will now be able to bring his victorious cavalry (top) into action onto the turned Imperialist flank |
 |
Some of the Swedish Horse units have been eliminated (see gap in centre) but their line of Horse has been reformed
|
 |
| But still the cavalry combat rages on... |
 |
| The Imperial-Saxon foot column gets into position |
 |
| The last Imperial Horse units are under heavy pressure... |
 |
| When like a bolt from the blue, the Swedish-Protestant flanking force arrives! |
 |
| Hoping to keep the pressure on and trusting in the remainder of his Horse to triumph in the main melee, Torstensson charges with his victorious Horse straight into the line of Imperial-Saxon Foot, hoping to catch the rear elements (bottom) still in column of march... |
 |
| Meanwhile the flanking force, attacking with great elan, has forced its way into the fortifications (centre) |
 |
| The Swedish Horse make a dent in the line of Imperial-Saxon Foot and do catch a couple of units still in column |
 |
| The remainder of the Swedish Horse are slowly grinding their opponents into dust... |
 |
| The battle rages on the right flank of the fortifications: the Imperials have lost some men in the fighting, but musketry from the flanks is causing the Swedish cavalry some losses too |
 |
| The Imperial Horse on the left has been broken through and is on the point of collapse... |
 |
| Having got into the position with great dash, the Swedish Horse is finding it difficult to cling on in the face of fire from three sides... |
 |
| Losses on both sides in the battle between the Swedish Horse and Imperialist Foot for possession of the hill |
 |
| Only scattered remnants of the Imperial Horse (bottom-centre-top) are still in the fight, although those that are are fighting hard |
 |
| Some of the Imperialist Foot are proving tough opponents for the Swedish horsemen |
 |
| Neither side is yet able to change the stalemate around the fortifications; an attack on the village (top) has been driven back with loss and the Swedish dragoons have dismounted (top-left) to try again on foot |
 |
| Swedish infantry reinforcements arrive (top) and attack the Imperialists defending the buildings, but they are not to be moved! |
 |
| Losses increase in the centre of this fight on both sides, without anything much being achieved... |
 |
| However, the Imperialist infantry on the other flank has been attacked and routed by more Swedish cavalry (bottom and right) |
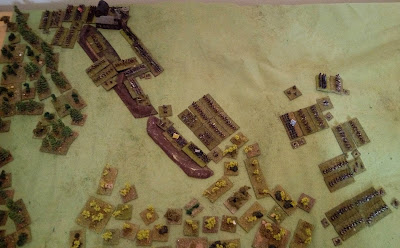 |
| Imperialist morale collapses as their left wing collapses...probably most of the remaining Imperial-Saxons can escape, since they have a body of uncommitted cavalry (centre) |
Game Notes:
More good fun, and a very interesting scenario. I remember looking at a scenario for Wittstock in Miniature Wargames 53 a while ago as part of my series of refighting scenarios from old magazine articles, but it didn't seem to me to actually be workable as a game, regardless of its merits or otherwise as an historical article. I think it was one of the kinds of articles that Wargames, Soldiers and Strategy and Battlegames were a bit of a backlash against. Anyway, I digress!
The battle was close and I think the Swedes were lucky. The Imperialists' manoeuvring was better, although let down by some tardy unit execution on occasion, but the luck of the dice was with the Swedes and sometimes that makes the difference. On a tactical level again, there was nothing that seemed wrong, according to my admittedly limited understanding of the basic 'grammar' of the fighting of the period.
That said, this is the game of the three in which I have had most little struggles with the rules. This seems to have been a direct result of the circumstances, which encouraged a big, flowing cavalry fight. I made a couple of mistakes myself, which didn't help, although I don't think they materially affected the outcome. I struggled with two related areas:
1 - Which actions can a unit in combat perform, in particular if it is contacted in the flank or rear, presuming it survives the first round? For instance, are columns hit in the flank, stuck in that formation, or subject to a successful action test, can they deploy? Or are they assumed to come out of column automatically? Since there are circumstances in which troops definitely can take action tests in combat, the second seems most natural (in the rules); but, would doing that move conflict with the "you can only advance directly towards that unit" rule in the zone-of-control section? I am not sure.
2 - How do turns to flank work? Are they like in Polemos, which has to be done by wheeling? Or in Neil Thomas' rules, where you pivot from the centre? Or can you basically do either, like in DBx? This ends up making a lot of difference, potentially, to how flank attacks play out.
Anyway, this is reasonably marginal stuff and I made on the fly rulings according to how I thought the rules intended to go (the joys of solo gaming!) but I genuinely wasn't quite sure if I had picked the right options here.
Although the scenario as a piece of game design is very good, as a piece of writing it wasn't great, with a couple of quite confusing bits. For example, it says that "at the start of the game, King's and Vitzhum's commands are flank marching. The Swedish player chooses which turn they will start to roll for their arrival". The orders of battle have Vitzhum on the Imperial-Saxon side commanding their Foot in the entrenchments. Is the Swedish player really meant to roll for his arrival? The Swedish order of battle doesn't contain King at all, expect to mention that Kornis' Reserve command is under 'the King's' command. Is 'King' the same as 'the King'? That might sound weird to read, but it actually makes equal sense to read it either way. The text doesn't mention what Shlick's Swedish Cavalry force are meant to be doing. I am guessing that they are actually the force which arrives first with King (or 'the King'). So I made my best guesses, and the old MW053 article plus the Wikipedia entry helped a bit here, but I could have got the designer's intention quite radically wrong! Please let me know if this is the case, any TYW experts out there. Also the map wasn't clear if there was meant to be a village where I placed it. It looks like the symbol for village is there, but it isn't named, so perhaps I have misinterpreted this.
Anyway, all that said, it was another very enjoyable game - recommended. Played over a slightly bigger area than normal: 4'x2.5', using
Baccus 6mm figures from my ECW armies and
Leven buildings.