On Sunday I went along to the
Joy of Six show in Sheffield, which has been running for a few years now. I haven't been to every one, maybe half of them, but I have enjoyed them every time. Very unusually, I have stayed until the end every single time! More thoughts on that later. The event is run by the teams from
Baccus 6mm and
Wargames Emporium. The venue is Sheffield Hallam university and is generally pretty good, with reasonable lighting (although it did get a bit dark in the corner where
Heroics & Ros &
Leven had their trade stands) and plenty of space, although there was one problem area, which I will also come back to later on.
I don't think I have ever done a show report before, so please bear with me. I missed getting lots of photos of games, missed out on playing lots of participation games I wanted to have a go at and missed out on talking to lots of people I would like to have had a word with! Hopefully I can do better in future...
The Games:
I got usable pictures of some of the games but not all
. I will cover the ones I got pictures for first and then some comments on the others:
Austerlitz (by the Deeside Defenders):
This was a nice "standard" big battle Napoleonic game, showing how you can achieve a pretty big battle with lots of figures on a club-size table. I didn't get a chance to chat to the guys but it looked like they were using Grande Armee or Blucher or similar. It seemed a decent game and I think they played it to a finish.
Future War Commander (MAD Gamers)
It was nice to see Trev and Mark again from the Maidenhead gamers and as usual, they brought something pretty innovative and impressive. They got a custom made terrain mat made (
from Tiny Terrain?) and then made some cheap but very effective scenery to match (love the Christmas Decs!) with a mixture of 6mm sci-fi figures from various manufacturers and adapted stuff, including some cool droids made from beads. They were explaining that the mat was designed for something else completely, but because all this stuff is layered, then they simply asked for some things to be removed and some to be re-coloured and some to be transferred from other mat designs. For instance, the black features were originally koi carp ponds or something for 28mm! They are big fans of Warmaster-derived systems, hence using
Future War Commander.
Normandy 1944 (Mailed Fist)
I really liked the buildings in this 6mm Normandy offering - lovely paint jobs, I wish I could do that. apparently they were done by the guy from GSM Scenic. They were using the
Iron Cross rules which I am unfamiliar with, but the guys seemed to be having a good time with them. To a total outsider, they did seem to share a little bit of design philosophy with the Blitzkrieg Commander/Warmaster stable of rules, at least in having a dice roll for activations and the possibility of multiple activations.
Metz 1918 (Robert Dunlop)
A huge late WW1 battle using the Great War Spearhead rules. My close-up photos didn't come out, but there were some nice little details: the aircraft (you can just make out a blue-painted one in the centre of the board), the explosions and so on. The towering signs indicate the names of the villages: for me personally, they are a bit too intrusive unless the game is specifically meant to be educational, I prefer that stuff to be smaller and lie flat, so you only see it if you look. It did look like a really huge battle though! My personal preference is for smaller stuff, but if I did do big battles, this is where I think I would go.
Battle of Megara (Yorkshire Renagades)
I don't know much about this battle and I never got a chance to talk to the guys here, but the game looked really nice - hoplite warfare really suits 6mm!
Battle of Seven Pines (GM Boardgames)
Another one I don't know much about. It was put on by
GM Boardgames, who had apparently come over from Poland. They are selling a 6mm ACW range which did look very nice and have their own ACW rules to match.
Commission Figurines
A really big Napoleonic battle this, but I think it was really a demo to show how nice the wooden figures could be made to look good very cheaply (hence the emphasis on the figures rather than the more functional terrain). I already use
Commission Figurines for some of my Napoleonic Prussian army and they do look very good
en masse.
Games I Saw But Didn't Get Pictures Of:
Per Broden and the Wyre Forest gamers put on a huge (imaginary) Great Northern War battle. It looked amazing, as their games always do, and they managed to play it to completion too. There are plenty of words and pictures
here to describe what went on. It really shows 6mm to its best effect, can't be beaten really. If you use bigger figures, you have to use less of them and the distances become foreshortened - or you use a 'much' bigger table, in which case good luck playing it and co-ordinating the payers to finish a full battle within 5 hours.
Derek from the Baccus 6mm put on a game to show the Siege of Manchester 1642. Beasts of War have some pictures
here. The whole of C17 Manchester is represented, which is another way of showing the virtues of the smaller scales for terrain. It was really good to be able to compare a period illustration/map of Manchester and be able to follow it exactly.
There was also a good-looking game of the
Zeebrugge Raid. I think part of the intention here was to show how well 6mm can be used combine land and naval elements, which one generally struggles to do with much accuracy in the larger scales.
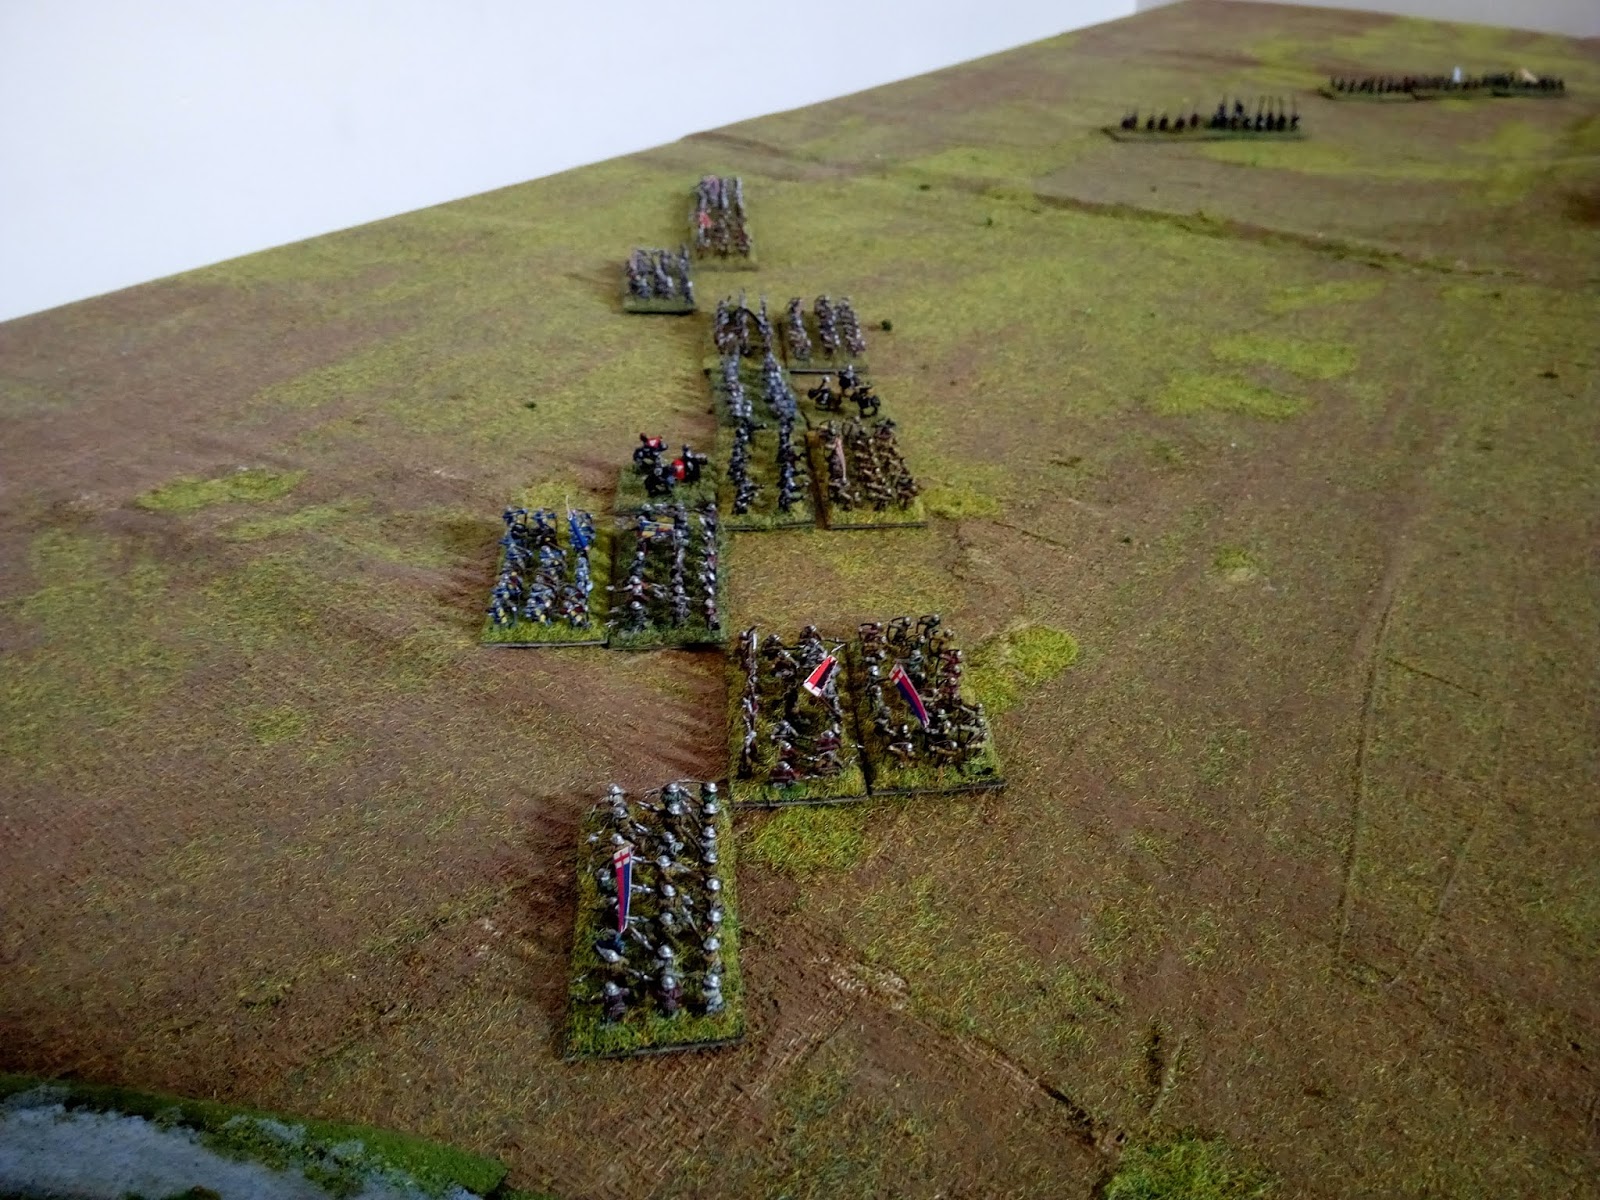
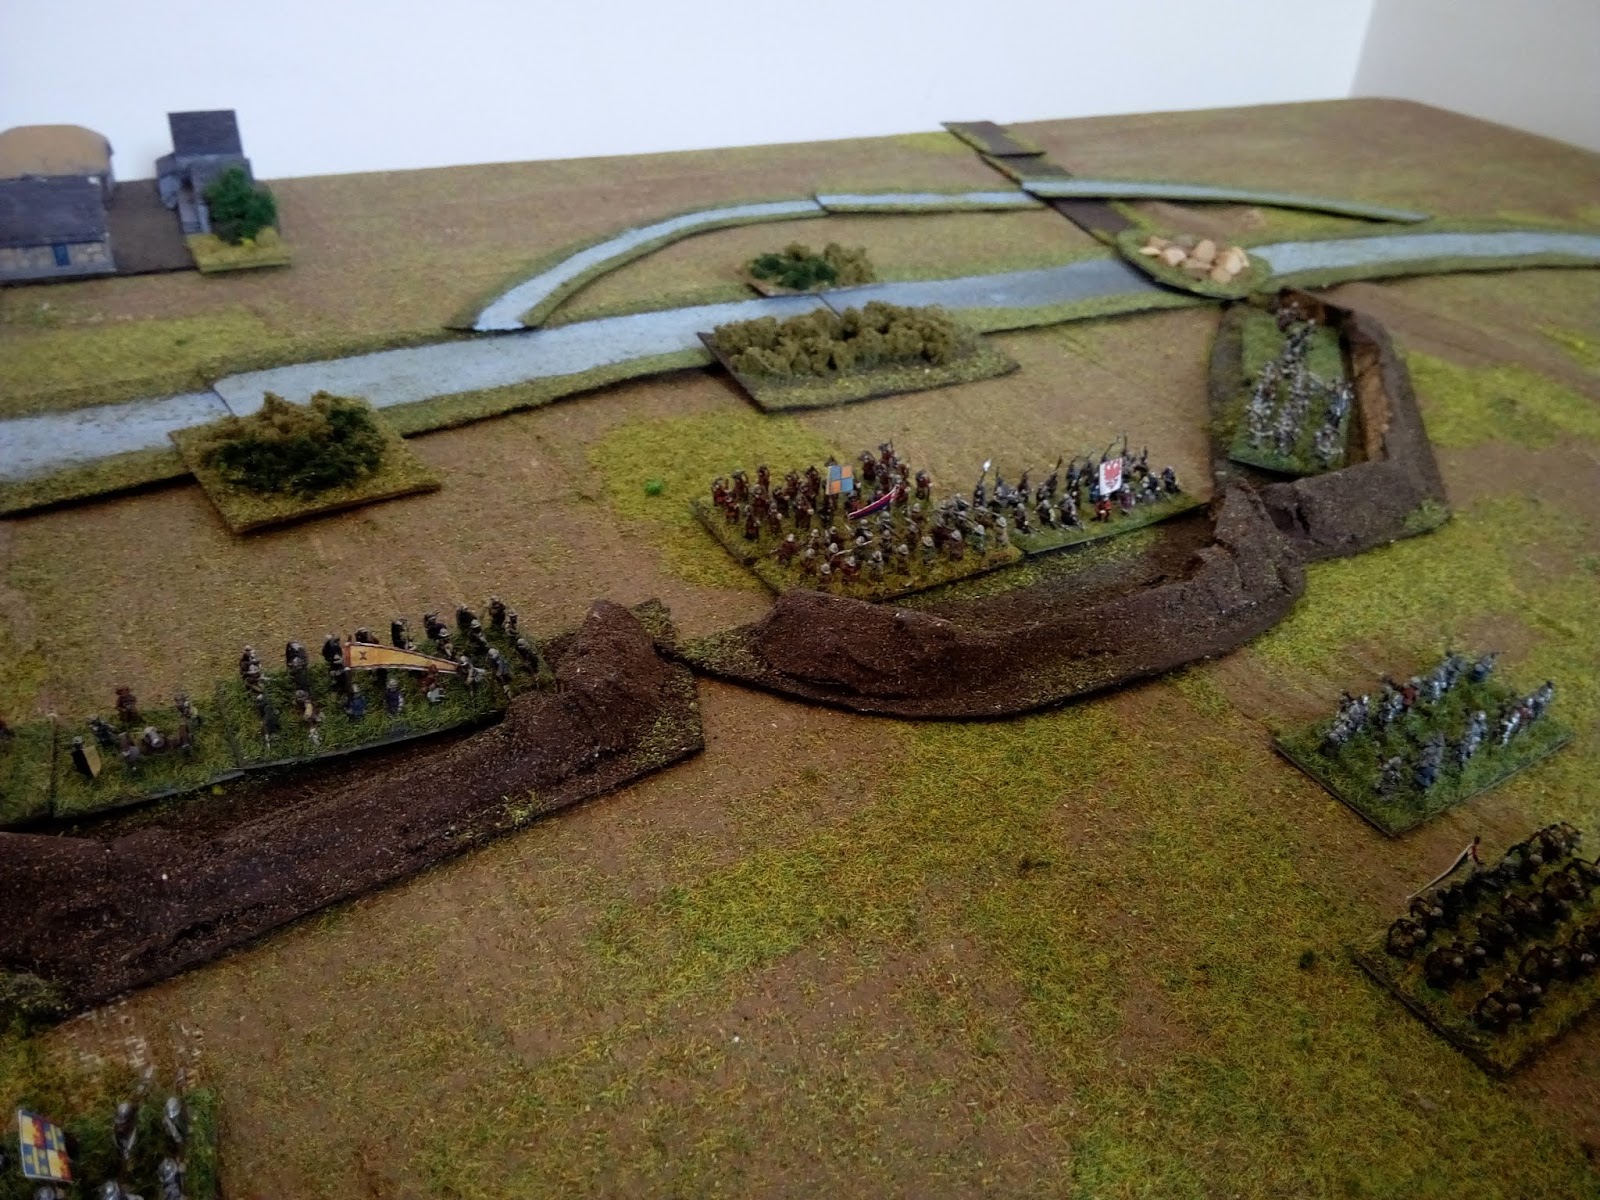
A guy called James Mitchell put on a game of
For King & Parliament on in 6mm on a 3'x2' board. It showed to great effect how one can take rules used that are used for huge games with 28mm figures and instead create brilliant mini-games for 6mm figures. The basic maths of this is that a scenario designed for say 12-15 units of 28mm figures in units of 24-36 on a huge12'x8' board will work exactly the same when played with 6mm figures on a small 3'x2' board. I have done this myself with the Battle of Mollwitz scenario from Charles Grant's book and the Peninsular War scenario from Black Powder and it works really well. This game was very pretty too, looking bijou but perfect. It is a bit like a DIY version of the Perrys' "travel battle".
There was a
DBMM game from the Milton Keynes guys, showing how good DBMM can look with all those figures (they use 6cm wide bases instead of the 4cm DBx 'standard' for 6mm figures). The terrain was simple but effective and I thought it was a nice advert for a ruleset which can sometimes be too closely associated with competition games only.
Shots of the other games can be found
here.
The atmosphere was great, everyone I talked to was very friendly. One thing I did notice was that although lots of the games were participation games, it wasn't always very clear how or when one should turn up to play. For example, it wasn't always obvious when the demo team themselves were playing (and would have welcomed someone coming up) and when other punters were playing (and thus the game was "full"). All the presenters I talked to were friendly and helpful but I don't like being relied upon as the punter to do all the running. In similar fashion, there were two competitions (a history quiz and an
anagram competition) but I had no idea how to enter the first and no
idea that the second one was even happening. But more to the point, I felt a bit disappointed with myself that I didn't have a go at more of the games. As a learning point, from now on at shows, I am going to make a specific effort to go round every single game, talk to the presenters and take a few photos and ask a few questions.
The Traders:
Most of the 6mm traders were there and seemed to be doing a reasonably brisk trade. I spent a little bit of money at Heroics & Ros and
Rapier, a bit more at
Brigade Models and the Bring and Buy, a bit more yet from Baccus and lots of lovely buildings from Leven. I was sorely tempted by Wargames Emporium's GHQ range and Commission Figurines stuff, but I decided I wasn't quite sure about the latter and want to think a little more. I have an idea for a project for next year for Commission Figurines and I am still wavering about doing a small modern project with the GHQ stuff (and wavering even more about what precisely that project should be).
It is a bit of a shame that
Adler and
Irregular Miniatures don't attend. This would seem to be the ideal show to sell their 6mm stuff at, particularly as both have ranges that other manufacturers don't do. I am hoping that one day
Microworld 6mm will also attend (or that someone will sell their ranges). If I remember rightly,
Total Battle Miniatures used to attend, and I am hoping that they will do so again in the future: their buildings are
lovely.
I think that one reason this show works well is that for me, pretty much "everything" is of interest. Every trade stand has things I might want to buy, every game tempts me to play or watch. The physical layout is comfortable with plenty of space to get round the games (although it was a little tight between the Brigade Models stand and the Battle of Horka demo!). This is why I always end up staying until the end.
The Q&A Sessions:
There were two Q&A sessions. The first was about Baccus' stuff. The bottom lines were that the need to train a new caster and for Peter to do this himself at present, to concentrate on the mail order side, was going to slow down development of new ranges and rulesets for the present. This is bad news for me, since I am avidly awaiting the arrival of the re-sculpted Covenanter Horse, the Highlanders and the Clubmen! He also stated that the main focus in the short-term was developing the WW2 range, with the aim being to finish the late war Western Front and then tackle the Eastern Front. The Great Northern War range will also be the next for a re-sculpt, but that too would slip to a later date until there was the time to devote to it. He re-iterated that the next Polemos ruleset would be the set for the Seven Years War. There would also be a re-release of the old Pony Wars rule set, but this wouldn't be under the Polemos/Baccus imprint, as he thought this would link Pony Wars to 6mm (the rules actually were designed with 15mm in mind IIRC) although he would be releasing a range of figures at some point to enable it to be played in 6mm. The Polemos Napoleonic App was said to be in beta-testing, with hopes that it would be released this year.
The second Q&A session had Peter chairing a panel of John Treadaway (Editor of
Miniature Wargames) and Neil Shuck and Mike Hobbes of the
Meeples & Miniatures podcast. They discussed (with audience participation) whether 6mm gaming had an image problem within the gaming community. The general consensus was that it didn't have an image problem as a medium for playing great games, but it did have a profile problem. Since 6mm is harder to photograph well, this meant that the Wargames media was less likely to use pictures of 6mm figures to illustrate articles and it was also harder for individual gamers to take photos themselves of sufficient quality. John Treadaway said that one reason he had come to the show was to get some good quality shots of good-looking games for just such a purpose. Peter made the point that many groups put on great 6mm games at the Joy of Six show but often didn't take the same games out onto the wider show circuit. Neil pointed out that X-Wing was pretty much a 1:300 game and that was a very successful game. A lady in the audience suggested that 6mm had strong virtues which would appeal to younger gamers (cheapness, ease of storage and transport) but thought that 6mm's strong emphasis on historical gaming was not (generally) what younger gamers wanted, preferring high-profile SF and fantasy instead. Mike re-iterated that the best way for the profile of 6mm games to increase was for 6mm gamers to do more stuff in the public arena: shows, blogs, social media etc. and Peter strongly agreed with this. John also made the point that 6mm companies were often less good than other companies at sending out samples of new stuff for review, with the exception of Brigade Models.
Unfortunately the area selected for the Q&A was a small open area
next to the main show area. With the background noise, it was quite
difficult for those nearer the back of the audience to hear. I think a
different space or room would have made this part of the event work much
better.
Myself, although I agree that some of the impetus has to come from 6mm gamers themselves (and I hope that this blog does show off some of the virtues of 6mm gaming), especially in putting on more 6mm games at shows, I do think that a lot has to come from the manufacturers and the magazine editors. For example, I can have a lovely 6mm WW2 company set-up, but I can't release Flames of War myself and create the buzz about it - and I can't think of any game ever which took off in a scale different from the one most associated with that game. I also probably can't photograph it myself to a level which would work for a magazine. In a few years time I would like to start putting on some games at shows myself. I think it will be interesting for me, especially in tackling how to make the terrain really nice-looking, but still functional enough to play. I think I will be looking for a lot of advice first to make sure all the bits look their best.
Anyway, it was a really good show - just like all the others have been. I don't think I will be able to make it next year but am really looking forward to getting back there in 2020.