I managed to get another game of DBA to the table recently, this time to re-fight the decisive
Battle of Bosworth. I used an amalgam of two magazine scenarios, the first from Wargames Illustrated 193 and the second from Miniature Wargames 53.
As anyone interested in the period knows, the battle was largely decided by the (ostensibly neutral) Lord Stanley intervening on the side of Henry Tudor. Because I know this, the most suitable mechanism to reflect this seemed to be to roll a die every turn for Stanley to become "active" on the Tudor side, with an increasing chance each turn. This would mean that King Richard's optimal strategy would probably be to attack, just as he did on the day.
I didn't check the history of these scenarios, since the most favoured site for the battle has (I believe) been moved since the time when the scenarios were written and published; I was merely using them as gaming scenarios. That said, the tactical essentials of the battle appear to remain the same regardless of the site adopted. I was also a bit sceptical about the strengths of the armies too, suspecting that the Tudor army looked a little weak in comparison to the Royal army, but decided to roll with it for this first attempt.
This is a very simple scenario in many ways: it is a straight fight to the finish!
The Forces:
The Tudor Army: 4 x Blades, 3 x Longbows
The Royal Army: 7 x Blades, 6 x Longbows
Lord Stanley's Contingent: 1 x Knights, 3 x Cavalry, 2 x Blades, 1 x Longbows
Henry Tudor rolled a D6 every turn after the first to see if he would take control of Lord Stanley's contingent. He needed a 6 on the second turn, 5 on the third turn and so on, but would always need at least a score of 3.
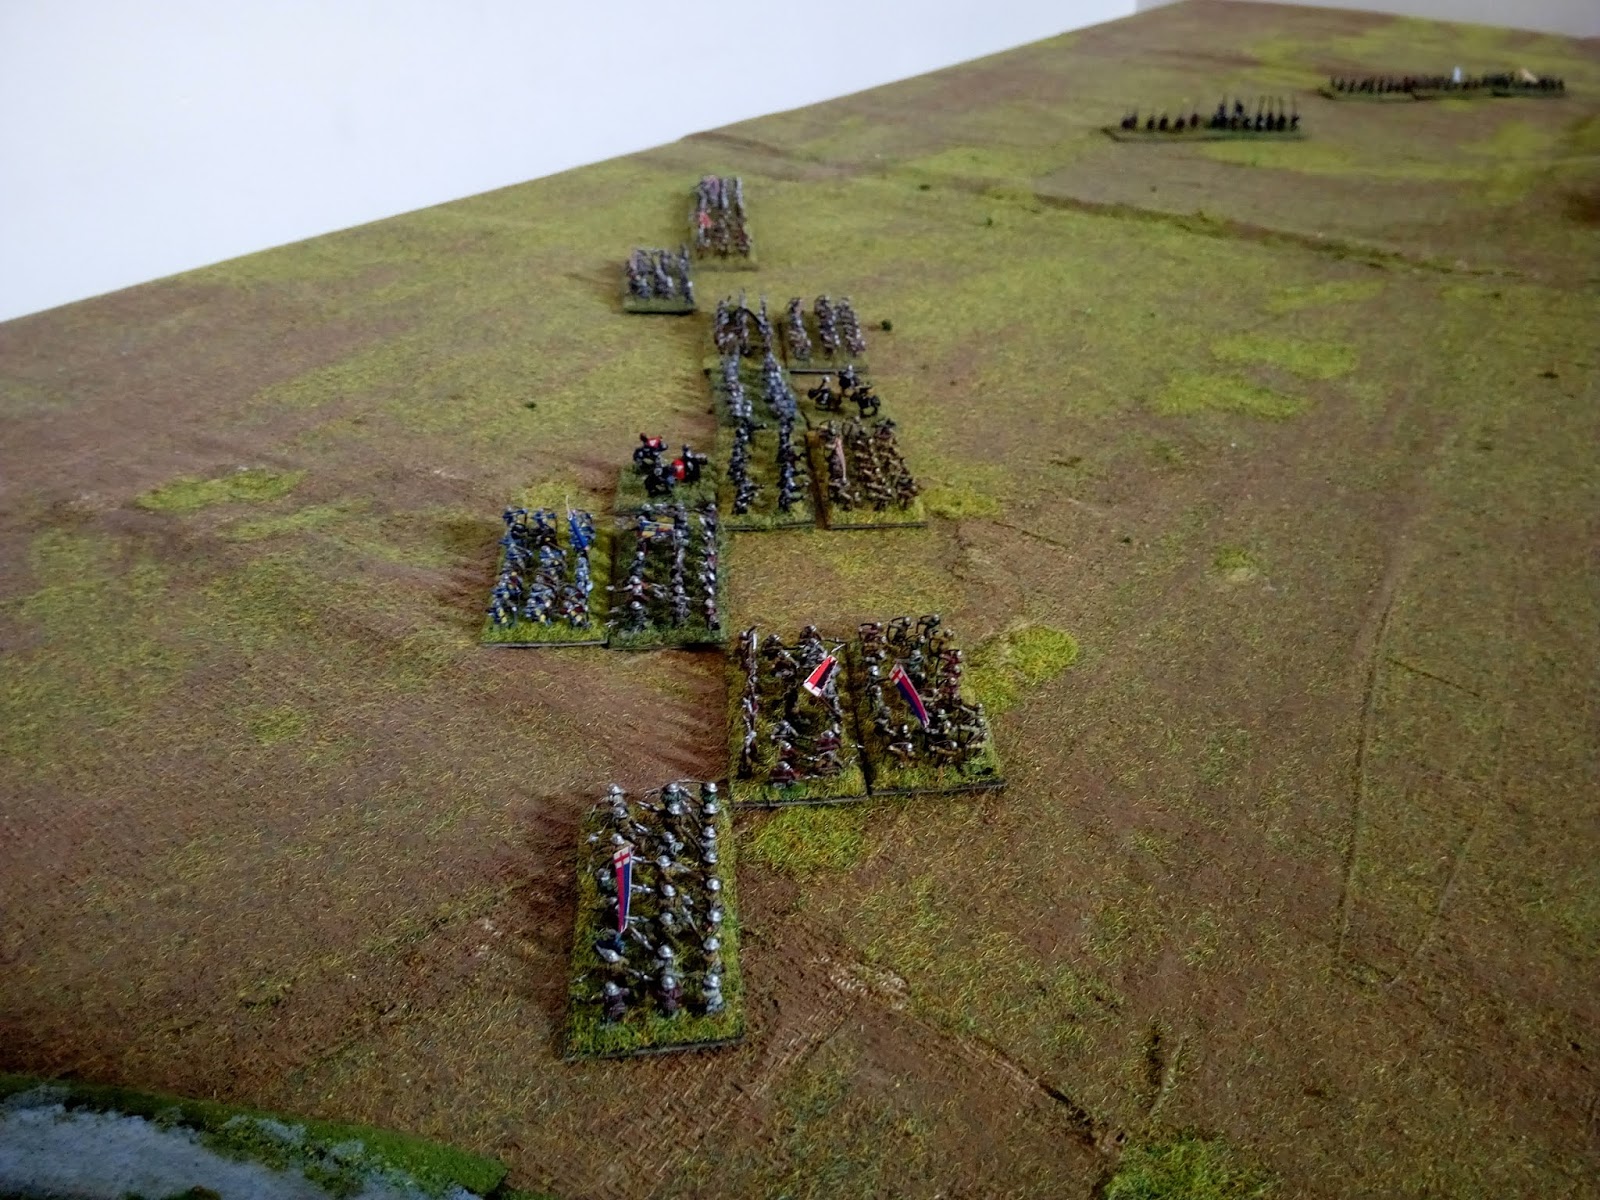
The Set-Up:
 |
| The smaller Tudor army is bottom-left; King Richard is on the hill and on the forward slopes (centre-right) and Stanley is "awaiting developments" in the top-left |
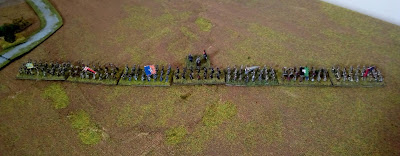 |
| Henry Tudor's men in line of battle with the usual mix of the Wars of the Roses - billmen and bowmen with a smattering of dismounted men-at-arms |
 |
| Stanley's forces. This is unusual in consisting of quite a high proportion of mounted men, including some knights but also some lighter "Hobilar" cavalry |
 |
| The view from behind Henry Tudor. |
 |
| King Richard III's battle line, with some reserves on the hill itself |
The Battle:
 |
| The battle begins with Richard III moving into action; he leaves a reserve back on the hill, so he only has a very small numerical superiority over the Tudor army |
 |
| A closer view |
 |
| Stanley decides to commit quite early and begins to move forward slowly... |
 |
| Stanley with his Knights, plus some Hobilars |
 |
| Some very effective shooting creates a gap in the Tudor line; some slightly less effective Tudor shooting creates some raggedness in the Royal line (bottom-right) |
 |
| A wider view of the same |
 |
| The melee begins in earnest with King Richard and his personal knights (Centre-left), on foot, trying to burst through the gap in the Tudor lines |
 |
| Stanley's men approach the Royal reserve |
 |
| Royalist billmen turn the Tudor right flank (foreground)... |
 |
| The Tudor line is slowly crumbling... |
 |
| There is some real chaos now: elements of both armies have broken right through... |
 |
| The contenders for the throne pass each other by in the swirling melee... |
 |
| Stanley's troops are unaccountably slow... |
 |
| The broken battle lines are beginning to favour the numerically superior Royal army, as it gets to find internal flanks... |
 |
| Some of the troops have now turned through 180 degrees: in the bottom-left, the two left-hand units are Yorkists, and the right-hand unit is Tudor Billmen...; note that Stanley, seeing the crumbling Tudor resistance, has diverted his men-at-arms and supporting hobilars to the fray here (centre-top) |
 |
| Stanley's light cavalry are about to hit some Royalist bowmen in the flank (bottom-right); but the main reserve body is well placed on the top of the hill to resist Stanley's infantry (top)... |
 |
| The Tudor army is only just hanging on...only the difficulty in re-organizing his troops is denying the King a victory here... |
 |
| The reserve bowmen swing into place just in time, but the Hobilars ride them down anyway... |
 |
| But the remainder of the King's knights, fighting on foot, drive back Stanley's infantry attack |
 |
| Stanley meets Henry Tudor (centre-bottom) just as the day is lost... |
 |
| King Richard continues to destroy the opposition (left) |
 |
| King Richard's dismounted men-at-arms take the initiative and charge Stanley's men... |
 |
| The Tudor main line has finally collapsed... |
 |
| As does the Stanley's line... |
 |
| A wider shot of the main battle lines at the end of the combat: the sides have completely gone through 180 degrees now. Henry Tudor's life and the embers of the Lancastrian cause will now depend upon the speed of his horse and the loyalty of his retainers... |
 |
| And a wider shot at the end of the battle, showing the main battle (top-left) and the positions of the Royal reserve and the Stanleys' contingent (right) |
Game Notes:
Another great fun Wars of the Roses clash as history reverses and Lord Stanley becomes a folkloric figure for the man who arrives just five minutes late to save the day...I felt the scenario worked well in giving both sides a good chance of victory. Fortune definitely favoured the King for most of the battle, as he seemed to get the better combat results and get more initiative points just at the right moment. I was using the orders of battle given in the scenarios, but I wonder if it might be better to reduce the Royal Army's strength by a base or two to make Stanley's attack more likely to succeed more quickly and make the division of strength more tricky problem for the King.
The key to the Royalist victory was getting a freak kill of a Tudor base very early on: this allowed King Richard and his men to split the Tudor line and create the overlaps and then flank attacks which lead to further recoils and kills.
As a quirk of these rules (unless I am playing it wrong!), there can be two versions of WotR battles using DBA using exactly the same forces. Since the armies are basically combinations of bow and blade, the optimal deployment is to alternate those bases in the battle line (to give bonuses to the bowmen). However, blades still have a decent advantage over bows so if the lines are mismatched (my blades fight your bows and vice-versa) then although it is not necessarily more likely that I will win, it is more likely that the combat will be resolved sooner. If I have a temporary strength advantage, this seems to make it a much better strategy. From the opposite point-of-view, when blades are matched against blades, they can fight for a long time before being destroyed. When I have a bit more time, I may even have a look at quantifying these effects.
I think that this kind of battle works better in DBA than my recent refight of Northampton, because it seems clear that attrition as a strategy is irrelevant here and shock is everything.
Rules were
DBA, figures by
Baccus 6mm.


Excellent. Stanley, politically shrewd, backed the wrong side!
ReplyDeleteIf the game needs more balance, I seem to remember that Northumberland was suspiciously tardy in his commitment to battle.
Many thanks Norm. I will look into Northumberland's role to see if that might be incorporated, as you suggest.
ReplyDelete