In this next battle (the sixth) in the Kampfgruppe von Luck campaign, the Germans are once again attacking down the "Corridor of Death" into Le Bas de Ranville. Because of delays (i.e. defeats in earlier attacks) this is a 'must win' battle for the Germans, or they will lose the campaign: they won't have sufficient time left to clear the Paras remaining positions, even if they wiped out the defending Paras.
The Forces:
12 Para is fielding its second platoon again, which is close to full strength. KG
von Luck has amalgamated its 1st and 2nd platoons into one full strength platoon, with a couple of left over elements going to 3 platoon (most notably, the platoon commander).
British Para Platoon:
HQ: 1 x Rifle Comd group, 1 x 2" mortar team
1 Section: 2 x Rifle group, 1 x LMG group
2 Section: 2 x Rifle groups, 1 x LMG group
3 Section: 1 x Rifle group, 1 x LMG group, 1 x sniper team
The
platoon was reinforced with a FOO, with a section of 3" mortars on call and a PIAT team. It was also supplied with Gammon bombs.
German Panzer Grenadier Platoon:
HQ: 1 x Rifle Comd group, 1 x Panzerschrek team
Squad 1: 1 x Rifle group, 2 x LMG groups
Squad 2: 1 x Rifle group, 2 x LMG groups
Squad 3: 1 x Rifle group, 2 x LMG groups
Possible attachments:
1
x Rifle Comd group (the Company Commander); 1 x Car; 1 x Panzerschrek
team; 1 x Unix P107(f) SPW half-track; 1 x Sniper team; 1 x Forward
Observer, controlling 81mm mortar battery; 1 x MG42 HMG team; 1 x Werfer
strike; 1 x Panzer Grenadier squad; 1 x Pak 40 auf S307(f); 1 x 15cm
sFH13 auf Lorraine Schlepper (f)
This
is the 4th (Composite) Platoon of the combined 8th-7th Kompanie force.
Once
again, the rules are that unpublished set, with strong inspiration from
the WRG 1950-1985 Modern Rules 2nd edition, which have been discussed on
previous battle reports.
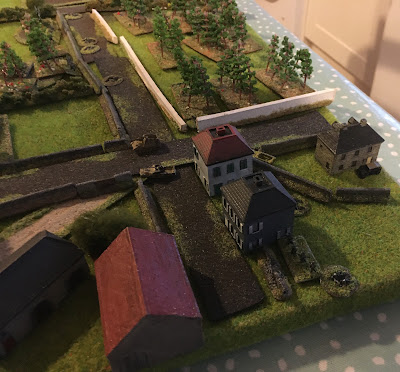
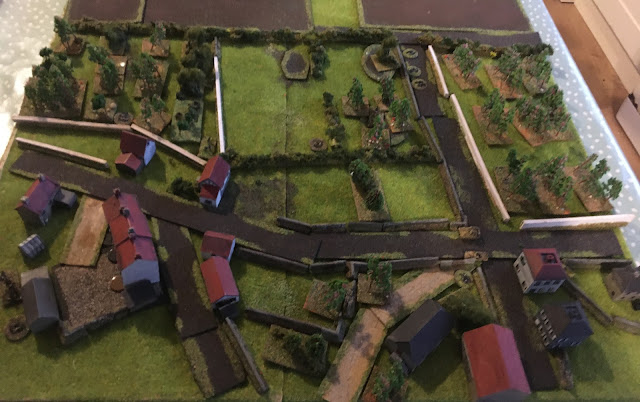
I won't repeat the Set-Up information, since it was pretty much the same
as in the first battle (since most of the Paras weren't even seen by any of the surviving/escaping Germans, there wasn't much need to reposition, except in minor details).
The Battle:
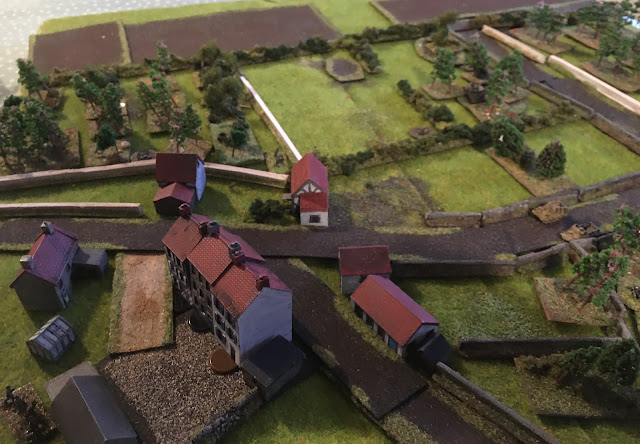
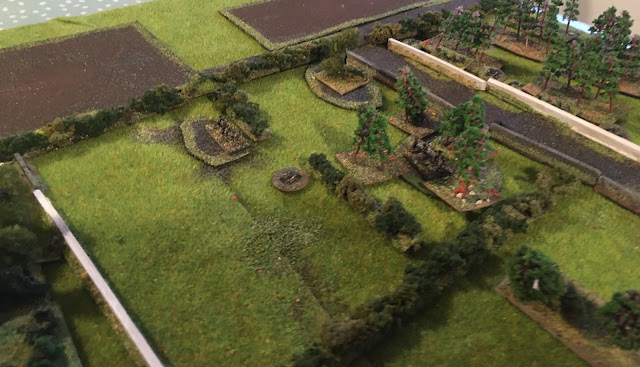 |
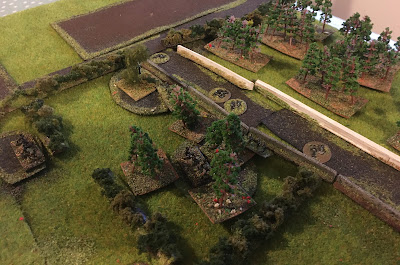
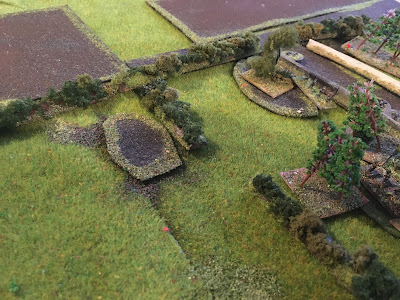
We join the action as a couple of German squads have approached the orchard wall again (top-right), again facing the (slightly re-constituted 1 Section); this time 1 Section's LMG team has withdrawn to the line of hedgerows (centre) rather than contest the road at grenade range
|
 |
"In every war, there comes a time when Private Snodgrass must advance to his front..."; what is true for Private Snodgrass is as true for Landers Schmidt and Braun, so several Grenadiers scramble forward, covered by their squad MG42s...
|
 |
They breathe again - nothing happens. The MG42s come up to support them.
|
 |
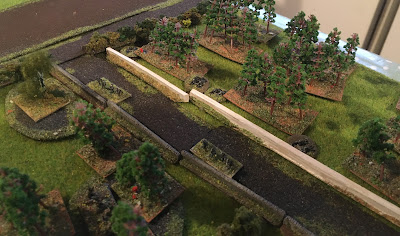
| A large group of Germans arrives: a full squad with a car and a Unix P107(f) SPW half-track (right); a Pak 40 auf S307(f) and a 15cm
sFH13 auf Lorraine Schlepper (f) accompany them (on the road) |
 |
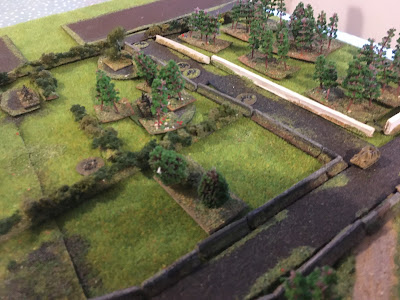
This group advances slowly forward
|
 |
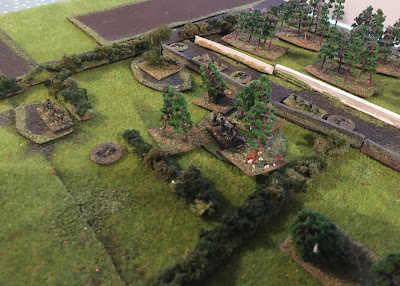
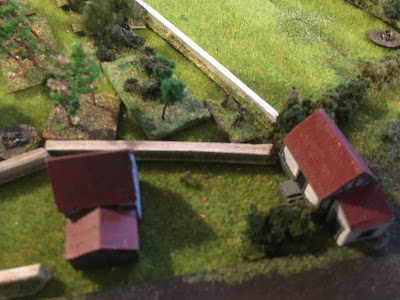
Meanwhile, the Panzer Grenadiers on the other flank resume their advance...
|
 |
And yet again, Stens rattle and Lee-Enfields bang, and several Grenadiers go down.
|
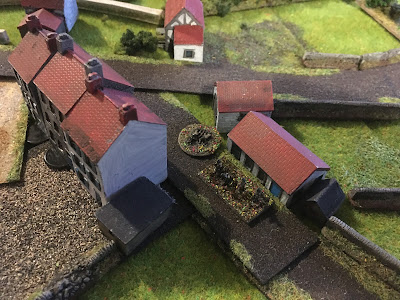 |
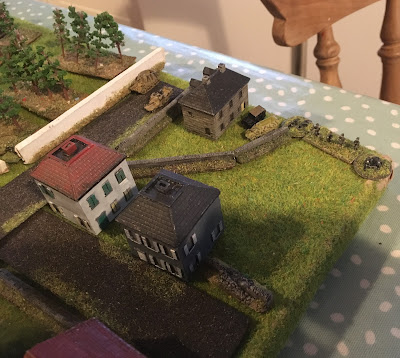
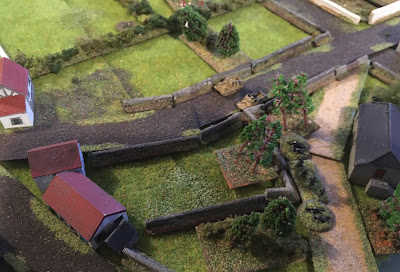
Seeing, perhaps just sensing, movement in the one-storey buildings, the German SP guns open fire: the Paras reckon discretion is the better part of valour having survived the initial attacks, and pull back to the next line of houses
|
 |
The Paras have no exclusive rights to close quarter marksmanship; despite being dug-in, 6 Para go down to the hail of Mauser, Machine-Pistol and MG 42 fire - only the four Paras in the trees (right) remain from 1 Section
|
 |
Again, more Paras (this time the FOO team) attract the attention of the German SP guns - but again, the Paras are more scared than scarred and quickly pull out of sight (centre)
|
 |
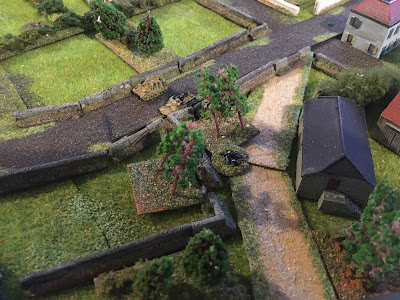
The Germans continue to advance down the road and through the barns nearby - at this point it is worth noting that after these two initial groups were deployed, not a single additional German has turned up, or will turn up (i.e. the deck has now been exhausted); the Germans will have to win with what they have, or not at all
|
 |
Getting lucky, the Paras from 2 Section (in the buildings just out of shot to the left) spot the Panzer Grenadiers moving by barn and the wall (centre-right)
|
 |
In a few moment, 6 of these Panzer Grenadiers fall to Bren and rifle fire
|
 |
A wider shot: the 150mm SP gun fires into one of the buildings from where the devastating small arms fire came (the big white building central, end of terrace) and collapses it - although the riflemen escape (bottom-left, the Bren team perished)
|
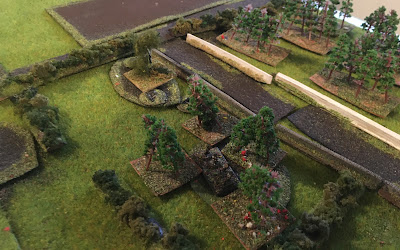 |
The Paras in the trees are still holding on, and giving better than they are getting - they have shot a further six Grenadiers in the last five minutes
|
 |
At that point, German morale collapses and a retreat is ordered: Le Bas de Ranville has been held by 12 Para.
|
Game Results:
The Paras suffered 8 casualties in this action. The Germans suffered twice as many. It was another clear victory for the Paras, and victory in this action has given them victory in the campaign.
Game Notes:
More good fun, especially as it was quite see-saw; the Paras were lucky that the 150mm crew proved to be ace at spotting hidden movement but terrible at getting their shots to actually kill - it could have been a lot worse. The Paras of 1 Sect were obviously pivotal, mixing good tactics with considerable heroism and luck - and being both dug-in and hard to spot were very helpful. There were two really good sequences of infantry actions, once by the Panzer Grenadiers to elminate most of 1 Section, and once by the Paras in the buildings, who opened fire at slightly longer range than would normally be sensible, but they were really just trying to get a 'slow' reaction from the Panzer Grenadiers. As it was, the old WRG standby of if in doubt, roll a few sixes came out and their shooting was brilliant/very lucky and really swung the battle. It was the Paras of 1 Sect who finally finished off the Germans, but eliminating those two bases from an unacquired position was key.
The infantry combat has been very different from that in my usual set of rules for these actions, WRG 1st edition. This is because 'suppression' in 1st edition is absolute, whereas in 2nd edition it is partial - troops can still do stuff, but less well. At close ranges, this still does allow good or lucky infantrymen to strike back. I am still thinking over the history of it: some of my favourite works on the period have made the point that fire superiority is a tangible thing: one heard the MG42 or the Bren, but very rarely both together. Still thinking about this one.
Although it didn't necessarily work out for them in these last two battles, I have taken care to use fire-and-movement tactics for the Panzer Grenadiers more as the campaign has gone on, I think that it has made things a bit fairer. Going forward though, I think I need to change the way that I build activation decks for these games: 'core' troops from the non-player side need to be guaranteed to turn up in each game. In further campaigns, I will add these cards to the deck after all the possible support elements have been randomized. That should increase the level of challenge somewhat. For those unfamiliar with the Too Fat Lardies' scenarios, each game is based on a 'core platoon' with support chosen from a restricted points list. Each side will have a varying amount of support per game. The way the activation deck works for my solo game is to have every possible option in and a random number of them will actually arrive. What the effect of this is is to make scenarios where the non-active player didn't have many points generally harder (since the non-active player would be more likely to generate support in excess of what the designers had assigned), whereas missions where the non-active player gets lots of support in the scenario become, conversely, easier.
Anyway, all good fun, and a good work out for both rules and campaign. I will definitely replay this campaign at some point, perhaps from the German side. I want to get myself the proper 21st Panzer Division toys before that though! I will be looking to get a somewhat bigger game to the table soon, to give the armour sections of the rules more of a workout.
:strip_icc()/pic2456288.jpg)
A good set of post game and campaign thoughts there. I do feel that the German suffered somewhat from say a lack of armoured support early on, or maybe that's just my impression. I agree that the cards should form pretty much a core platoon with then some randomised support options that would most likely be available.
ReplyDeleteI've just finished reading Sicily 1943 by James Holland and at one point there is a comment that you would hear the MG42 fire, then the Bren and so on, as each side would duck down after firing.
I've enjoyed this campaign and hope you find the time and inclination to play it again with some of the tweaks you've mentioned.
Thanks Steve, I appreciate that. It is one of the hardest things to do in all of gaming, get the challenge level right for solo wargaming when playing one side actively against the other. Still need to do a bit of work to optimize it!
DeleteI've been impressed by how well the rules seem to have worked -- although I shouldn't be surprised, the bits exercised so far are all Phil's bits, not mine.
ReplyDeleteOverall I found each of the accounts entirely believable, both from the point of view of setting and progress of the action. Whether the rules are "realistic" or not, they match my idea of how infanteering works.
And of course "Try to be incredibly lucky" remains a good guide to success in tactical actions, as in life in general.
Thanks very much John. I will take your word for it since I don't think I have ever owned a copy of that edition of the Modern rules. They have held up very well. Of course one of the disadvantages of playing solo is there is no-one else to catch you making rules errors, but I think I have got most of it right. I will have another full re-read of the rules soon, I often find the best time to catch my own errors is just after I have been playing a few games. Looking forward to getting them to the table again soon though.
DeleteThanks, that was a very enjoyable series of posts.
ReplyDeleteYou are very welcome - glad you enjoyed them, I have had a lot of fun playing them. When I can get them going properly, linked battles and campaigns are a great way of wargaming. And WW2 is a period which never gets stale for me.
Delete