The Battle of Culloden:
Last of the scenarios included with Stephen Simpson's "Simple Rules for the '45" from Wargames Illustrated 134 is one for Culloden.
I recently played this using an older free set by Andy Callan called "This Savage Way of Fighting" but this set is very different in philosophy, being much simpler and faster play.
I have previously replayed
Prestonpans and
Falkirk using these same rules.
Orders of Battle:
The Jacobite Army: 5 units of Highlanders, 1 unit of Lowlanders, 1 unit of Horse
The Government Army: 10 units of Foot, 2 units of Dragoons, 1 unit of Artillery
As can be seen, the Jacobites look to be in for a rough time in this scenario (although it isn't quite as one-sided as Prestonpans is the other way).
The Set-Up:
 |
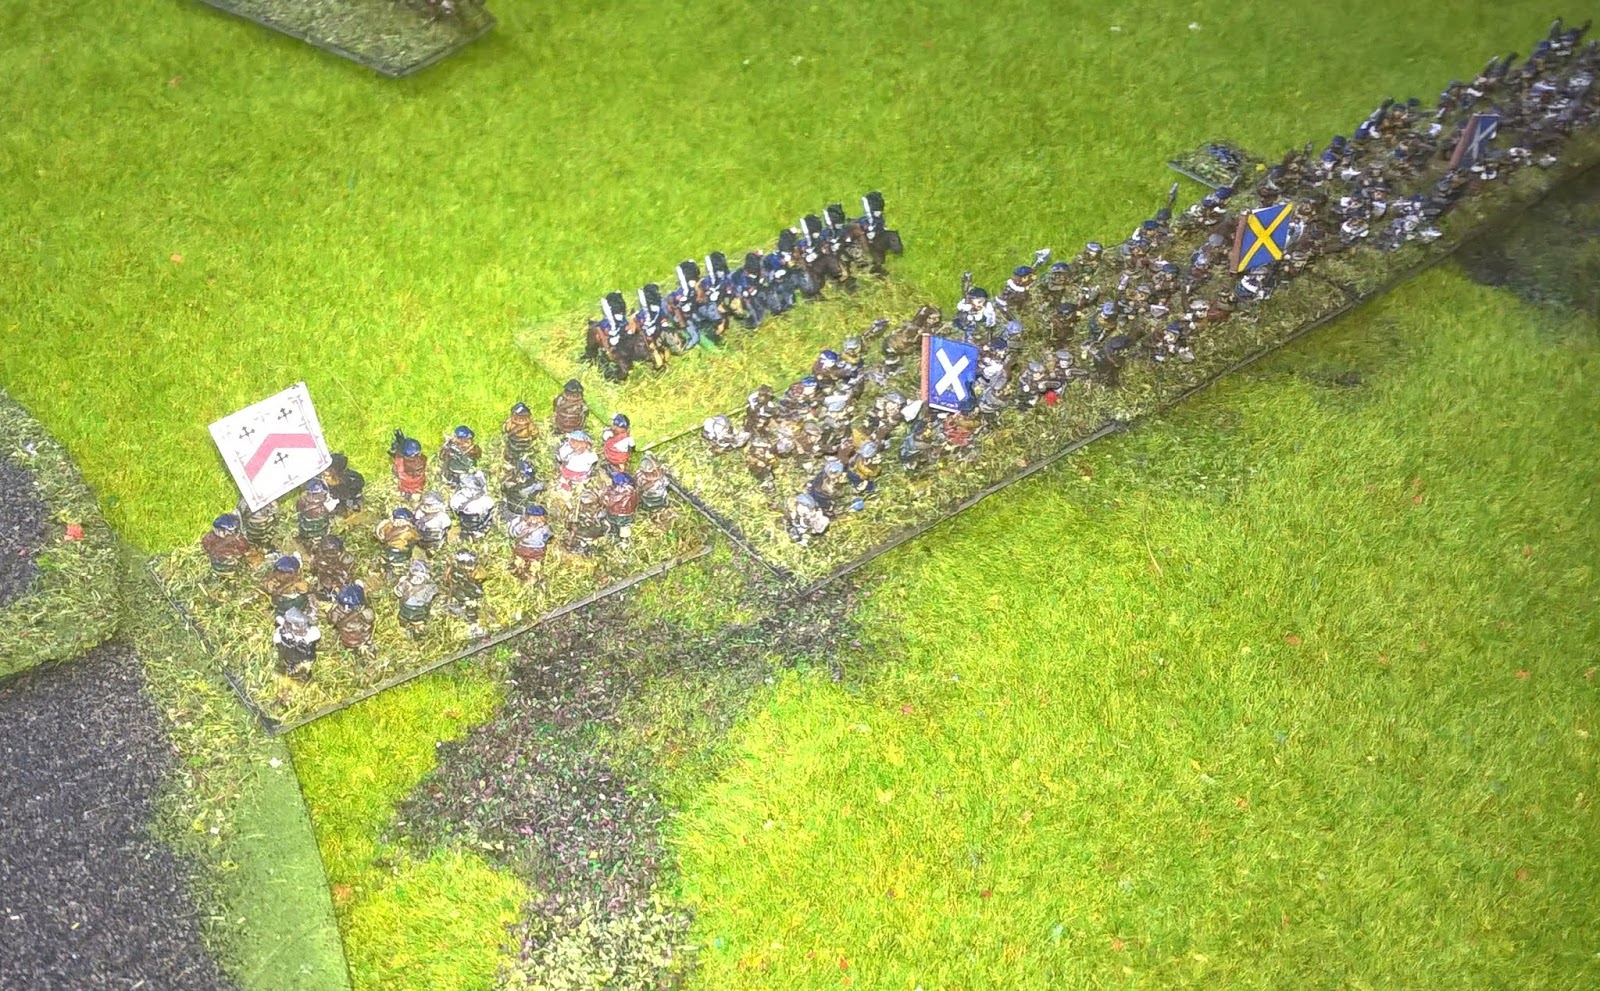
| The Government forces at the bottom and left; the Jacobites at the top. The superiority of the Government forces is visibly obvious |
 |
| The Jacobite army, looking a bit threadbare |
 |
| The main force of the Government army |
 |
| The Government flanking force |
 |
| Another view of the flanking force |
 |
| Another wide view |
The Battle:
 |
| The flanking force moves forward, with one battalion wheeling to start firing on the flank of the Highlanders' line |
 |
| The government artillery (bottom-right) starts firing into the Jacobite line |
 |
| The Jacobites have no answer to the Government's artillery, and so must advance. Prince Charles decides to commit his cavalry along with the front line to try and overwhelm the Government's first line before the Government's flanking movement can work |
 |
| The Duke of Cumberland makes some adjustments to his front line to maximize the firepower hitting the advancing Highlanders... |
 |
| The musketry fire from front and flank breaks the right-hand Jacobite Highland regiment |
 |
| So Prince Charles unleashes his Horse (left) to fill the gap |
 |
| The flanking force has managed to get through the wall |
 |
| A wider view |
 |
| The Highlanders are about to make contact... |
 |
| Another Highland regiment breaks under fire (top, second from right) |
 |
| ...but the remainder charge home |
 |
| The Lowlanders take cover behind the wall |
 |
| And inflict some losses on the Government infantry |
 |
| As do the Highlanders in the melee (left and centre, see casualty markers); however the Jacobite Horse and some of the Highlanders have also suffered |
 |
| As the fighting continues, the last Highland regiment makes contact (centre-right) |
 |
| The left flank of the Government line begins to crumble! The left-hand battalion routs, and the next two battalions have suffered heavy losses |
 |
| The Government Dragoons charge the Lowland infantry... |
 |
| And the other Dragoons charge the Highlanders' left flank |
 |
| The Jacobite Horse has been routed by the fire of the Government Foot, as its second line gets into the fight (bottom-left) |
 |
| A wider view: the Highlanders have managed to push forward but are at serious risk of having their flanks and rear enveloped |
 |
| Another battalion of Foot routs in close combat with the Jacobites (centre-left)! |
 |
| However, the combined power of bayonet and sabre has routed the left-flank regiment of the Highlanders in turn |
 |
| As does the Highland Regiment in the centre (centre) |
 |
| And so does the Lowland Regiment in the rear, simultaneously under attack from the Government Dragoons and from the musketry of the Foot on the flank |
 |
| A wider shot of the battle at its conclusion: the Jacobite Army is defeated and their remaining formed regiment must now surrender |
Game Notes: A very enjoyable game, although my suspicions about the Jacobites' chances seem well-justified. In a way, both sides did better than in the original battle: the Jacobites came a little closer to actually breaking through but they suffered an even more catastrophic defeat than in real life. Again, the simple rules seem to have largely captured the essence of the same factors present in my first refight which used the more complicated Andy Callan rules, with a little loss of chrome and detail.
After three game, I suppose that the only things I would fundamentally query are:
1 - There is no mechanism for breaking normal-standard units in a single turn. Generally this seems accurate to the period but one feels there should be a possibility of Highland units being broken by Dragoons in a single turn.
2 - There are no specific benefits to flank attacks in the rules, except in that it allows you to use additional units. This just seems wrong.
However, the rules do show very well just how much can be achieved using very simple rules (half a page of A4), but the limitations of that format (there is always some stuff that has to be house ruled to make the game work).
Anyway, highly recommended for those wanting a quick set of rules to play the period and/or those just starting who want a fun and workable game with very little outlay.


Interesting, the Jacobites actually did better than I would have thought. On the opening turn, it seemed like they should retreat rather than attack!
ReplyDeleteYes, I agree in many ways. I replied a bit more fully on the thread on TWW: https://www.thewargameswebsite.com/forums/topic/battle-of-culloden-a-simple-rules-for-the-45-refight/
DeleteInteresting to compare the two games. The rules seem OK given what they are and seem ideal for solo play where you can add in detail and 'house rules' as you see fit.
ReplyDeleteAny one with any sense would retreat from the position that the Jacobites found themselves in, given they were outnumbered, the ground was far from ideal etc. It's a while since I read about the battle, but I think they are always on a hiding to nothing.
Yes, very much so. I think the rules' great strength is that you could easily play the war in a day, if one so chose.
DeleteAnd I agree with you very much about Culloden. I am not sure any of the battles are that balanced. Sherrifmuir from the '15, perhaps.