General Situation: In a bid to increase the pressure even further upon the hapless King Joseph, Wellington has conducted a bold forced march past the French forces concentrated around Salamanca to strike the slightly isolated French I Corps. Alarmed, King Joseph has set all of his troops in motion to succour Suchet's I Corps - and if Suchet can just hold on long enough, then perhaps superior force can even be brought onto Wellington's left flank and changing the complexion of the campaign entirely...
Orders of Battle:
The Imperial Army
The Army of Spain - C-in-C King Joseph, advised by Marshal Jourdan
Saligny's Division: 2000 Infantry, 2000 Cavalry
Latour-Maubourg: 5000 Cavalry, 12 Guns
I Corps - Suchet (Decisive)
Ruffin's Division: 5000 Infantry
Villatte's Division: 3000 Infantry
Valence's Division: 6000 Infantry
Treillard's Division: 3000 Cavalry
Corps Artillery: 24 Guns
III Corps - Moncey (Capable)
Cassagne's Division: 3000 Infantry
Foy's Division: 3000 Infantry
Vandermaes' Division: 3000 Infantry
Merle's Division: 6000 Infantry
Merlen's Brigade: 1000 Cavalry
Corps Artillery: 24 Guns
Imperial Totals: 31000 Infantry, 11000 Cavalry, 60 Guns
Soult's II Corps, Lefebvre's IV Corps and MacDonald's VI Corps all failed to arrive before the battle ended.
The Allied Army
The British Army - C-in-C Wellington (Decisive)
Spencer's Division:6000 Infantry
Hope's Division: 6000 Infantry
Baird's Division: 6000 Infantry
Ferguson's Division: 6000 Infantry
Craddock's Division: 6000 Infantry
Paget's Division: 3000 Cavalry
Cotton's Division: 3000 Cavalry
Army Artillery: 72 Guns
The Right Wing: C-in-C Beresford (Capable)
Anstruther's Division: 5000 Infantry
Lecor's Division: 2000 Infantry
Otway's Brigade: 1000 Cavalry
Wing Artillery: 12 Guns
Totals: 37000 Infantry, 7000 Cavalry, 84 Guns
Although the margin of Allied over Imperial strength was quite small, the Imperials would not have all their available strength at the beginning of the battle.
The Deployment:
 |
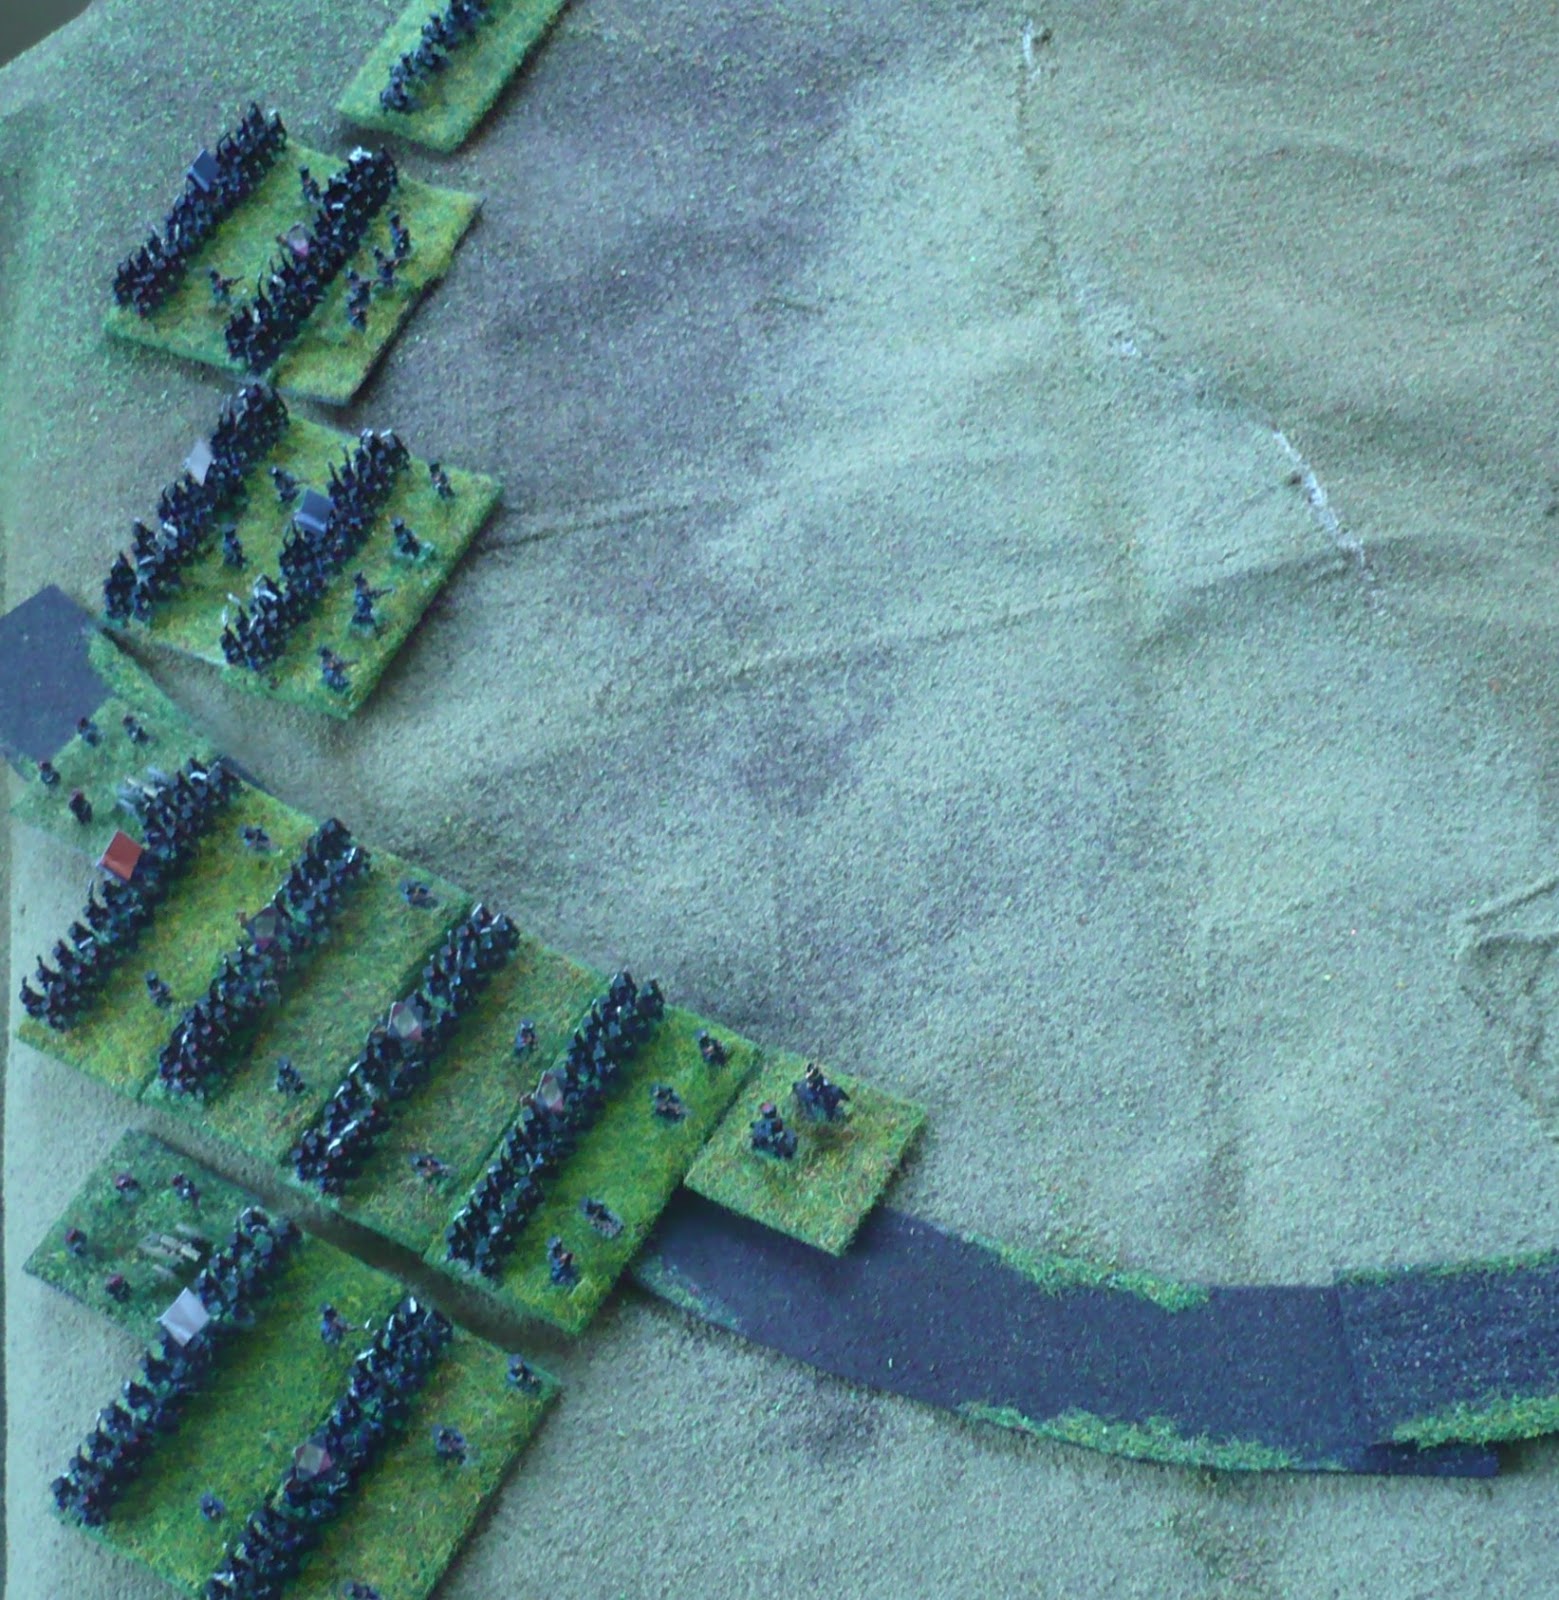
| Suchet's I Corps is deployed to defend some farm enclosures around a crossroads to the east of Salamanca. It is not a strong defensive position! Ruffin's Division is on the viewer's left, Valence's Division is on the right, Villatte's Division is in reserve and Treillard's Dragoons are at the top-left of the picture. |
 |
| Wellington has concentrated his cavalry on the Eastern side of the battlefield too. |
 |
| The size of Wellington's army compared to Suchet's Corps may be seen at a glance in this shot... |
 |
| Unexpectedly, first blood was to the French. Ruffin's light infantry units see off a combined infantry and artillery attack |
 |
| A second attack proved much more effective however, and the French infantry are routed |
 |
| Ruffin's Division fails its morale check and the remainder of its units plunge headling into the rear. |
 |
| Suchet feeds in his reserve division to stabilize the situation around the crossroads; meanwhile Wellington orders a massed cavalry charge on his right |
 |
| Wellington reforms Spencer's brigades after their successful attack; whilst Lecor's Portuguese move around the flank (note Ruffin's troops retreating in the background) |
 |
| Finally, some aid arrives! Moncey's III Corps approaches from the West... |
 |
| Wellington shifts the weight of his attack into the centre, attacking I Corps' artillery whilst pinning Valence's Division |
 |
| Hope's Division is deployed to face the oncoming French III Corps |
 |
| The British Cavalry triumph! One Dragoon regiment was broken quickly and the remainder of the division later failed its morale test. One British Hussar brigade was a bit cut up |
 |
| Wellington leads Baird's troops personally into the French centre; but the real damage is done by Lecor's Portuguese (top-left) who have pushed back one of Villatte's brigades over the crossroads and are now threatening the French artillery... |
 |
| Same position, wider perspective |
 |
| A combined British and Portuguese attack destroys the lead elements of III Corps (Foy's Division) and threatens Vandermaes' troops too |
 |
| I Corps collapses - the Allied troops scoop up many prisoners |
 |
| Allied troops complete the destruction of Vandermaes' Division and Merlen's Brigade - Merle's Division prevents a collapse for the moment. Joseph declines to throw in his Guards |
 |
| I Corps only salvages a single brigade from each of Villatte's and Valence's Divisions, plus the Corps artillery |
 |
| The position at the end of the battle, as III Corps fails its morale check and the entire French force withdraws |
Game Notes: A trifle disappointing as a game because the Allies proved just too strong: too strong numerically for Suchet's Corps, then too strong in quality for Moncey's motley corps. The French had little luck, starting with the very poor terrain rolls in the first place. Without firm anchors for the position, Suchet's force was always in for a very hard time. Combat outcome and morale rolls continued to play a key roll in the game: the early departure of Ruffin's division (only a 1-in-3 chance) really set the dismal tone for the French battle. The British cavalry success allowed it to reform and cause the huge casualties in the nearly encircled French infantry formations.

The game was played using the Polemos Marechal de l'Empire rules on a 5'x3' table over a homemade terrain mat. Figures as ever from Baccus 6mm. The game took about 2 hours to play to completion.
No comments:
Post a Comment