Heretical Gaming is my blog about my gaming life, featuring small skirmishes and big battles from many historical periods (and some in the mythic past or the far future too). The focus is on battle reports using a wide variety of rules, with the occasional rules review, book review and odd musing about the gaming and history. Most of the battles use 6mm-sized figures and vehicles, but occasionally 15mm and 28mm figures appear too.

Tuesday, 28 April 2020

Novara 1513: A DBA refight

Next up on the list of old magazine scenarios to resurrect is this one from the Great Italian Wars, Novara, which was featured in Miniature Wargames 4 as part of a series on the battles of the Sixteenth Century in Europe (I suspect it was largely based on Oman's work).   For the time, these articles were great: a perfect blend of history and gaming.
 

This battle features a Swiss-Milanese force fighting against the French.  I used DBA for this one, since I want to do some slight modifications to the Neil Thomas Pike and Shot rules before I bring those out again.


The scenario gives an order of battle which isn't entirely compatible with the army lists in the DBA rulebook.  For this refight, I followed the scenario, which gave forces as follows:

Swiss-Milanese:
8 bases of Pikemen (4Pk)
1 base of Arquebusiers (Ps)
1 base of Men-at-Arms (3Kn)
Breakpoint: 4 bases

French:
5 bases of Landsknechts (4Pk)
2 bases of Crossbowmen (4Cb)
3 bases of Arquebusiers (Ps)
3 bases of Gendarmes (3Kn)
3 bases of Light Horse (LH)
1 base of Artillery
Breakpoint: 5 bases

Most rulesets give bonuses to the Swiss for being Swiss but this is counter to the spirit of DBA, so I didn't feel the need to add anything in!  There is an argument for giving the Swiss pikemen an additional +1 in close combat, or a re-roll per turn or similar.  If so, I might consider extending the same courtesy to the French knights.

The Swiss-Milanese army had acheived surprise, so gets a free turn, and then moves first.

The Set-Up:


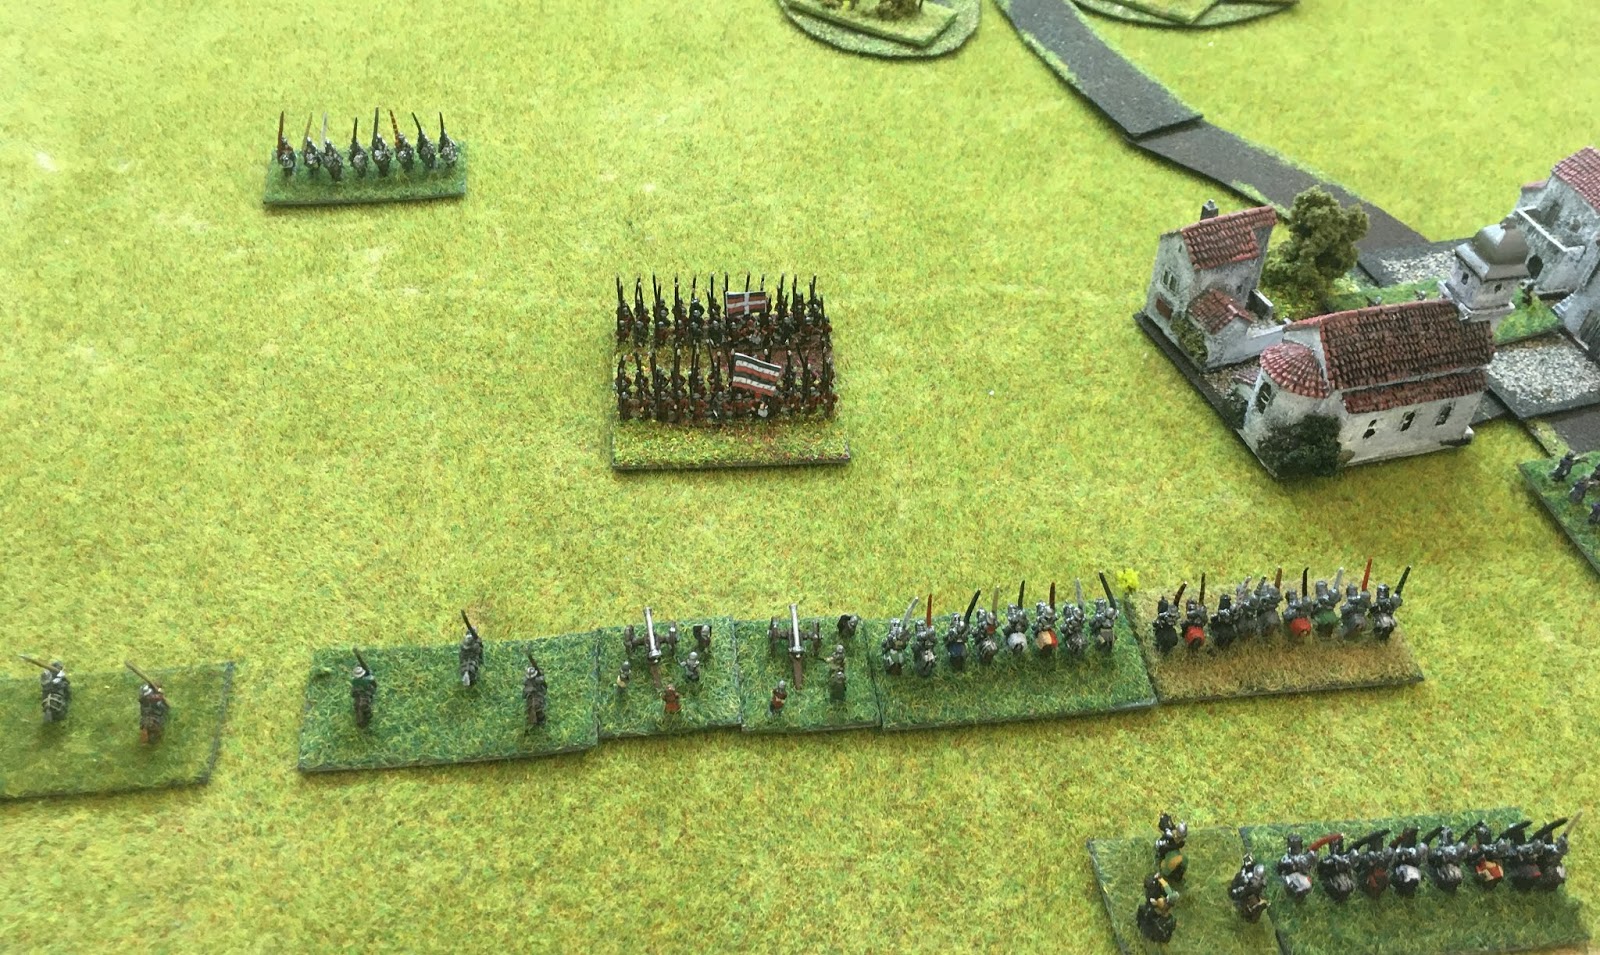
The French are bottom, with the cavalry and artillery on the left, the French infantry (crossbowmen and skirmishers) in the centre and the Landsknecht pikemen and skirmishers on the right; the Swiss main pike block is on their left (top-right), with smaller pike blocks in the centre and left; the Milanese men-at-arms are on their right flank (top-left)

A closer look at the French gendarmes and infantry around Novara

The Landsknechts on the French right

The pike blocks on the Swiss left

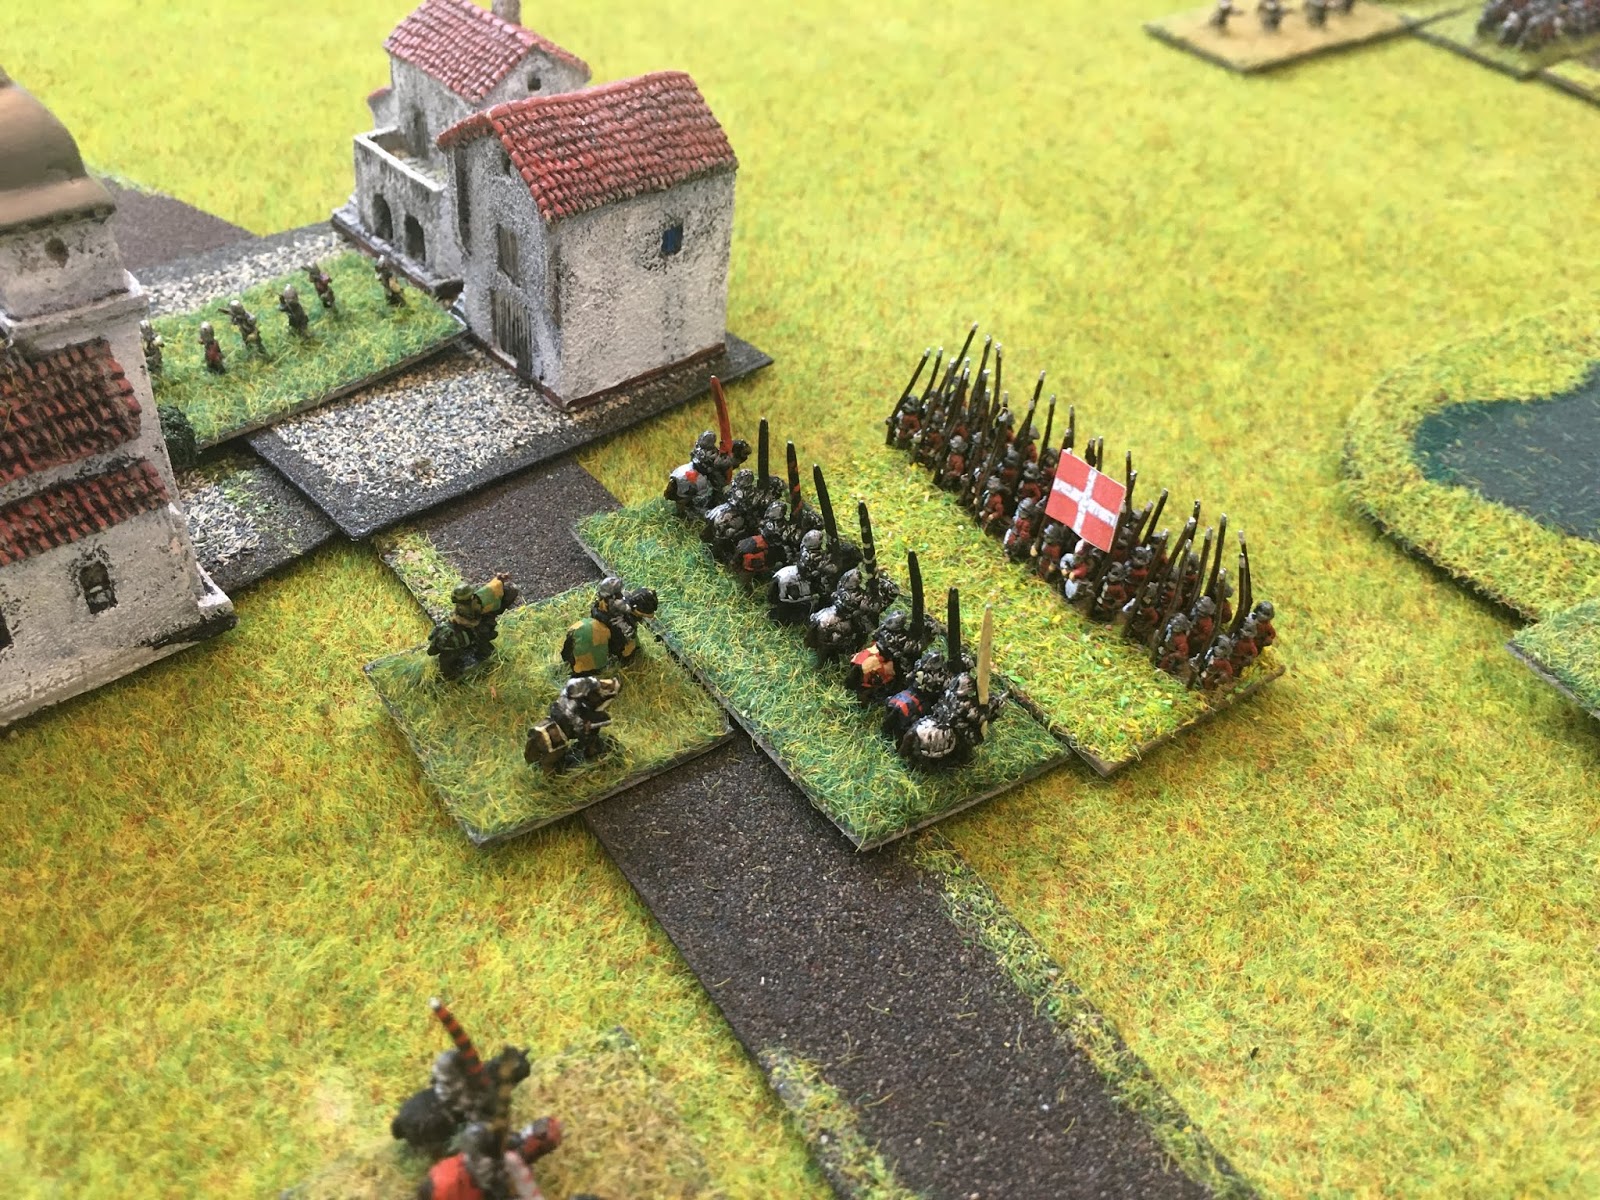
A smaller pike element and the Milanese men-at -arms
The Battle:
The Swiss laugh in the face of subtlety and chuck their main pike blocks forward!

French arquebusiers occupy the village

The Landsknechts, not to be overawed, charge into the Swiss...

A wider shot: the Landsknecht arquebusiers are noticeably hanging back! (bottom-right)

The impetus of the Landsknecht charge pushes the Swiss back, but breaks up their formation somewhat


But the Landsknechts manage to get fully back into the action

The centre Swiss pike block ignores the village and plunges straight on into the French crossbowmen...

The push-of-pike continues back-and-forth on the Swiss left


Surprisingly, the Landsknechts are having the better of it: around a quarter of the Swiss have already gone down, although the Landskecht pike block is once again losing cohesion...


The French missilemen can hardly resist the Swiss pikemen, although they have managed to manouvre around a flank (left) to break up the Swiss formation somewhat

The Swiss commanders ignore this, reform, and plough straight on...

The to-and-fro of pike continues...

The French crossbowmen run off

But the Swiss main pike body is slowly being pushed back

Finally the Swiss right (centre) makes some threatening action, although to be fair, they had been quite delayed by the French artillery fire

The centre Swiss pikeblock reforms and attacks


The Swiss and the Landsknechts cannot reach a conclusion...

The French Light Horse try swarm the Milanese knights

A superb charge of the French knights eliminates half the centre block's pikemen!

...but the Swiss main pike block is starting to push back the Landsknechts

The third Swiss pike block charges the French guns!

More of the Landsknechts go down on the French right...

Whilst the French gunners run off and the guns are captured!  The French Army begins to flee, despite its success in the centre (bottom-right)


The French right at the end of the battle...
Game Notes: The deployment was as per the article rather than what I would have liked if I had to choose myself.  DBA's marmite PIP rolls do definitely create interesting battle narratives: here, the French were forced to fight the way the Swiss wanted to because they initially just couldn't afford to spend the effort on activating their left when everything was needed on the right.
This battle, as a clash between opposing pike blocks, shows a very interesting dynamic in the way that the combats are likely to play out (if I have got the mechanism correct).  One side, gaining the advantage, will likely get a recoil result.  The enemy will recoil and the winner will pursue - but the act of pursuit breaks the lead element from the front element; depending on which side has the following turn, this is the chance for the recoiled element to pounce and actually destroy the lead element of the opposing pike (typically D6+6 against D6+3, one side needs double or better than the other to destroy it as opposed to just push it back).  This was what was creating that ebb-and-flow between the Swiss and Landsknecht pikemen: on the key rolls, both sides were tending to push back rather than destroy the enemy.  The difference with pre-DBA rules, or say Neil Thomas' rules, are obvious and stark -the attritional element rules out this kind of effect.
Anyway, all good stuff: figures by Baccus 6mm, buildings by Total Battle Miniatures.

Monday, 27 April 2020

6mm Figure Prices - Vietnam

I have been toying with the idea of doing Vietnam in 6mm for quite a while now.  Whilst still mainly at the research stage (although I do have a few from the Irregular Miniatures' range to test out those famous "they paint up really well" claims...I will try and rustle up a photo of my efforts later on!), I thought I would do a price comparison.  The vast majority of my 6mm troops are from Baccus, but I don't imagine that Baccus will be doing Vietnam at any time soon, so I need an alternative supplier.  The three alternatives I know of are Heroics & Ros, Irregular and GHQ.

I think the most appropriate code in the Heroics range is MO1.  The price here is £4 for c.50 figures i.e. 8p/fig (there are no photos at all - grrr).

Heroics and Ros vehicles cost £0.65 each (I am using M113s as the example vehicle in all cases)

Irregular's figures are priced at £0.88 for 9 figures. i.e. 9.7p/fig.


 Irregular's vehicles are priced at £0.88 per vehicle.


GHQ (normally supplied in the UK by Magister Militum and Wargames Emporium) are priced at £11.95 for c.60 figures i.e. 19.9p/fig.
For vehicles, the prices if £11.95 for 6 i.e. £1.99/vehicle.


Magister Militum also have the Mainforce range, which includes figures for Vietnam.  Most of these figures are in the prone position appropriate for firing and taking cover rather than the moving / standing firing poses most common in the other ranges.  Infantry figures work out at between 13p and 15p per figure.


Conclusion:
The Heroics and Ros and Irregular figures and models are broadly comparable in price with H&R a small notch cheaper, whereas the GHQ stuff is noticebaly more expensive - Irregular prices already include UK P&P though, which might make the difference (at the time of writing it was too difficult to do example P&P costs). Most of the ranges seem pretty similar in coverage, although I think that Irregular probably has the widest choice of infantry, Heroics and Ros maybe have the edge in vehicles and equipment.  Obviously everyone will have their own views on which figures and vehicles they like best but I thought that this may be of some interest to any 6mm gamers looking at getting into this period.

(n.b. all photos are links from the manufacturers' or retailers' sites)

Thursday, 16 April 2020

Horse, Foot & Guns AAR: More Montmirail

Battle of Montmirail

It wasn't so much that I really enjoyed the recent refight of the Battle of Montmirail (although I did), because I enjoy lots of the refights I do, but I did become quite intrigued by this battle for reasons I can't fully explain.  I think it has something to do with time but I will return to this point in the Game Notes at the end.  Anyway, I decided to leave this one up and have another go; if nothing else, I am becoming more familiar with the Horse, Foot & Guns rules and the way the different troop types interact and I thought it would be interesting to see how it went with both sides led more competently!


I didn't change any of the scenario details from the first game (please choose the link above if you want to browse the orders of battle and set-up and so on), so this time it is straight into the action:

The Set-Up:
Just to remind ourselves, infantry of the Imperial Guard (right) under Napoleon's gaze (bottom-right) and Ricard's Division of Marmont's Corps (left) face the Russian infantry and guns of Sacken's Corps across the stream.

Whilst Nansouty's Guard cavalry occupy the French Right flank

Sacken's Corps confidently facing the French, believing them to be a mere detachment to sweep aside

A wider shot
The Battle:

Sacken's infantry storm across the stream towards the French Left

French fire drives back part of the leading Russian division...

French artillery makes life difficult for the second Russian division

Nansouty's Guard Horse Artillery joins in the fun...

The Russian Cavalry (top) extend their position to cover the French Right Flank

Sacken's troops make another effort to get forward against the French Left

...and this time they do manage to get forward through the storm of musketry and attack!

Which does them no good at all, as half their number are laid low in about quarter-of-an-hour: the French infantry in and around the village are simply not going to be shifted!

Nansouty's Guard Heavies have suffered greatly under Russian artillery fire

Sacken desperately tries to re-organize his troops for another assault...

But as quick as he organizes them, the Imperial Guard artillery blasts them!

More Imperial Guardsmen join Napoleon, just what Sacken's hard-pressed Russian did NOT need...

Nansouty puts in an opportunistic attack against the Russian Left Wing, hoping to separate the Russians from the Prussians, should they arrive


A closer view

And a closer view still!

But Russian gunners are not easily scared by pretty uniforms and gleaming swords - the Chasseurs a Cheval of the Imperial Guard are blown back to their starting point!

And the Guard Lancers do no better!!  The Russian cavalry now seize their moment to attack the remaining French brigade (centre)...


And this too is forced to seek sanctuary behind its own artillery! (right)

The Russian horsemen try to complete their victory by taking the Guard Horse Artillery's guns too!


And succeed! Glory!

Is a short-lived thing!  Because the Chasseurs a Cheval do not get those beautiful uniforms for nothing!  They rout the Russian Light Cavalry, then charge the Cossacks too...

Who uphold the Russian honour by dispersing the French Guardsmen!!!


The position on the French Right; Nansouty's Lights have suffered terribly and so the reminder of the Guard Cavalry start to move right to support them (centre); Napoleon brings some Guard infantry around to support the centre-right (left)

A wider view of the whole battlefield - note that Ricard's infantry have advanced forward to the stream on the French Left


French artillery fire sets the buildings of the village alight...


Napoleon sends forward two brigades of Guard infantry...

Which are devastated by Russian artillery fire!

More Guardsmen assault to the South (left) of the bridge against Sacken's improvised defensive line

And suffer the same heavy casualties!!


Napoleon orders another division of Imperial Guards forward (bottom-centre)

Whilst Nansouty gets his forces ready (bottom-right)

Sacken throws in another counter-attack against the French Left...

But Ricard's recruits prove their mettle once again and see it off, gingerly crossing the stream...

Sacken leads his cavalry in a charge

A wider shot

Whilst the Russian Cavalry, mainly Cossacks, try their luck against the French Guardsmen again


Sacken's boldness is met with success (centre) and one of Ricard's brigades is destroyed

Fortune is favouring the Russian horsemen today...

And they complete the defeat of the Imperial Guard cavalry!!!!

The French Right has ceased to exist

The Russians appear to be holding on in the centre

And yet more French Guardsmen succumb!! Can Sacken pull this off?!!?

No!! Ricard's brigade on the extreme left routs another Russian brigade and at this point, the whole Russian Army's morale collapsed - so close to the point of victory!
Game Notes: A very exciting game and one that reads back quite oddly.  What the dynamic is is that the Russians are pretty weak for their task really and in this game they lost a lot of men very early on, so they were always quite close to collapse.  They therefore invited Napoleon's counter-attacks and generally held firm, whilst getting very lucky in some of the cavalry combats.  This strategy was imposed upon Sacken because waiting would have just meant getting pounded by the Imperial Guard artillery until he broke.  This set the dynamic for the action, and very interesting it was too!
I still wasn't entirely satisfied though, because the Prussians had still not been able to make an appearance because the battle ended too soon!  I began to suspect a reason for this...but more in the next battle report, because I played out this scenario for a third time to see how it all panned out.  I will just say that I thought it was a very fundamental way that the Horse, Foot and Guns rules are designed, without much attrition.