Heretical Gaming is my blog about my gaming life, featuring small skirmishes and big battles from many historical periods (and some in the mythic past or the far future too). The focus is on battle reports using a wide variety of rules, with the occasional rules review, book review and odd musing about the gaming and history. Most of the battles use 6mm-sized figures and vehicles, but occasionally 15mm and 28mm figures appear too.
Showing posts with label Perfidious Albion. Show all posts

Friday, 2 February 2024

Battle of Blue Mountain (or Blaauwberg 1806 re-imagined)

This battle was an exercise in combining 4 things I am really keen on:

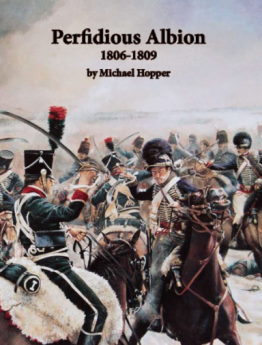
1 - The Napoleonic scenario books by Michael Hopper.


2 - The style of scenario design of Neil Thomas.

3 - My "C18"-themed armies.

4 - The Polemos rules of Chris Grice.
 

So, having recently completed some Dutch troops for the War of the Spanish Succession, I was looking for an appropriate horse-and-musket scenario to try them out on, and I settled on re-theming the Blaauwberg 1806 scenario from Michael Hopper's Perfidious Albion scenario book, which covers early Napoleonic Wars British battles, with engagements from South Africa, South America, Scandinavia and Spain - and rounded off with some scenarios featuring Sicilians...Although obviously set in the Napoleonic Wars, I didn't think I would do too much violence to the logic of the scenario by setting it a 100 years earlier, and so it proved.

Those who have been following this blog recently will know that I have been taken by the simplicity is best approach of Neil Thomas to scenario design. Blaauwberg isn't complicated to begin with so it was easy enough, but the underlying idea is that with quite constrained choices of troops and terrain, one can produce both a recreation and a game broadly as good as a much more complicated offering (not always true, but often). So I took the original scenario, and then derived this version from it - admittedly pretty close on this occasion. 

I have been playing a lot of the Polemos Ruse de Guerre rules recently, but I hankered for a more period-specific set, rather than the more universal aims of RdG. So I picked - wildly enough - the Polemos set actually designed for the WSS. I have the first edition rather than the newer one. I have played several games, but it has been a while. So anyway, I made a few notes, layed it down, and had at it...

The Forces:


The British:
C-in-C: Gen Johnson, Duke of Carlisle
1st Brigade: 4 bases of Trained Infantry (Dutch School)
2nd Brigade: 4 bases of Trained Infantry (Dutch School)
Artillery: 1 base of Trained Field Artillery
 
The Franco-Dutch:
C-in-C: Gen Janssens
1st Brigade: 3 bases of Trained Infantry (Dutch School), 2 bases of Trained Field Artillery
2nd Brigade: 2 bases of Trained Horse (French)

The Set-Up:

The British force approaches from the top of the board, the Dutch force is defending the bottom. The hill on the left is supposed to have a ridgeline in the centre, so it is quite disruptive to walk the length of the hill

The British have their lead brigade in line, with their second brigade split between their right flank and a reserve of 2 battalions. The artillery is supporting the first brigade.

The Battle:

The British leading brigade advances, supported by their artillery; they outpace the flanking force on the hill

The flanking Duch battalion recoils from the effects of musketry and artillery - however the rest of the Dutch artillery and infantry holds

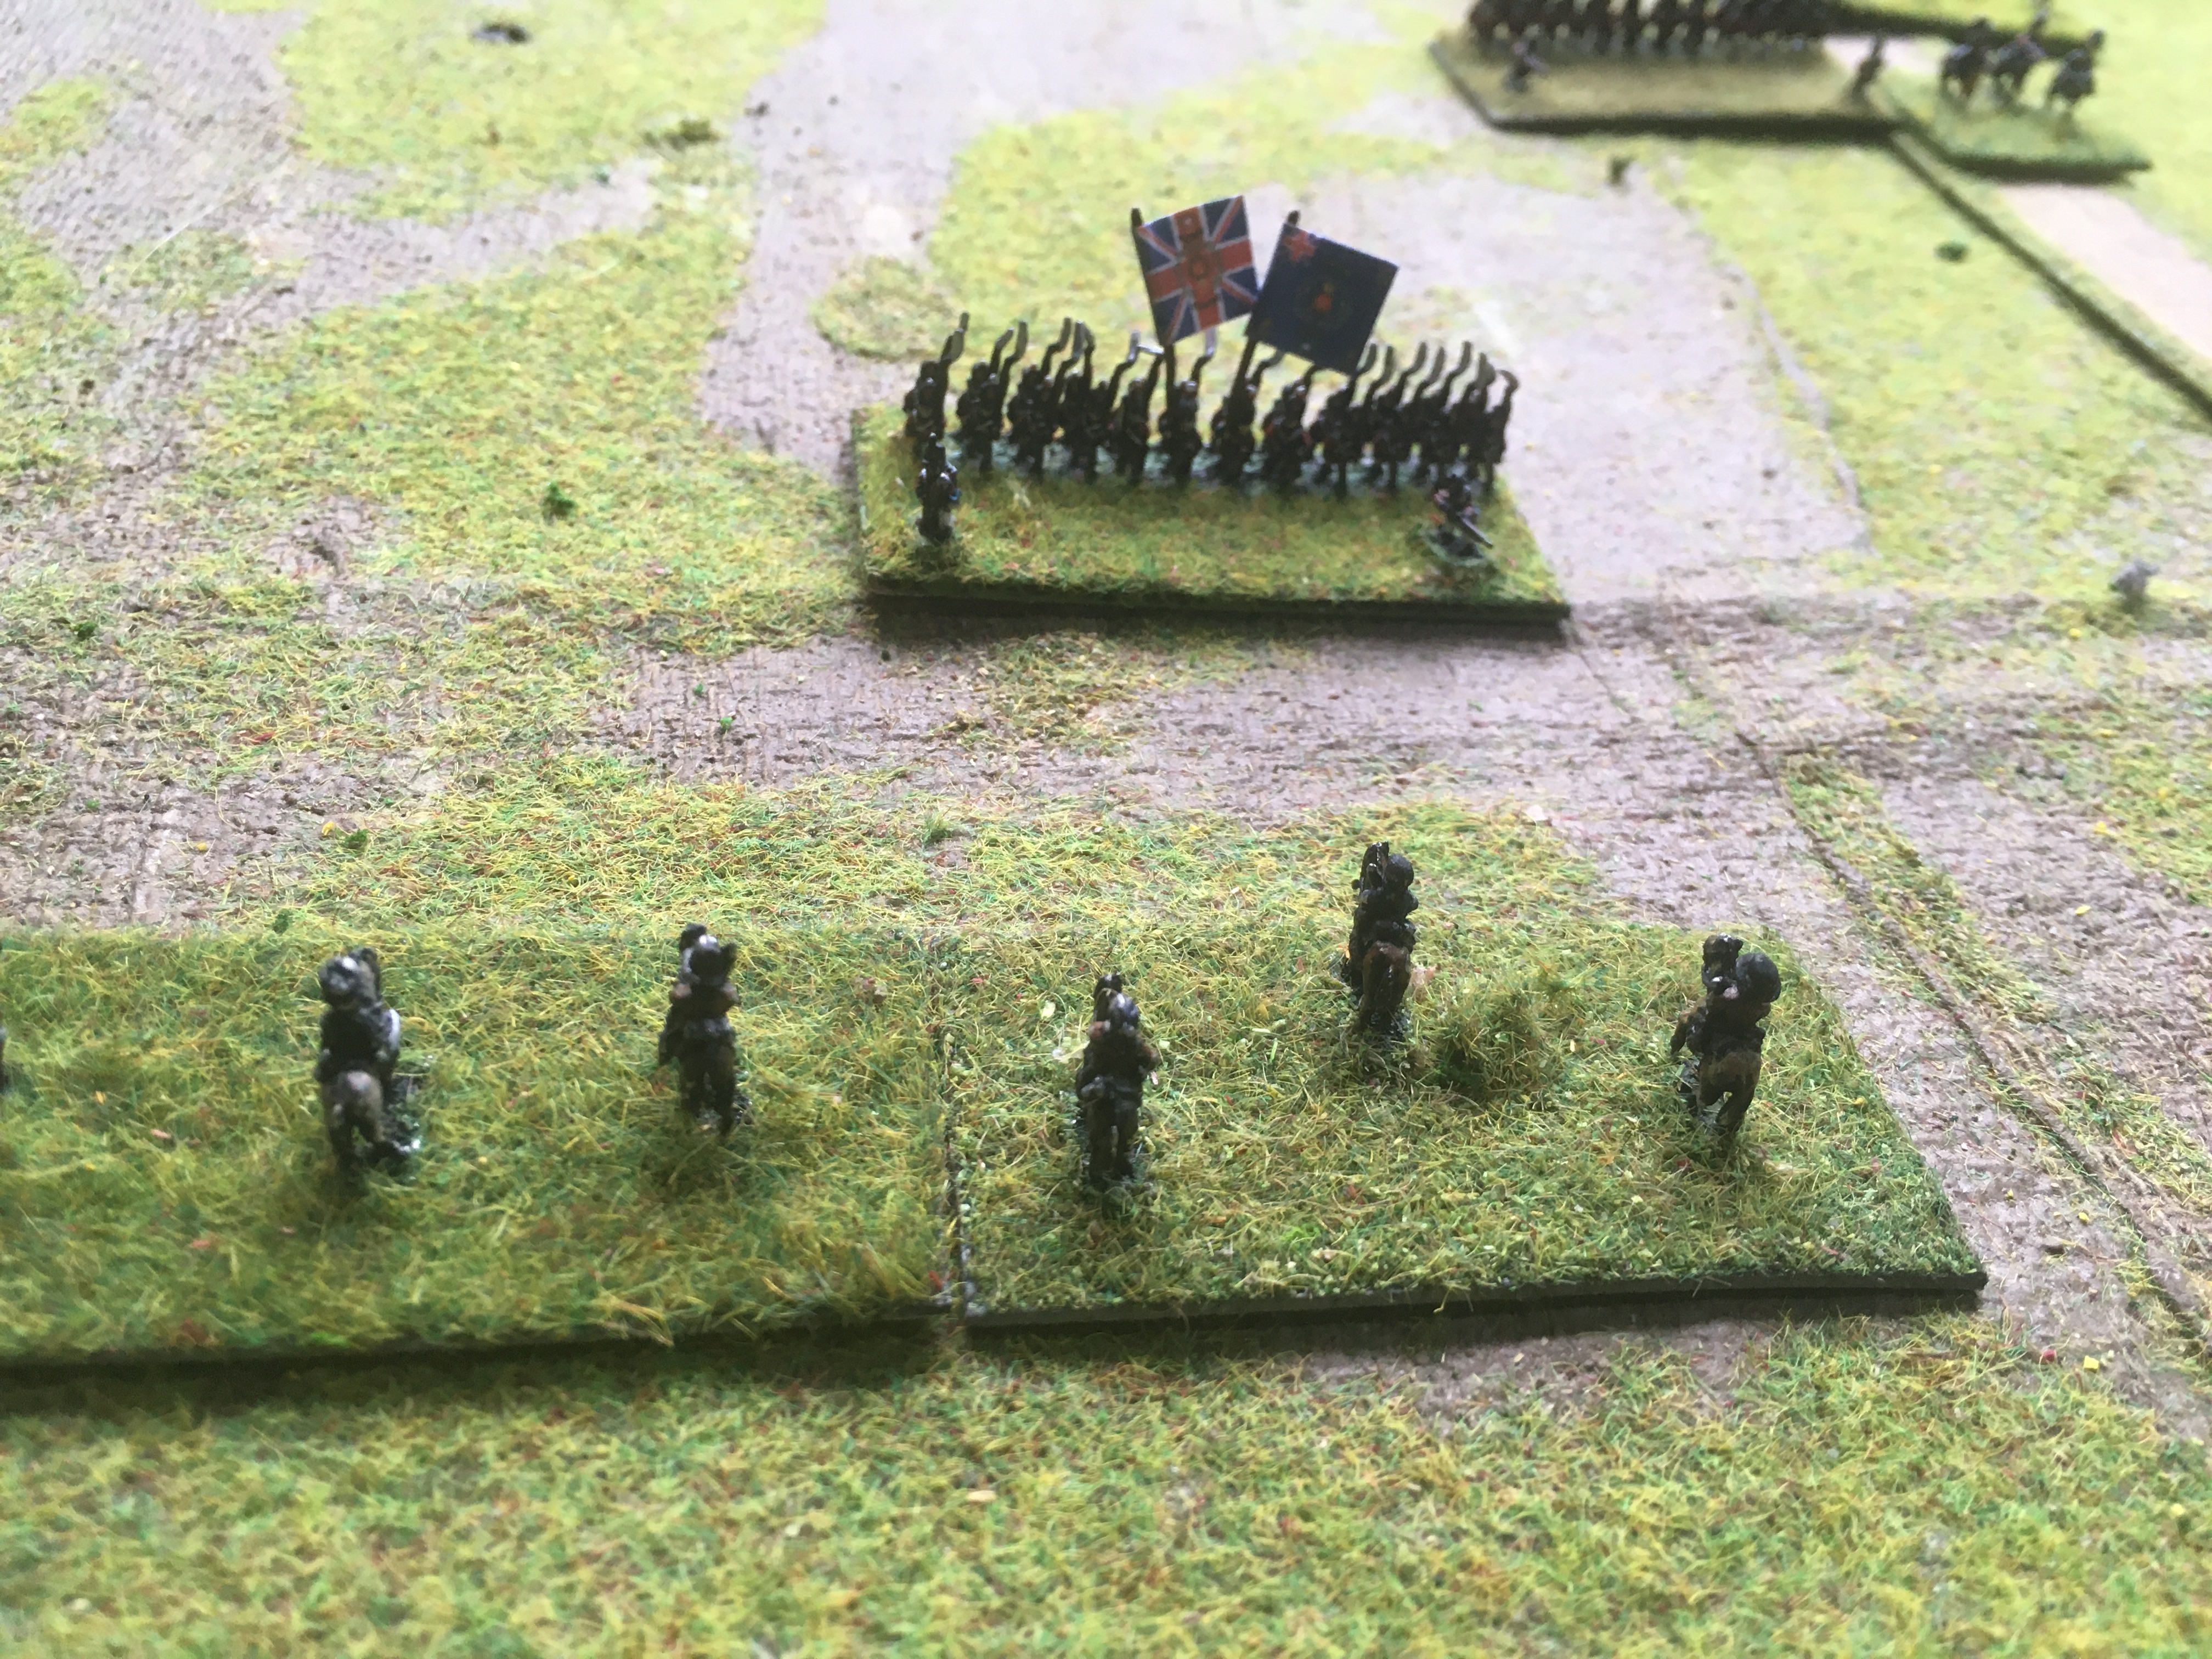
The unshaken Dutch battalion in the centre seizes the initiative and charges - as does the French cavalry

The infantry attack is somewhat successful - their British opponents stagger back from the effects of the volley fire

The British brigadier gets his line back into order

Now the outnumbered Dutch infantry are feeling the pressure, as casualties mount - the British then charge the guns!

the guns are seized and the crews killed, captured or drive off...and mounting casualties finish off the centre battalion...and one of the Horse regiments breaks too!

A wider view; the Dutch line is looking shaky, and the British flanking attack has finally reached the enemy too


The last Dutch battalion in the centre grimly holds on...

But the French cavalry is done for the day

A twist in the tale: the Dutch infantry rout one of the British battalions - can they achieve something very improbable here, and turn things around?

The other Dutch battalion, on the hill, is just about holding on too...

Then suddenly it is all over: Dutch morale collapses, and the last two units flee


Game Notes:

All good simple fun, it could have gone either way but the odds always favoured the British in this one. But it was quite a good work out for the rules, since there was enough of everything on the table to test most of the systems, bar cavalry melee. The scenario translation to the 'Neil Thomas standard' worked fine. What that meant in practice here, and in other recent games, is that some mild constraints on terrain types and unit types made it a much more 'playable' scenario in that the requirements to model very unusual unit types or very specific terrain features went, so it became a much more 'out of the box' affair.
The rules worked pretty well and I did really enjoy the game; it was quite nice to get back to some period-specific rules after quite a while using more generic horse-and-musket rules. The central mechanic in Polemos:WSS is how the different forms of infantry training encourage slightly different tactical options, with the importance of seizing the right moment to advance and fire. Like the Polemos Napoleonic rules, this central combat system is just great, whereas some of the other elements feel a little under-written: not enough to prevent a good game, but just enough to make you feel that you have to 'feel the force' a bit whilst playing. A lot of this stuff used to get teased out on the old Yahoo! group, but whereas I made plenty of notes for the Napoleonic, SPQR and ECW sets, I didn't for the WSS set. Maybe I need to get around to buying the next edition...

Figures by Baccus 6mm.


Tuesday, 3 May 2022

Polemos General de Division: Quilmes 1806

I recently bought the two latest Michael Hopper Napoleonic scenario books (long-time readers will remember I have used some of his other books extensively, primarily covering the Italian and Danube theatres of war in 1805 and 1809).  The latest two feature the British struggles around the world against the Imperial French and their allies, although there are also many scenarios featuring Spanish, Portuguese and Sicilian armies contesting French invading armies.


 For my first game I chose a small scenario from one of Britain's fairly woeful South American campaigns, in which they tried to defeat Spain in their colonial possessions.  This particular battle features a small British force facing a larger but very motley Spanish force trying to resist the British advance from the Rio de la Plata (the River Plate).  I used the Polemos General de Division rules.


 The Forces:

The British Army:
C-in-C: General Beresford (Capable)
Force Commander: Pack (Capable)
1st Brigade: 3 bases Trained Infantry SK1
2nd Brigade: 1 base Trained Infantry SK1 (Marines)
3rd Brigade: 1 base Raw Infantry SK2 (Sailors & Militia)
 
This unusual nominal brigade structure is necessary to make the British not at risk of collapse by getting a single 'Shaken' result. It is actually still just possible, but a lot less likely.

The Spanish Army:
C-in-C: General Sobremonte (Plodding)
Force Commander: Arce (Plodding)
1st Brigade: 2 bases Raw Dragoons
2nd Brigade: 1 base Raw Infantry SK0, 1 base Trained Horse Artillery 6lb
3rd Brigade: 3 bases Raw Irregular Cavalry (Guachos)
4th Brigade: 3 bases Raw Irregular Cavalry (Guachos)

The British win if they occupy the town that the Spanish are holding or defeat the Spanish Army.

 The Set-Up:

Beresford's small army is based around Quilmes (top) by the River Plate, whilst Sobremonte's troops guard the pass through the town of Recreation (bottom).


The majority of the Spanish force are 'Guacho' irregular light horse; an infantry battalion and a battery of horse artillery provide some stability.

A couple of regiments of regular cavalry are positioned on the right.

A closer view of Beresford's & Pack's troops; the majority are from the 71st, supplemented by some Marines, some sailors and some militiamen from St.Helena.

The Battle:

As the British marines push forward, the Guachos ride forward to meet them


A closer look at those advancing Guachos.

Although the Marines open fire perhaps a tad too soon, their fire is accurate enough to fell many of the Spanish riders


Advancing slowly forward, the Marines threaten the shaken Gauchos...

The dispirited Gauchos turn tail and flee!

However, not to be discouraged, the other group of Gauchos also charge in..

With mixed results! Some of the Gauchos are killed and others flee from the ferocity of the 71st Foot's fire, but the sailors and militiamen run for Quilmes!

The Gauchos have split the British line along the main track!

Beresford launched a charge directly at the Spanish infantry and guns at the head of his infantry (centre-bottom) but was beaten back with heavy losses (centre)!  He is now in serious danger of being encircled and destroyed...

However, Pack's infantry quickly attack and disorder the Gaucho in the centre

Whilst the Marines push the other Gaucho back up the slopes

The Marines' relentless advance cannot be stopped by the irregular horsemen

Realizing that his army's morale must collapse soon, Sobremonte orders Arce to attack the British flanking battalion with the regular cavalry

Arce gets his troopers to charge...

But the steady discipline and fire of the British infantry wins out

The routed Cavalry regiment rides for the hills...

Cumulative losses and disorder take their toll, and the Spanish Army reaches a state of sauve qui peut...


The position at the end of the battle, as the Spanish forces disperse


Game Notes: 

A little scenario to start me off and get me going with this book.  And a slightly unusual situation in terms of the types of forces involved, good to get those Spanish irregular cavalry onto the battlefield for a change!  The Spanish actually did rather better in this refight than they managed in real life and for a brief moment I thought they were going to pull it off - the smart infantry counter-attack against the just victorious second group of Guachos probably saved the day, otherwise it is hard to see how Beresford could have escaped...Polemos is quite an 'infantry-friendly' set, the Spanish may have had a better chance with a different ruleset.  But all good fun, the scenario worked really well.

Only three points of note from the rules: firstly, the army structure doesn't work amazingly well with low force levels, although that didn't end up mattering too much in this game.  Basically, when the sailors routed, the British immediately could have had a 1-in-6 chance of losing the battle, or a 1-in-9 chance, or no chance at all, depending upon how exactly things are organized.  On the other hand, it can be quite fun and does produce some historical possiblities impossible to recreate under other rules.  Secondly, I have never been a fan of allowing cavalry charge directly 'through' infantry and artillery, even though the rules do allow it, as written.  Lastly, the re-deployment order is quite powerful in these rules, it is usually preferable to wheeling or retreating and so on.  But none of these points is new, I think I have mentioned them all before.

So an unusual little scenario with a very low troop count for a quick game - recommended.  Figures by Baccus 6mm, buildings by Total Battle Miniatures.