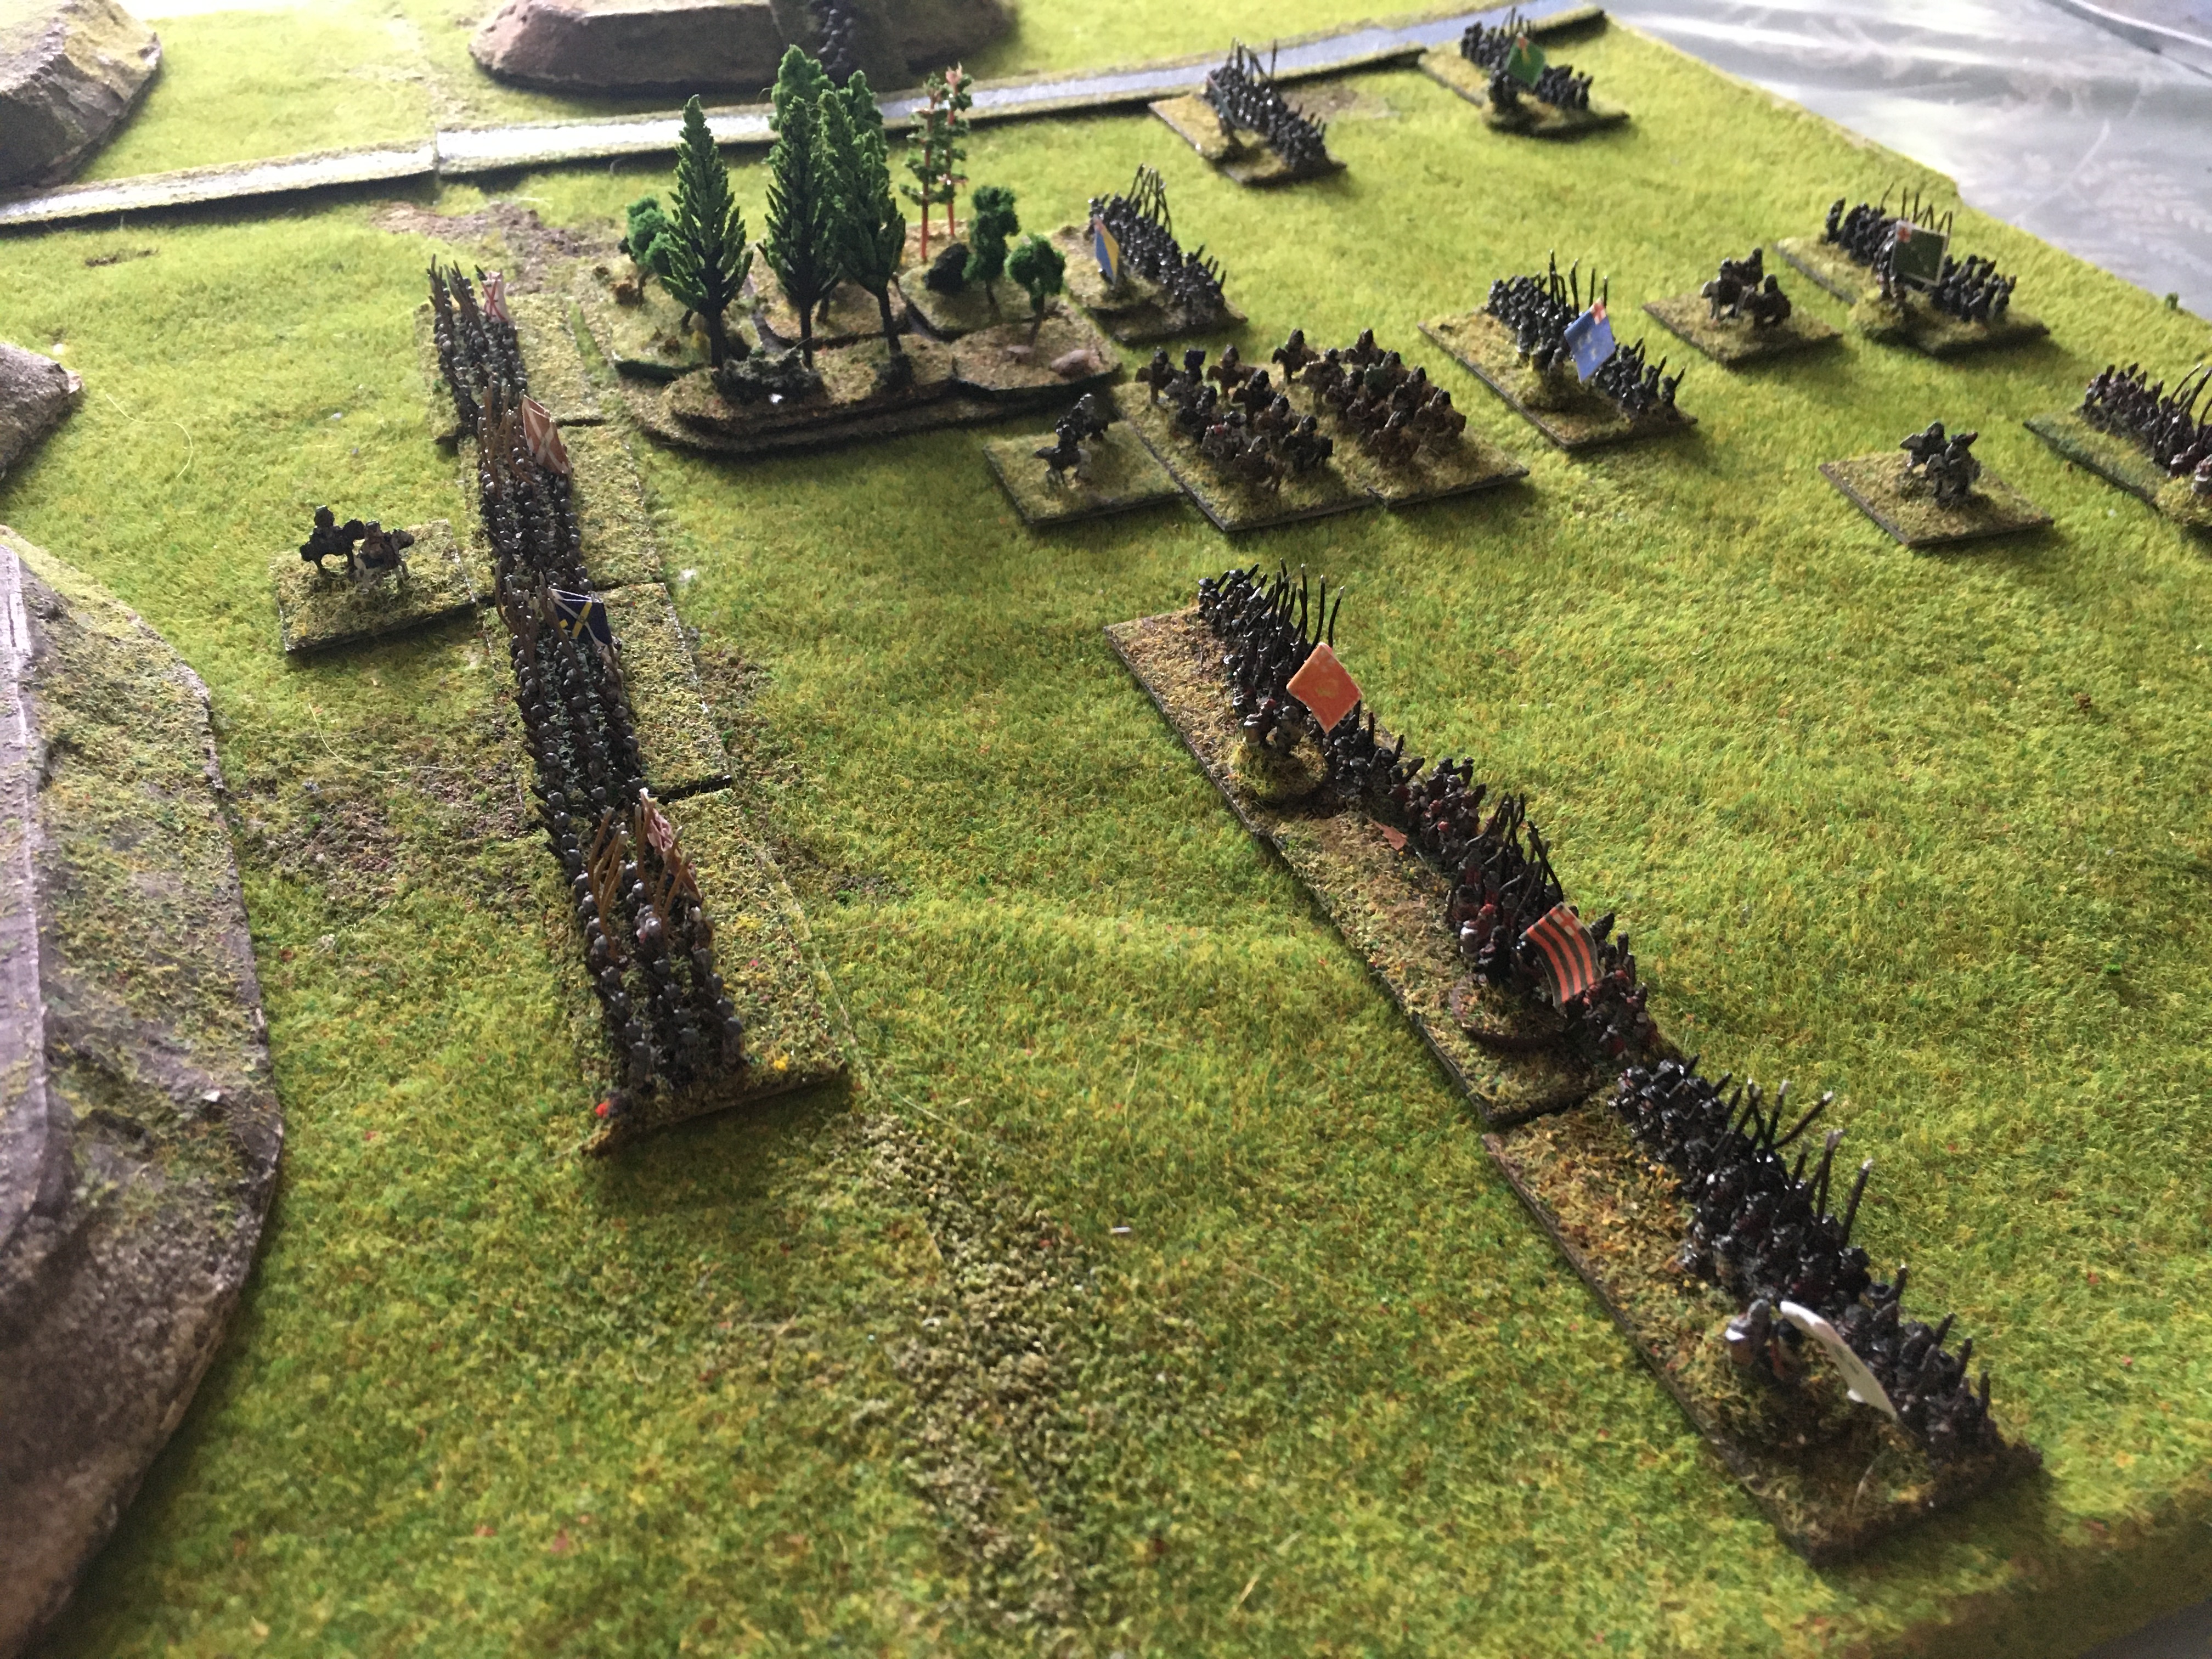
I have been feeling quite inspired recently by the Polemarch's current campaign, The War of the Stuart Succession and fancied doing something similar. I don't really have suitable models for the very early C17 when the Polemarch's campaign is set, but I do have plenty of figures more suitable for the 1620-1660 period. For the setting, I needed to come up with a (marginally!) convincing scenario which would explain the locations and motivations of the combatants which would be sufficiently close to those in the WSuS(!) that it would justify battles in more-or-less the same locations, with more-or-less similar forces.
To that end, this campaign is considered to take place in the Third Bishop's War, occurring in 1641. In this alternate timeline, the Covenanting government of Scotland has despaired of ever reaching a reasonable accomodation with Charles and is determined to definitively split Scotland and England, by insisting that no man, be he King or Commoner, can believe in Bishops in England and independent parishes in Scotland. Therefore, in a foreshadowing of the later Glorious Revolution/Protestant Putsch and Bill of Rights, the Covenanters have decreed that "no man may be King of Scotland unless he adheres to the Covenant, in all the lands that man may hold". Charles, naturally, has no interest in putting up with this and would wish to extirpate this hive of treachery. However, the ferocious words and uncompromising attitude of the Covenanters has inspired some Protestant divines to the brink of rebellion in England - as they point out, a righteous and true King would be able to keep both crowns, and a King that cannot keep the one shouldn't have the other.
The position is complicated by that of the Queen Henrietta, and French policy. France has found itself in the strange position of being the leading defender of the Protestant cause in Europe; and it is also sympathetic to the nationalist, if not the religious, inclinations of the Covenanters; the re-separation of the Scottish and English crowns would enable the renewing of the Old Alliance. The French do not want to disposses Charles I and Henrietta, but are willing to offer limited support to the Covenanters and Protestant rebels to curry favour with the Scots, the Swedes and the German Protestants, whilst making it clear that their actions are circumscribed to helping Scotland, rather than with any intentions upon England. Protestant and Catholic theologians alike are perplexed by this strange accommodation; but seasoned diplomats note that if France can maintain friendly ties with the Sultan, it can hardly find the Scots a challenge to its religious scruples.
The Campaign:
The first part of the campaign has the Covenanting Army, under General Leslie, hero of the moving south to reprise its successes in the first two Bishops' Wars. It is opposed by a small Northern Army under Lord Conway, composed of several local militia regiments raised during the previous conflicts and not yet disbanded.
The first action takes place just to the West of Berwick, as the Northumbrians muster to try and stop the Scottish advance - although tactically, the Scots have the position, and are able to decide whether to defend or attack.
The Forces:
The Covenanting Army:
8 bases of Foot (mixed); 2 bases of Horse; 2 bases of Lancers
The English Army:
10 bases of Foot (mixed); 2 bases of Horse
The Set-Up:
 |
| The English Army is in the foreground, the Scots in the background. The water-course is treated as a stream and all the hills are considered as gentle slopes. |
 |
| A view from the side. The Scottish infantry and Horse are deployed on the hill (left), whilst the Lancers are across the stream, able perhaps to outflank the English |
 |
| The English Horse found the enemy, so they are in the van (the remainder of the Army has just marched up to support them). Each Brigade of Foot is in two lines, with three battalia in the front and two in the rear. |
 |
| A closer view of the Scottish Foot, also deployed in two lines. |
The Battle:
 |
| Not content to wait on the hill defensively, the Scots move forward to engage the English. |
 |
| the Scottish Lancers move forward over the hills to threaten the English right flank |
 |
| The English have conentrated on getting their right-hand brigade forward and to retire their Horse somewhat |
 |
| The engagement begins in earnest, as the English and Scottish Foot begin to exchange musketry fire - one regiment of Covenanters has fallen back slightly in the centre |
 |
| The Covenanters push forward once more - pushing back on of the English Foot regiments with loss (centre), which falls back towards the supporting Horse; note that the English have deployed some Foot regiments to hold back the Covenanter Lancers over the stream (top-right) |
 |
| The Northumbrian Foot launches an attack on the flank of the advancing Scots; meanwhile, some troops of English Horse advance to try and stem the Scots in the centre |
 |
| The Scots are somewhat pushed back, but they are also getting much the better of the exchanges in the centre; also note the engagement beginning at the edge of the wood. |
 |
| The English Foot and Horse attack once more |
 |
| First real blood in the centre - the English Horse sees off one of the Covenanter Foot regiments (i.e. the gap in the Scots' first line); the Scottish Horse charge in to try and restore the situation on their right flank (bottom) |
 |
| Bloody combat in the woods - one of the English Foot regiments has been routed, but its supporting unit has counter-attacked and driven the Scots back. |
 |
| Perhaps the Scots have restored the situation, and it was only a temporary wobble: the English Horse has been thrown back with appreciable loss, again. |
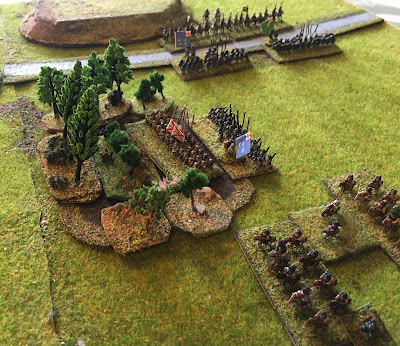 |
| And then again, no: this time the English Foot has counter-attacked decisively and routed the Scottish Foot in the woods (always reminded of the Overture to the Valkyries when this happens!) |
 |
| Suddenly the gap in the Scottish line is looking ominously large |
 |
| and it feels like the pressure is beginning to tell everywhere. Although the Covenanter Regiment in the centre has heroically seen off all comers, one of the flanking regiments has been shot to bits and pushed back and is in serious trouble - and has disordered the flank of the second line too (bottom-left) |
 |
| The charge of the Scots Horse was beaten back relatively easily too. |
 |
| Inspired by the mounting successes elsewhere, the English Foot guarding the right flank launch a bold attack over the stream, shooting up the Scottish Lancers |
 |
| The Covenanter Regiment in the centre continues to defy all odds, but the Scottish Right is under severe pressure, as the Northumbrian Foot continues to press forward |
 |
| Another attack is launched on the reeling Scots! |
 |
| More Scottish units are routed - only the centre holds |
 |
| The Scottish lancers begin to head for home also... |
 |
| And the trickle becomes a stream becomes a torrent.. |
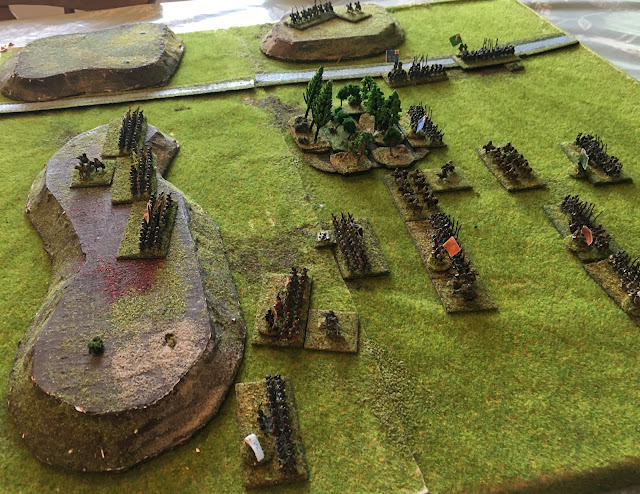 |
| And it is all over - the Scottish Army is in full retreat |
Game Notes:
A really good fun game, and great to get a game in of
Polemos ECW which I hadn't played in a while. It all came back to me pretty quickly though, I don't think I made many errors, and nothing too big.
Although movement is pretty stately in Polemos ECW, that doesn't matter so much on a small board. What is tricky is manoeuvring though: when troops get close to the enemy, they are pretty much committed and they are left to fight it out: a common theme amongst all the early period Polemos rules.
It was quite a close run thing, even if the victory was quite resounding: this seems to have been something of a feature of the period, so no complaints about.
Rules-wise the only thing of interest was the infantry in the woods - this doesn't happen very often, because moving through woods for any troops is a PITA. But the 'shaken' rules make this very dangerous too - moving in the woods gives the unit a shaken point. This implies that if a base moves through the woods without rallying every other turn then it will be shaken nearly all the time. And units with shaken points are very vulnerable, both to fire combat but in particular to close combat. You can counteract this effect with more Tempo Points or use of your generals, but you are very rarely going to be able to spare either.
The other feature of these rules is that you really do have to leave distinct gaps between lines of troops - troops that get pushed back onto other troops will cause both to have a very bad day. This eventually unlocked the Scottish position on the right flank, as the right-hand Scottish battalia in the first line just ended up pushed back on, disordering and then routing its supports.
For those with experience of the Polemos rules, I did not use the 'poor Scottish Horse' optional rule. It would have been too much of a departure from the original scenario. Indeed, I did consider giving them Cuirassiers instead of Lancers, as more reflective of the original...
So, a good fun scenario and nice to get back with a set of rules I haven't played for a while.