Today (Sunday, 13th July), I went off to Sheffield to visist the Joy of Six show at Sheffield Hallam university. A show which concentrates heavily, if not exclusively, on 6mm models, I always make a point of trying to get to this one!
As ever, there were lots of games showcasing 6mm models:
 |
| The (kind of) Battle of Champion's Hill (1863), by the Leeds' club. Lots of Adler miniatures. I think it was with the Picket's Charge rules. |
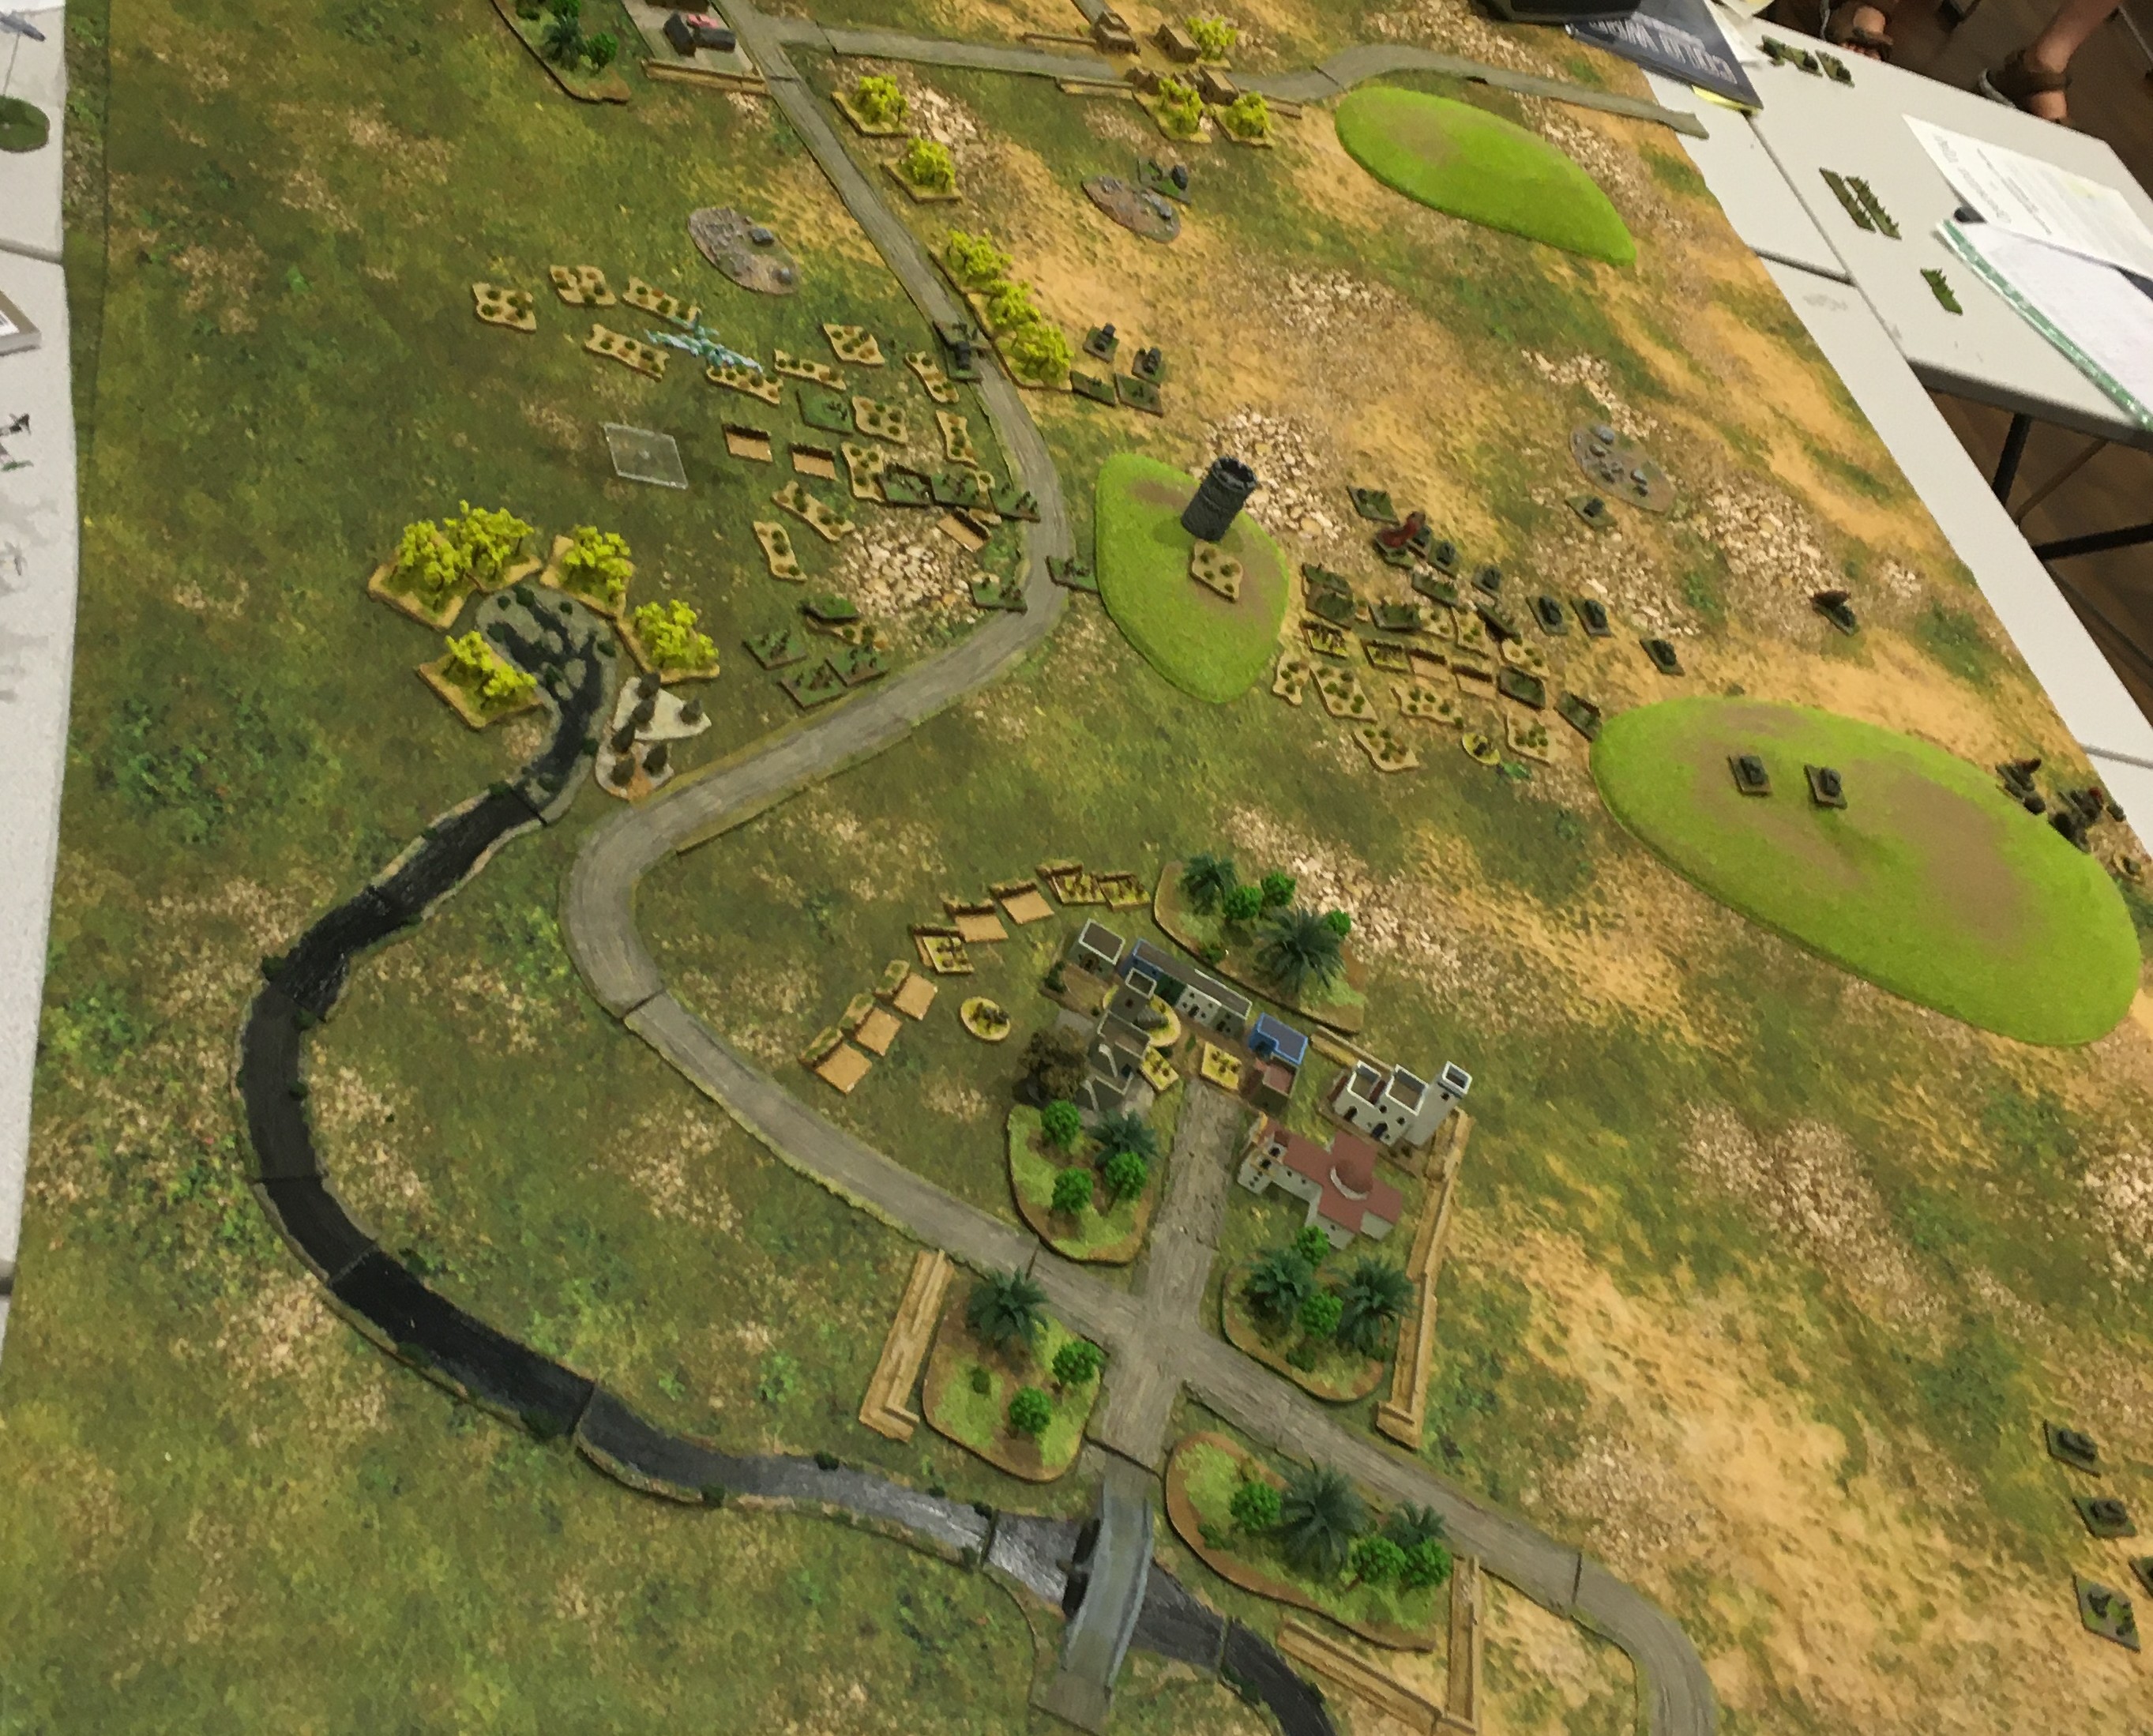
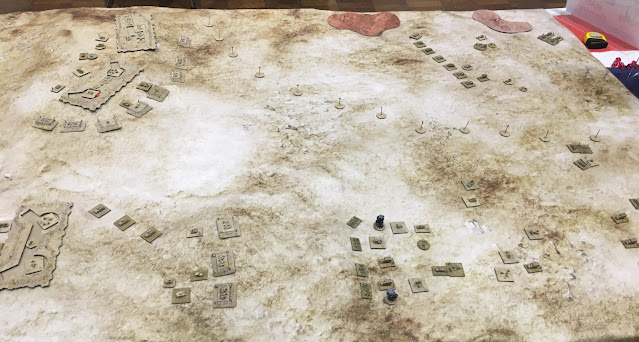
The Maidenhead and District ('MAD') gamers put on a game of Alam Halfa, using Rapid Fire:
 |
| It is a desert cloth with Hexon terrain underneath, to get the contours looking natural, which works well. The dark areas are depressions. |
 |
| The British awaiting the attack. The game is played with 'standard' Rapid Fire measurements, which makes the game look visually truer than playing it with 1/72 models. |
If there was a trend at the show, it was the use of Bloody Big Battles to play grand tactical wargames. This is the Retreat from Mons/Le Cateau battles, put on by Chesterfield Open Gaming Society:
 |
| If you can just see the Imperial German flag at the edge of the board on the top-right, that shows the progress of the Germans on the flank. This gives the British something to worry about on the flanks, but which they can mitigate by falling back/refusing that flank. The players made the point that this was one of the things that made this specific period interesting to them, the possibilities for manouevre at the beginning of WW1. |
This next game was put on by the Penarth club, featuring some kind of Cold War participation game set in 1989. It seemed quite busy, lots going on. Very vivid colours! I should have asked more about this, but it seemed quite well-attended later on whenever I popped my head around to check.
Next one is another Bloody Big Battles' game, Gravelotte-St.Privat from the Franco-Prussian War, put on by Per Broden. Nice-looking terrain, but this was the 'substitute' solution, the real terrain having gone missing in the post. Anyway, it still looked great:
 |
| This is the position early on, so you can see the French in their positions - the Prussians will arrive from the Right |
A bit of an unusual one next, from the Cold War Commanders. This is a game of Operation Vijay, the Indian invasion of Goa in 1961. It wasn't that much of a fight in reality (although 2-3 dozen died on each side), shades of the German invasion of Denmark in 1940, but the game was based around the Indian training/planning for the operation, which assumed the garrison would defend it quite hard. The CWC added in a bit of air support to spice things up. The Indians are basically a late WW2 British Army, the Porutguese have cast off French and British kit.
 |
| The Indians are advancing from the Right |
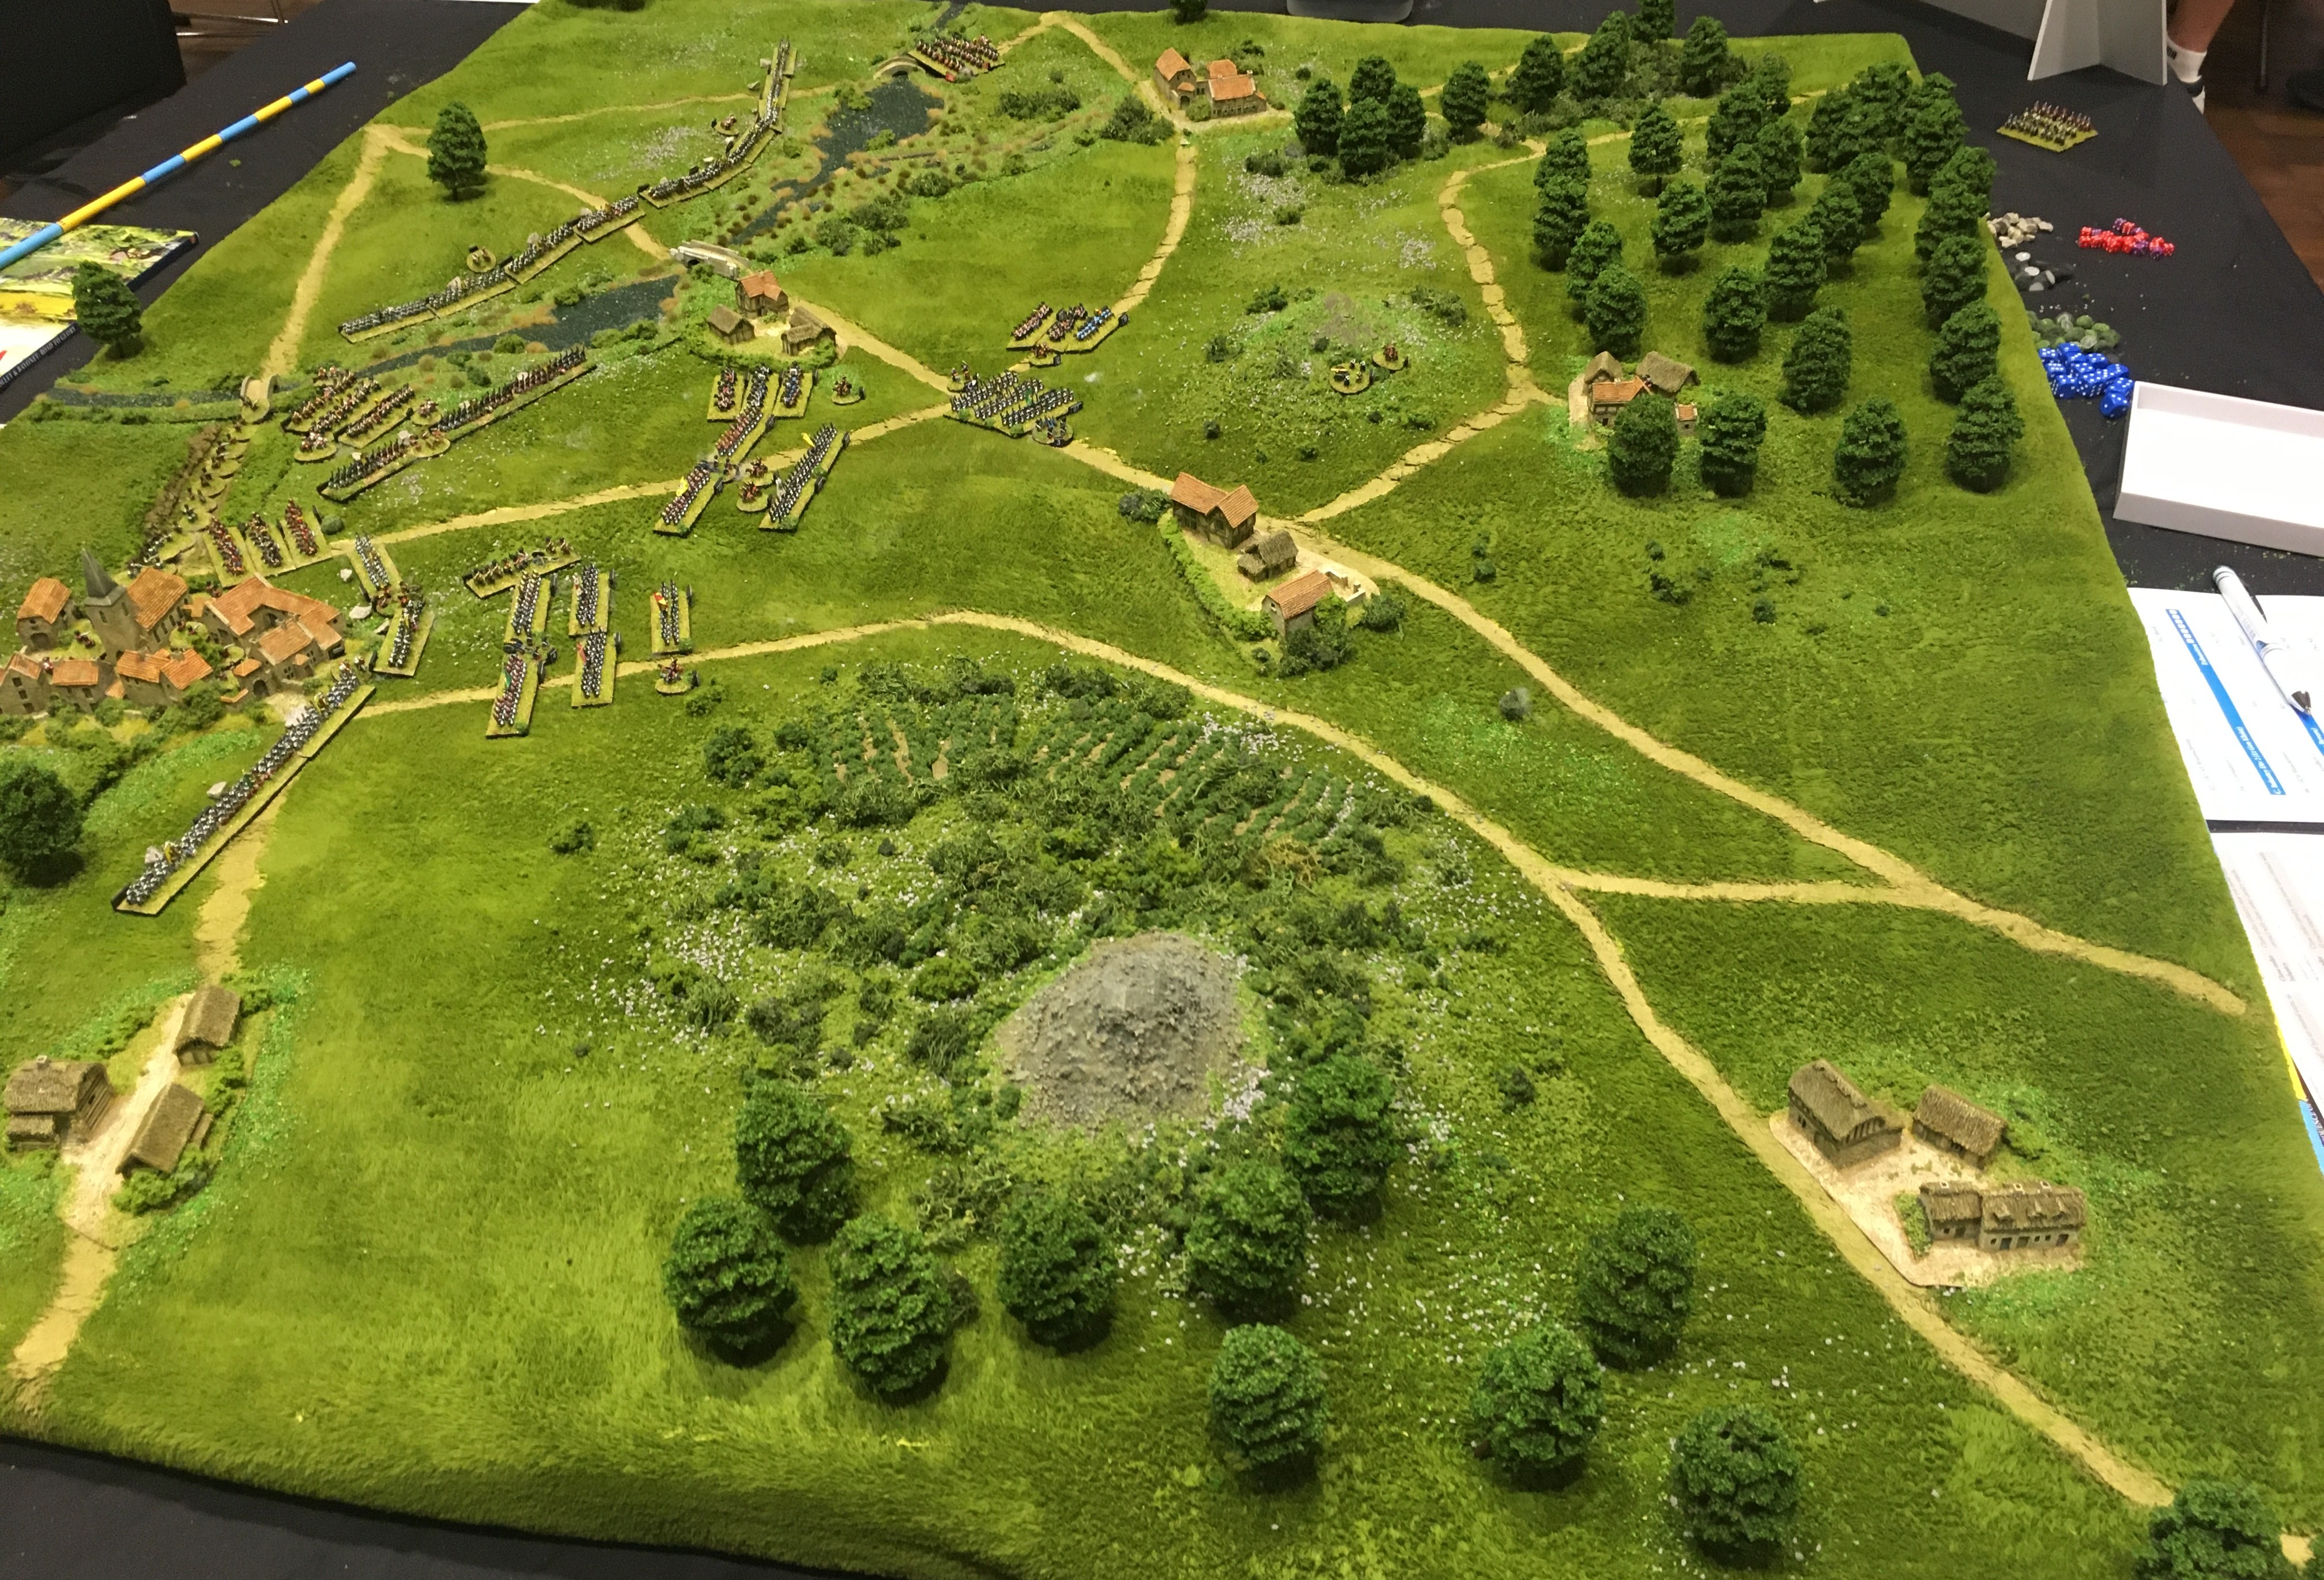
Another Bloody Big Battles game - this time, Waterloo.
 |
| The French attack from the Left, the Allied Army defending to the right. The Prussians will advance from the bottom, when they arrive. |
 |
| Quite simple terrain. the contours do give a decent shape of the layout of the battle. |
Next up, a Bastogne participation game by James Mitchell and Brendan Dolan. James often puts on neat-looking paricipation games at JoS and this was no exception. You will have to take my word for it, but nice camo schemes on the tanks! I really liked the look of this game overall.
 |
| My attempt to get a sot which captures something of the German camouflage scheme |
 |
| The US' scheme was a bit suble to pick up this way, but really well done for the naked eye. In any case, you can pick out the terrain effects quite well here. |
Next is the Battle of Bouvines by the East Leeds Militaria society, using Hail Caesar IIRC.
 |
| French to the left, Imperials to the right. The heraldry was really well done. Most of it was real or very close to it, with each base being a particular retinue, to show something of the unity of knights and retainers acting together. Anyway, it looked really smart. |
The Total Battle Miniatures' team put on Lobositz. Eye-catching terrain!
And now for something completely different, a series of smaller participation games. This is C&C ancients converted to War of the Three Kingdoms by the Wyre Forest gamers. This is Adwalton Moor.:
 |
| They use a die behind each base to show strength (and losses), which is quite a simple way of doing it, rather than messing around with groups of smaller bases. I should copy this, for this kind of game. |
A hardy perennial of this show is 'Tank Hunting for Vets' from SeaBee games, as the desperate Germans try to knobble Soviet tanks in a stylized built-up area:
And finally, even more stylized of man versus Emu, by the Doncaster group:
Next up we have the Battle of Lens, put on by Baccus. The point of this game was to showcase the practicability and look of using big bases on a normal-sized table.
 |
| It does a really good job of cleanly showing the 'look' of a mid-C17 battle, since the big bases allow for a more accurate modelling of the positions of squadrons, pike, shot, officers and NCOs and so on. |
 |
| For some reason the lighting conditions weren't really helping me get a very clear shot of this game. Partly location, partly an effect of the the white border on the table perhaps? Don't know. But the troop positions are very clear so you can see point that it does actually work very well with the larger bases. |
 |
| Not a game this, but since it was all out to see, this is some of the stuff on sale from Rob's scenics. I am not really a buyer of pre-painted stuff, but if I were, this looked great! | |
This next game I had seen before in Newark, although none the worse for that, done by the Winterpig/Rapier team. This is the Greek mythic 'Quest for the Fleece' game, on the 'stairway' type board which I have seen a couple of times for different fantasyt games now. Really well done.
A game of Undaunted: Pacific Air War. Looked lots of fun, but always busy whenever I went near it!
This next was a small participation game for Chickamauga, I think. Bijou, but very well done I thought.
Commission Figurines always do a couple of showcase set-ups, rather than games as such, to show off their Napoleonics:
Romans:
and ACW:
And last, but by no means least, James Morris, he of big, spectacular games at Partizan (as well as the Midgard rules), put on a somewhat smaller but no less spectacular game at JoS, this time set in Glorantha. This game was very busy until the end of the day as far as I could see, so these shots were very much 'through the crowd'! Although I love the backdrop, the walls, the river and the figures, there was something really compelling about the effect which was even greater than the sum of its parts...I am just not an artist, but I think it is to do with the effect of the colour? It just kind of draws the eye.
Here are a couple of extra shots from later in the day, of some of the tables:
 |
| Prussians! |
 |
| And also, Prussians! |
 |
| And also, Prussians! |
And a few more shots of the Midgard/Glorantha game, when there was space!


The show felt bustling enough, but perhaps not as busy as it has been on a few recent years. There were a couple of demonstrators (Robert Dunlop, Charles Rowntree, the Milton Keynes' club) who typically put on very big games who weren't here this year (although Robert Dunlop was in the show programme to do Cambrai, so I am guessing something happened late in the day to prevent it. I thought I saw him around the show early on). There were plenty of traders there, all seemed to be doing steady business as far as I could see. I bought a few things - some more Napoleonics and WSS from Baccus (just filling out a few gaps, don't you know?...), some WW2 Japanese from Scotia, some Zouaves and Parthians from Rapier, and some 1/4800 WW1 ships from Three Decks Dockyard, who I only found out about recently. H&R was always a bit busy whenever I went near, so I can sense a mail order going in...I resisted some very 28mm gunfighters from The Pit, and some additional 6mm SF from Brigade. There are fewer traders now than a little while ago, mainly due to changes in the hobby rather than the show, I think: Irregular's 6mm range has gone to someone else, Grumbler miniatures seem to be defunct or in permanent hiatus, Leven is in hiatus, Wargames Emporium don't seem to be selling GHQ anymore...Turner miniatures came last year IIRC, but not this time, Butler Printed Models don't do shows AFAIK...
Peter Berry had asked me a couple of weeks ago to be one of the panel members for the show Q&A forum! I was a bit nervous about it, and did wonder if I was the right person to do it, but I did say yes and it seemed to go okay in the end. The other panel members were Per Broden and You Tuber Big Lee, from Big Lee's Miniature Adventures. We covered a good spread of topics (periods and genres most and least suitable for 6mm, 6mm games and terrain, converting or not converting rules for use with 6mm models, the ethical implications of playing recent conflicts, etc.) , most of which hadn't necessarily come up before in these sessions, so hopefully attendees found it interesting.
In between the roving reporting, panel attendance and shopping, I did get a chance to have a chat with a few people, some old friends, some new acquaintances and some of the demonstrators, so a very nice day, all in all.