This is the third action in the TooFatLardies' Capturing Caesar's Camp pint-sized campaign.
This picks up the actions of the Cameron Highlanders (who had featured in the first action) as they try to destroy or outflank the German outpost line as they continue their advance to Mont de Caubert.
The British are a fresh platoon from 4th Cameron Highlanders, the Germans a fresh platoon from 2/217 Infanterie. The British have an extra Bren Carrier, plus a FOO with a 3" mortar section on call.
The Set-Up:
 |
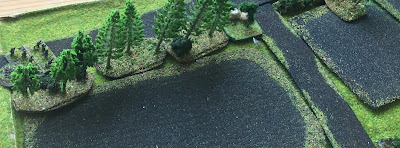
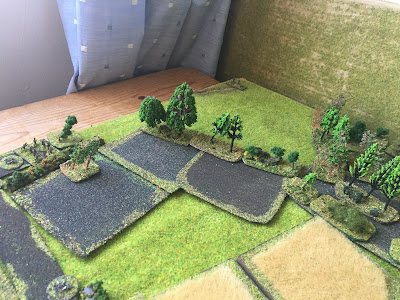
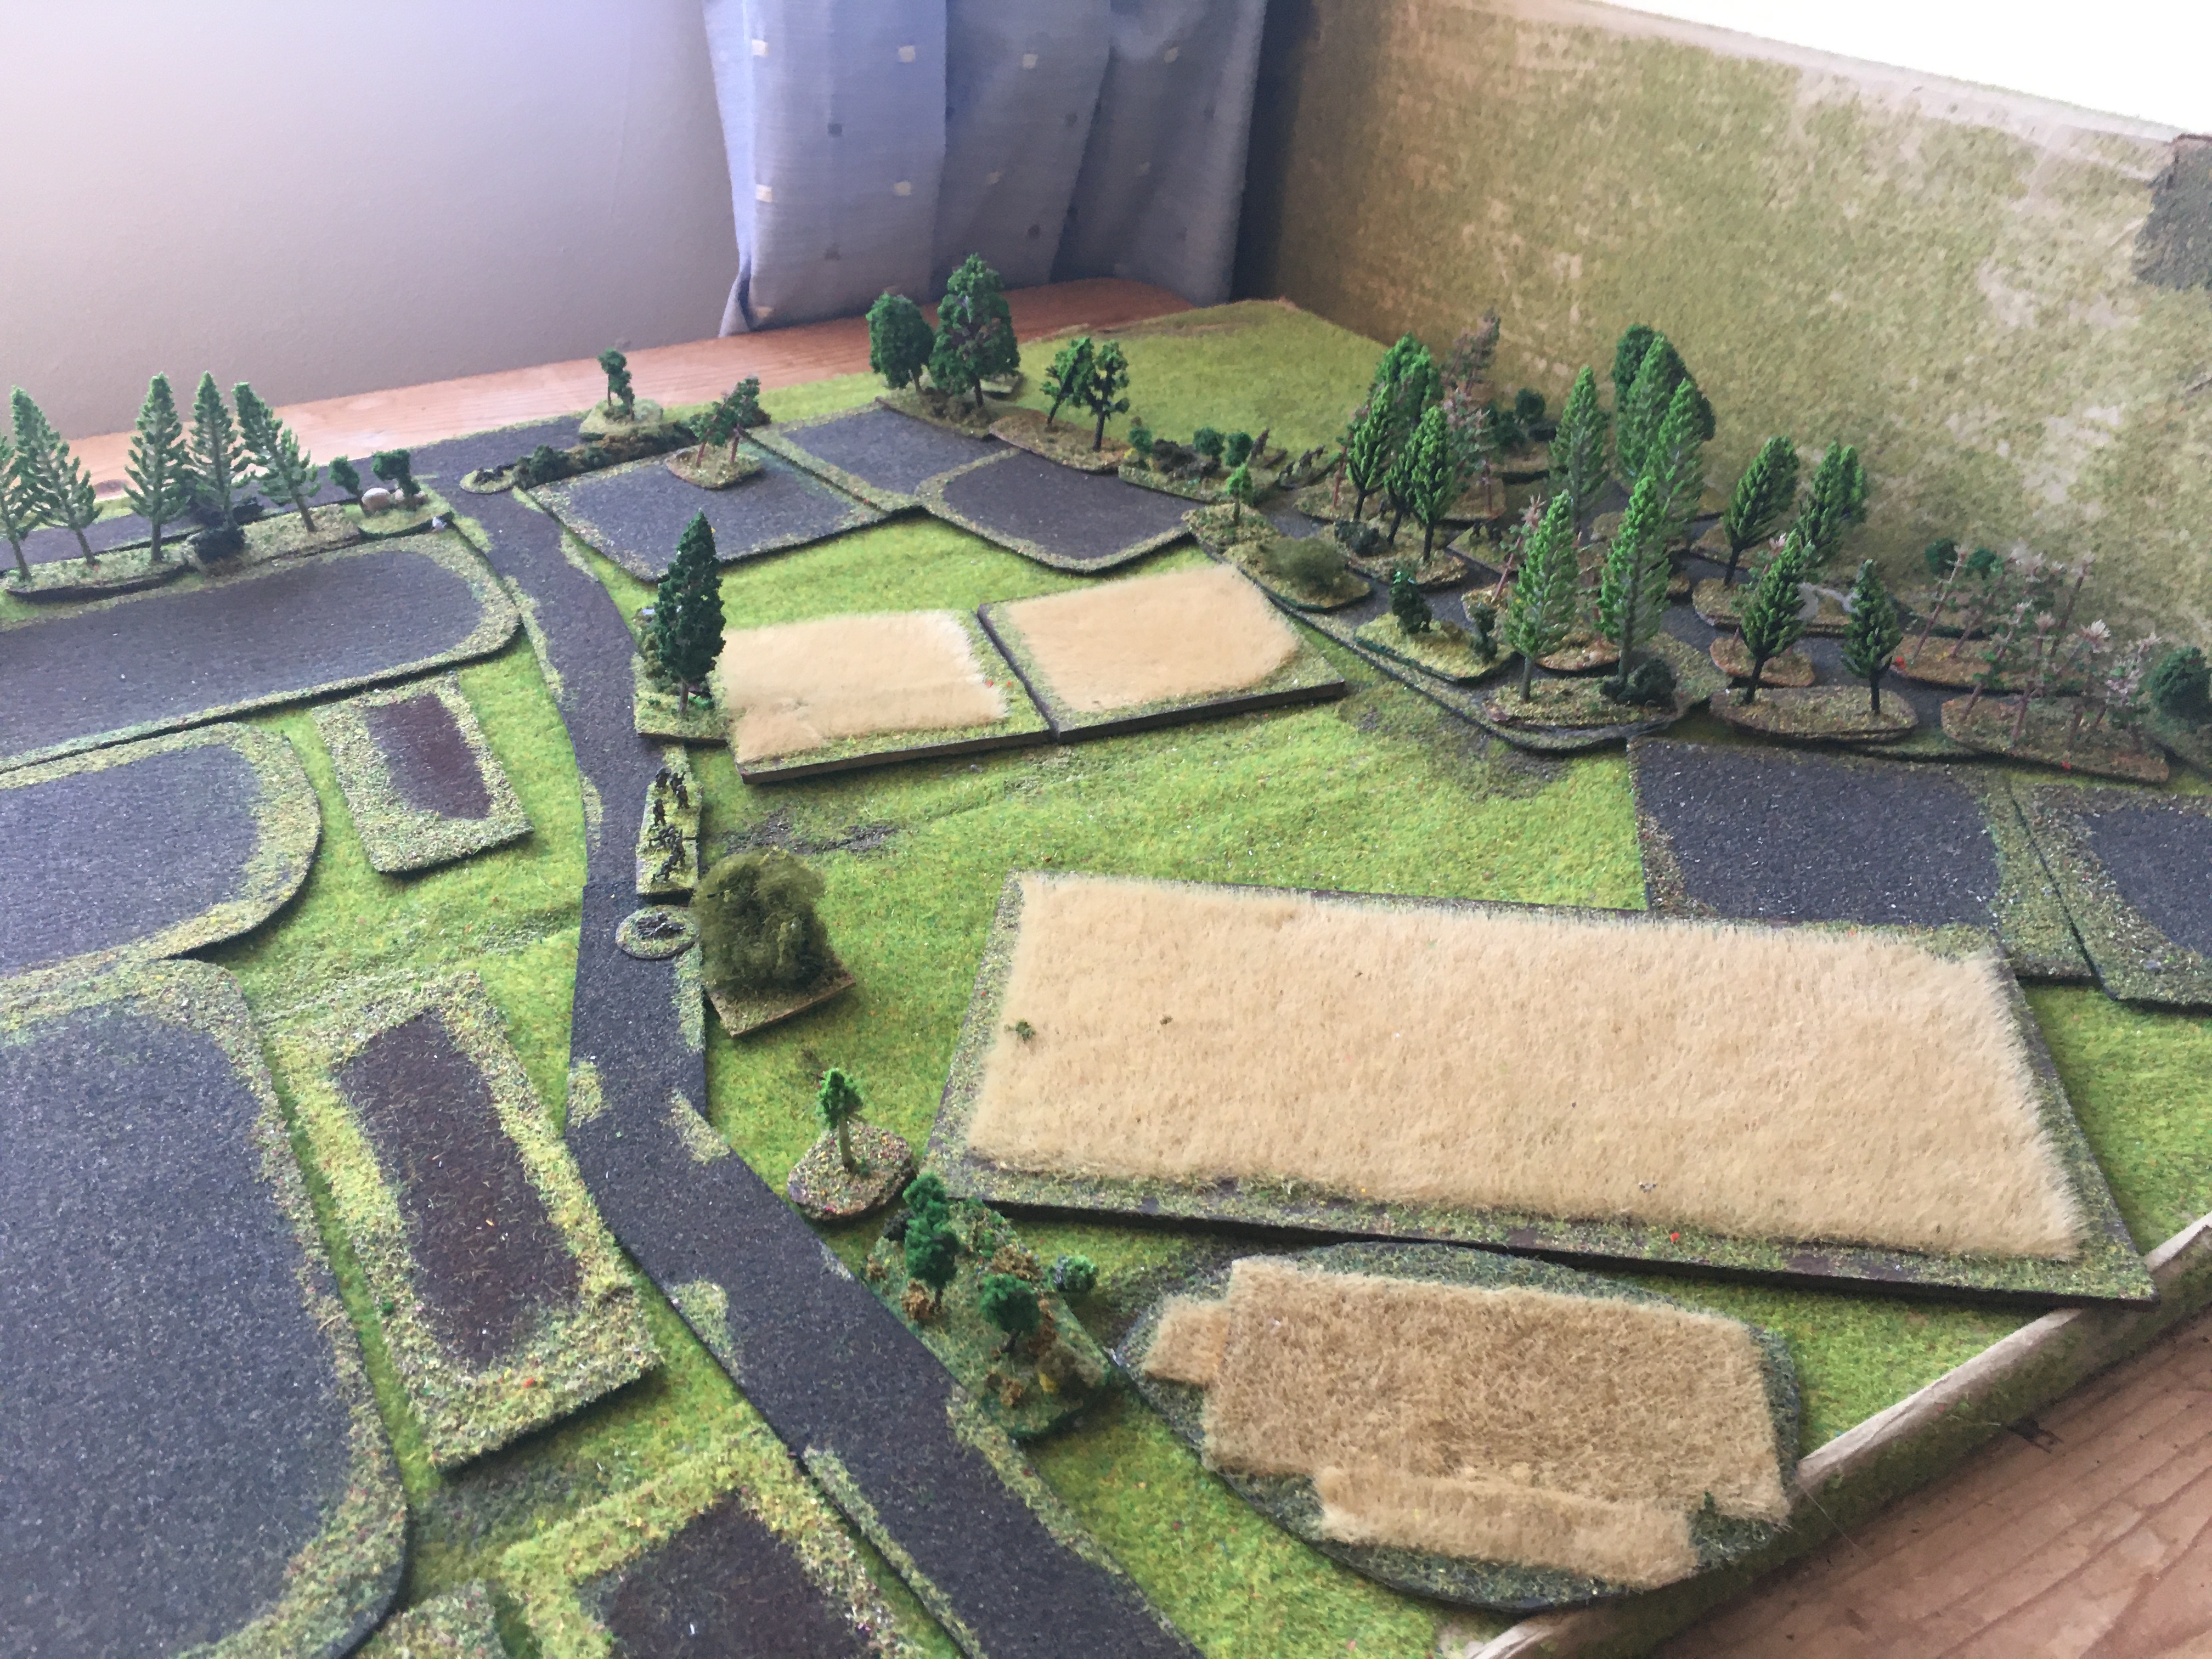
| The British approach from the left-hand side. The Route Nationale is the road at the very top of the board. The other road is considered to be slightly sunken. |
 |
| One of the British sections is marching right up it (left) |
 |
| Another section is placed to advance, rather gingerly I imagine, through the fields...(the intention being to trigger any German fire to the front, which can then be enfiladed from the cover around the Route Nationale) |
The Battle:
 |
| The British platoon advances up the Route Nationale. The FOO and his team make themselves both comfortable and invisible at the end of the treeline. |
 |
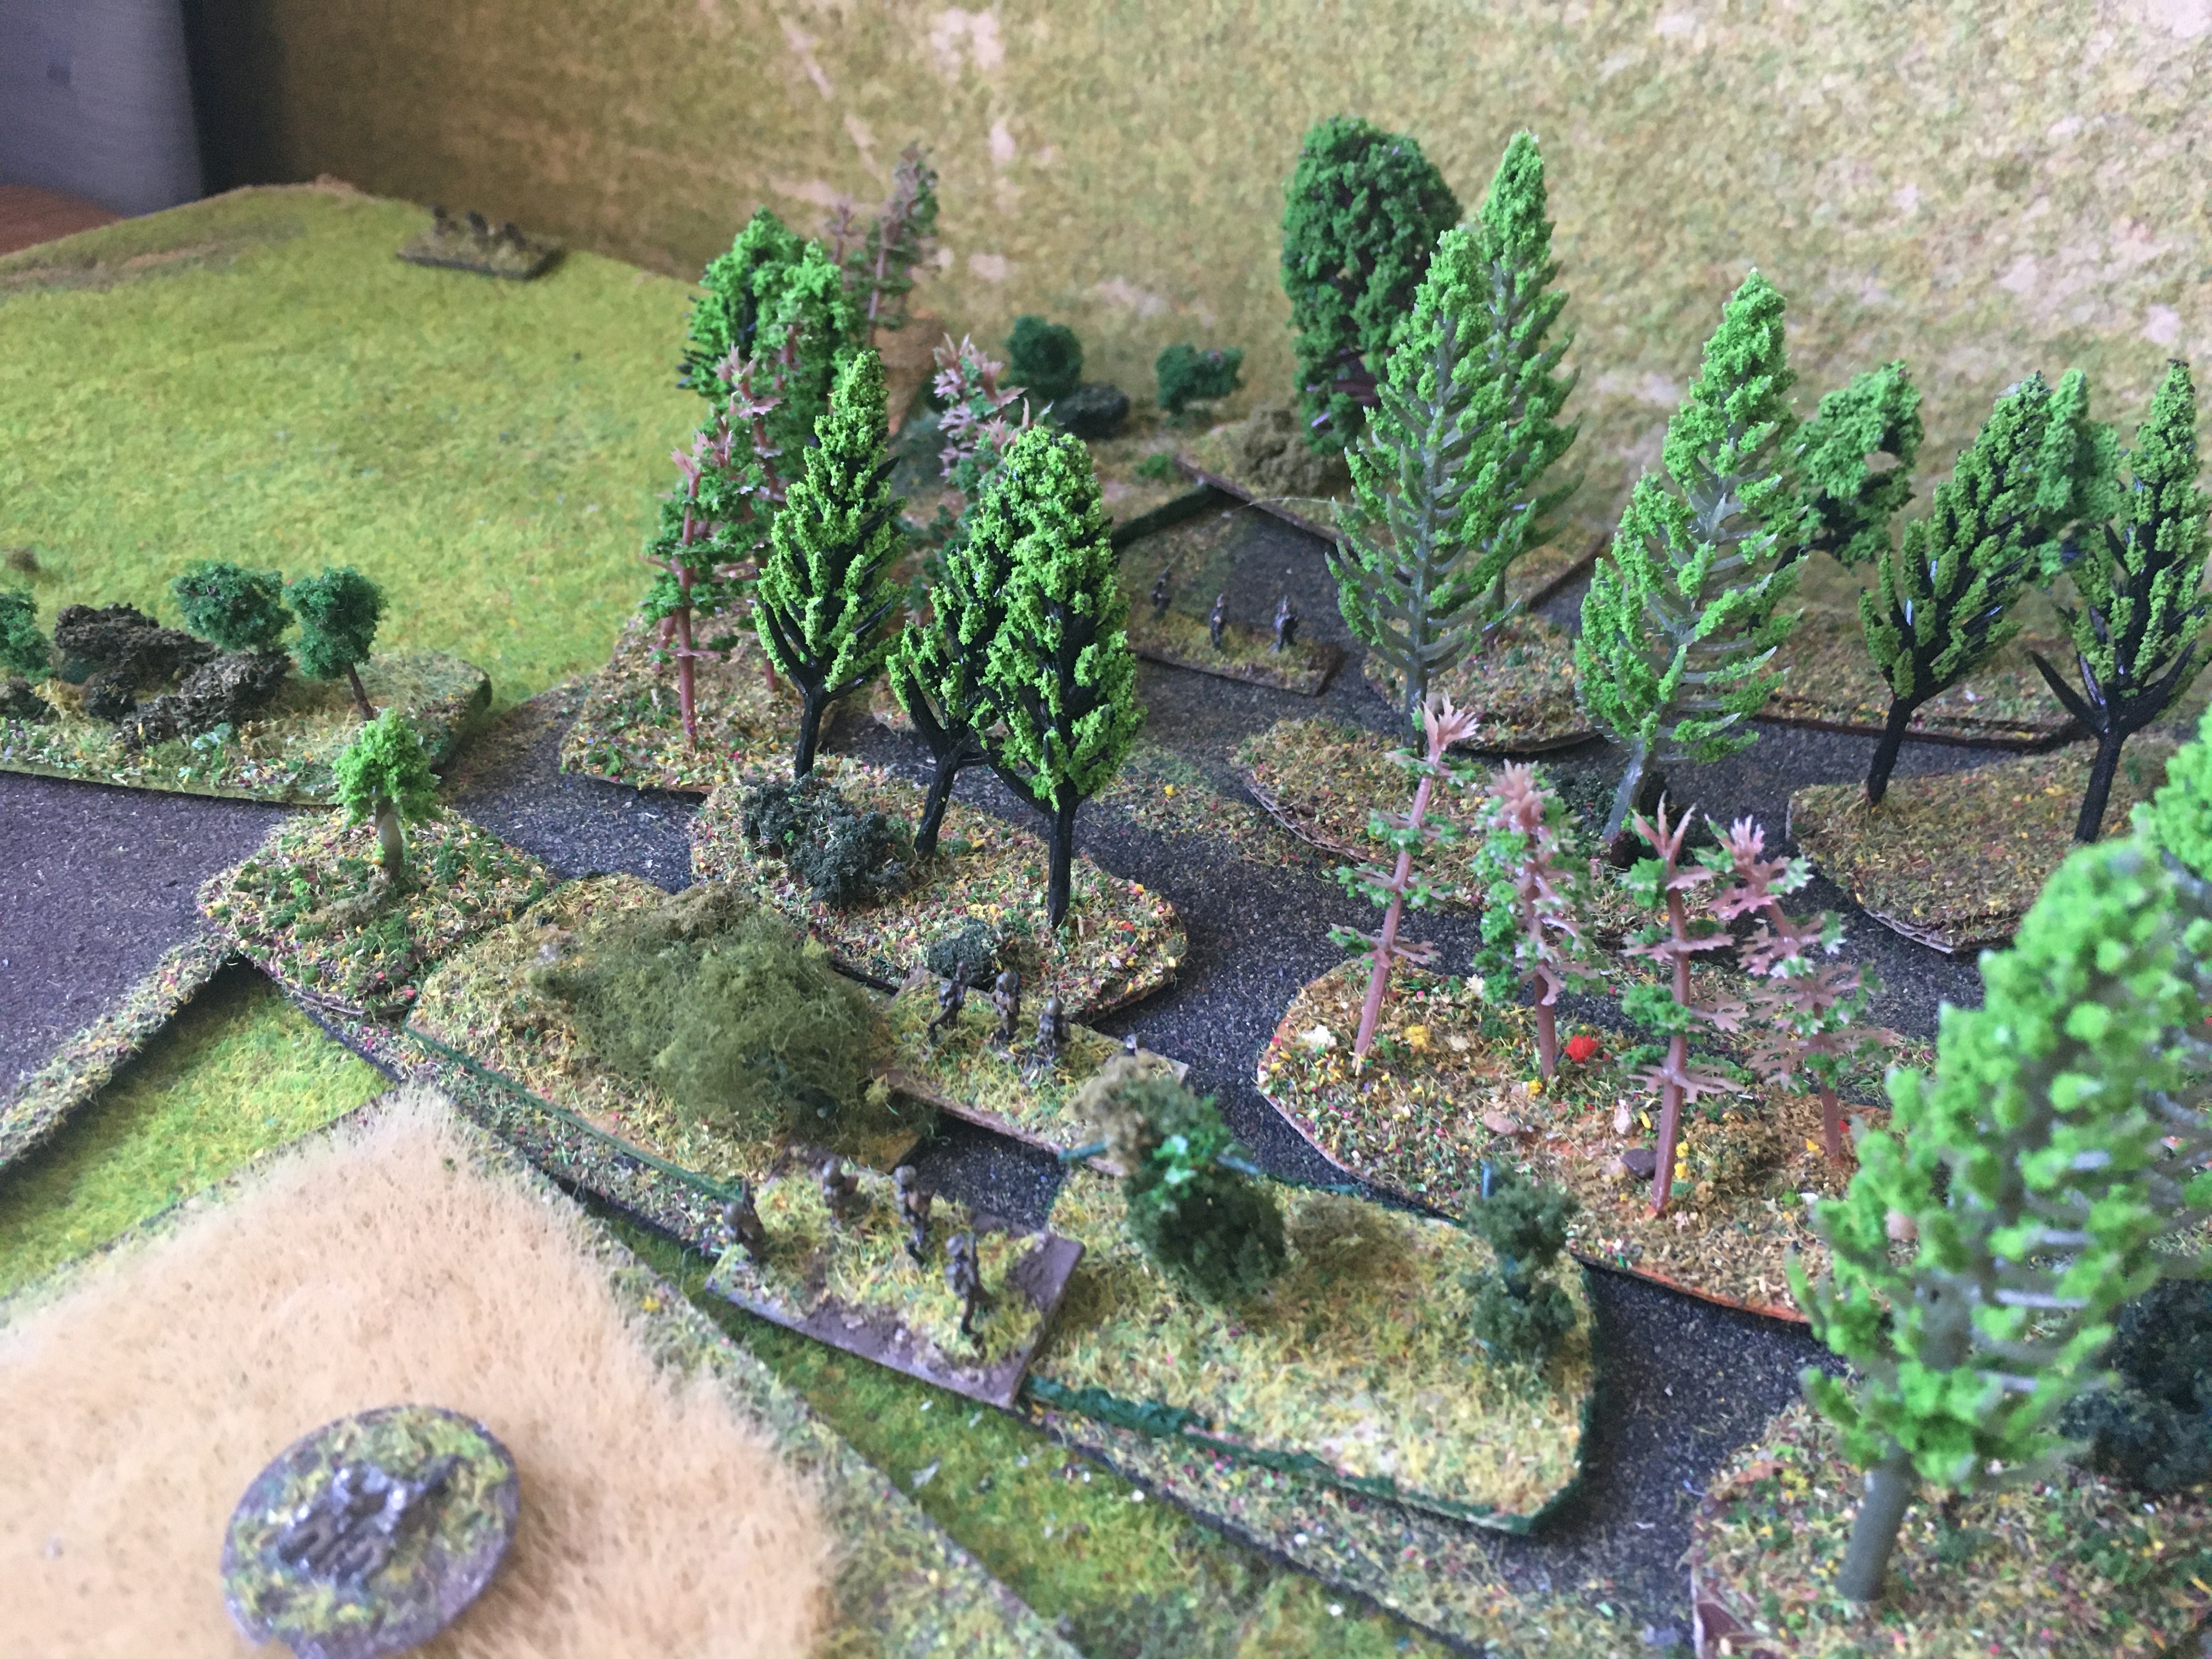
| You can see the Tommies advancing through the trees |
 |
| Okay, the first shots ring out, as German engineers in the wheatfield spot the British advance |
 |
| The German engineers disappear under British fire. The British are unsure whether they have eliminated the Germans, or they have just gone OOS. |
 |
| A sniper shot rings out, suppressing the nearest British rifle group (behind the bushy tree); the main body of the British platoon has moved onto the top of the track |
 |
| The Scots infantry located a German AT gun covering the road |
 |
| The Pak 36 only has one real target...the Bren Carrier... |
 |
| Which it promptly knocks out! Black smoke starts billowing into the air... |
 |
| Of course, the forlorn German AT crew cannot last long that close to so many British infantry, and they are eliminated. |
 |
| A small group of German engineers is located at the top corner of the board |
 |
| Meanwhile, a British rifle group has managed to work up close to the German sniper, who is quickly dealt with |
 |
| The Camerons advance towards the woods through the wheatfield |
 |
| The advancing British catch more German engineers at the top of the board |
 |
| The lead British infantry advances into the woods...and comes under fire from the German command group |
 |
| The lead British section comes off distinctly worse in the firefight - it brings up the Bren to try and restore the situation |
 |
| The rest of the British platoon was more positioned to isolate and cover the advance on the wood than to assist in the wood itself... |
 |
| So it takes a couple of moments, but the British Platoon Commander gets another squad to advance on the wood from the flank (towards top-corner of board); the German Platoon Commander's group is eliminated. |
 |
| From a slightly higher vantage point |
 |
| Another German squad was hiding in the woods - it opens fire on the British |
 |
| However, given the loss of the German platoon commander and the approaching British infantry, they choose to bug out rather than stay and lose the firefight. |
 |
| Silence descends onto the battlefield. |
Game Notes:
A somewhat more interesting game to play than it might read, because there was quite a lot of tension as to what and where the Germans would activate. Unfortunately for the Germans and the game, what they activated was pretty rubbish (an AT gun, a sniper, and three engineer groups) and not in amazingly useful places either, so the battle was a somewhat desultory affair. The Germans lost 4 KIA, 4 WIA, 6 POW and an anti-tank gun, whilst the British 2 KIA and 4 WIA and the Bren carrier. At least the Germans will have a more or less full strength platoon to take into the next battle (the effective loss is one base to each side's core platoon).
This game also shows the value of Rod's suggestion on The Wargames Website that non-player guns should be defended by at least some infantry when they are generated, if possible. That makes sense, and would have made a much more interesting and challenging problem for the British platoon at the end of the Route Nationale.
One thing the observant reader might have noticed was that non-player units that are physically able to do so can move out-of-sight (OOS). When this happens, the models are removed from the table and their activation card goes back into the pack. This allows out-gunned groups of opposition to escape the player me) and hopefully be re-generated in a more useful/difficult location. This happened a few times in this game, as German engineers kept on getting activated in tactically useless and exposed positions!


That was another interesting fight. I assume you are using 1mm =1m on a 2x3(?) table? Do you have a link or reference to the system you are using to run the defenders. I've realised that in thee very tactical games it really gives me a headache trying to play both sides actively.
ReplyDeleteSometimes I use 1mm = 1m, sometimes I use 2mm = 1m; the latter is more common if there is anything approaching an urban area, as otherwise the terrain stops working properly. These TooFatLardies' scenarios are really designed to represent areas about 300m^2 max, as far as I can tell, perhaps less. I sometimes whimsically muse over converting them all to Squad Leader, so you can play a campaign in your hand...
DeleteThe basis of what I use to control the defenders is the Threat Generation System from MW373 https://hereticalgaming.blogspot.com/2015/12/review-of-martin-englands-threat.html. It has however evolved over time (10 years!!) and use to something distinct from that. I will type and consolidate my notes and get them to you.
And sorry, a 2'x2' table yes.
DeleteThanks. I've tried a couple of the Fireball Forward scenarios with these rules, and they are typically on a 3x2. For my 15s I've generally settled on 6"=100m, which seems to work OK for infantry heavy actions.
DeleteAh, I've actually got a copy of that article already. I'll go through it again.
DeleteI'd be very interested in your opinion. I have always been a huge fan of the system, re-calibrated to my own needs and preferences.
DeleteI'd be interested to see what you have done with TGS. I've tried it a few times but it seemed to need a little bit of work.
ReplyDeleteI think that's fair. I quickly modified and evolved it for my own purposes and to suit my own games.
DeletePretty cool, John. I certainly felt the tension as the Tommies pushed across the map, but again they got off rather easily. Nothing to worry about on that account, you know it can’t last forever (although I understand it may be a bit more concerning if you’re only intending on playing a “pint-sized campaign” rather than our normal 15-16 fight campaigns. And that “drop out of LOS” to pop up somewhere else mechanic is pretty cool, might have to steal that! ;)
ReplyDeleteV/R,
Jack
Thanks Jack. I kind of felt that the tension built nicely, but then it never really delivered. On one level that's ok - the fight you prep for is not the fight that actually happens - but OTOH as a gamer you want the excitement. The drop out of LOS mechanic was originally inspired by playing the Ambush! boardgame when I was a kid, I always thought it was useful. It specifically gives an immediate goal to defending non-player forces in bad situations other than "sell your life dearly"; and a penalty to the player's forces for leaving escape routes.
DeleteSeemed a little like a textbook approach - staggered advance, pick off the enemy, in the woods met some stiffer resistance so waited for reinforcements. But I can see the tension is all in where the Germans are rather than the dice rolling. Great report!
ReplyDeleteThanks Shaun. You will notice that because I have very little information available to me as the player - I know that I will be facing a German platoon (I might know its strength, if it is the same platoon as in a previous scenario) and a bounded upper limit for what could appear, but apart from that, not much - then I will default to quite 'textbook' tactics until the situation becomes clearer. I am a big fan of 2-up 1-back! And never lead with the tanks...
DeleteGreat game and report, even if for the Germans the forces generated didn't give them much of a chance. Nice post game thoughts as always:).
ReplyDeleteThanks Steve. And yes, definitely a bit one-sided (and there was a definite sense of that in a few of these campaign games), but that is just how it went. Whilst I am playing, it is the uncertainty that is as important as anything else. That's the sense I used to get playing Ambush! when I was a bairn, when I didn't want the Germans to activate!! (but if they had to, could it be in the open, facing the wrong way). It is the possibility of catching a weaker German force in a poor deployment that justifies the occasions when I get mercilessly overwhelmed!!!!
Delete